The Position control allows you to fine tune where the element is located on the screen. This includes the ability to layer elements one on top of the other. The Position options are:
- Static (The default value): The element stays where you place it. If you select Static, there is no option to change the element’s position.
- Relative: The element’s position relative to its original position.
- Absolute: The element’s position relative to the closest parent container whose position is set as Relative. If the element does not have any parent containers that are Relative, the Absolute position is relative to the webpage.
Example: In this example, we start with a Div Block inside a Div Block. 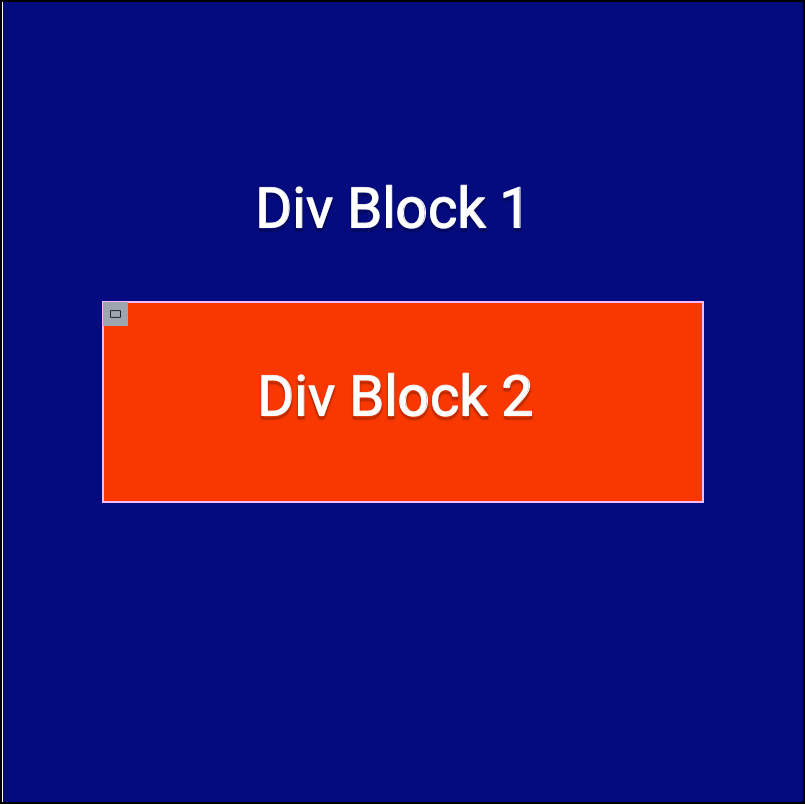
Each of these Div Blocks have their position set as Relative.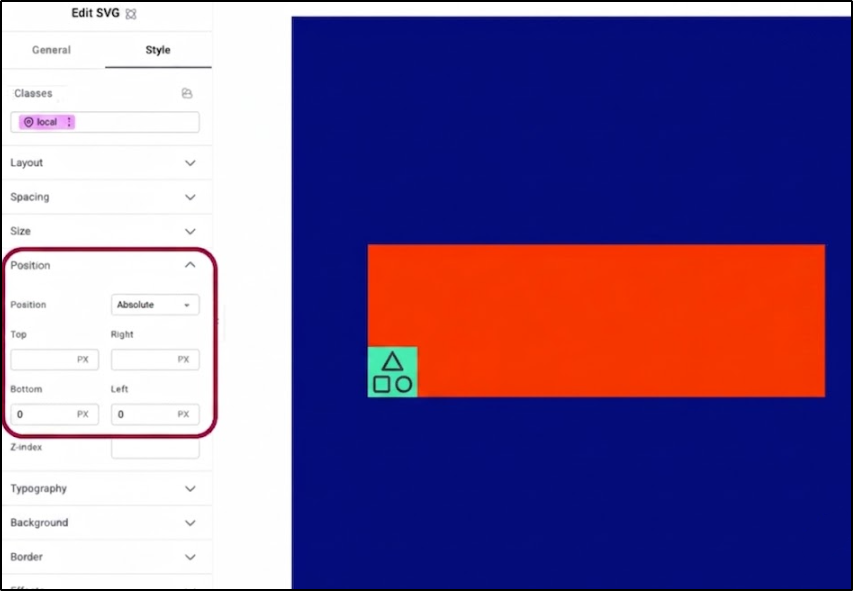
Now let’s place an svg element in Div block 2 and set its position to Absolute. Enter 0 in the bottom field and 0 in the left field to place it in the lower-left corner of Div block 2. 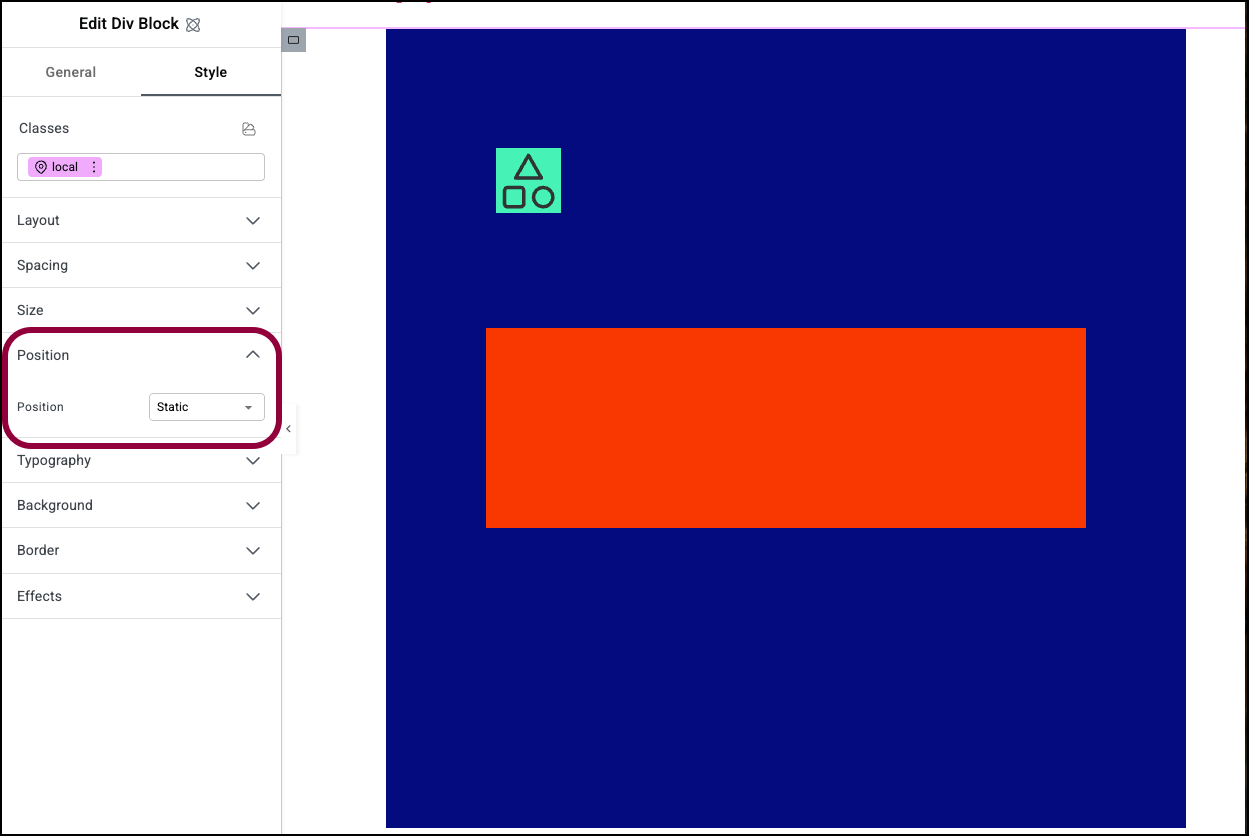
Now we’ll change the Position setting of Div Block 2 to Static. The SVG positions itself 120 pixels from the top of Div Block 1, because that is the closest parent with a Relative position setting.
- Set the Position of the heading to Absolute.
- Set the Z-index to 1 or more.
- Enter numeric values into the top and left fields until the heading sits directly over the image. Do not use margin settings for absolute positioning.
In the example below, the image widget is in a fixed position, 20 pixels from the top of the page.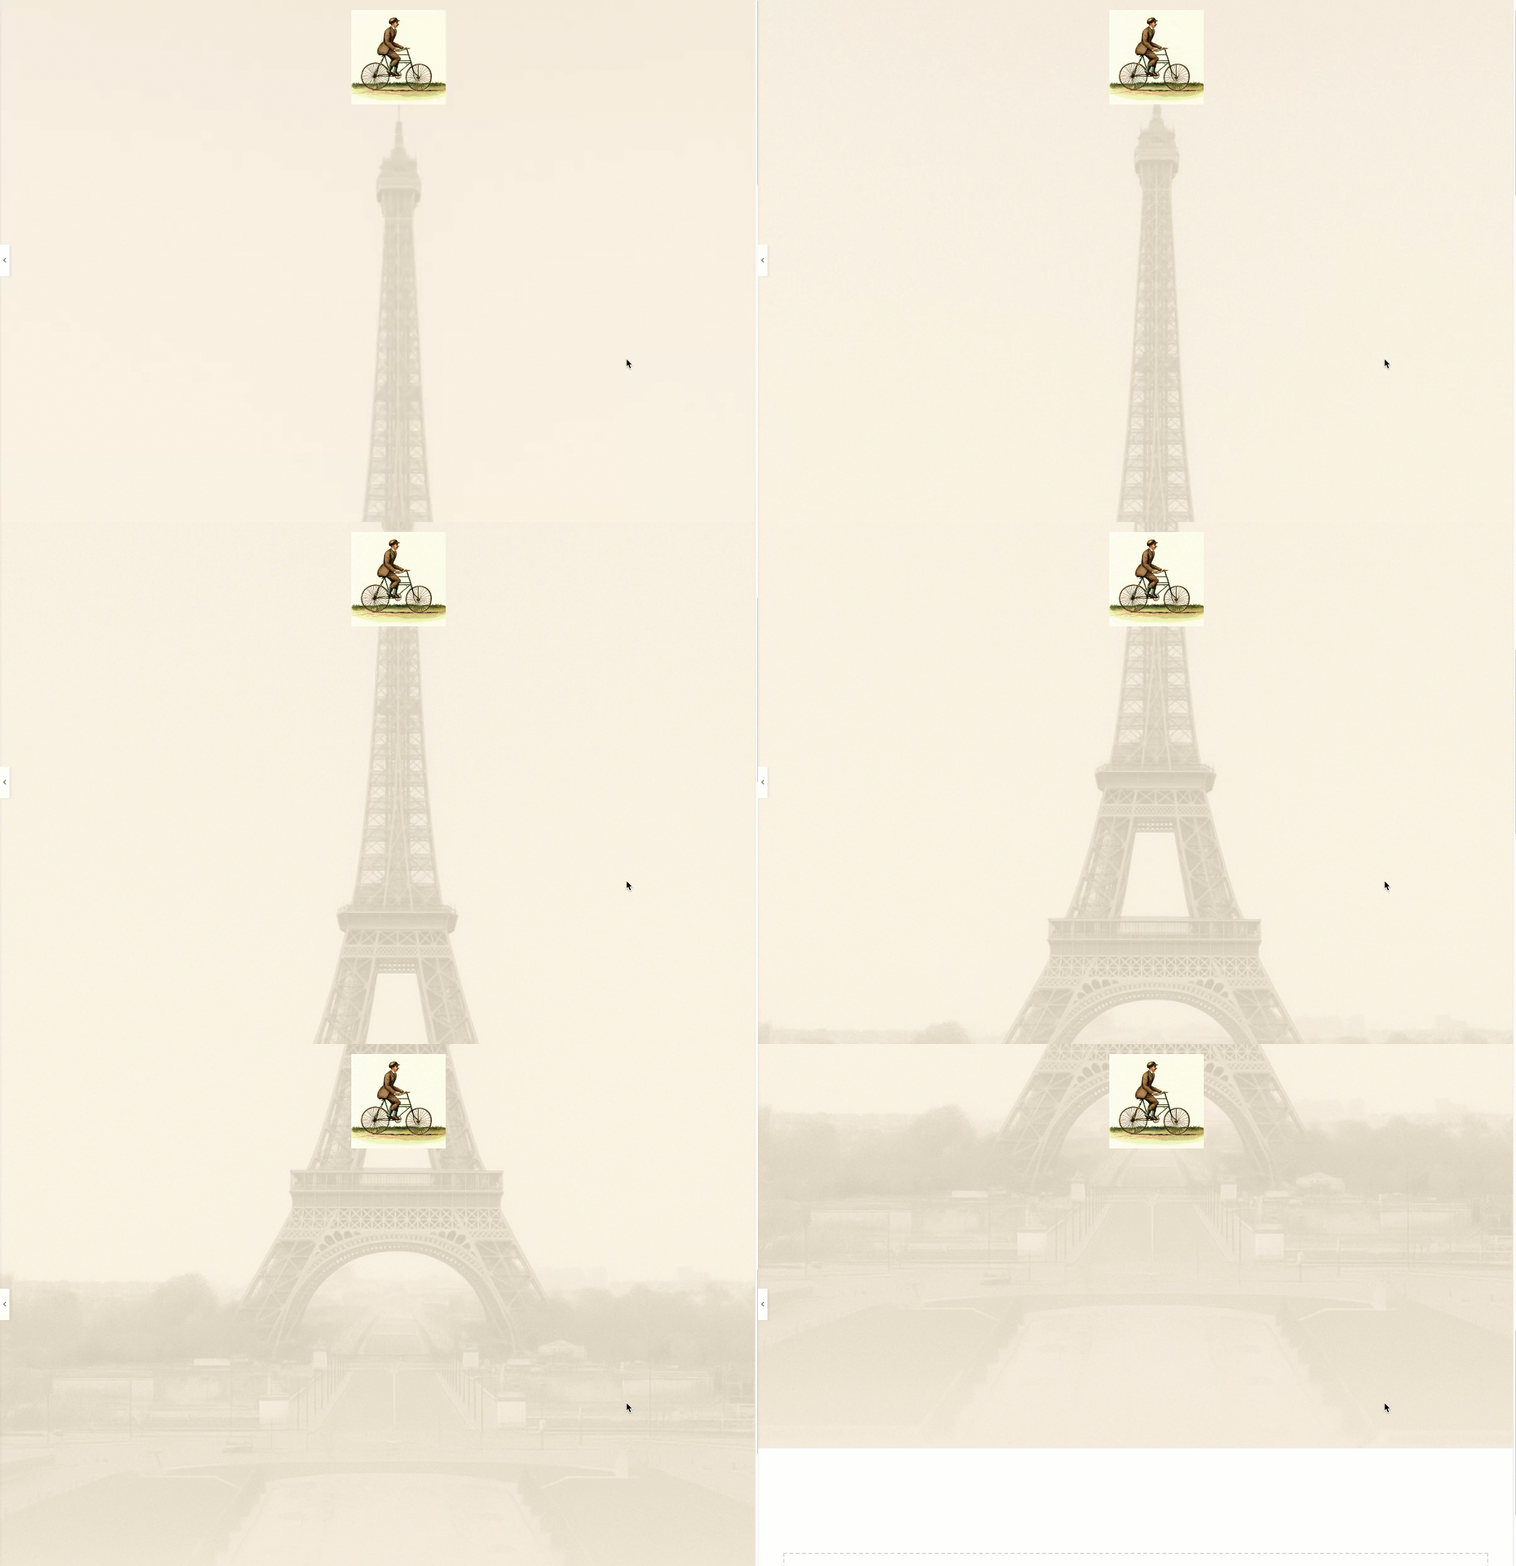
- Sticky: The element will remain onscreen as visitors scroll down the page. Unlike the fixed setting, Sticky positioning is relative to its parent div block or container. As visitors scroll down, the element remains fixed within its parent, but exits the screen when the parent scrolls out of sight.
- Increase the Top setting to 20 PX – this will serve as an offset, meaning: As visitors scroll down the page, the heading will stay on screen, 20 pixels below the top of the page
In this example, the image is sticky to the top div block, but when that div block scrolls out of sight, it disappears.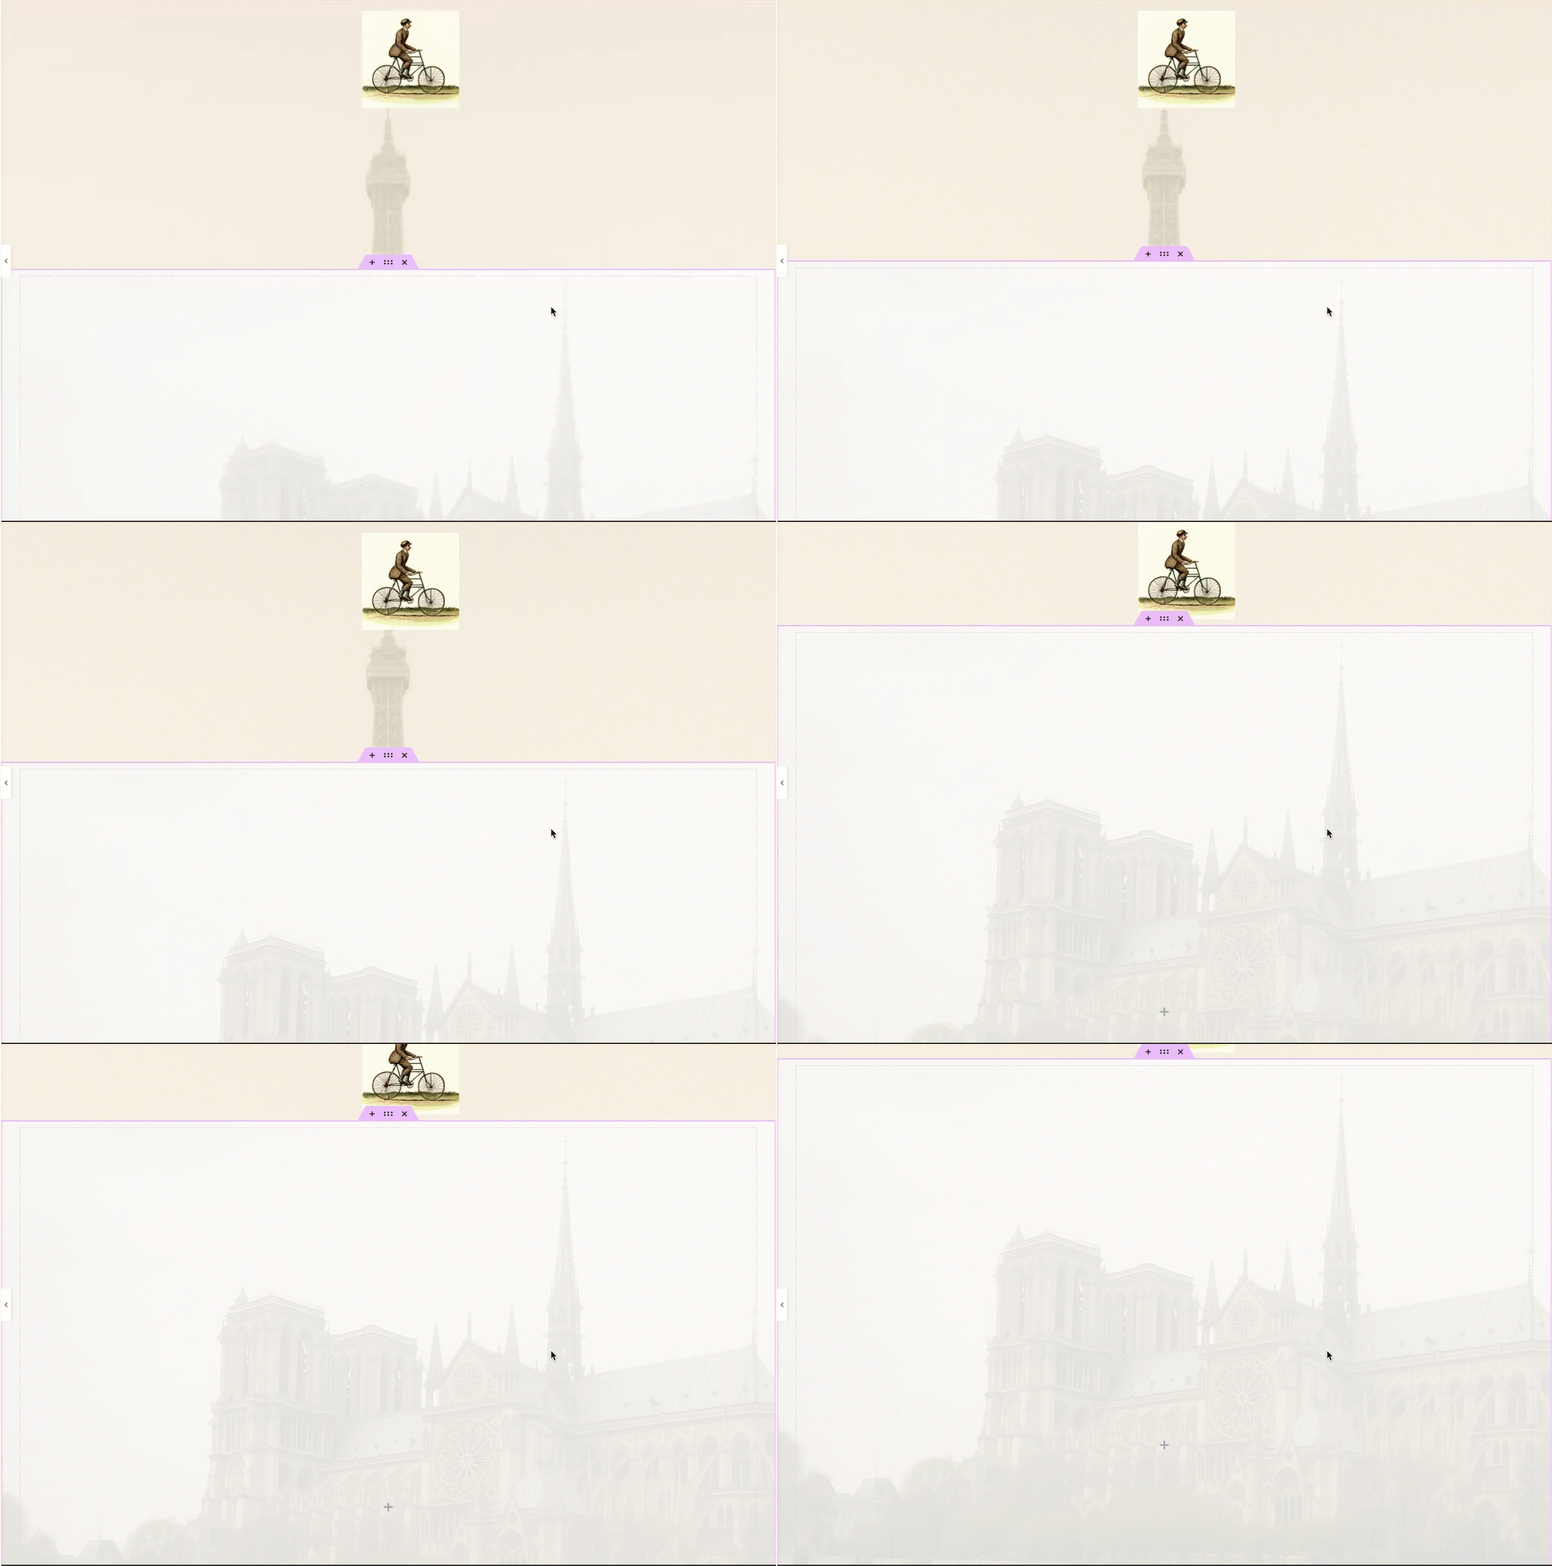
Anchor Offset
Anchor offset is used in conjunction with a page’s anchor links. It is most commonly used when you have a sticky site part, such as a menu, at the top of your page that links to another element further down the page. Under some circumstances, the element you link to may scroll up too far, so it is hidden under the sticky site part.
Anchor offset prevents this situation by having the element appear at a set distance from the top of the page.
Example of using anchor offset
In this example we’ll have a container appear 120 pixels from the top of the page.
- Create a page with a sticky header and two containers below. The menu contains an item labeled Anchor which is linked to the second container.
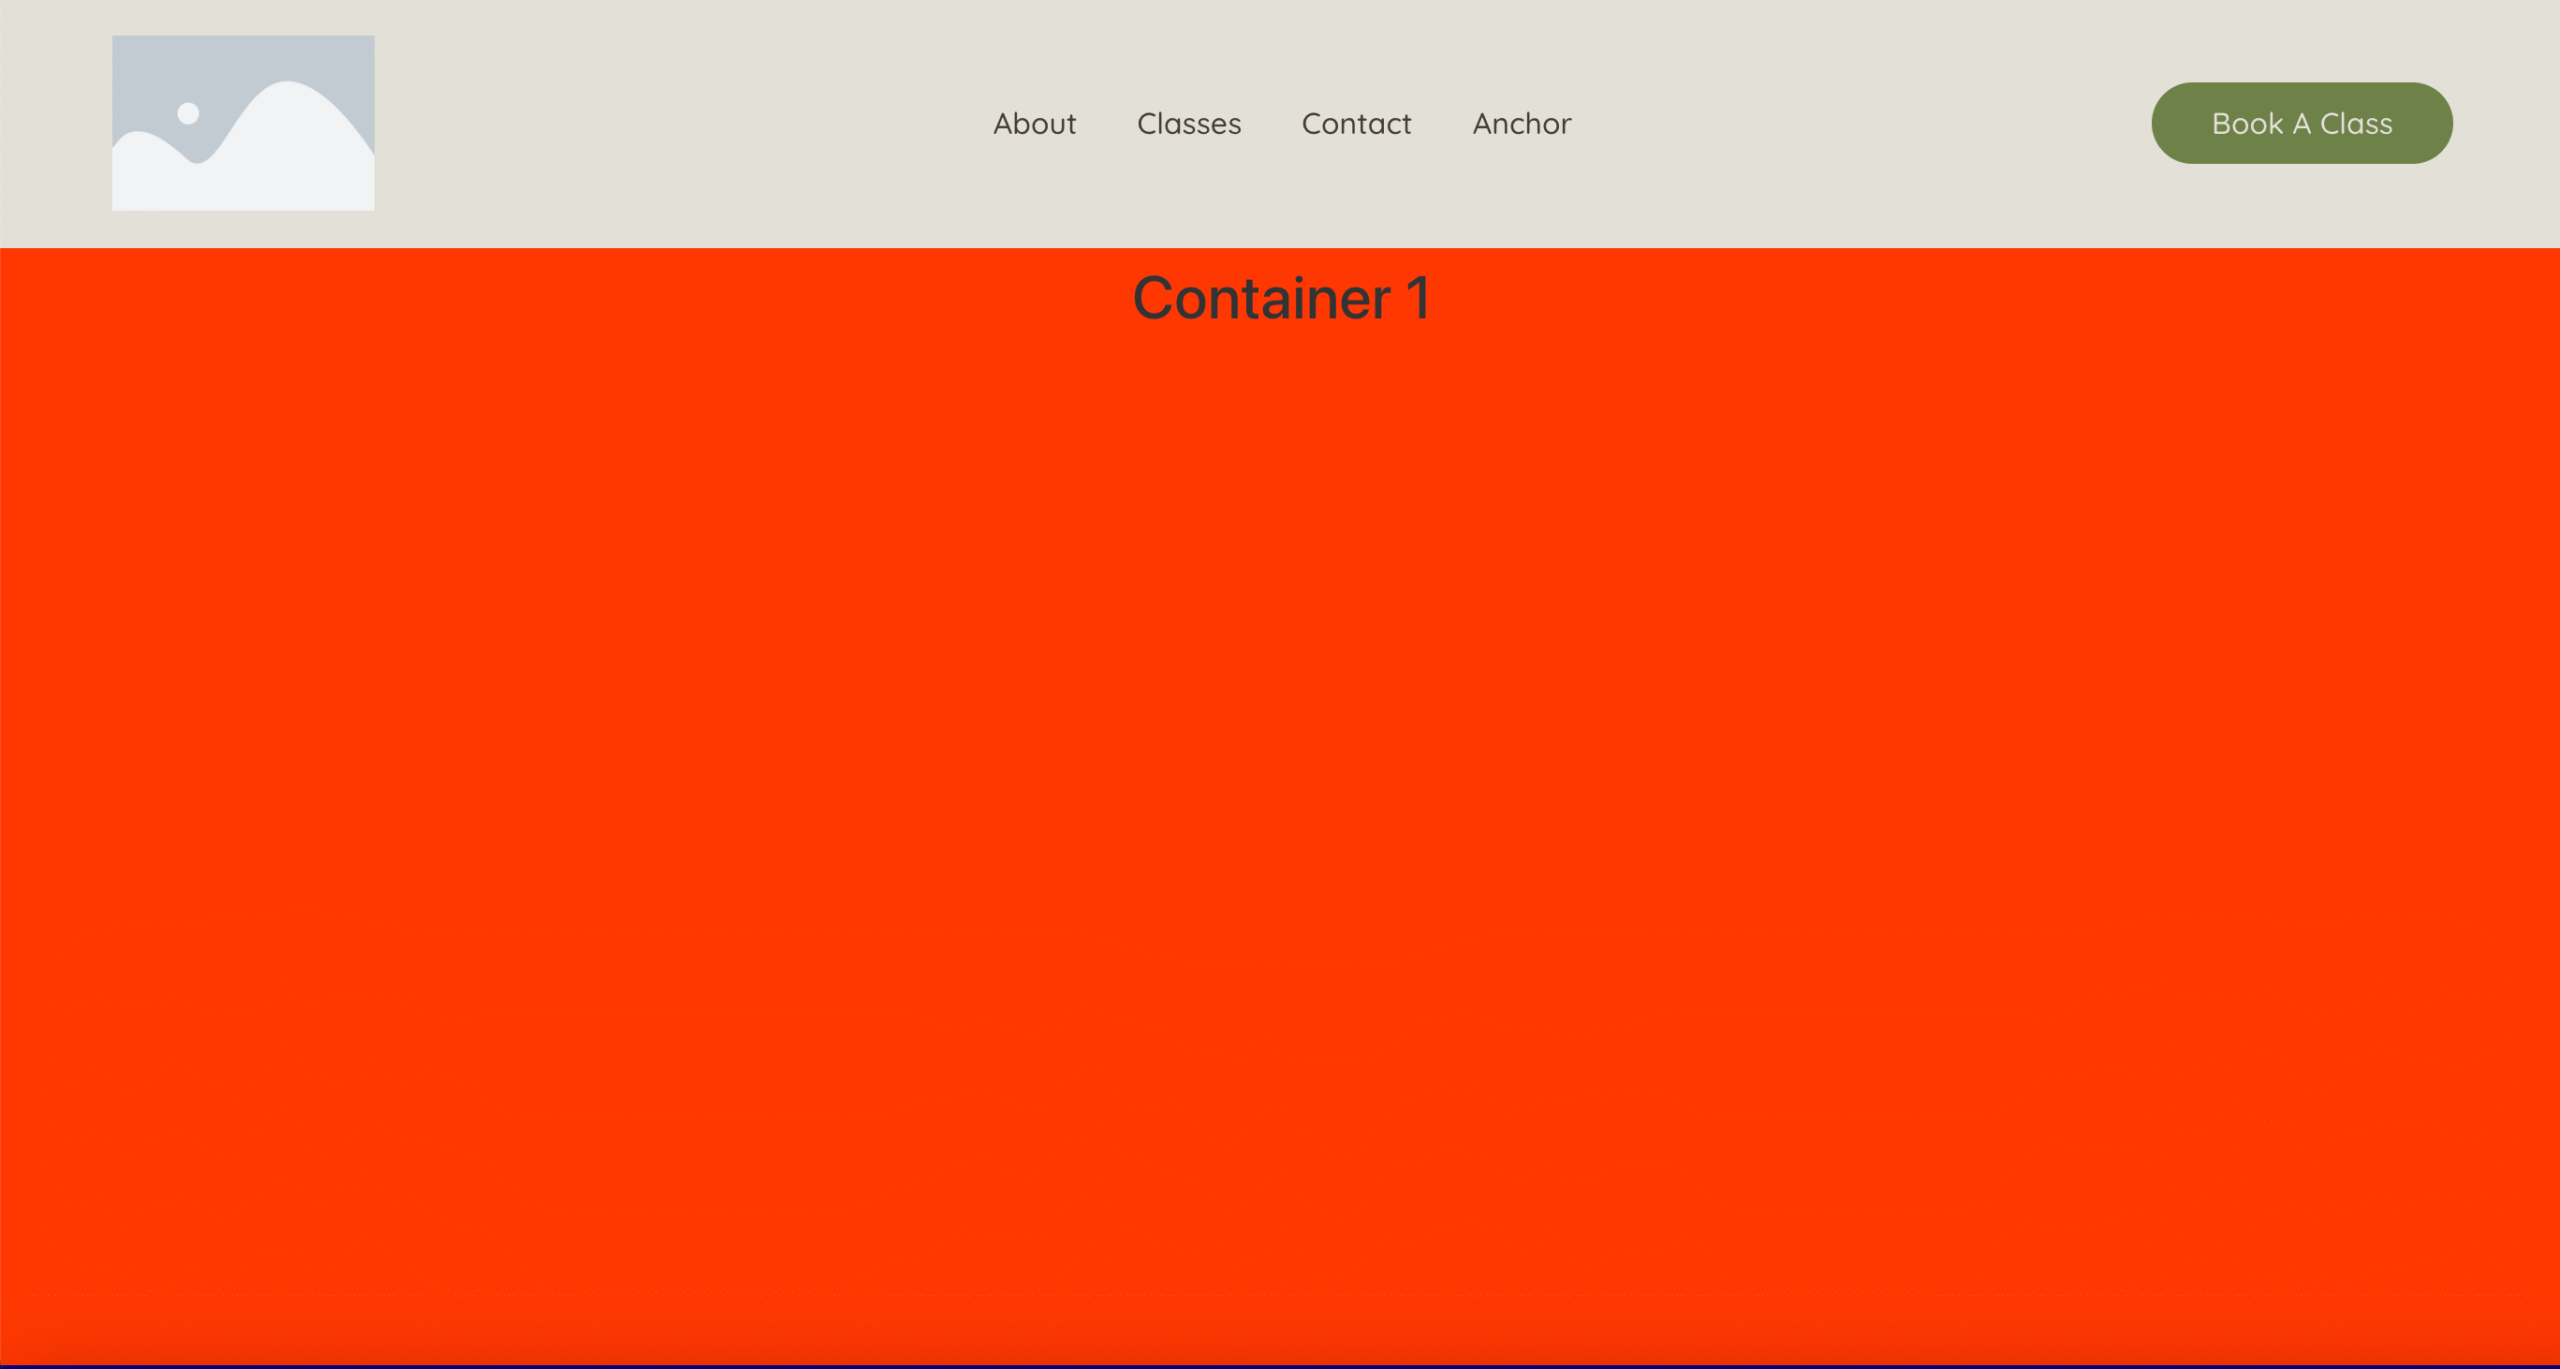
The second container is underneath the first container. It is not currently visible.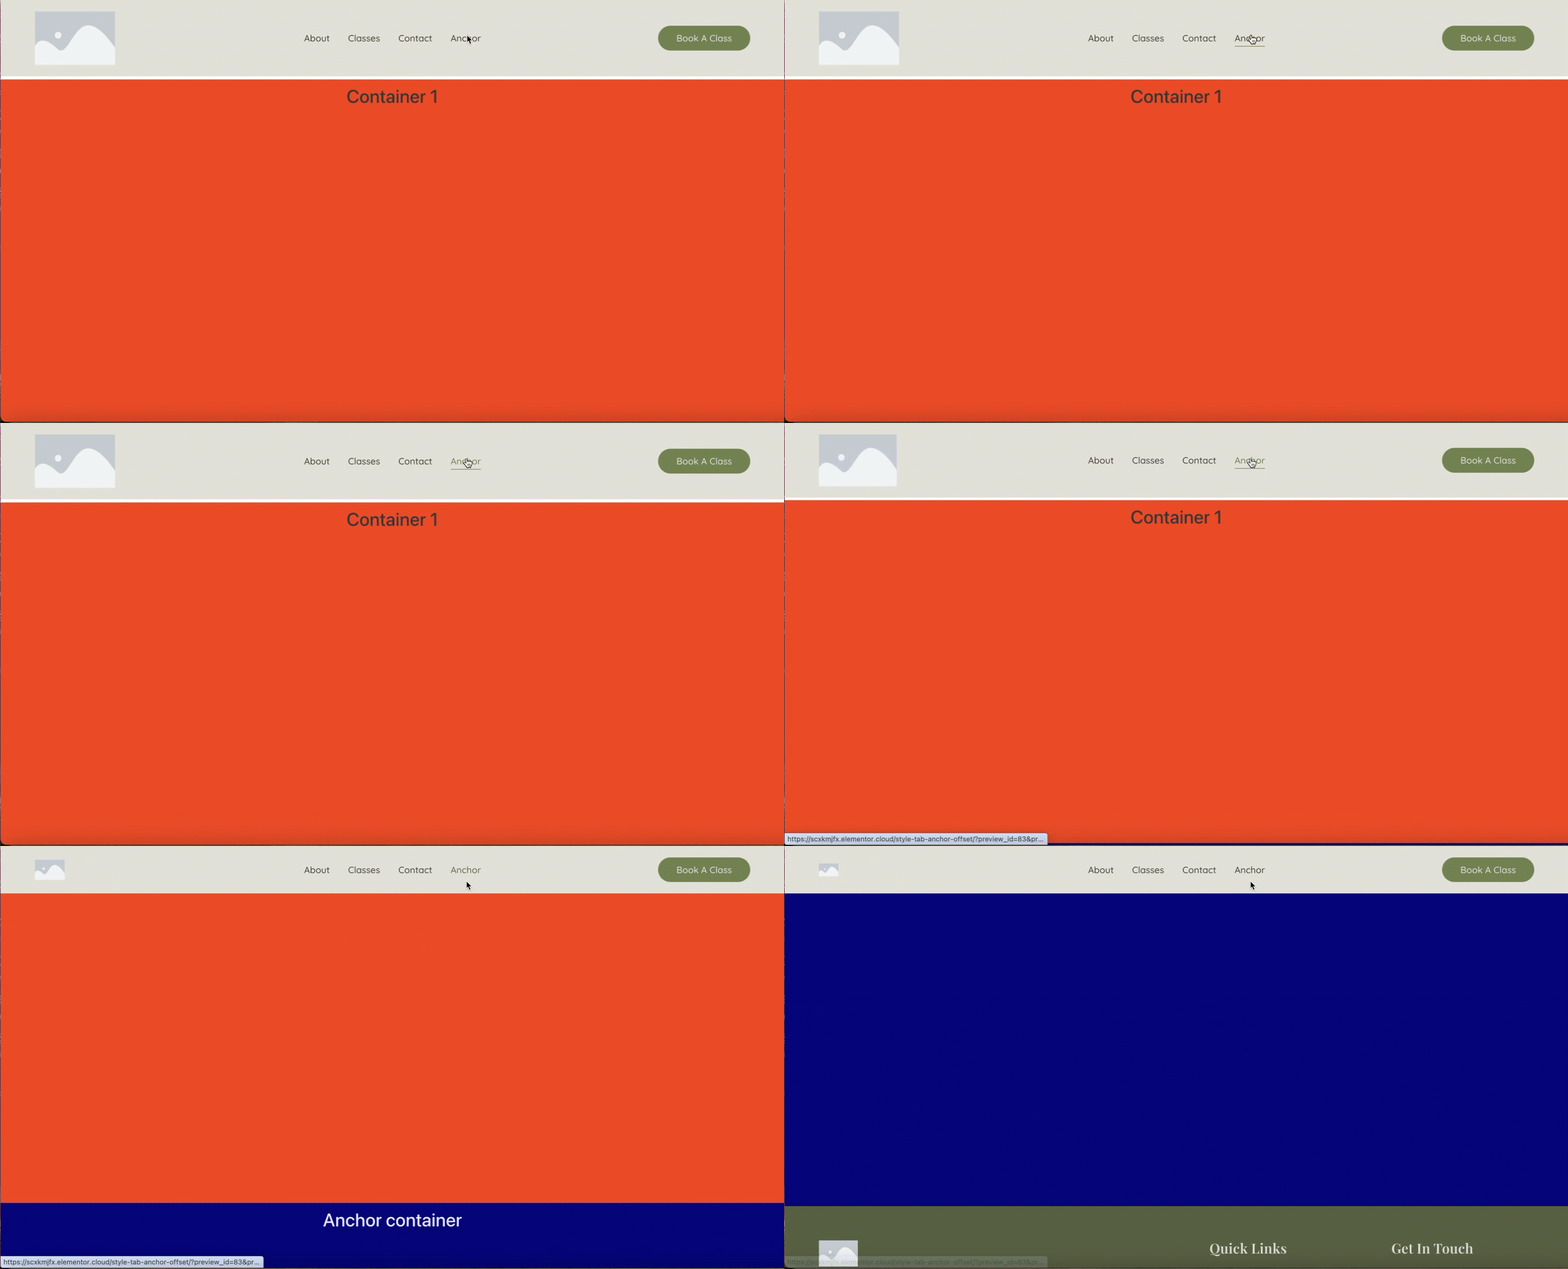
- Clicking Anchor in the menu brings up the second container, but the top part of the container in Under the sticky header.
- In the editor, click second container to select it.
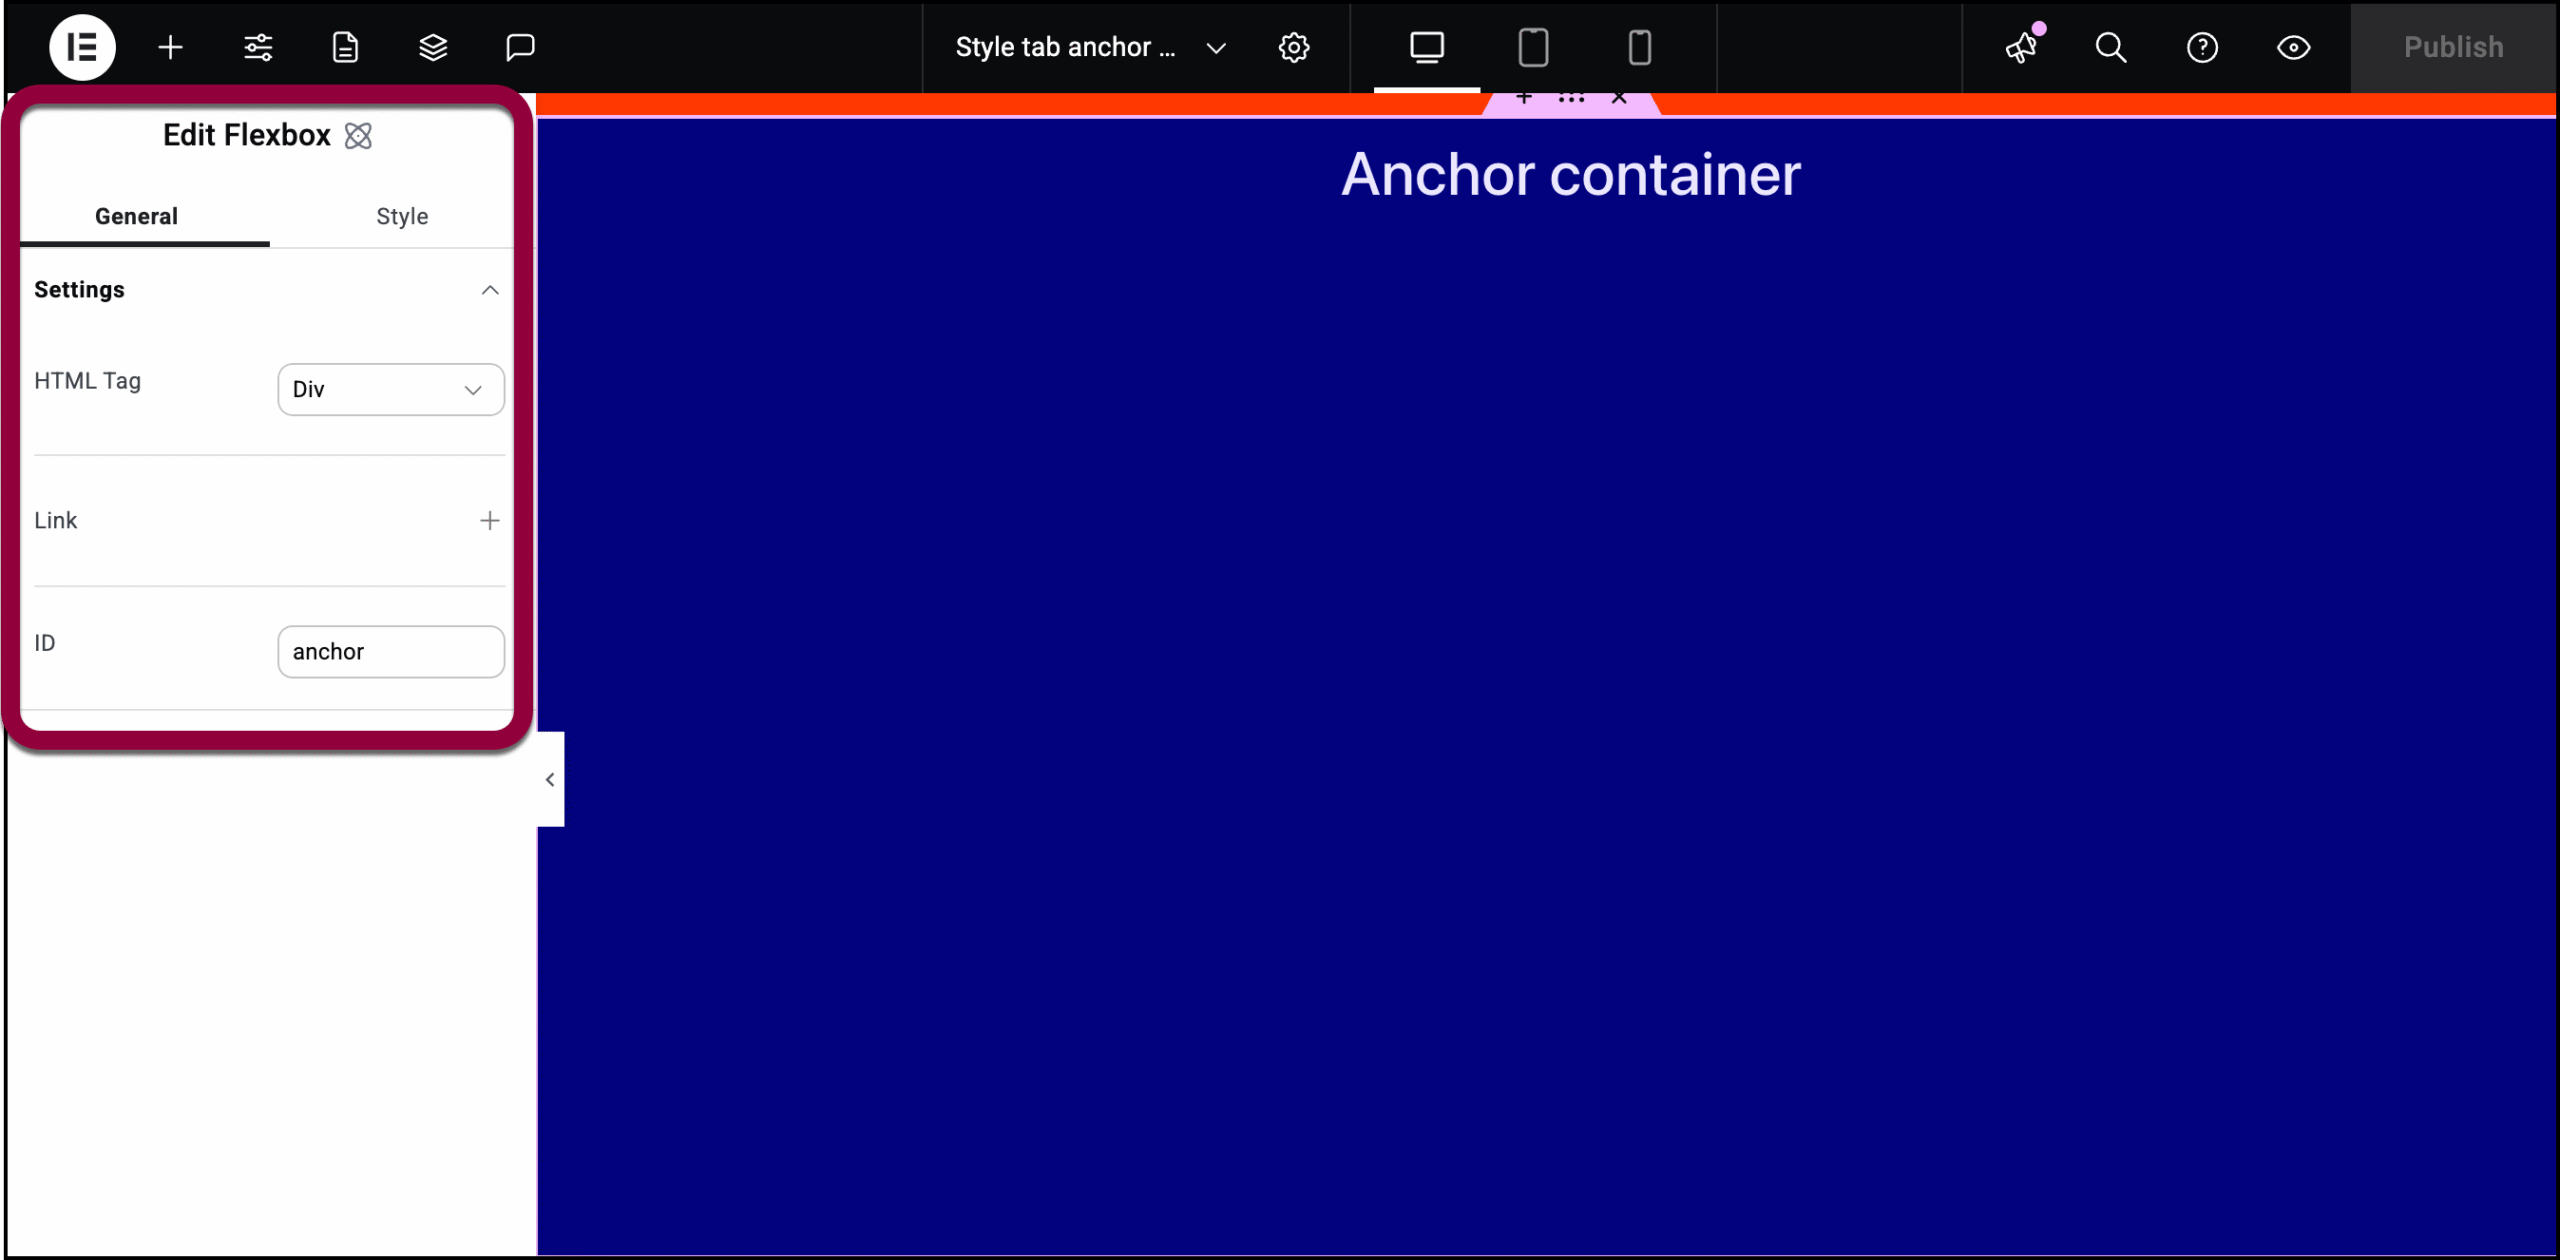
The container options appear in the left panel.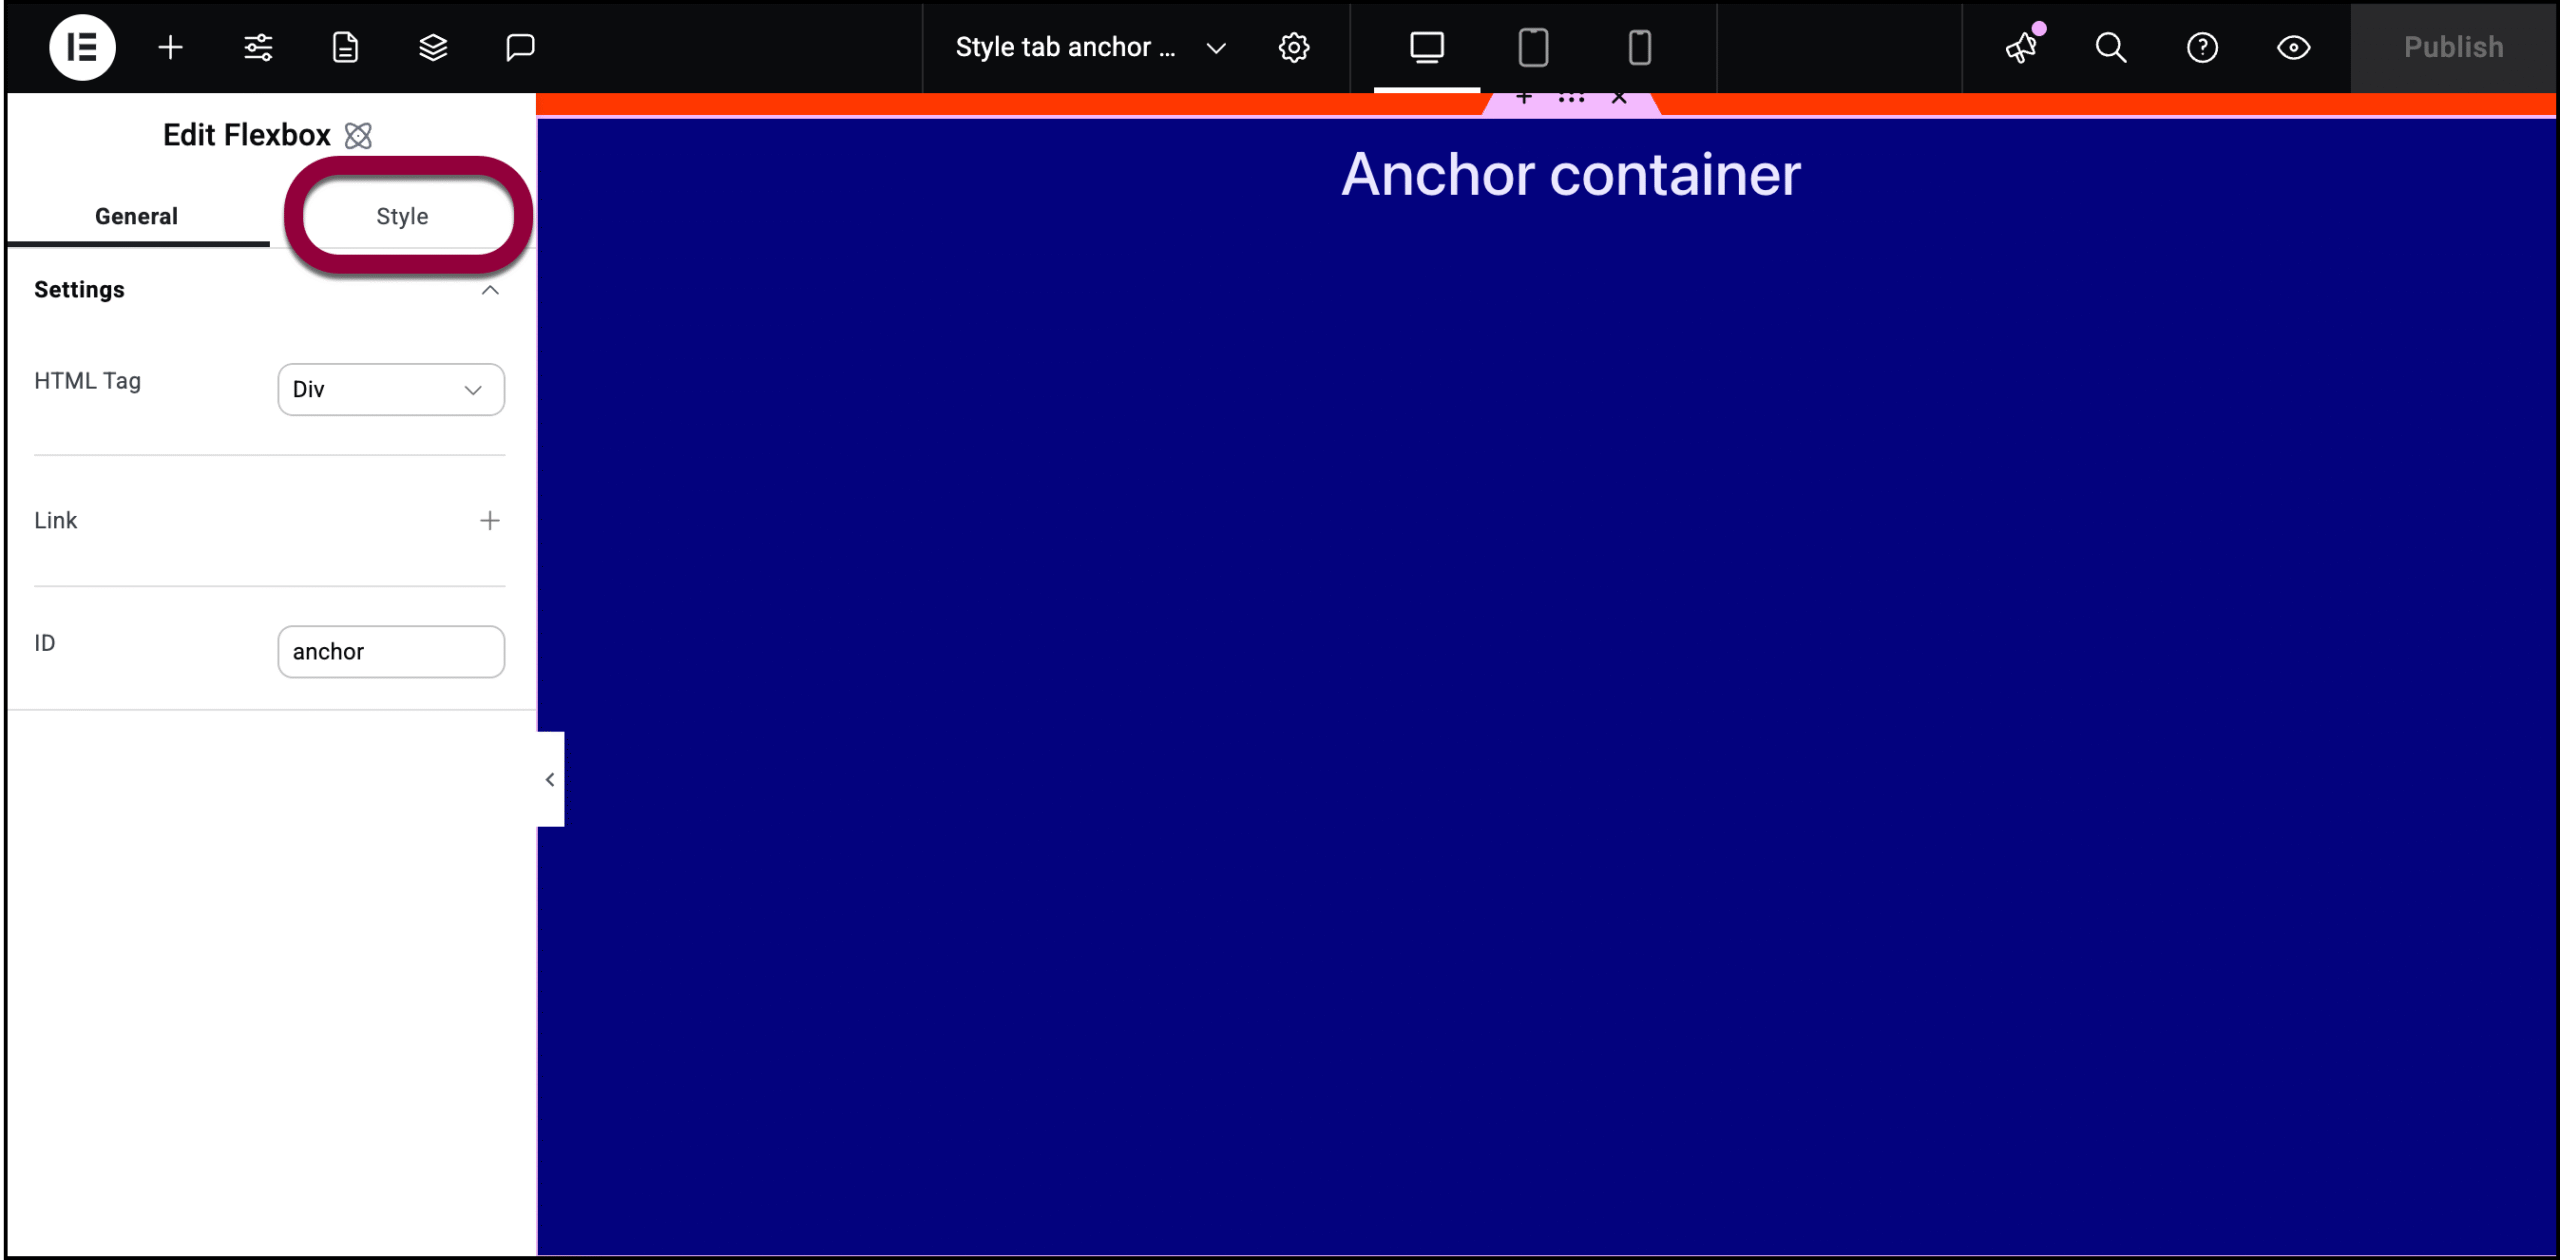
- Click the Style tab.
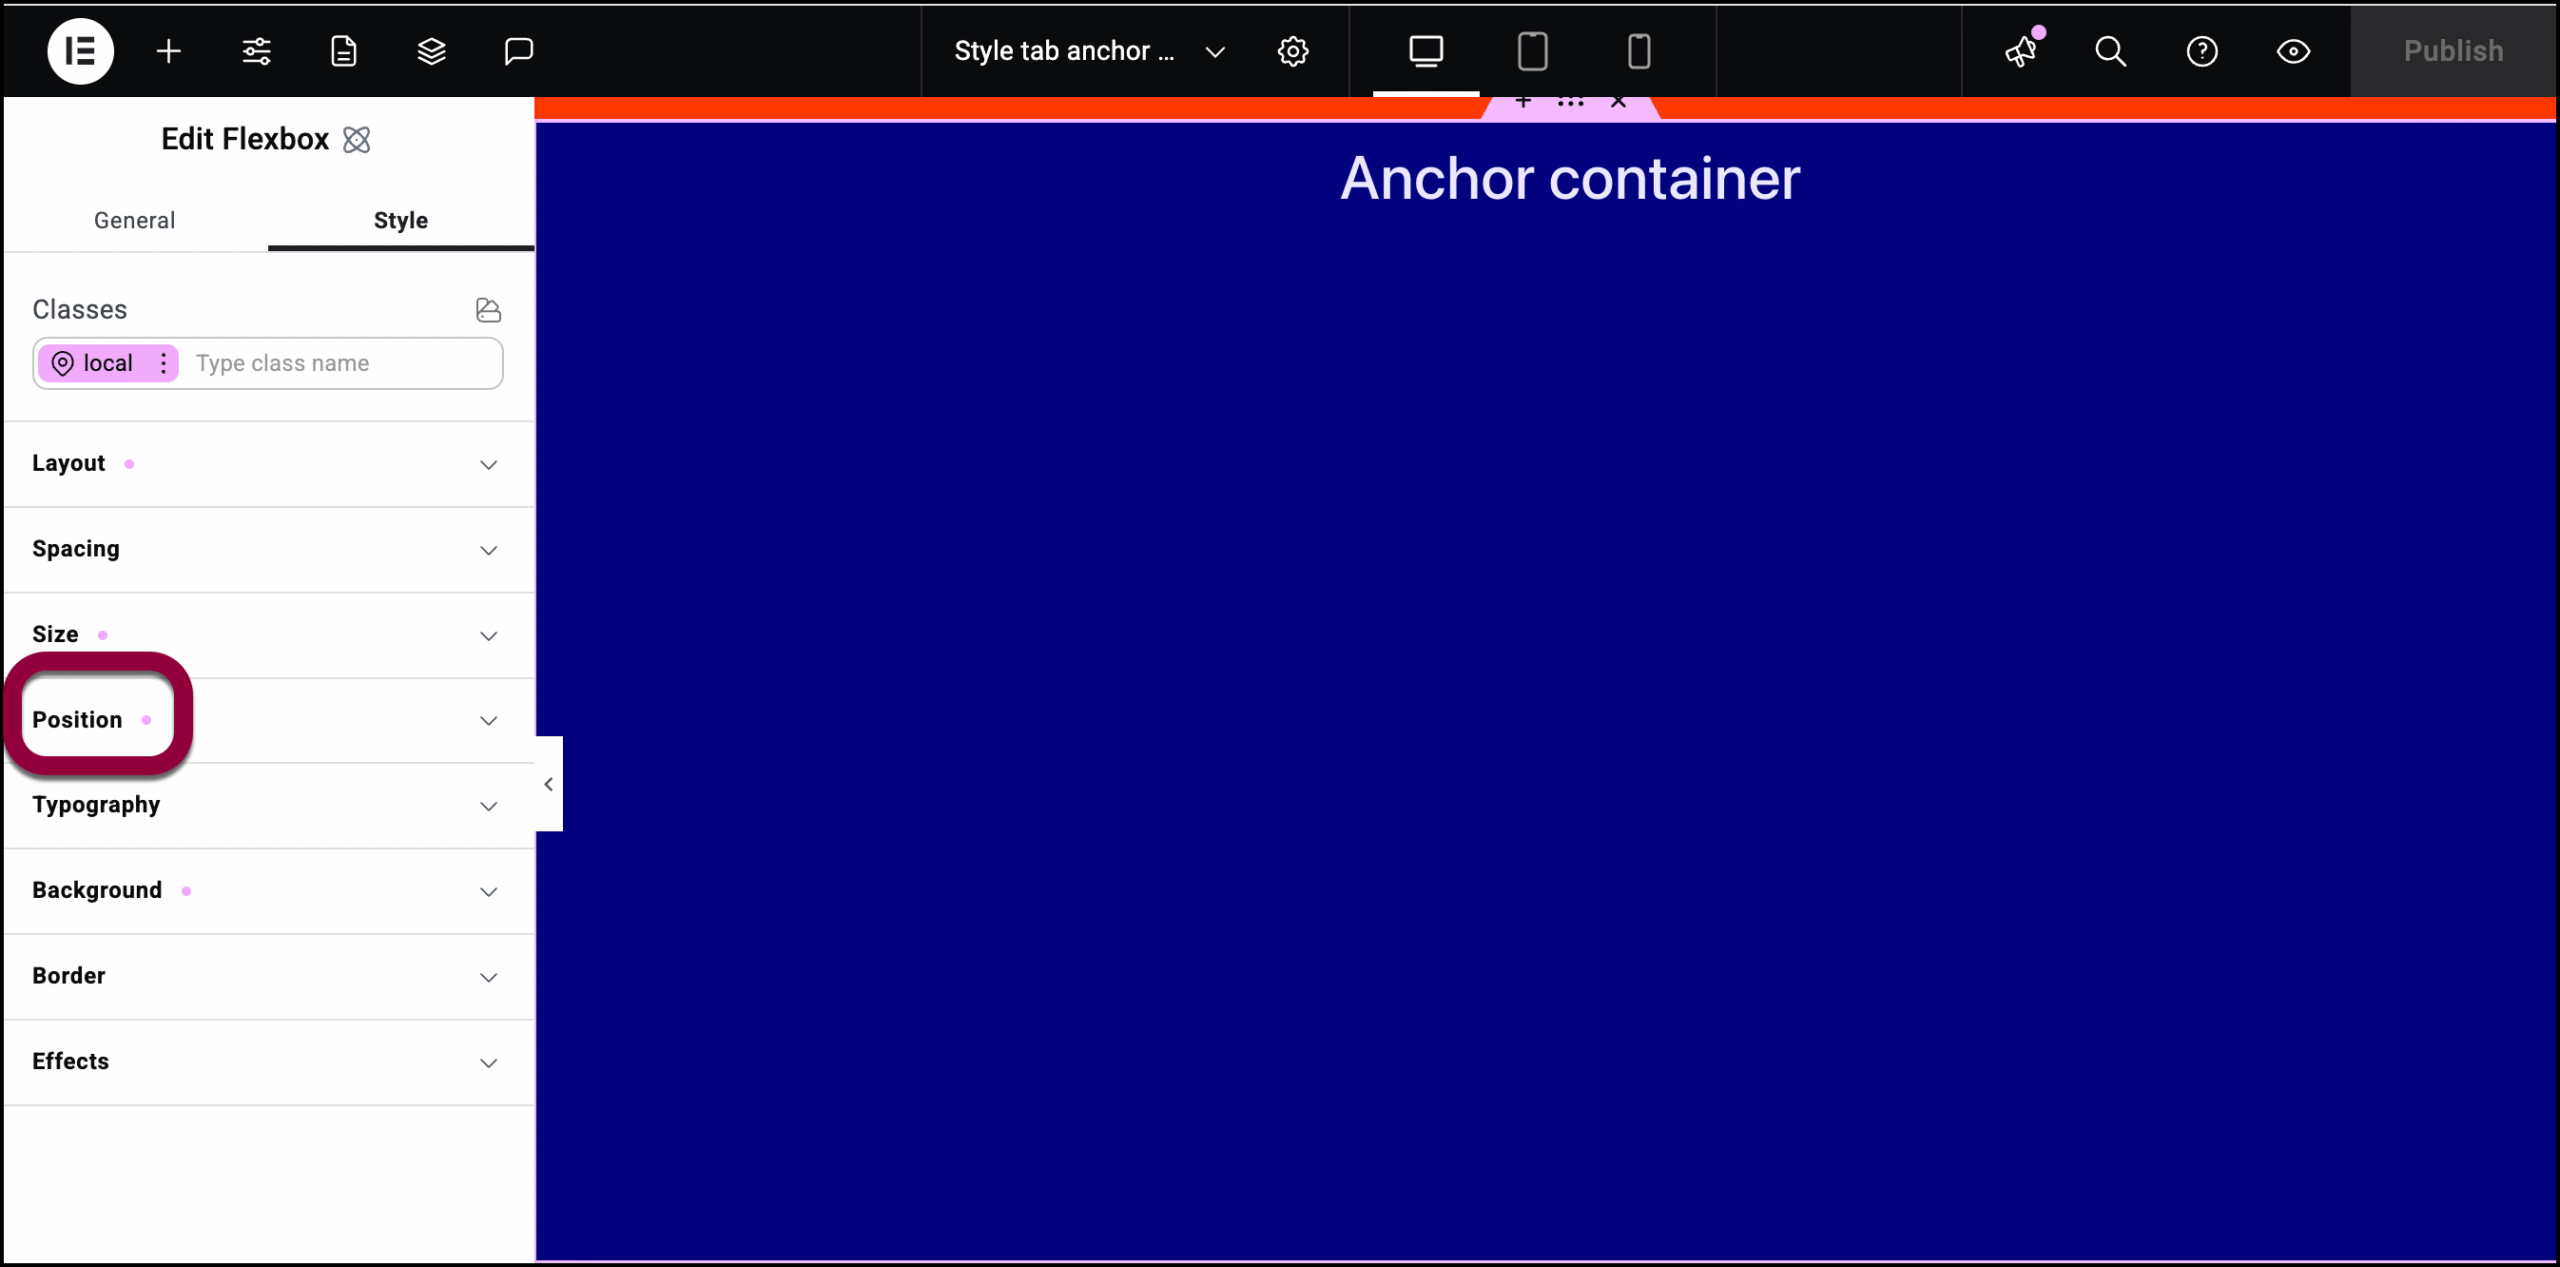
- Open the Position field.
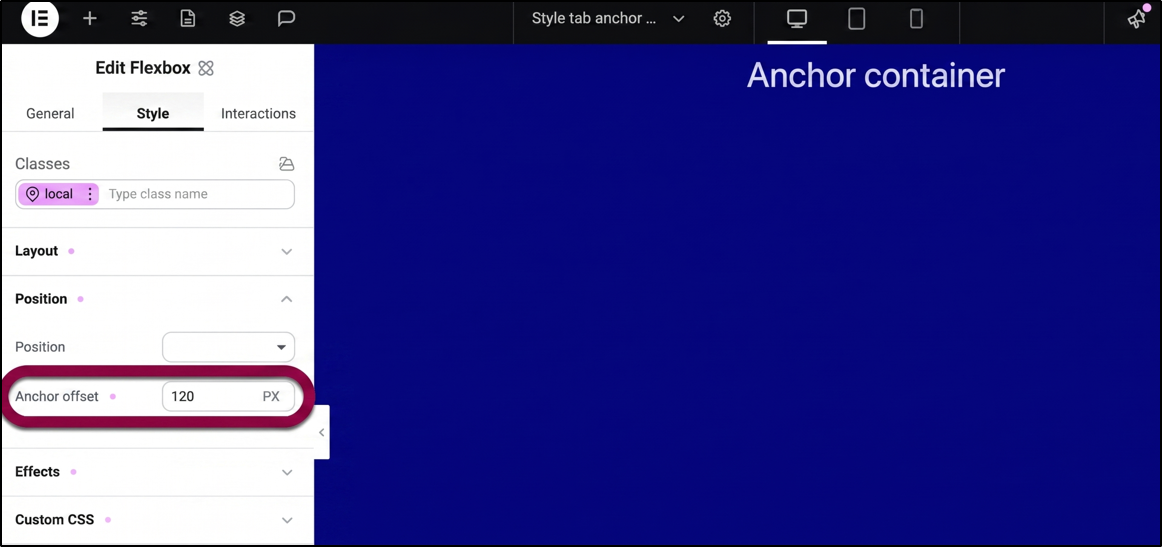
- In Anchor offset, enter 120.
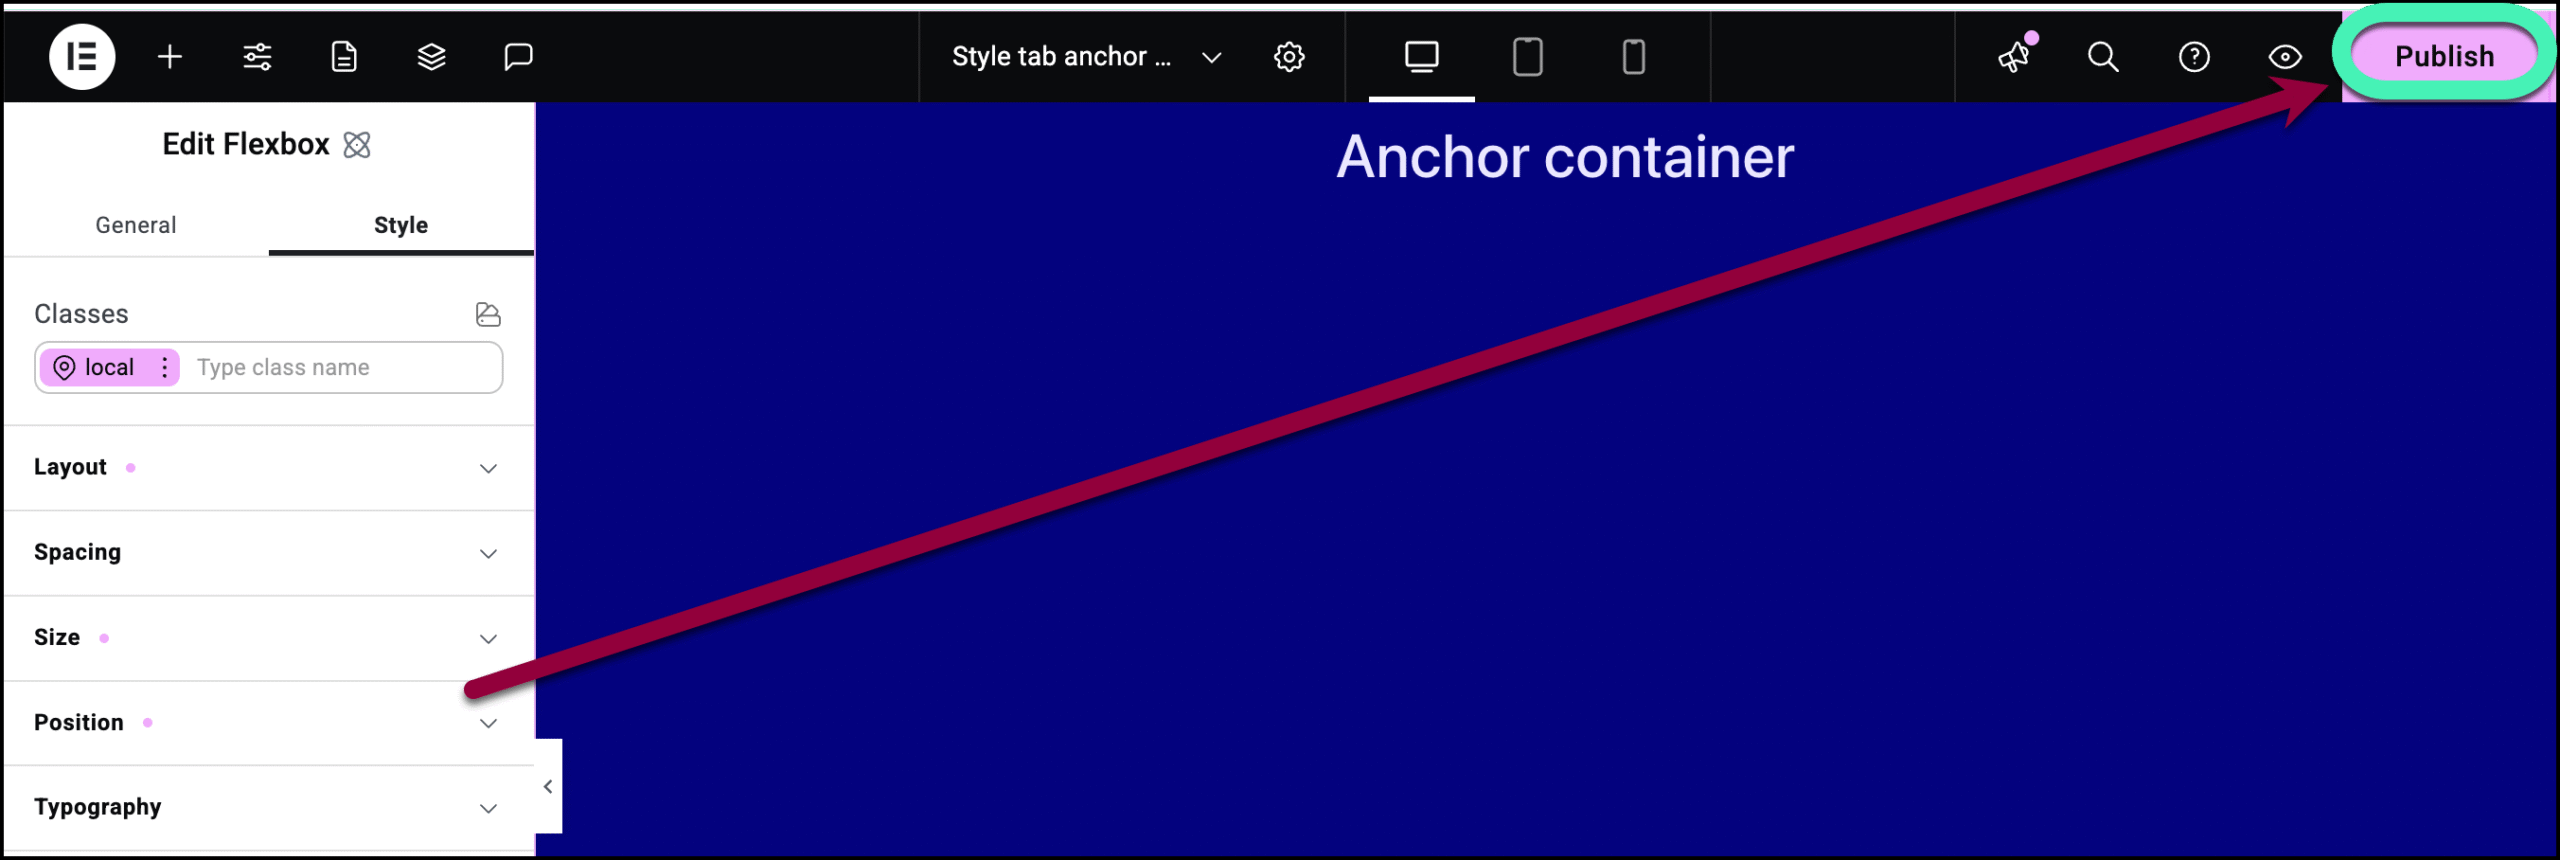
- Click Publish.
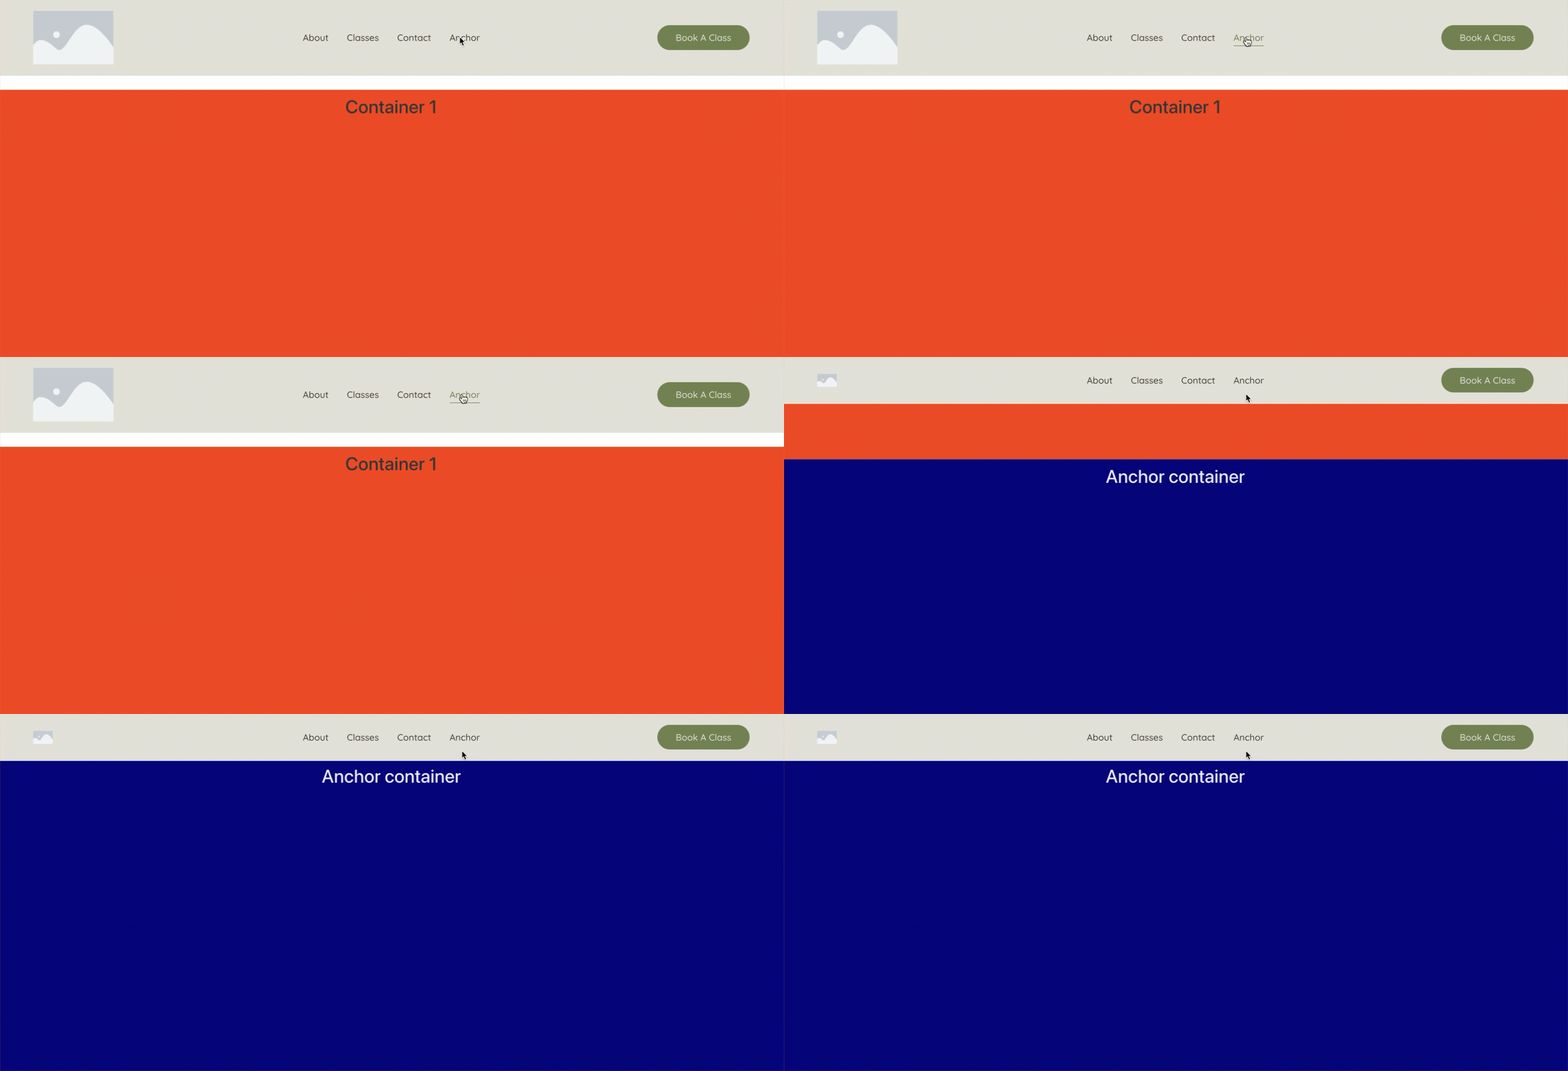
Now, when you click Anchor in the menu, the container appears 120 pixels from the top of the page.