AIOSEO ensures your pages produce high SEO scores while integrating with Elementor. This allows you to produce beautiful and highly visible websites.
How do you install the AIOSEO plugin?
First, you will need to install the AIOSEO plugin.
For more information about installing plugins, see Install WordPress plugins.
How do you access AIOSEO settings from the Elementor Editor?
To access AIOSEO settings within the editor:
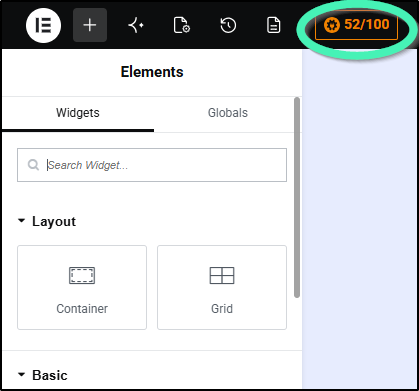
- Click the AIOSEO Score Badge (e.g., 52/100) located in the top-right corner of the Elementor top bar. This automatically opens the panel directly to your SEO settings.
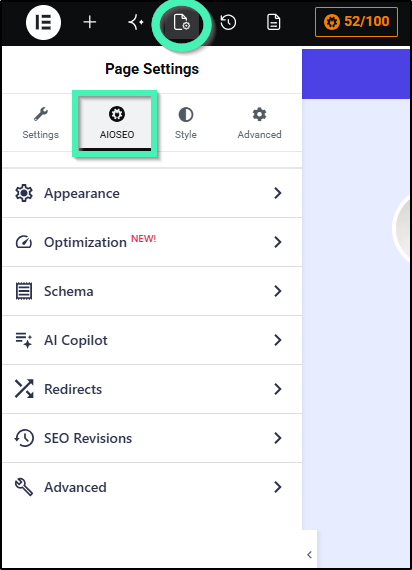
- Alternatively, click the Page Settings icon, then select the AIOSEO tab located between Settings and Style in the top menu bar.
What settings are available in the AIOSEO Elementor panel?
The AIOSEO tab contains dedicated sub-panels offering real-time SEO analysis, schema controls, and technical directives: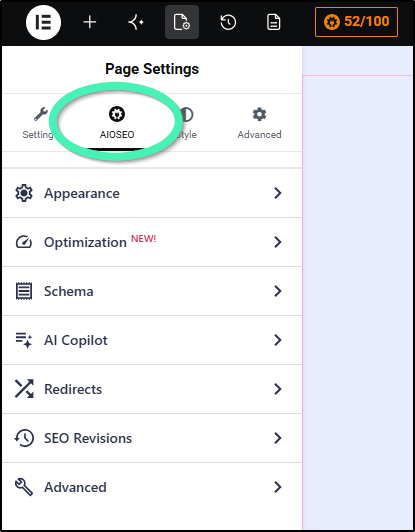
Note
Some features are available exclusively for paid AIOSEO subscribers. For more comprehensive details on advanced settings, consult the official AIOSEO website.
| Feature / Setting | Description |
| Appearance | Customize SERP titles, meta descriptions, and Open Graph social media previews (Facebook, X). |
| Optimization | Real-time TruSEO scoring based on target Focus Keyphrase, readability analysis, and content suggestions. |
| Schema | Assign structured data markup (Article, FAQ, Product, Local Business) to earn Google rich snippets. |
| AI Copilot | Automated generation of meta titles, descriptions, and single-click content rewrites. |
| Redirects | Configure page-level 301/302 redirects directly inside the Elementor sidebar. |
| SEO Revisions | Track historical metadata changes and restore previous SEO configurations. |
| Advanced | Set canonical URLs, manage search engine indexing (noindex/nofollow), and customize breadcrumbs. |
Troubleshooting Technical SEO Issues: Having issues with search indexing, Google rich results, or favicons? See our Troubleshooting SEO Issues guide.