When you create a forms in Elementor, one option is to send submissions by email to you and/or your client. For details, see Receive form submissions by email.
The information in these email submissions is generated by shortcodes. By default, these emails are generated by the shortcode [all-fields] which will include all the data captured by the form. This, and the default formatting of the email, can make the contents difficult to read.
In this example, we’ll use individual field shortcodes and a small bit of HTML, to generate a much more human readable form submissions.
Create Your Form
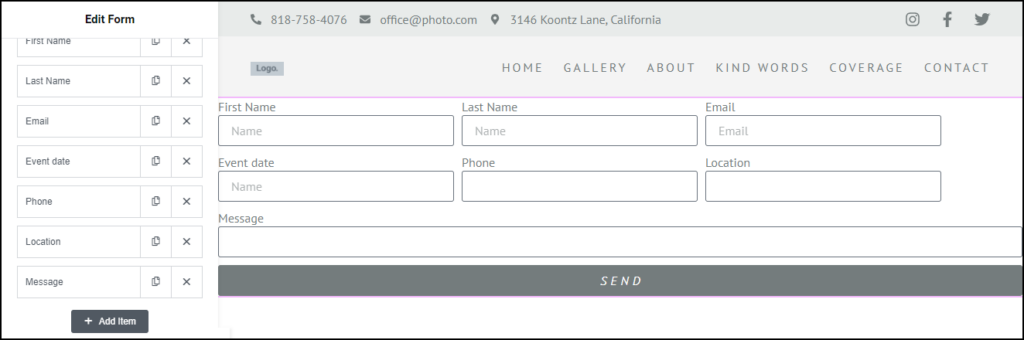
For this example, we’ll use the case of a website creator designing a site for a wedding photographer. The site will include a form that will ask potential clients for their:
- First name
- Last name
- Event date
- Phone
- Location
- Message
After potential clients submit a form, an email is sent to photographer so they can contact the client.
For details about creating forms, see Form widget.
This is what the form looks like:
Go to each form field and:
- Open the field.
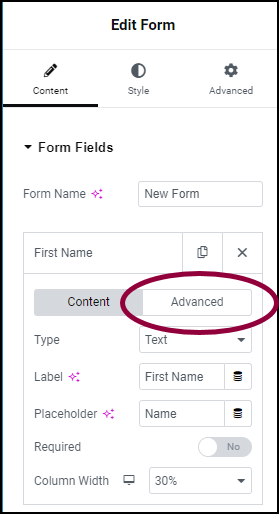
- Click the Advanced tab.
- In the ID field, give the following names to these fields:
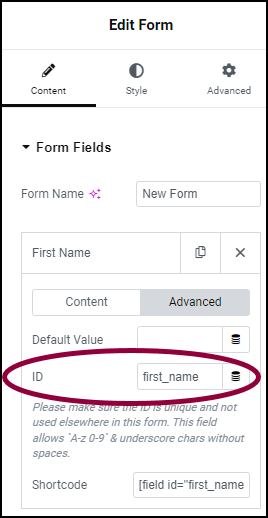
- First name: first_name
- Last name: last_name
- Email: email
- Event date: eventdate
- Phone: phone
- Location: location
- Message: messageNoteField IDs should be either one word or two words connected by an underscore. IDs should not contain any spaces.
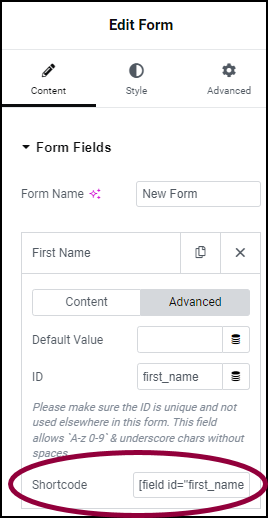
- Copy the shortcode for each field in a separate document, the shortcode can also be found in the Advanced tab.
Create An HTML Email Template
Next, we’ll use these shortcodes along with some basic HTML to generate a clear, comprehensible email that will be sent to the website owner when a potential client submits a form.
- In the panel, open the Email field.
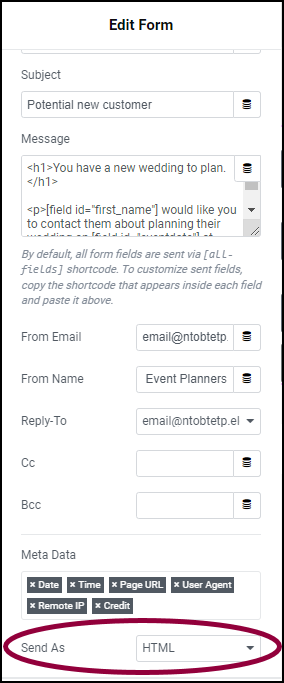
This section determines who receives an email when a form is submitted and what the email will look like. - In the To field, add the email of the photographer and change the Subject line to: Potential new customer.
The email
By default, the email will simply contain the information submitted with the form. For this example, will use simple HTML and shortcodes to create a friendlier notification. In the Message box, add the following: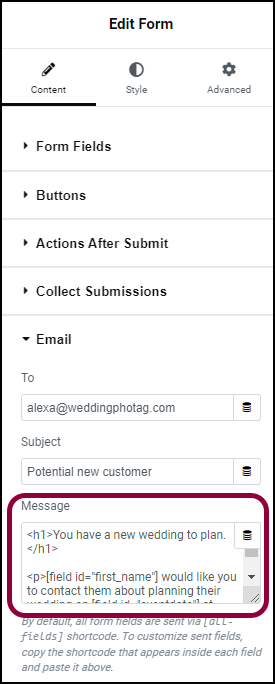
<h1>You have a new wedding to plan.</h1>
<p>[field id=”first_name”] would like you to contact them about planning their wedding on [field id=”eventdate”] at [field id=”location”].</p>
<p>The couples vision and plans so far are as follows:<br>
[field id=”message”]</p>
<h2>Contact Information</h2>
<ul>
<li>First Name: [field id=”first_name”]</li>
<li>Last Name: [field id=”last_name”] </li>
<li>Email Address: [field id=”email”] </li>
<li>Phone Number: [field id=”phone”]</li>
</ul>
<p><strong>Good luck at the event!</strong></p>
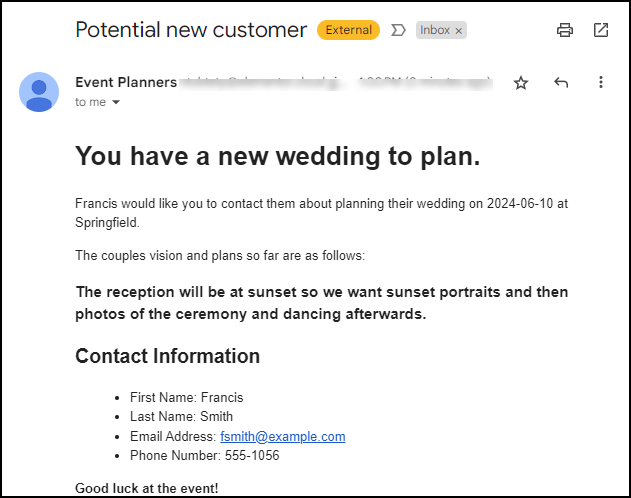
The email sent by the form will look like this:
Finishing Up
You may now publish or update your form. Send a test submission to yourself to see how the generated email appears. Use additional HTML and inline CSS to further style the email as needed.