Want to learn faster? Book a 1-on-1 expert session today.
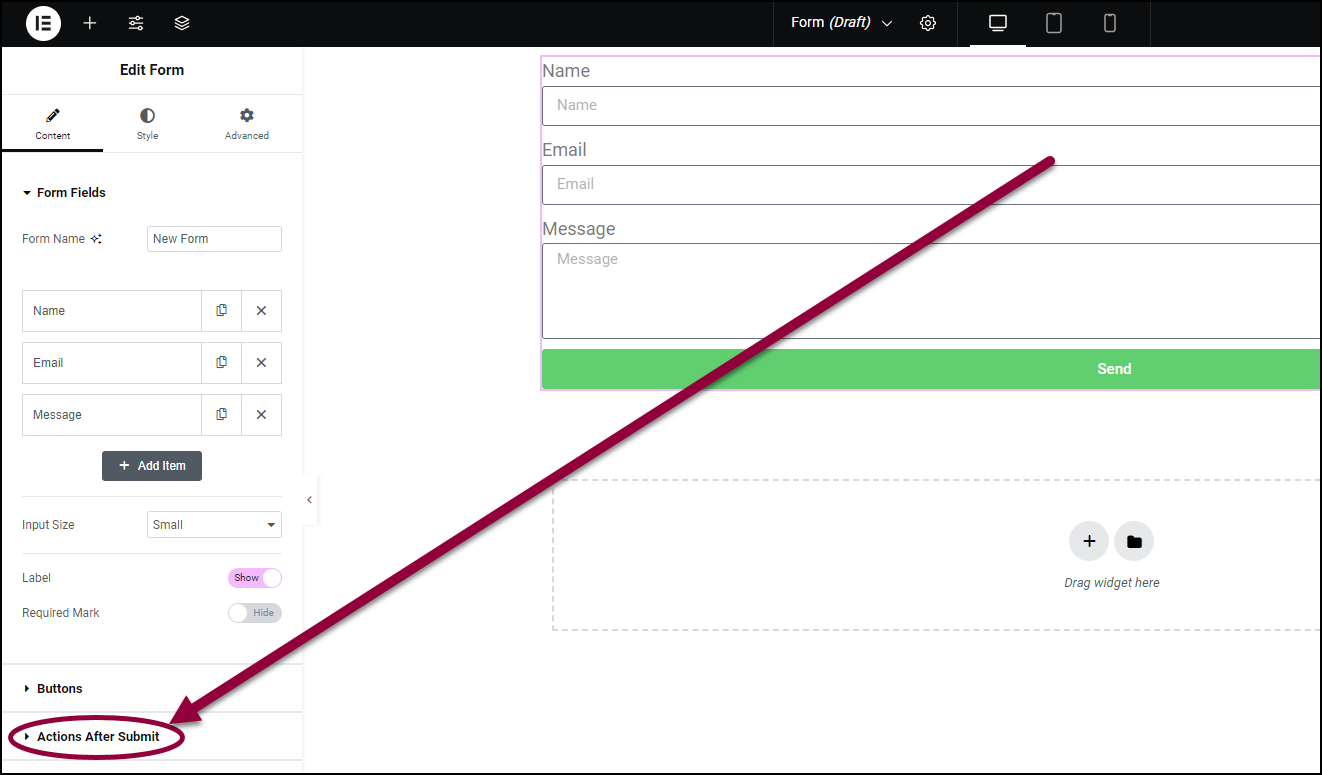
After a visitor submits a form, there are several ways to follow-up. One is to send them an acknowledgement email. These emails are set up using the Actions After Submit field.
Email visitors after form submission
To email visitors after they submit a form:
- Create a form. For more details, see Form widget.NoteIn order to email visitors who submit a form, an Email field must be part of your form.
- Expand the Actions After Submit section.

In the Add Actions field, Collect Submissions and Email are default actions. There is no need to change them.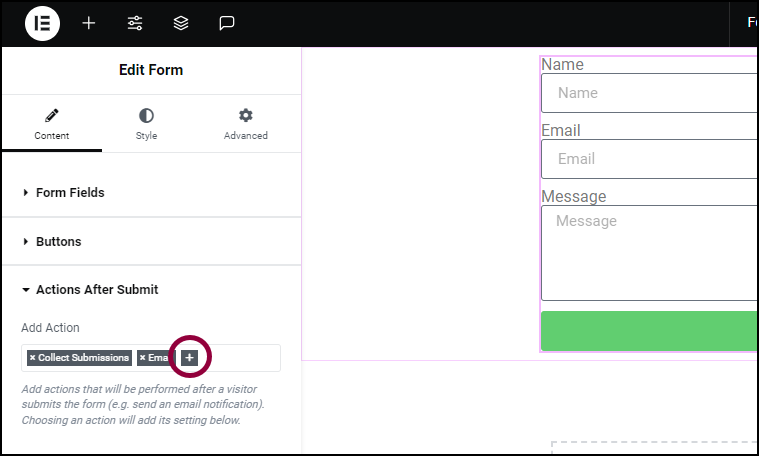
- Click the + sign.
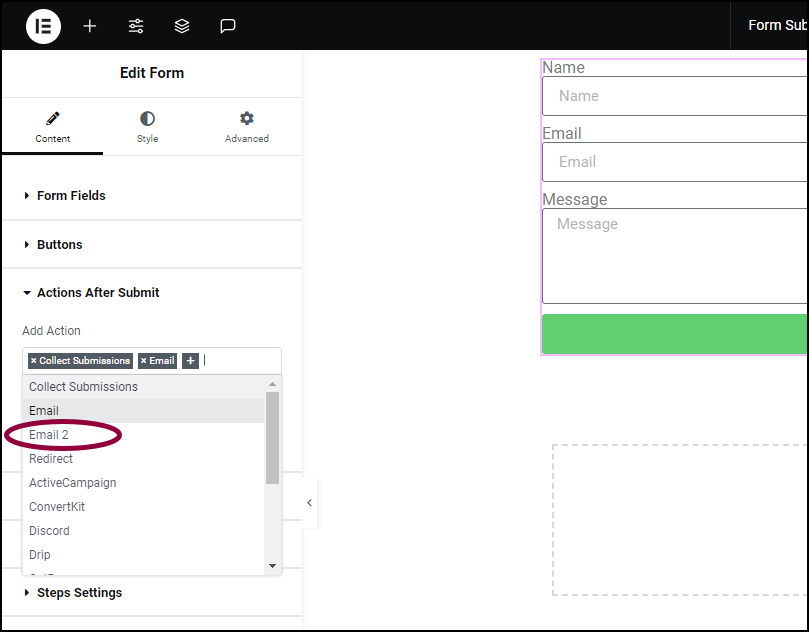
- From the dropdown list, select Email 2.
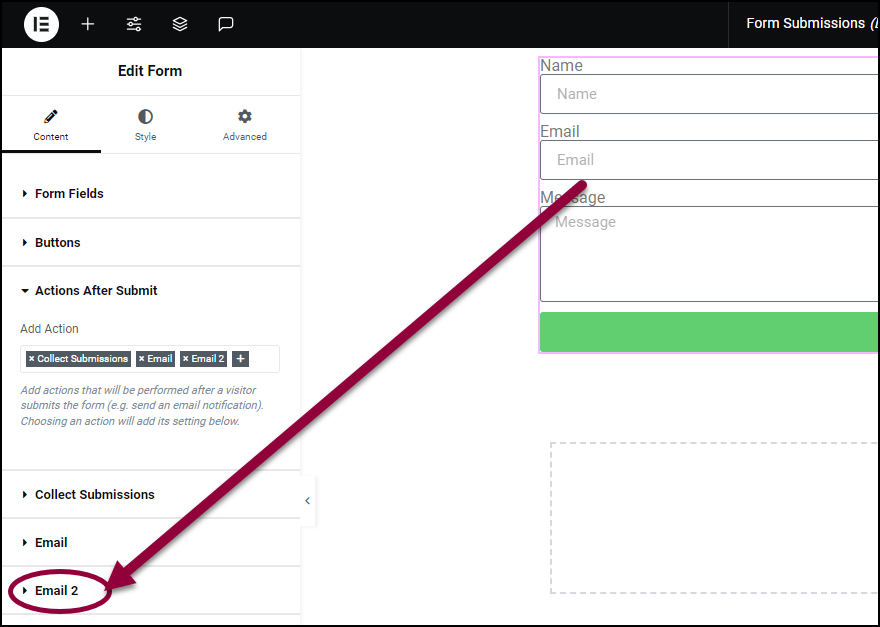
- Open the Email 2 field.
- Fill in the fields that appear. For more details see, Receive form submissions by email.

- In the To field, enter the shortcode: [field id=”email”].
- Fill in the rest of the fields. Keep in mind that this email will be sent to the visitor. See Example of an HTML email below.
Example of an HTML email
Using HTML allows you to style the body of emails sent to visitors who fill out a form.Following is an example how to create these emails.
Anything in brackets ([]) is a shortcode. Shortcodes will take information from the form and use it in your email. For example, the shortcode [field id=”name”] will use the information from the Name field of the form. In order to use this shortcode, you must have a First Name field in your form, with shortcode [field id=”first_name”], as described below.
To create an HTML email response:
- Create a form with the default fields. For more details, see Form widget.
- Open the Actions After Submit section.
- Click the + symbol and enter Email 2.

Click the + symbol and enter Email 2.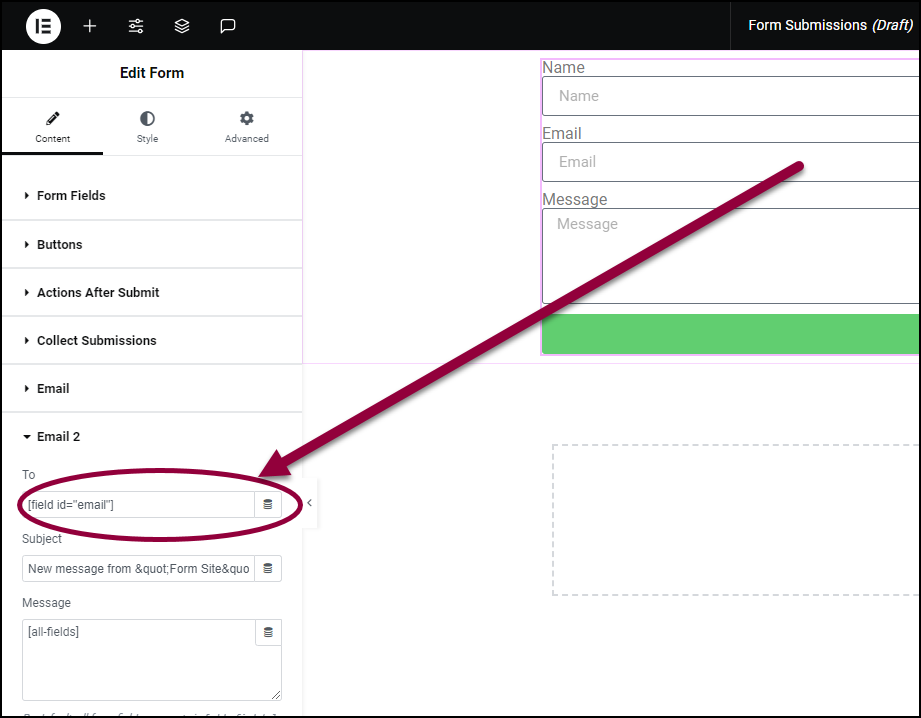
- In the To field, delete the default address and enter [field id=”email”].
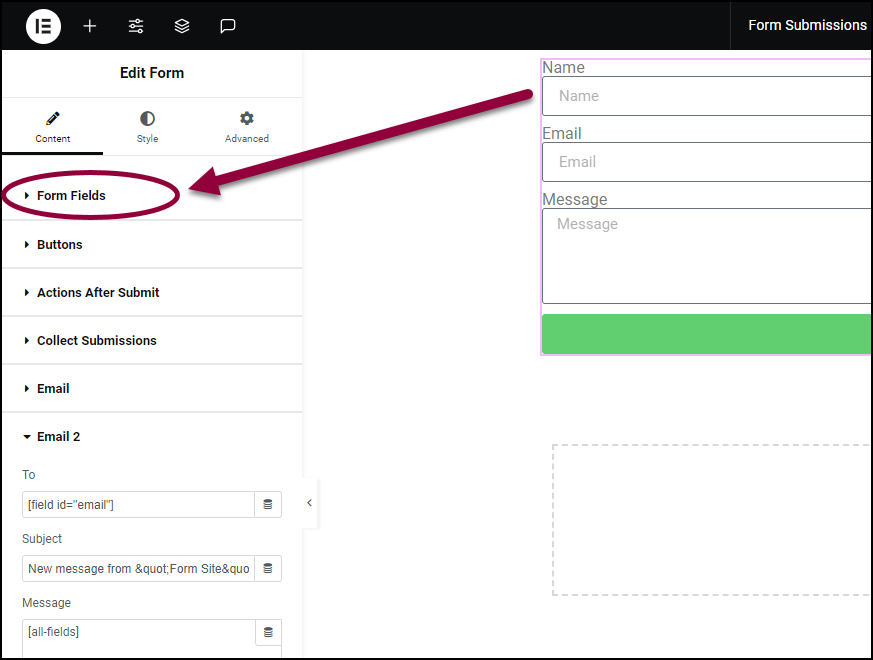
- Open the Form fields section.
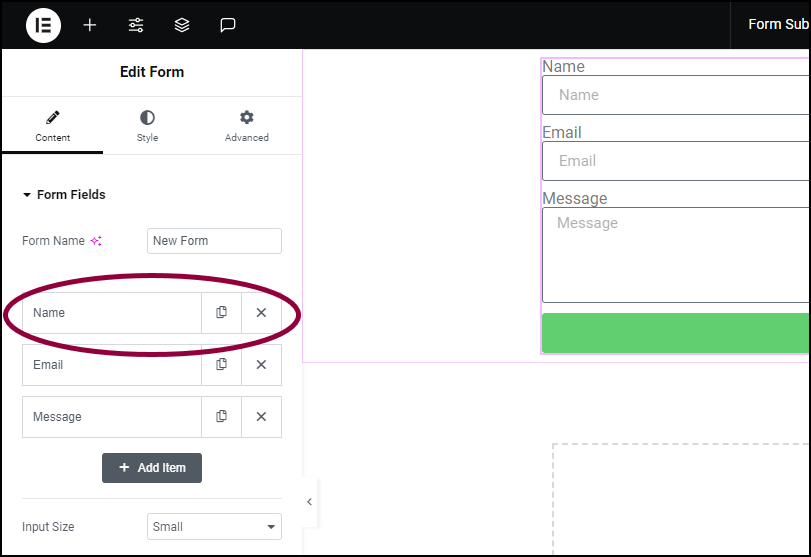
- In the panel, click the Name field.
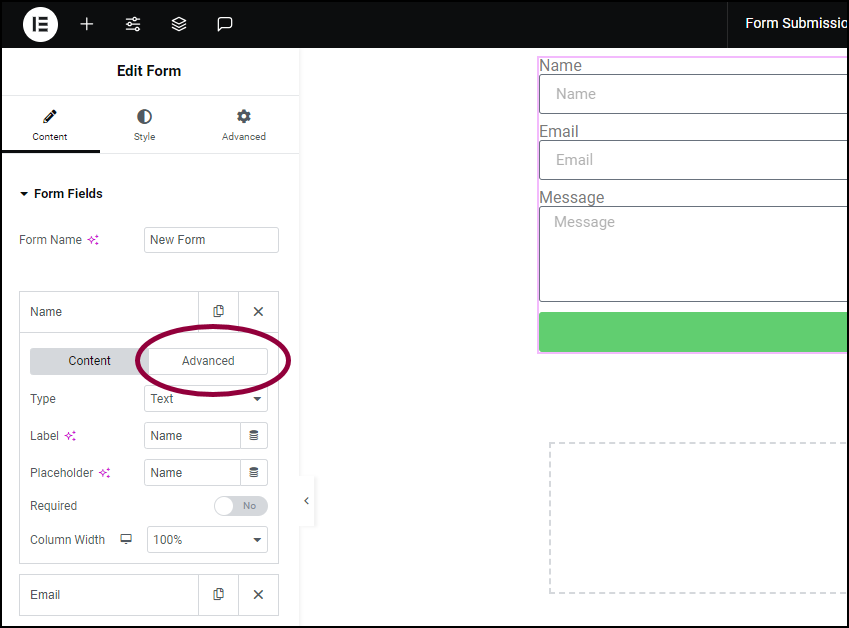
- In the panel, click the Advanced tab of the Name field.
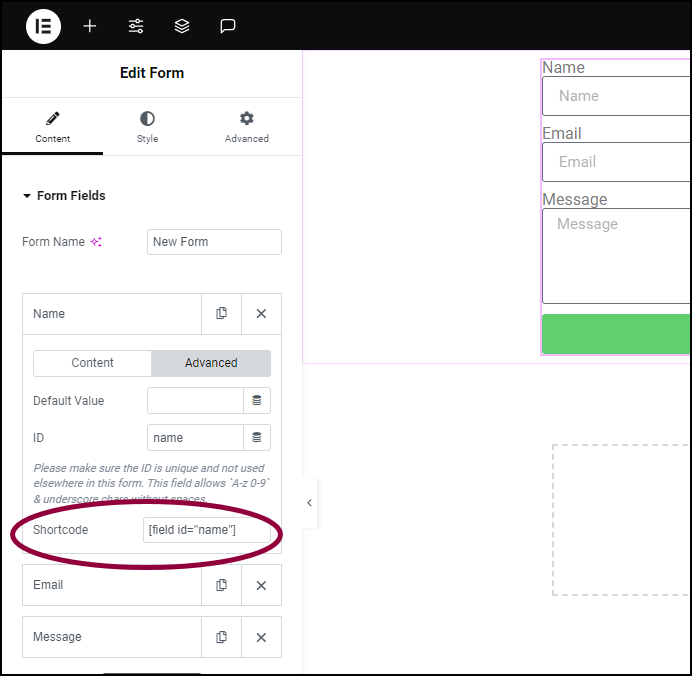
- Confirm that the shortcode says: [field id=”name”].
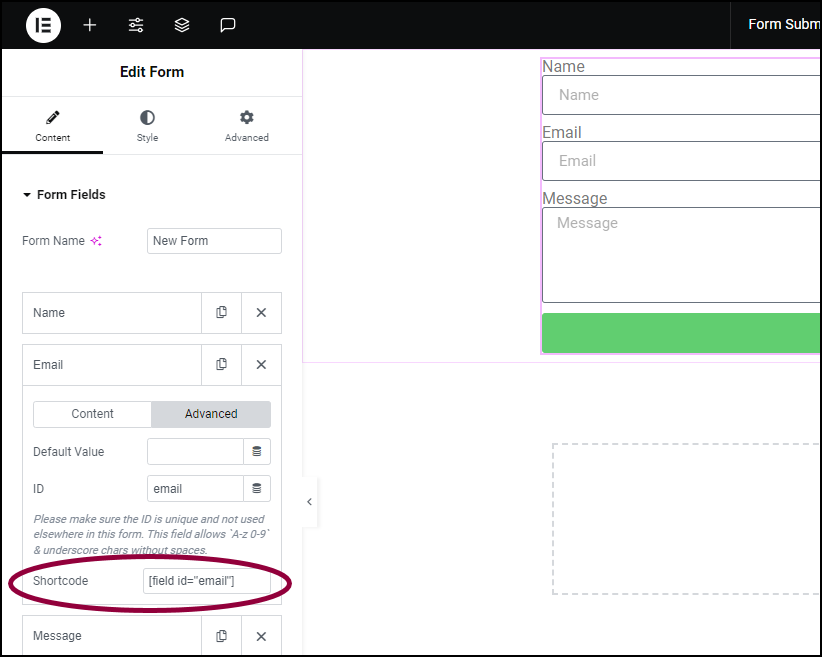
- In the Email field, confirm that the shortcode is [field id=”email”].

- Open the Email 2 section.
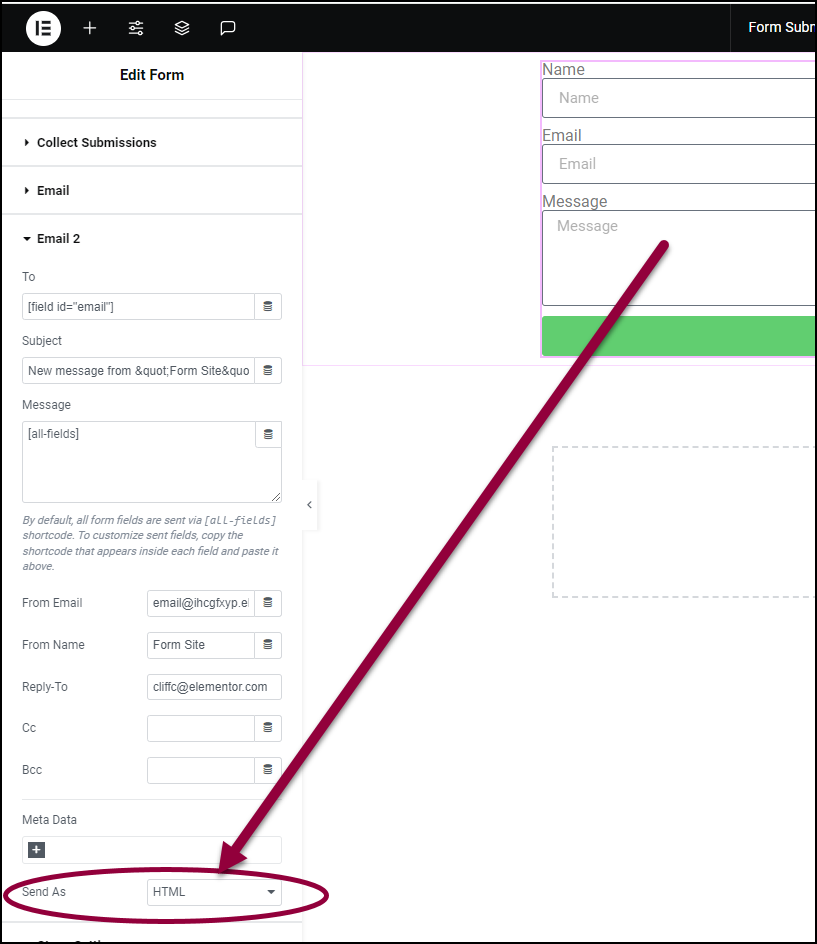
- In the Email 2 section, confirm that the Send As field is set to HTML.
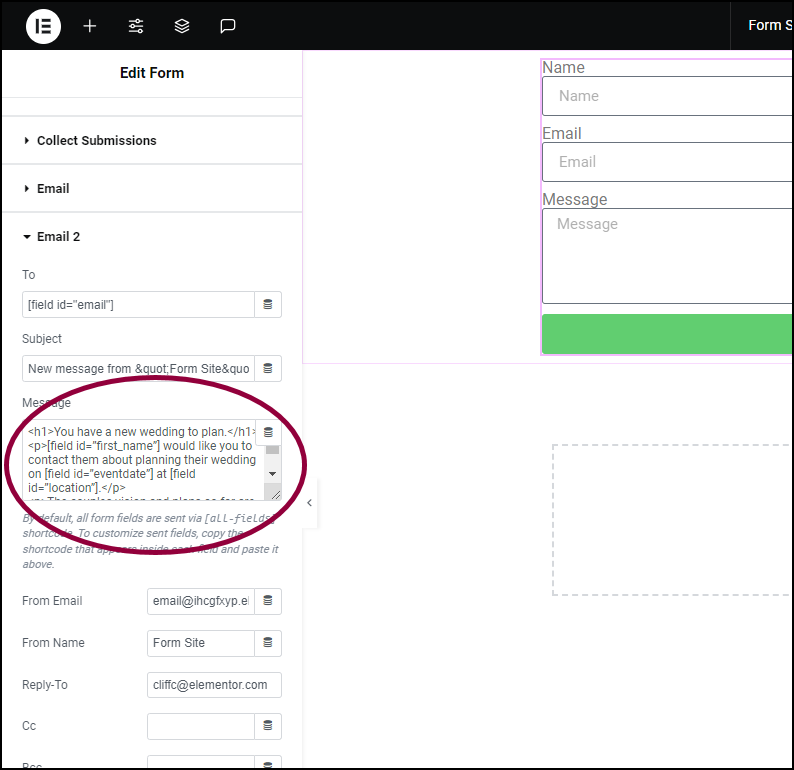
- In the Message field enter the following:
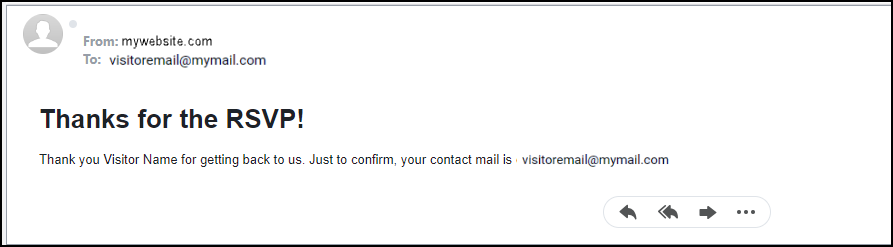
<h1>Thanks for the RSVP!</h1>
<p>Thank you [field id=”name”] for getting back to us. Just to confirm, your contact mail is [field id=”email”].</p>
Respondents will receive an email that looks like this: