Create a popup that prevents visitors from seeing the page’s content unless they click a specific button within the Popup.
You’ll learn how to create a popup that:
Ask the visitor a Yes or No question, and allow the visitor to click either a Yes button or a No button
Show the content of the page if the visitor clicks the Yes button, and redirect the visitor to another URL if she clicks the No button or clicks anywhere other than the Yes button.\
Design The Popup And Its Content
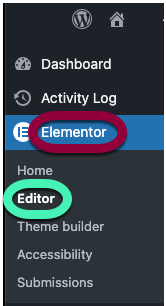
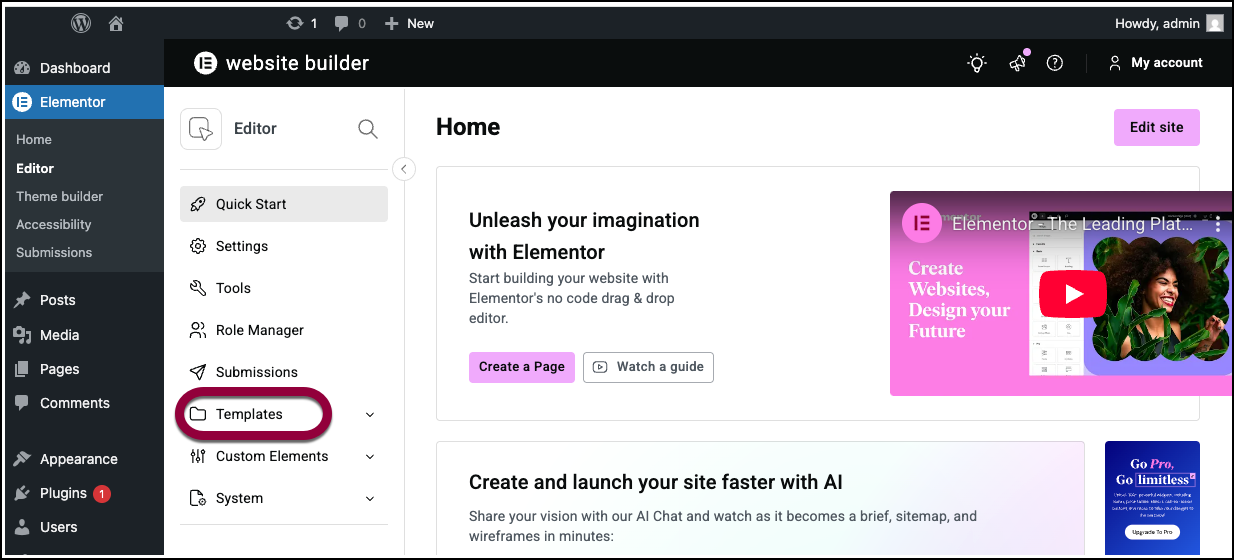
From WP Admin, navigate to Elementor>Editor.
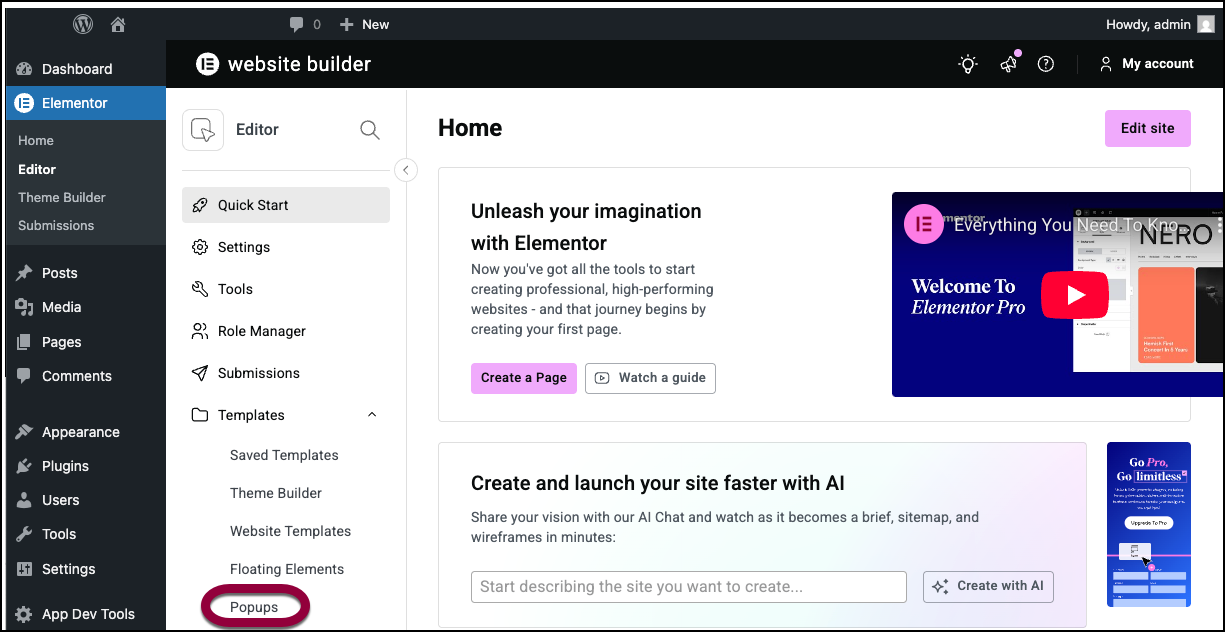
In the left panel, open the Templates field.
Click Popups.
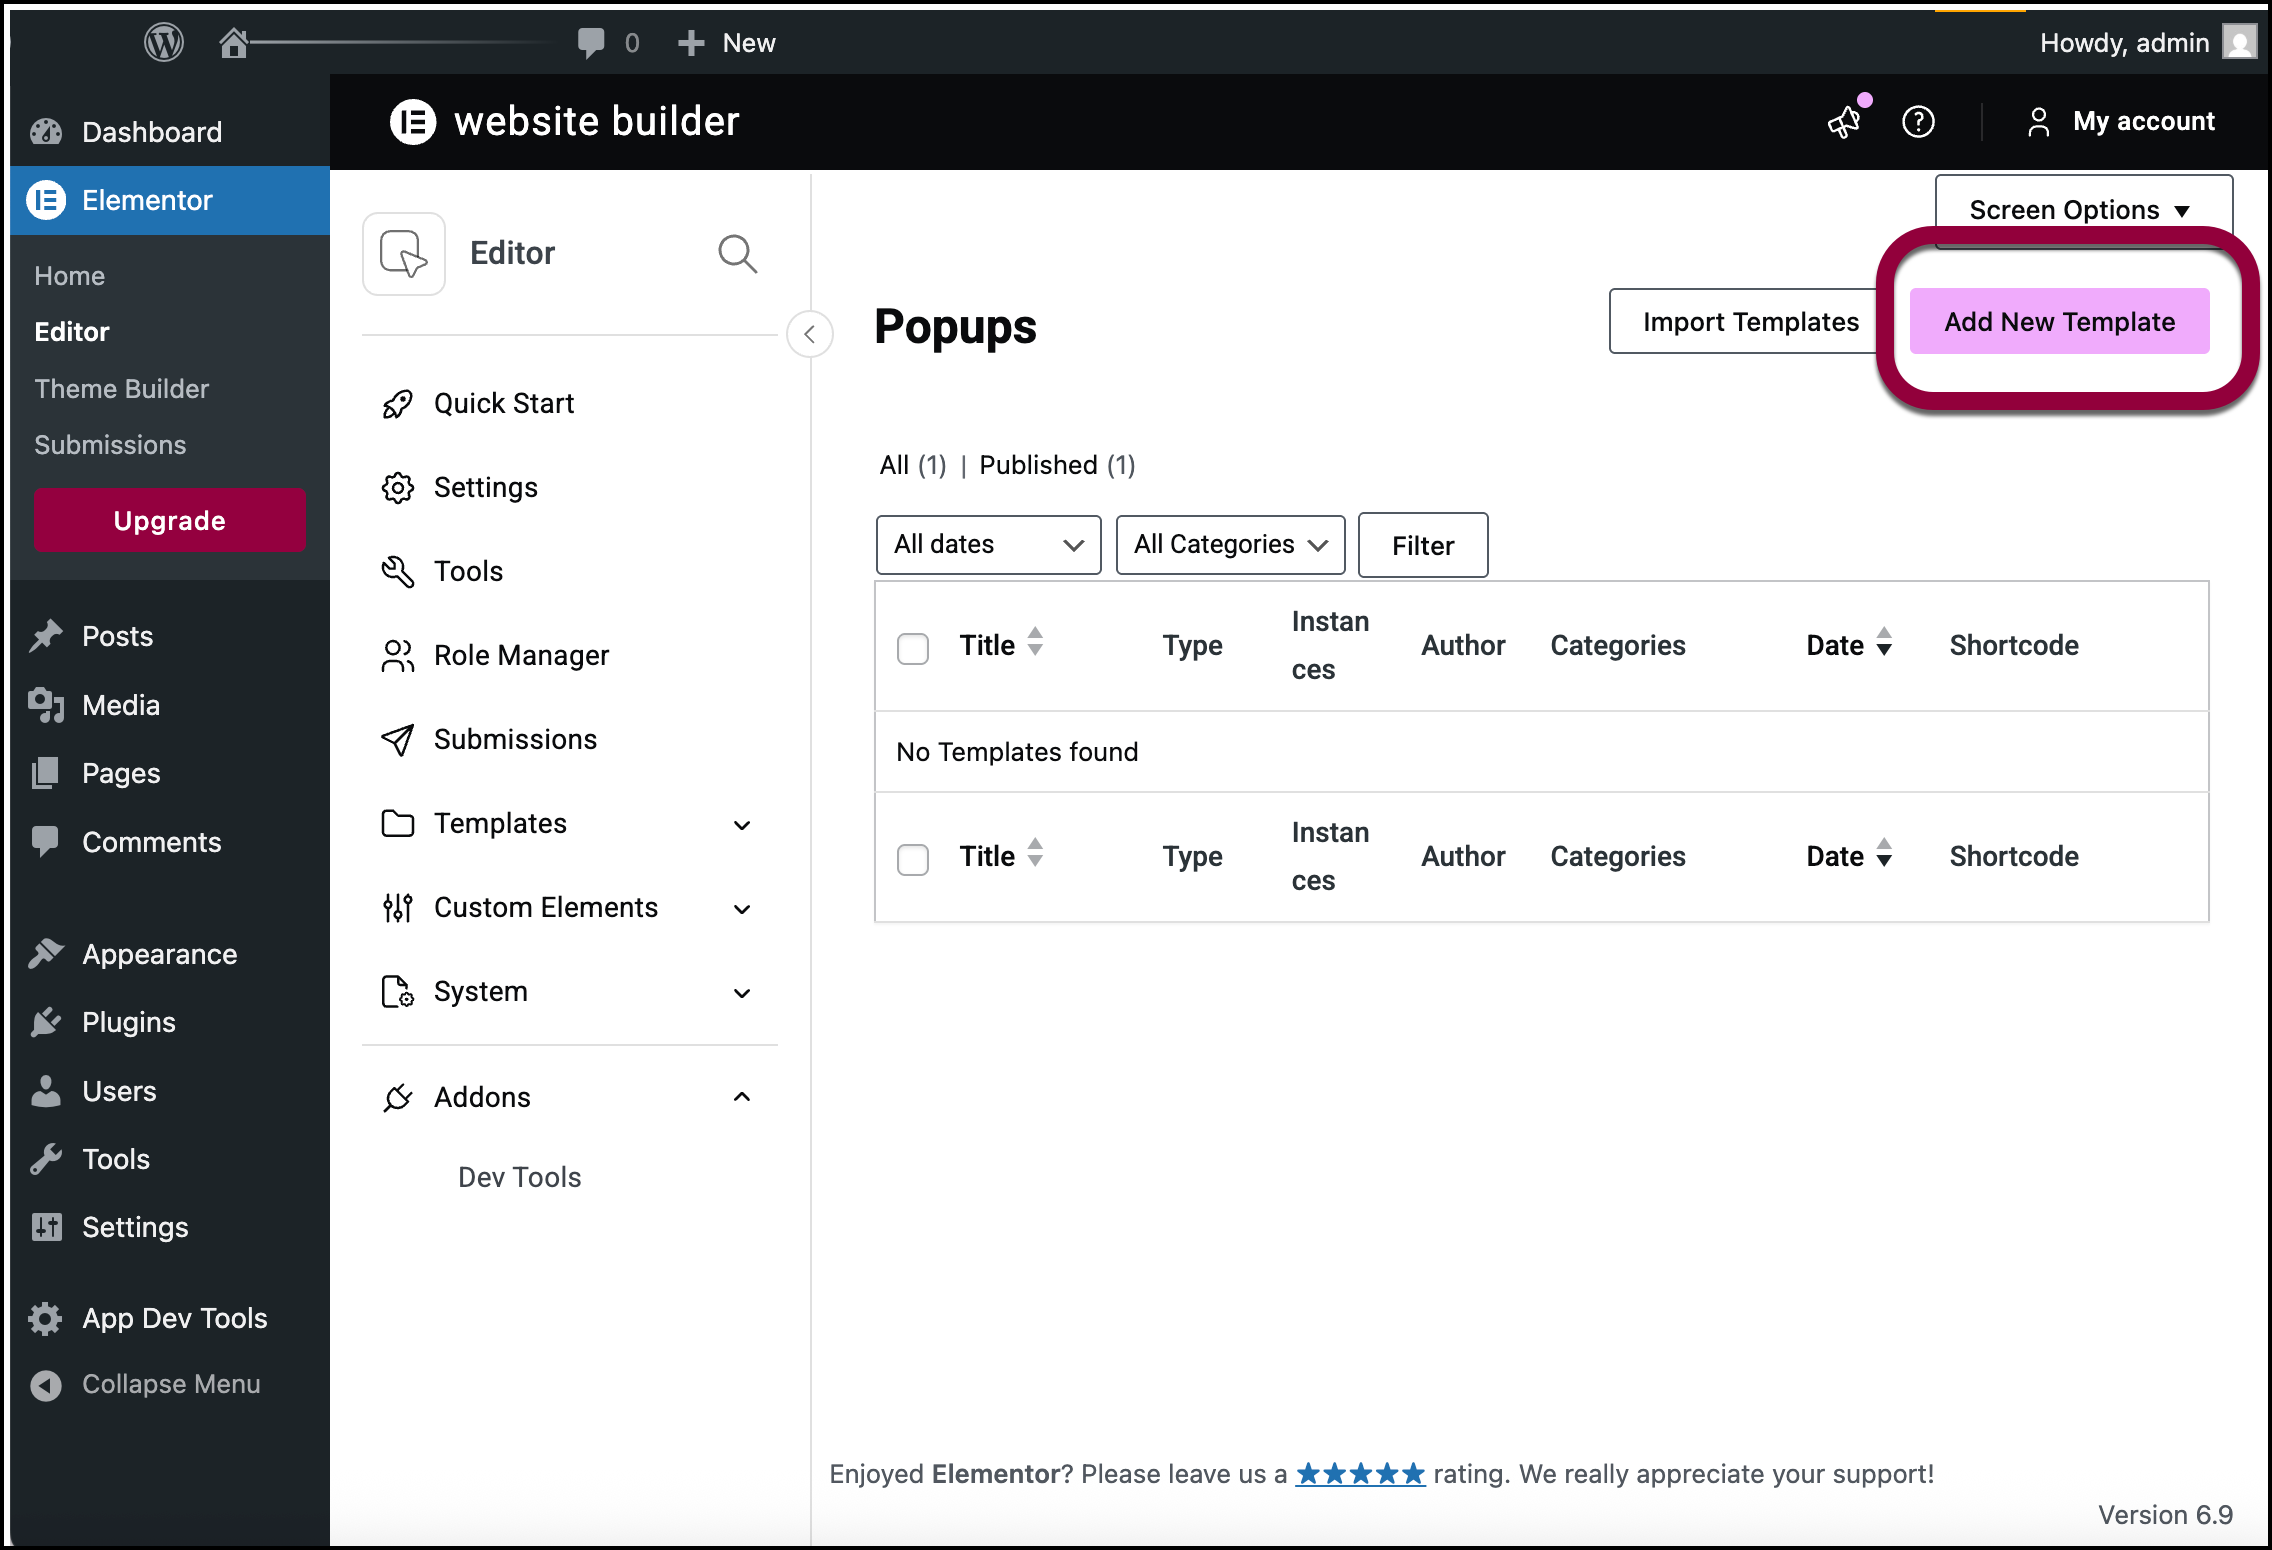
Click Add new template.
Choose a pre-designed Popup template or close the Library overlay and design your Popup from scratch. For this example, we’ll design our own.
Popup > Layout Tab
Width: Set to 600px
Height: Select Custom
Custom Height: Set to 800px
Vertical Position: Center
Close Button: Set to Hide
Entrance Animation: Choose Fade In
Content
Add a Heading that asks a Yes or No question, and style it as needed.
Add two buttons, one for Yes and one for No, and style each as needed.
Click the cog / gear icon located at the bottom left of the panel to return to the Popup Settings
Popup > Style Tab
Background Type: Transparent
Image: Add a background image and adjust its settings as needed
Popup > Advanced Tab
Padding: Set at 80px for right and left, leaving
top and bottom blank
Prevent Closing on Overlay: Set to Yes
Prevent on Closing on ESC Key: Set to Yes
Edit the Section
Section > Style > Border
Border Type: Solid
Border Width: 15px
Color: Choose a color for your border
Border Radius: 40 for Bottom only
Section > Advanced
Padding: 30px for Bottom only.
Edit the Column
Column > Style
Background Type: Gradient
Color: Choose the first gradient color
Second Color: Choose the second gradient color
Type: Radial
Border
Border Radius: 20px for Bottom only
Box Shadow: Set as needed
Column > Advanced
Margin: Set -30 (minus 30) for both Top and Left
Padding: Set 100px for both Top and Bottom
Edit the Content
Heading > Style
Title: Set the color to white.
Button > Style
Text Color: Set the color to white for each button.
Edit the Yes Button
Content:
Link: Click the Dynamic icon and choose Actions > Popup
Click on Popup again
Choose Close Popup and slide Don’t Show Again to Yes
Edit The No Button
Content:
Link: Enter any age-appropriate site link
Set the Publish Options
Click Publish button. There are no Conditions, Triggers, or Advanced Rules for this popup, so click the Save and Close button.
Edit the page that contains the Buy button (or whichever button you create to launch the popup).
Edit the Buy Button
If you haven’t already created a button to launch the Popup, you can do so now. Edit its text and typography as needed
Link: Click the Dynamic icon and choose Actions > Popup
Click Popup again, and under Action, choose Open Popup.
In the Popup field, enter a few letters to search/find the Popup you just created.
Click the Update button to update the page.
All done. Now go to the page with the Buy button, click it, and see the popup in action.