Overview
Once you have applied the website kit, you can tailor the website pages, posts, site parts, dialogs, and global settings.
The pages and posts of a kit contain default text and images that you can customize based on your requirements.
Get expert help to set up your site correctly from the start.
- Please refer to the Explore the Elementor Editor and create a page articles to see how Elementor Editor works before trying to customize the content of the imported website kit.
- After importing the website kit, you may find the menu or some other elements of your website missing. This is an expected behavior of the imported kit as some dependencies, including menus, site name, logo, post categories, popups, and products (if importing a shop kit) are yet to be connected.
Customize your posts
You need to access the posts on your website to customize them.
- Navigate to WP Admin.
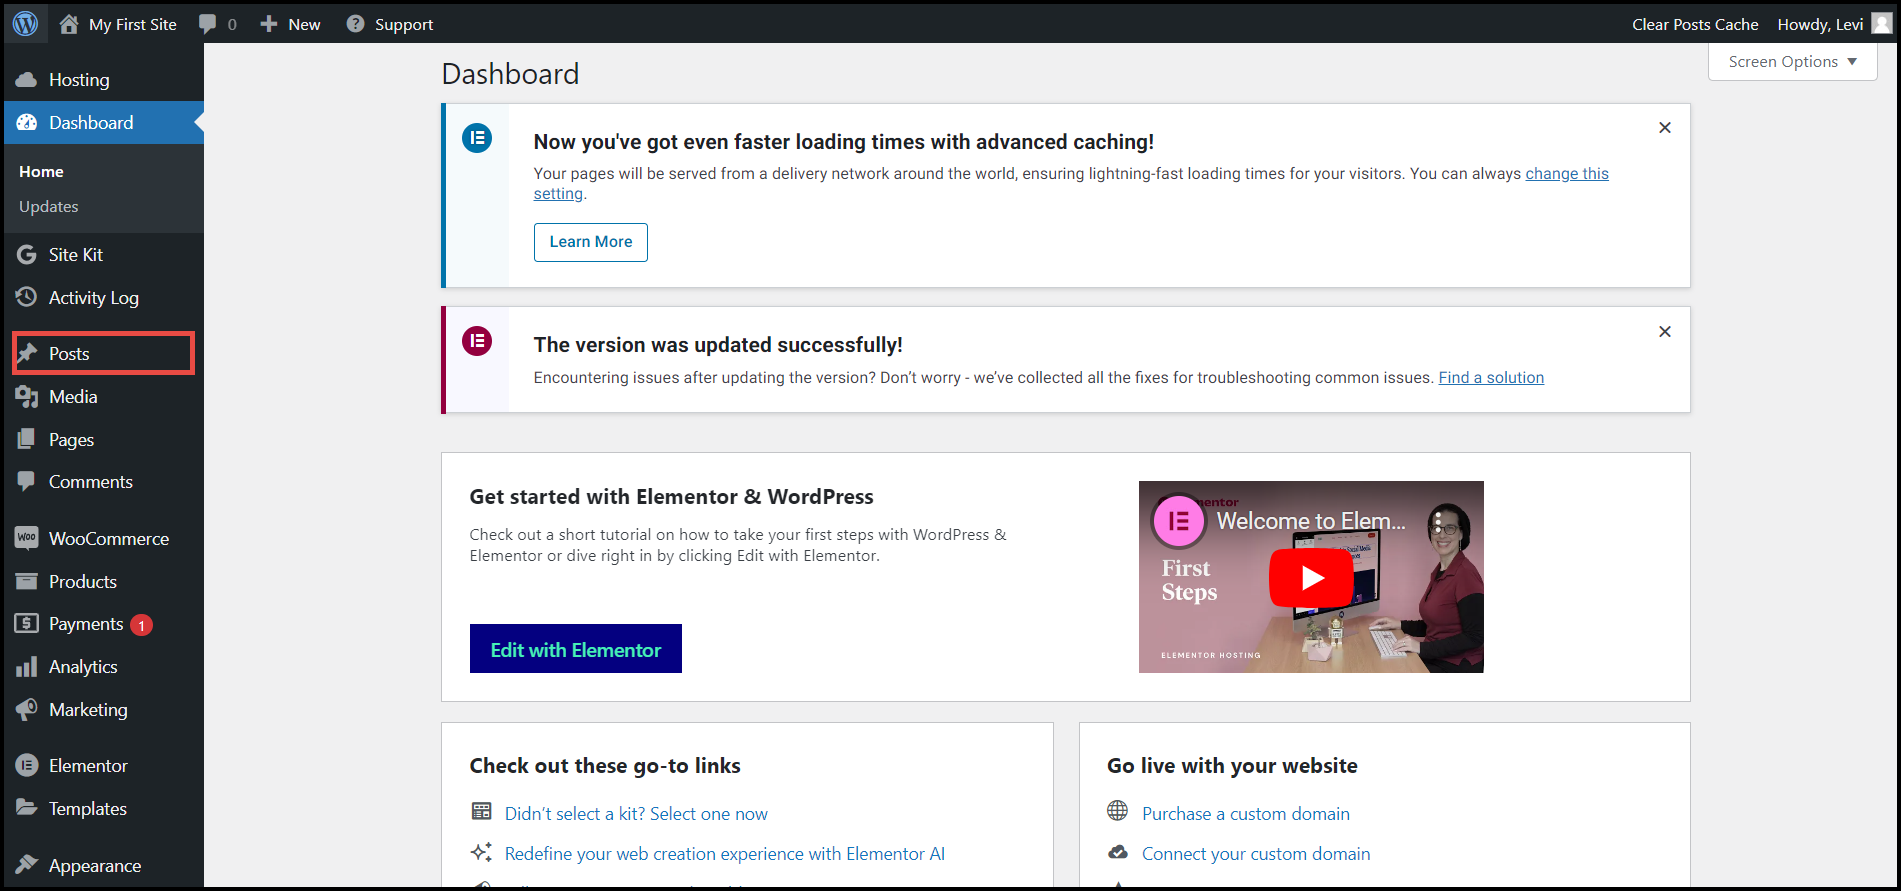
- On the left navigation menu, click Posts.
By default, all posts appear.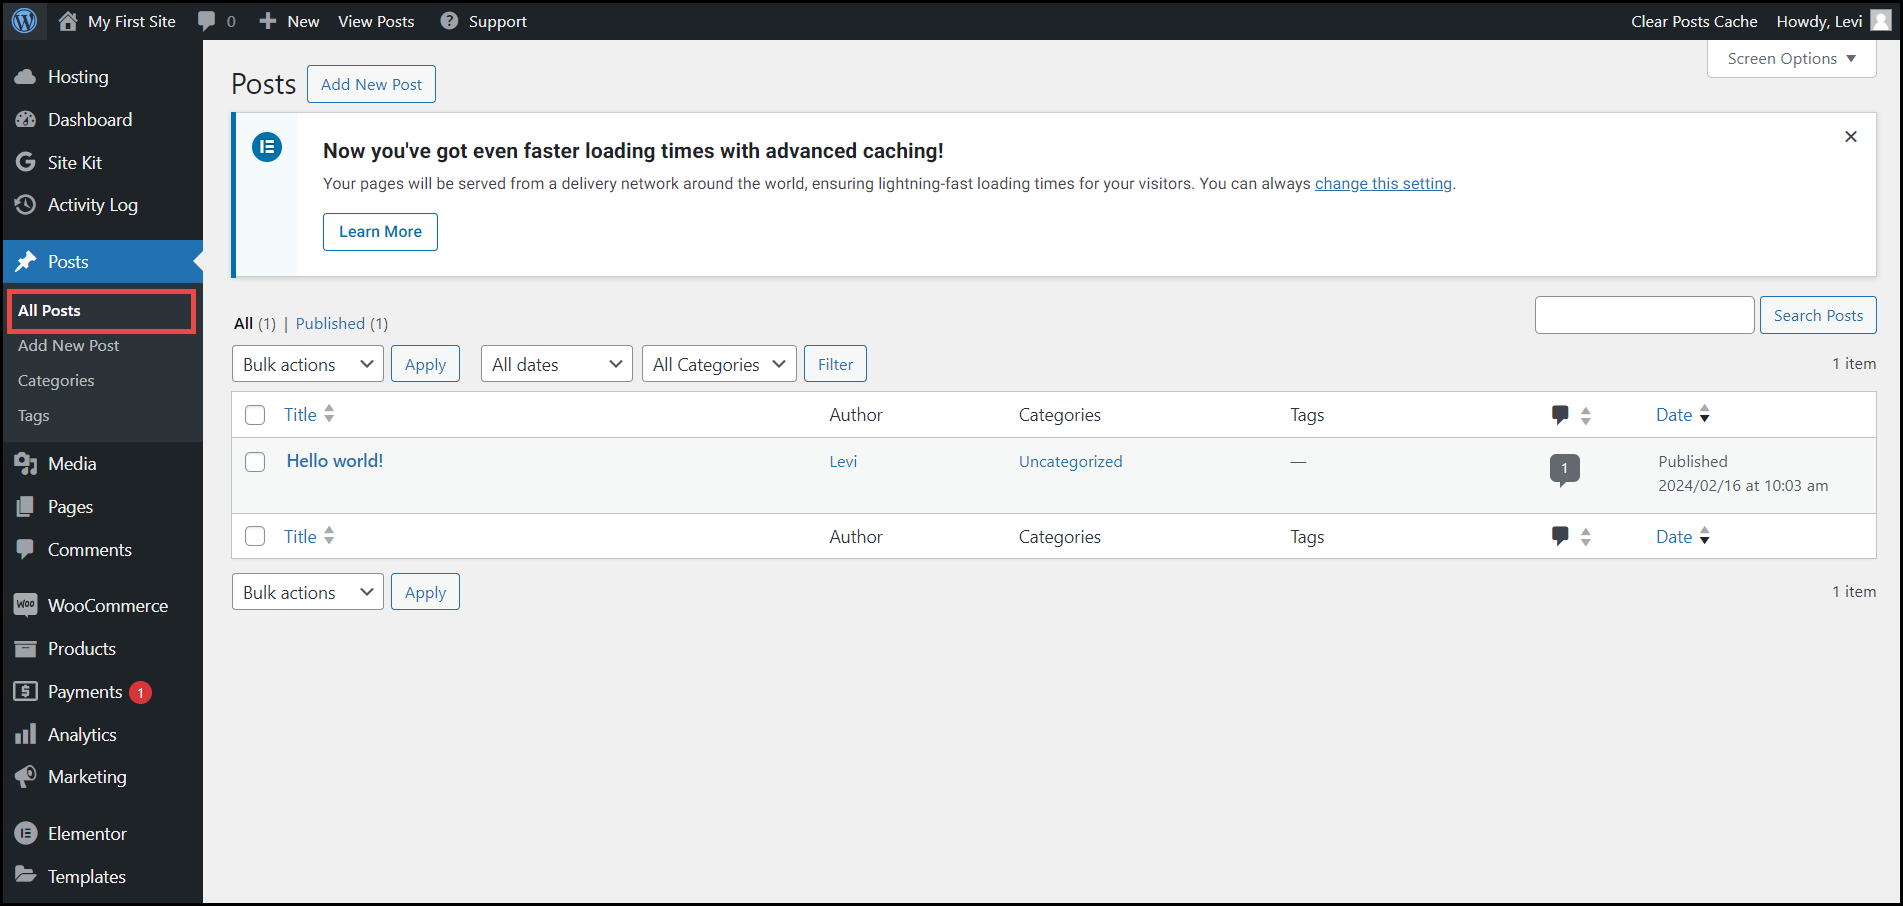
- Hover over the posts.
The options Edit/Quick Edit/Trash/View/Edit with Elementor appear on the desired Post row.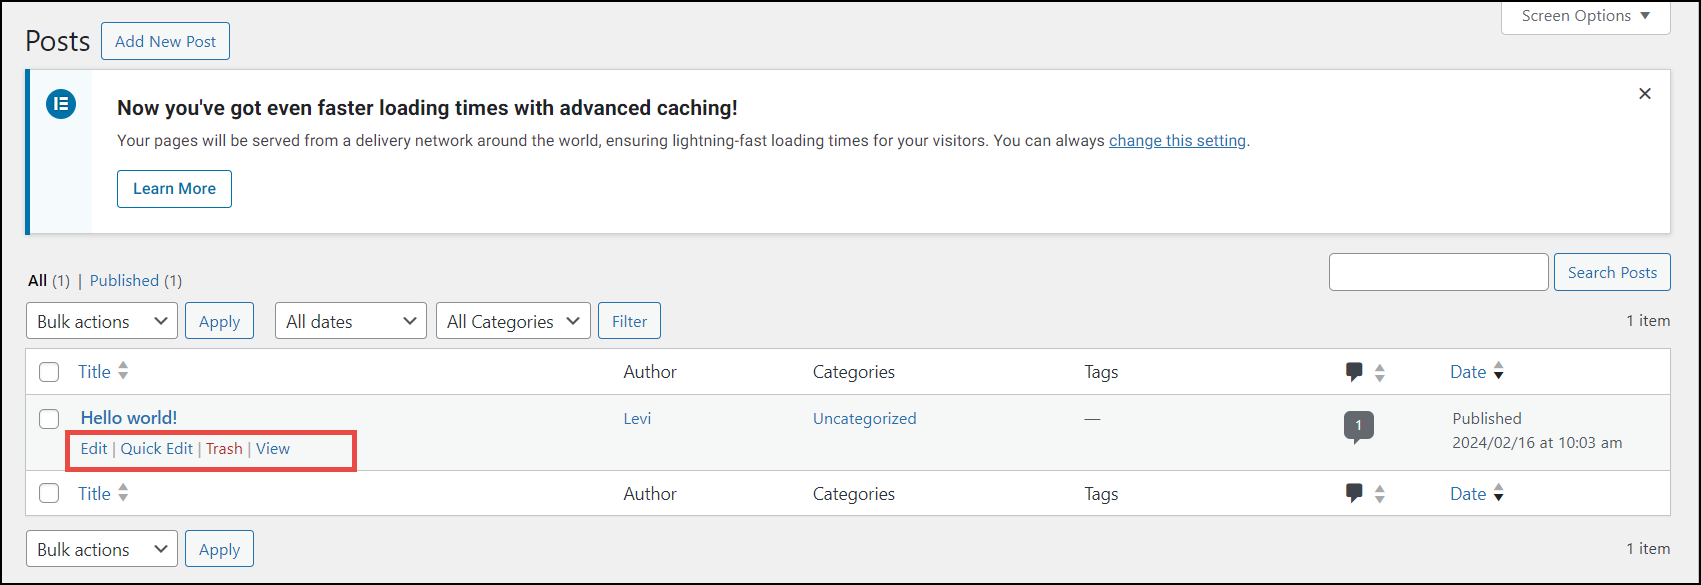
- Based on the action you wish to perform, click the required option.
When you click Edit or Edit with Elementor the page to edit the post appears. Make the necessary changes and click Update.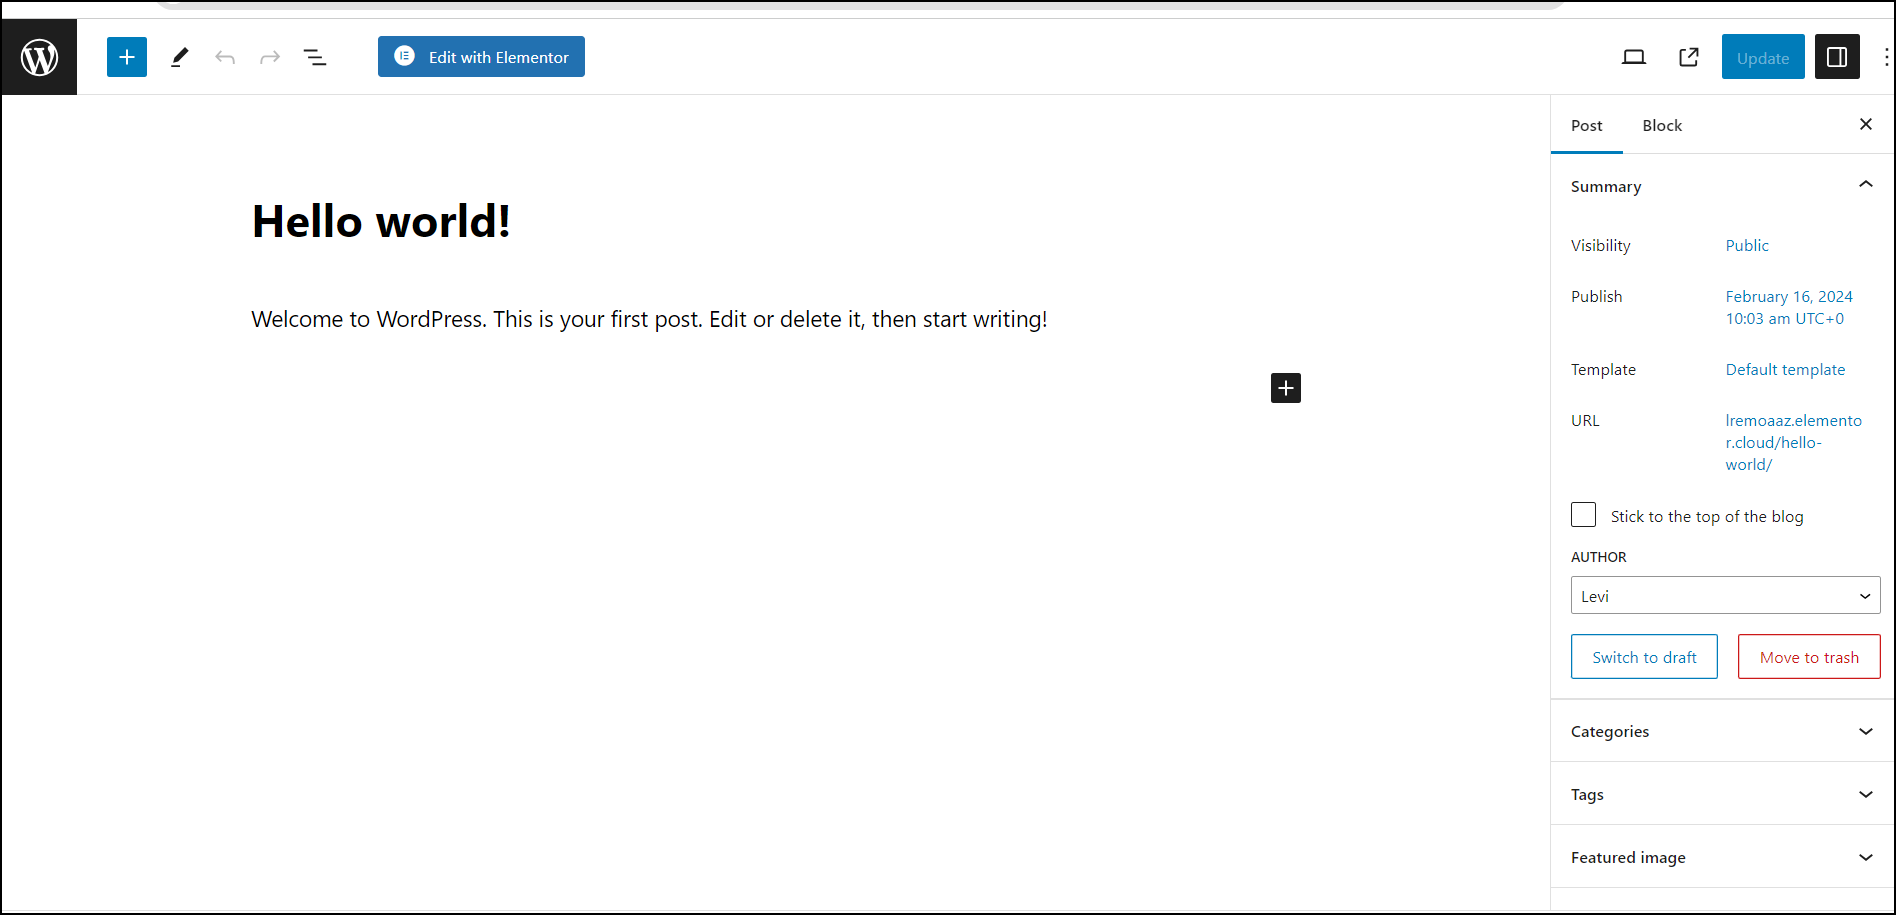
When you click Quick Edit, the fields to edit the post quickly appear. Make the necessary changes and click Update.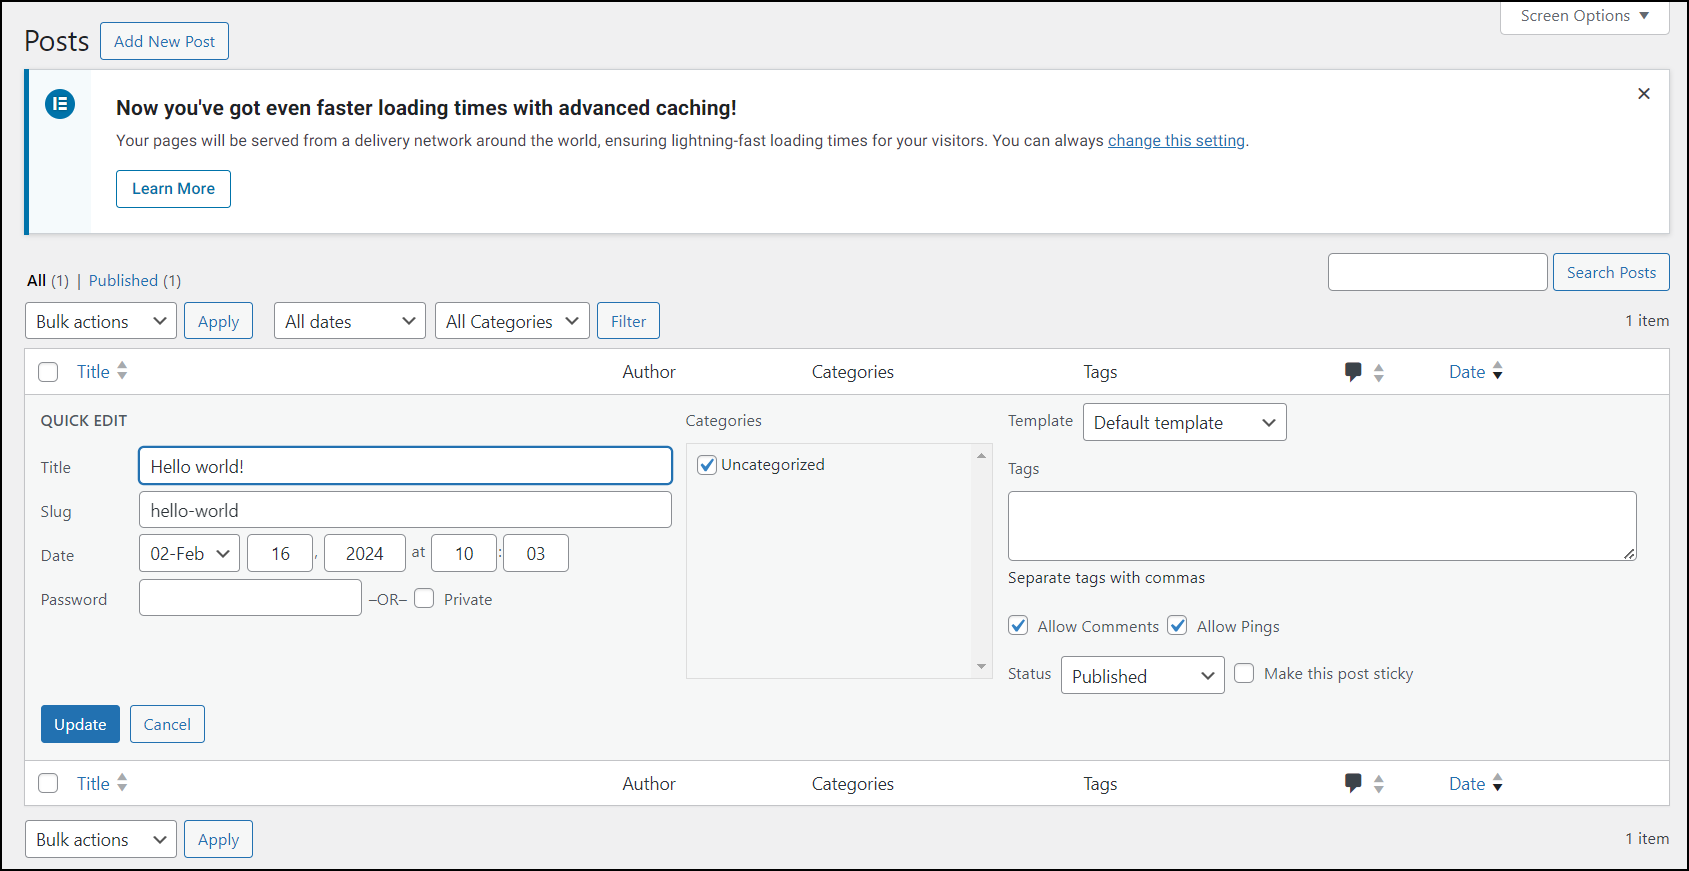
When you click Trash, the post will be moved to the Trash folder. You can restore it by clicking Undo.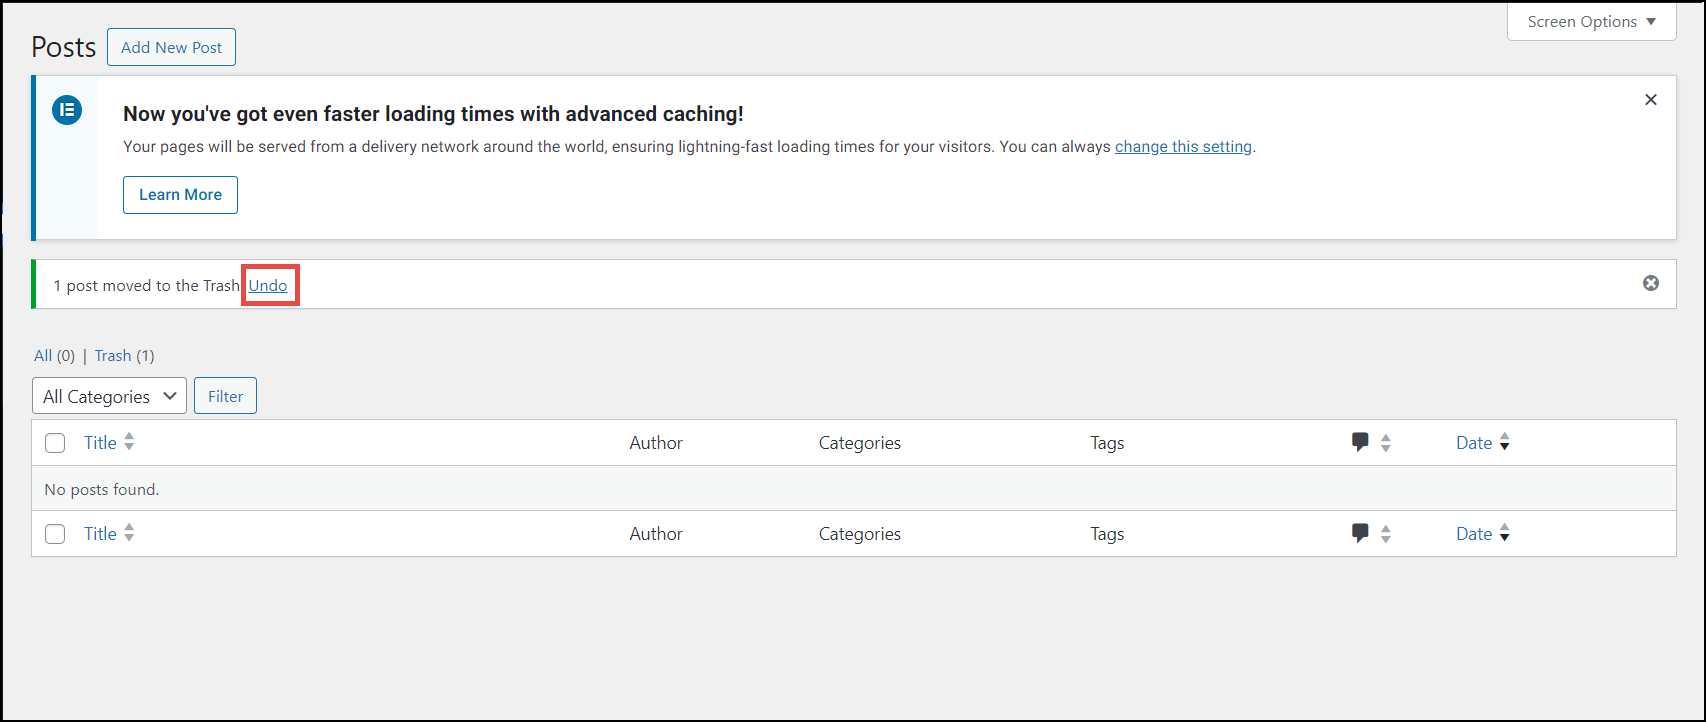
When you click View, the comments on the post appear. You can reply to the comment from here and post it as a reply.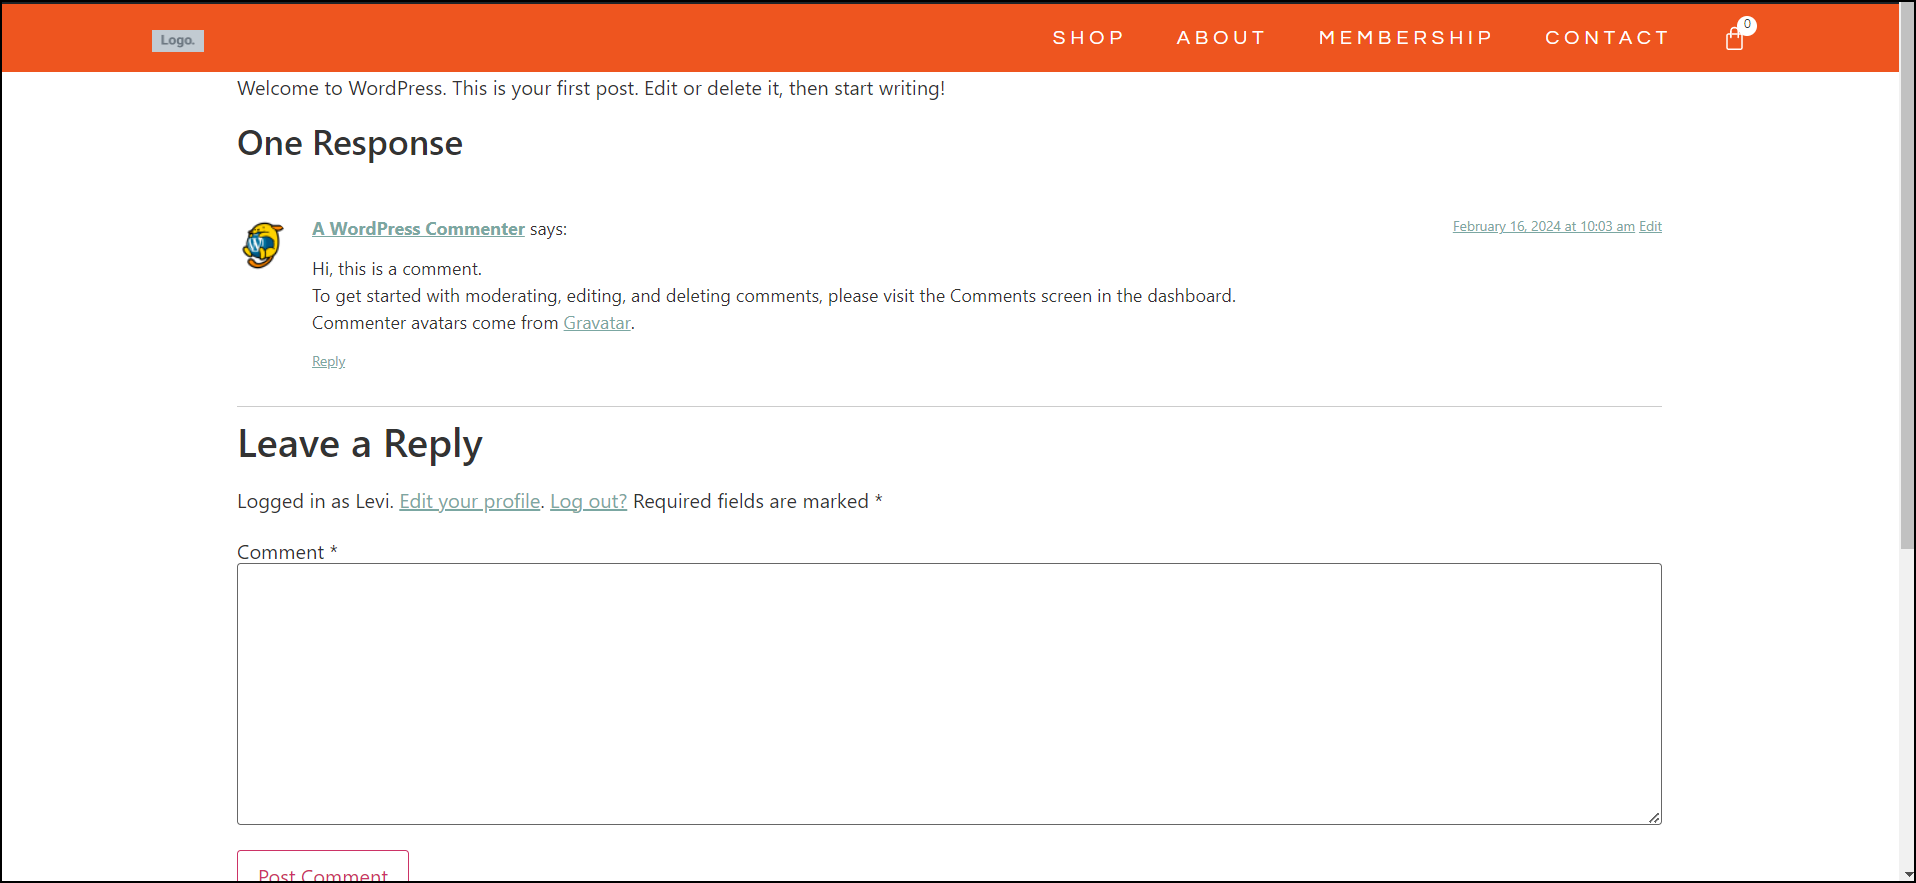
Customize your pages
The pages on your website can be customized by accessing them.
You can access the pages of your website through WP Admin or your My Elementor dashboard.
Using WP Admin
To access the pages using WP Admin, follow the steps below:
- In WP Admin, navigate to Pages.

The Pages page appears.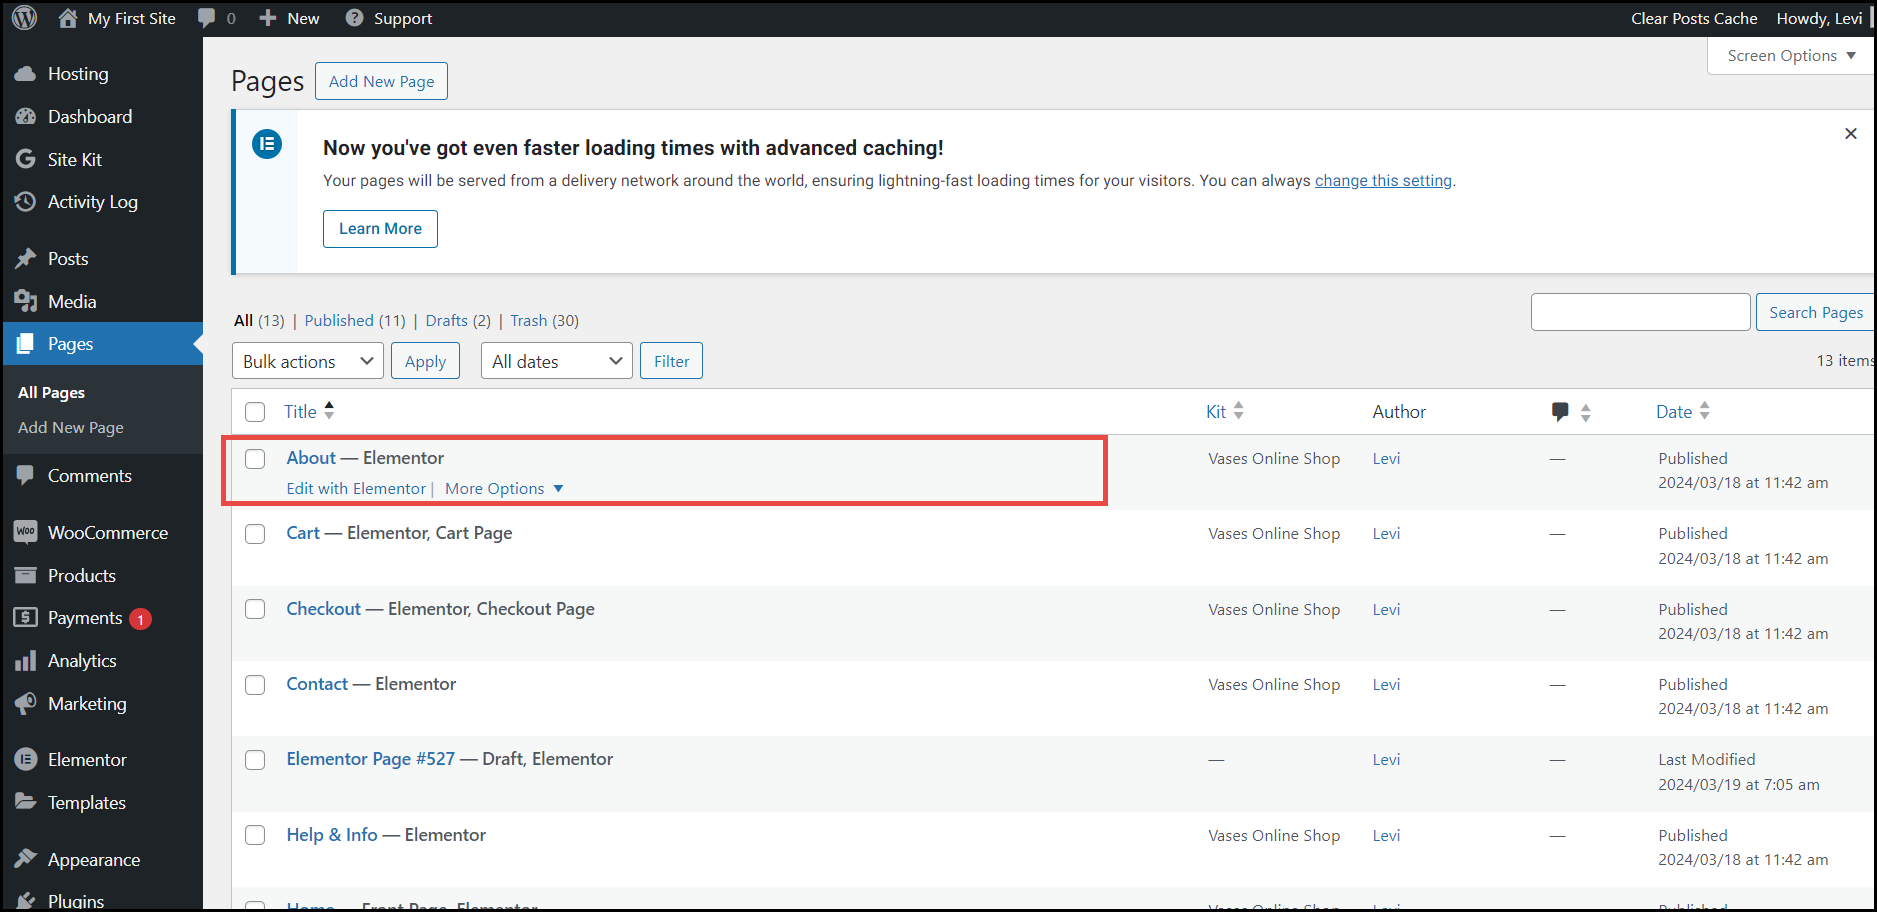
- Hover over the page you wish to access.
- Click Edit with Elementor.
The chosen page is displayed for editing in the Elementor Editor.
Make the necessary changes and update the page.
Using the My Elementor dashboard
To access the pages using your My Elementor Dashboard, follow the steps below.
- In your My Elementor Dashboard > Websites page, on the website card that you wish to access the pages, click Manage this website.
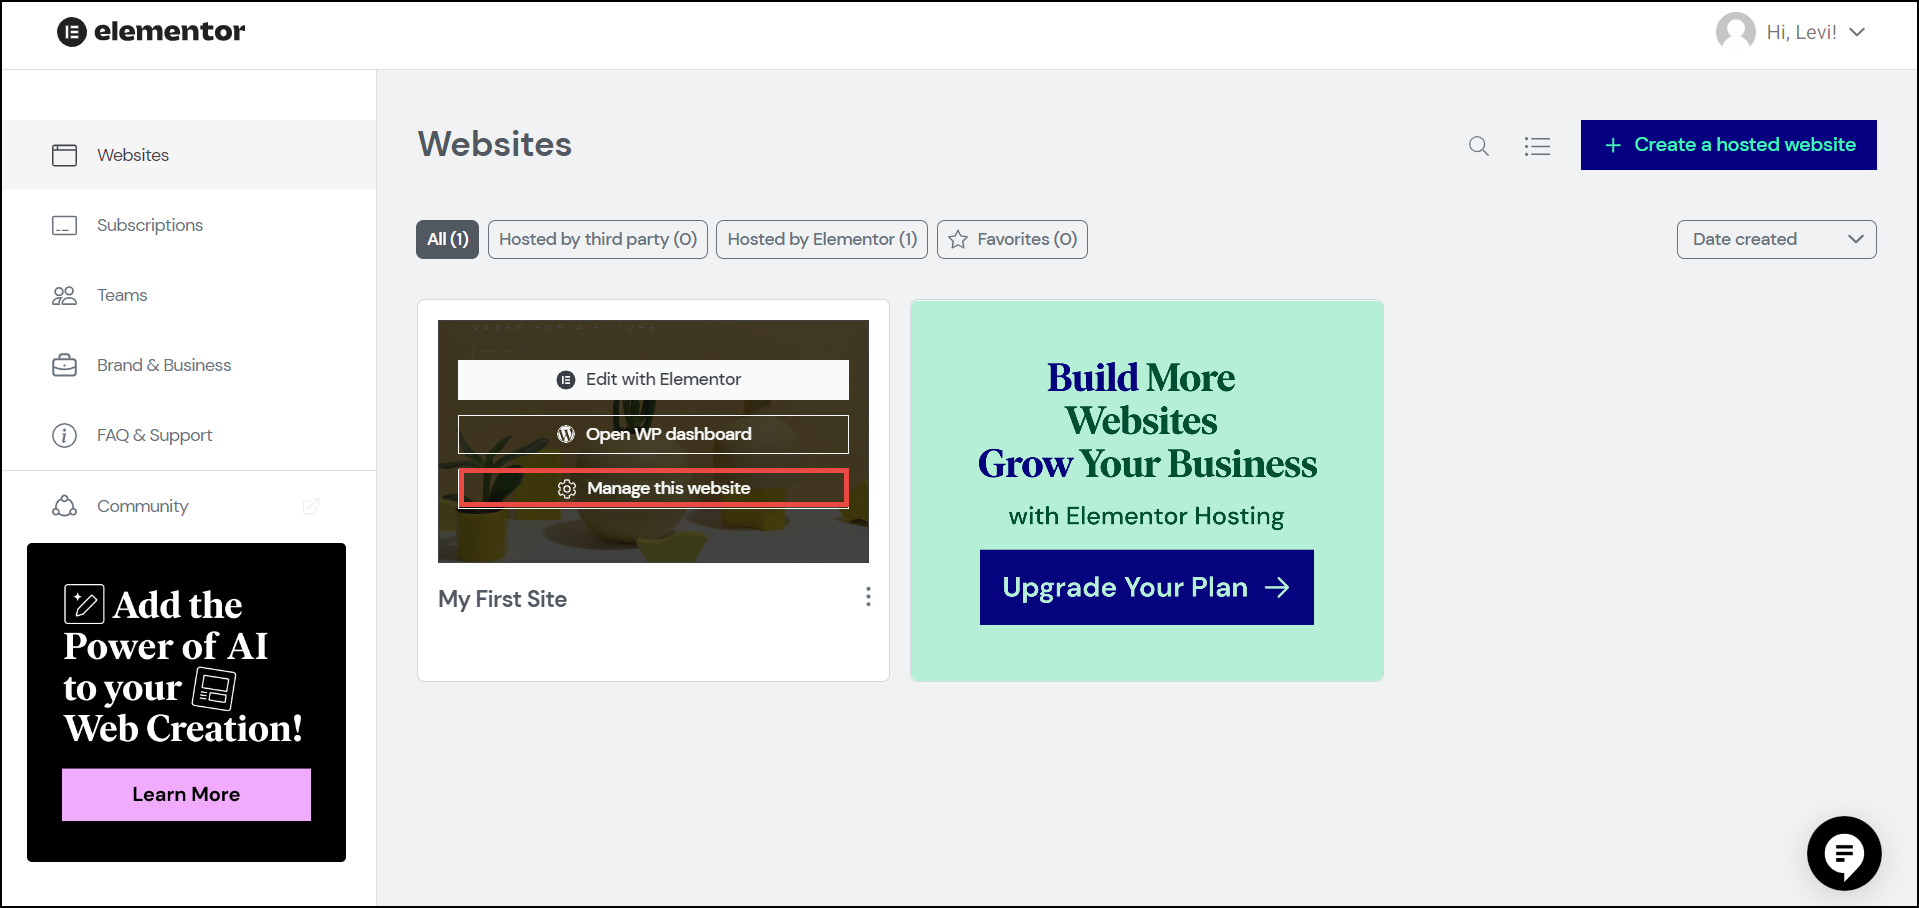
The Overview page appears with a list of recently edited pages.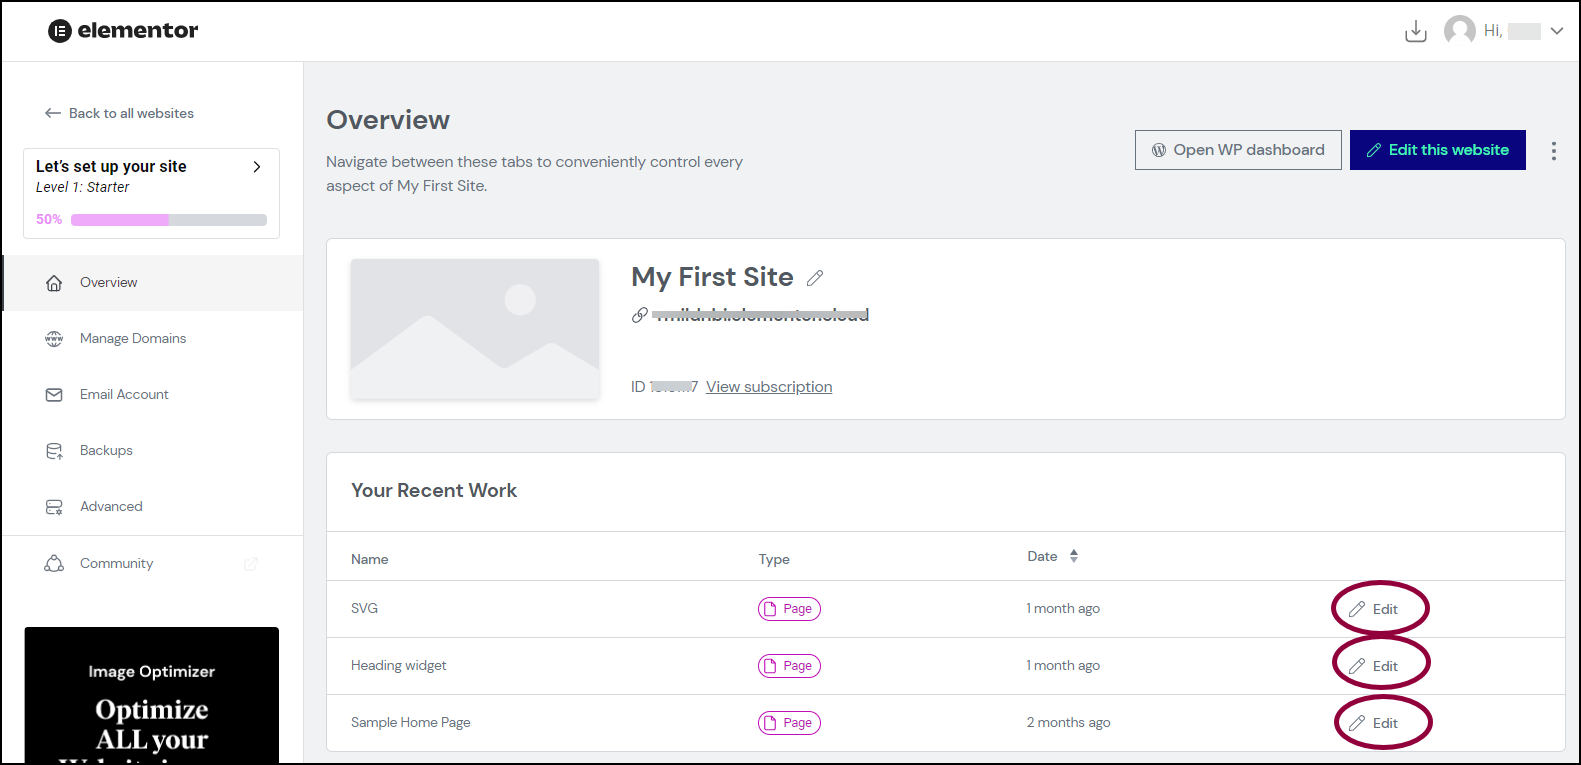
- Next to the page you want to edit, click Edit.
The Elementor Editor with the page open.
Make the necessary changes and update the page.
Customize Popups
The Popups on your website can be customized by accessing them.
- In WP Admin, navigate to Templates > Popups.
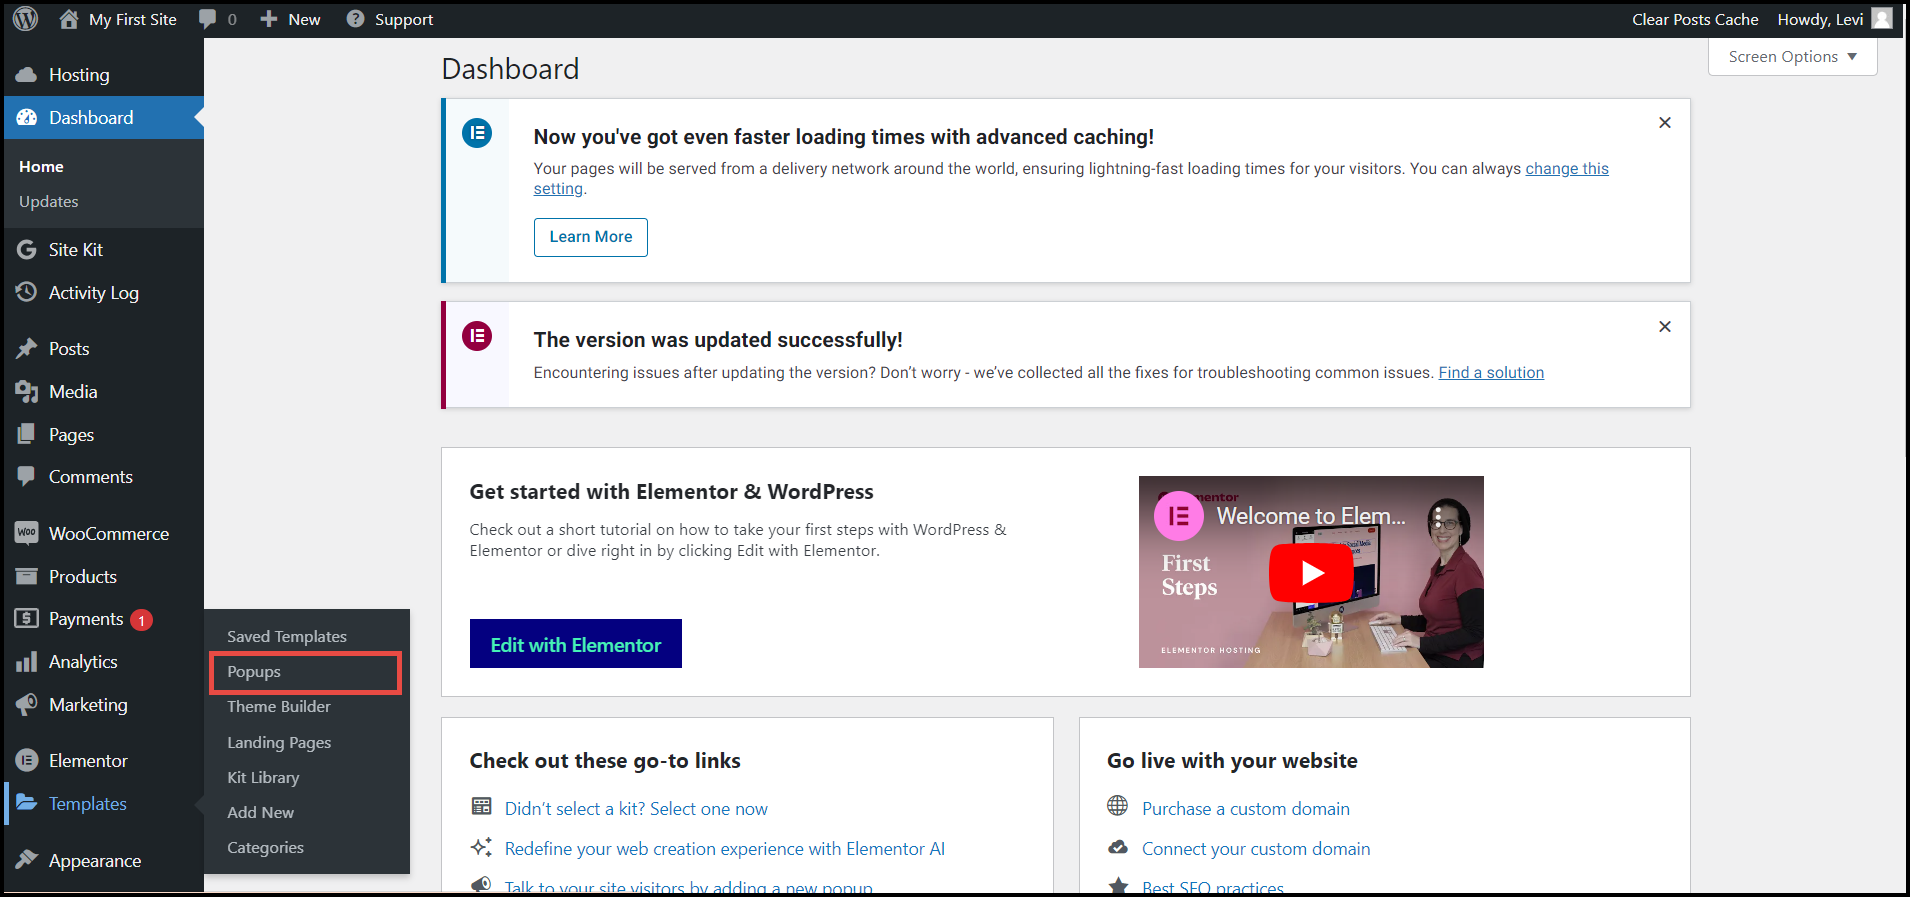
- Click Popups.
The Popups page appears.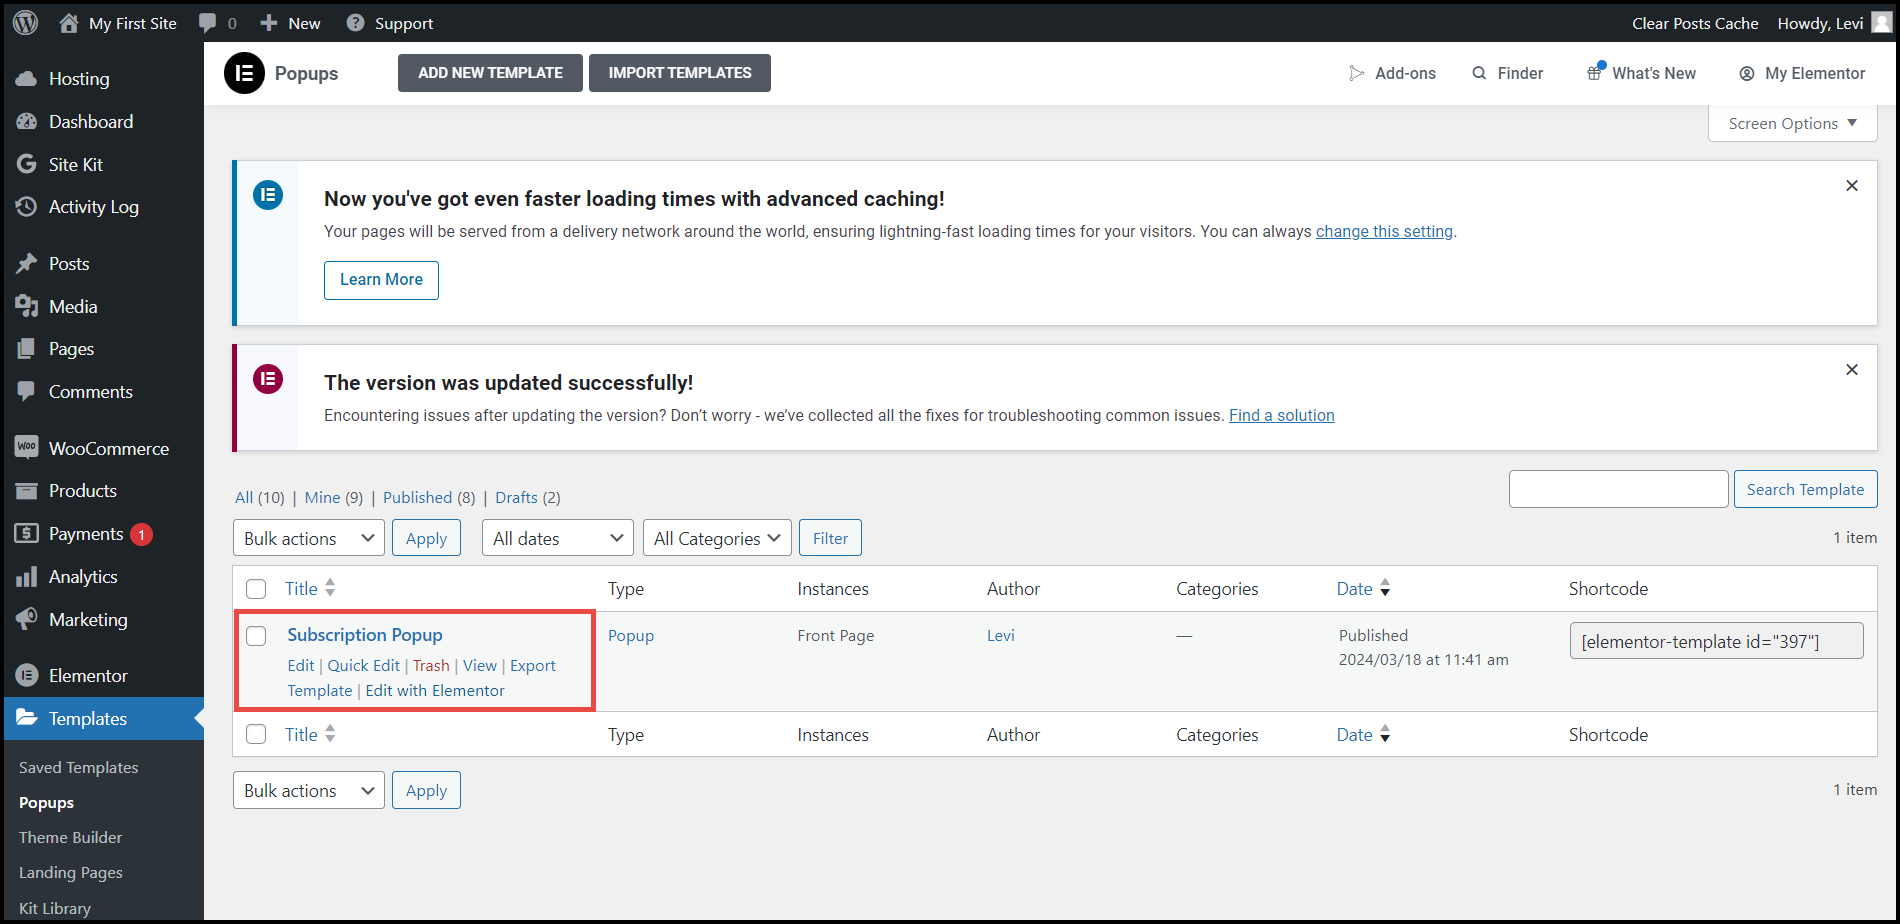
- Hover over the popup you wish to modify.
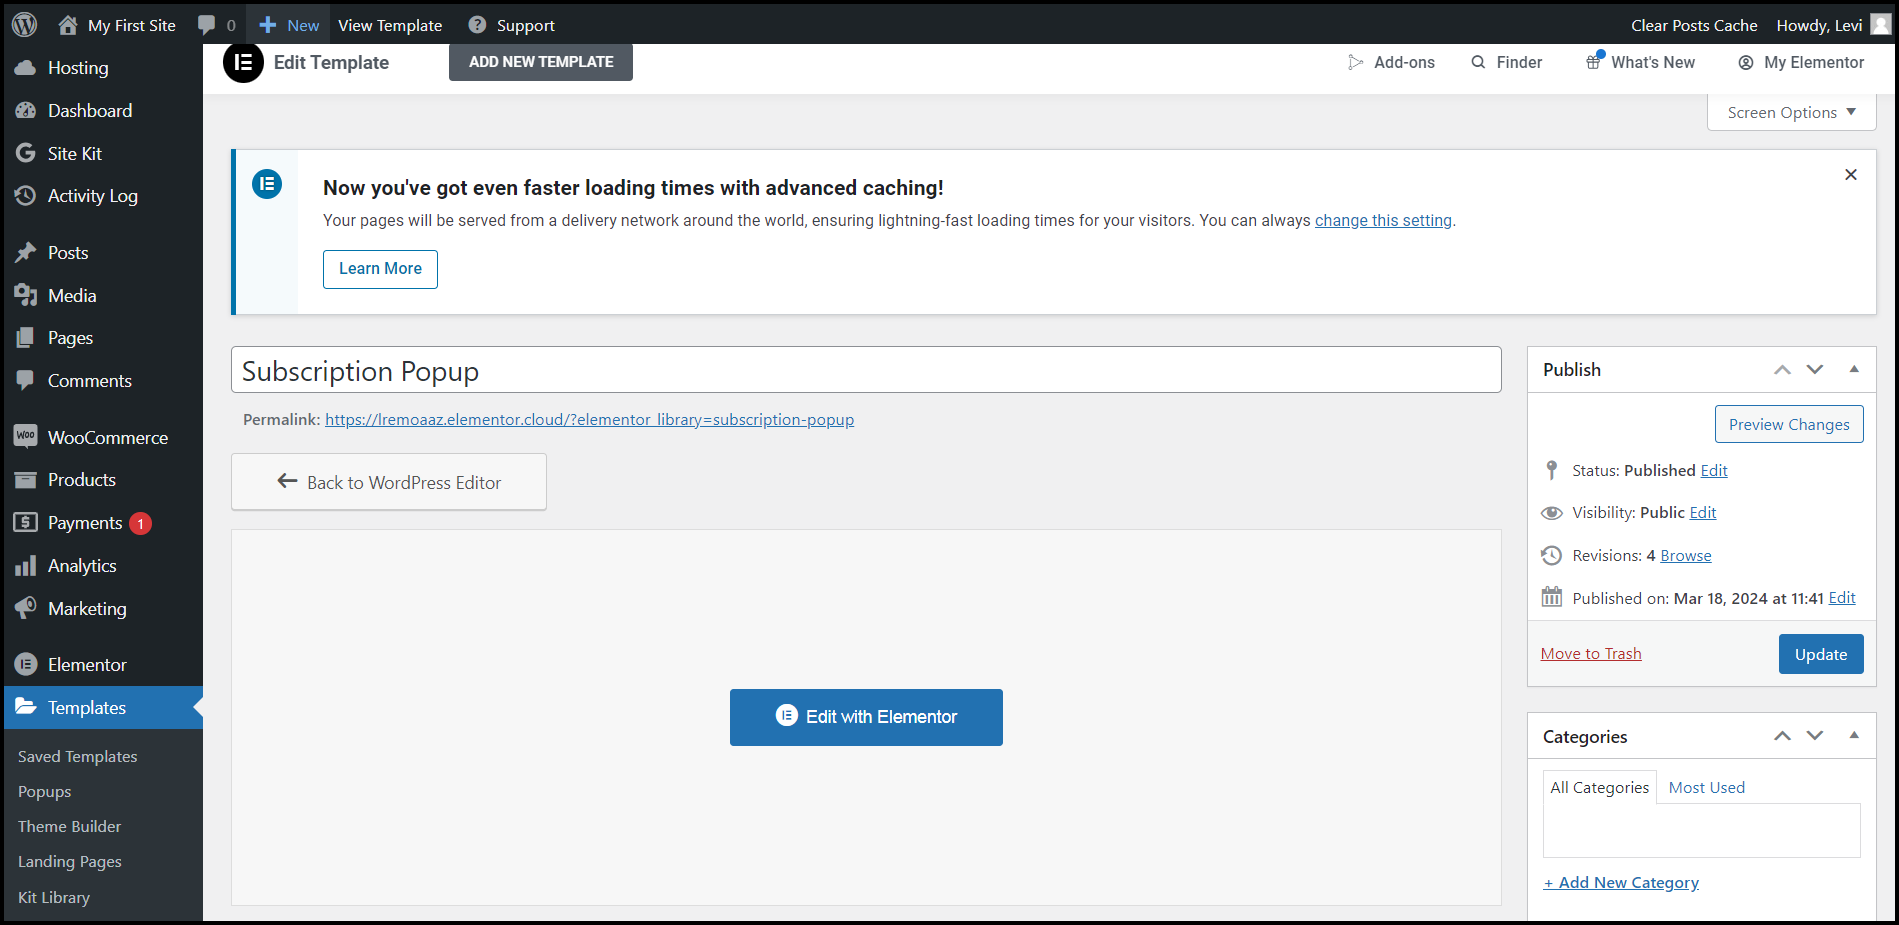
- Click Edit with Elementor.
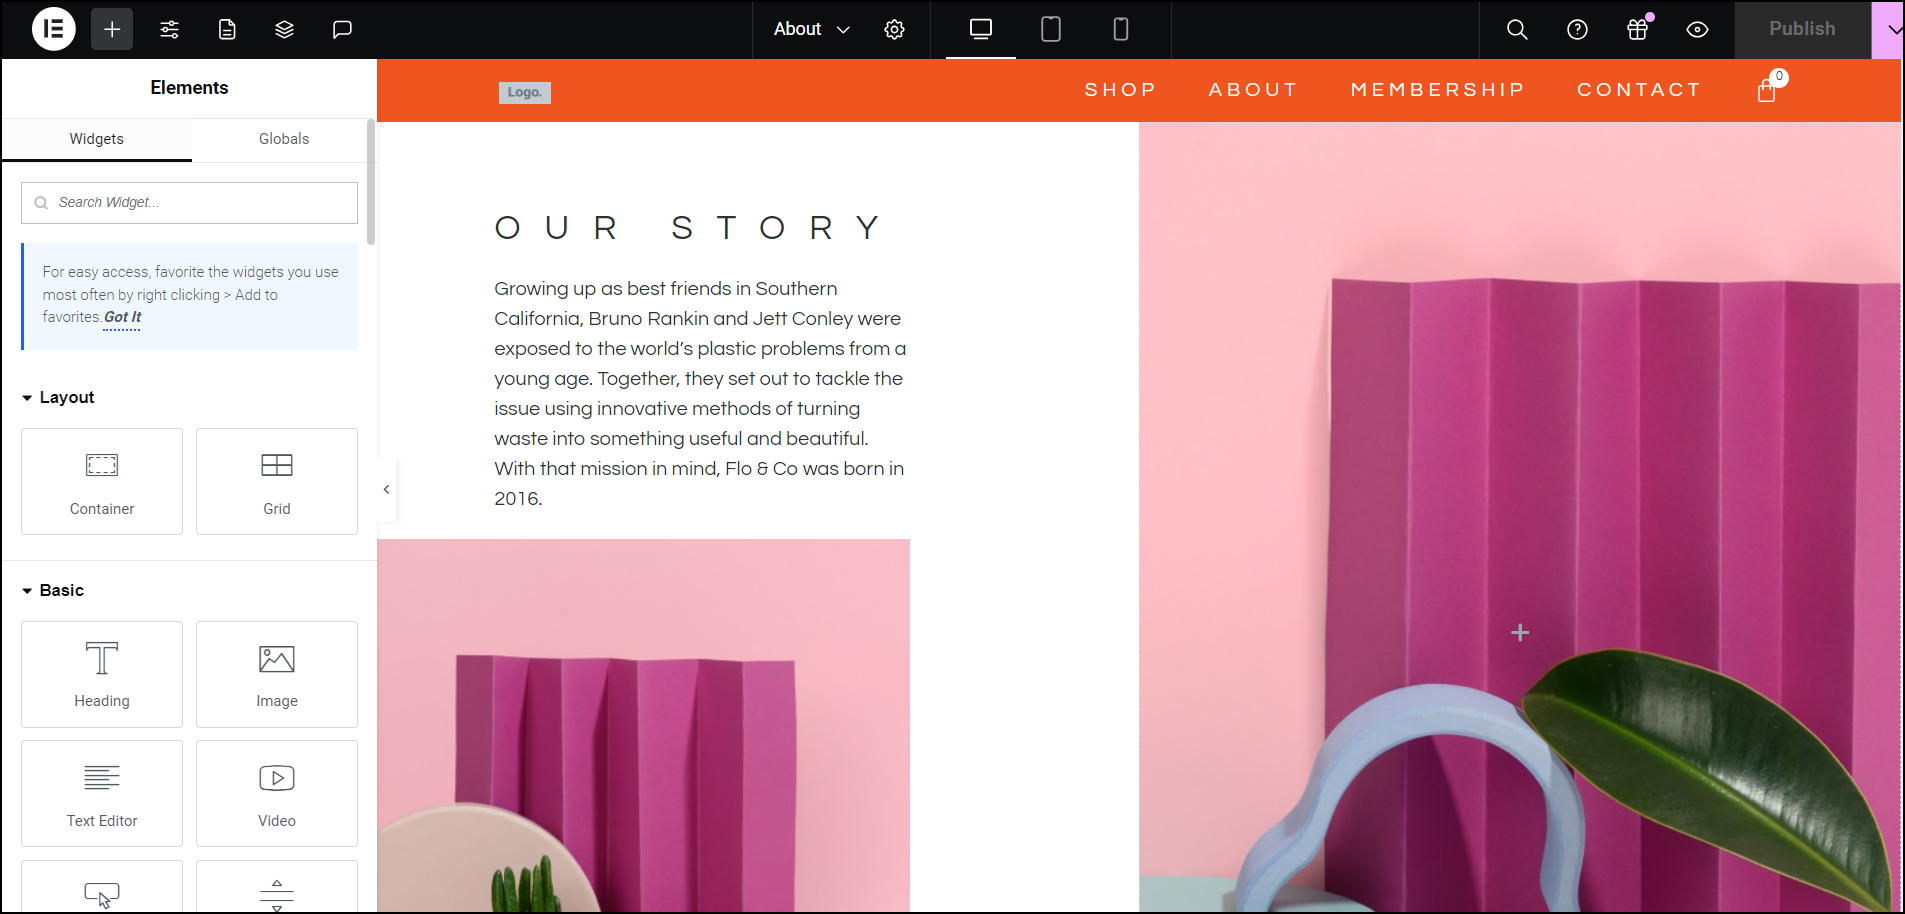
The Elementor Editor appears, displaying the popup on the right.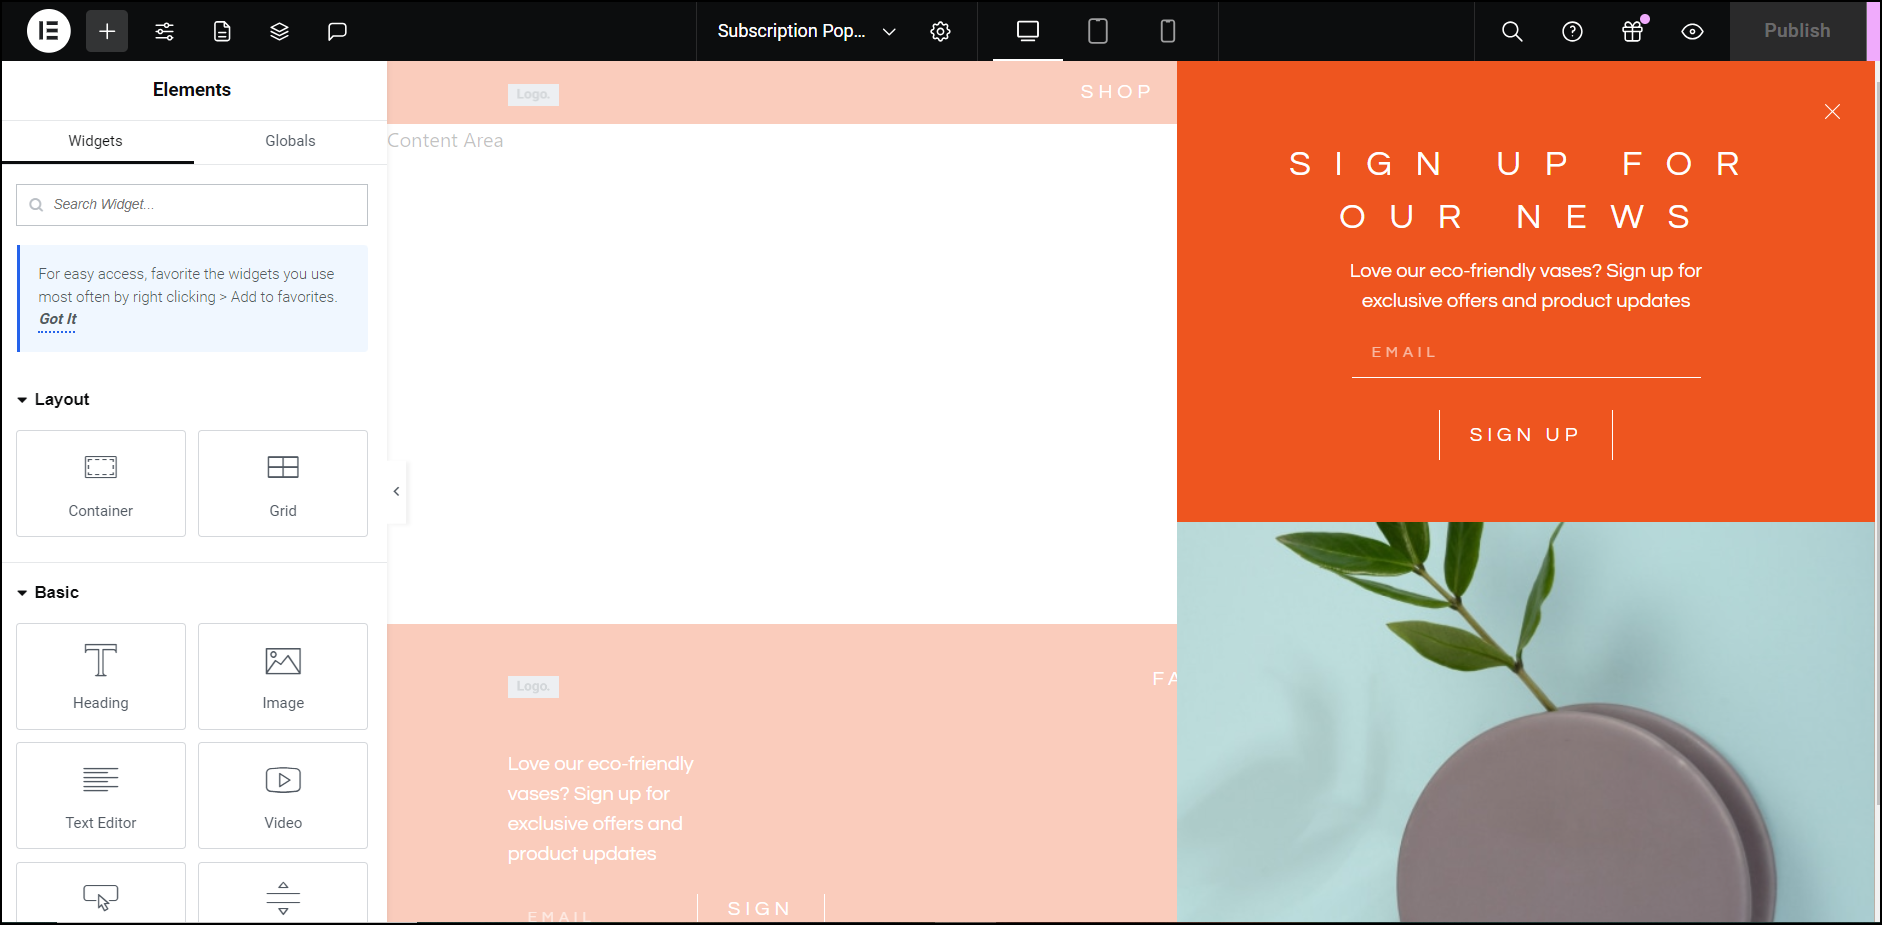
Make the necessary changes to the popup and update.
Customize kit site parts
The site parts are components or elements that form the site such as the header, footer, page, and post templates.
You can access the Kit site parts of your website through your WordPress Dashboard or your My ElementorDashboard.
Using WP Admin
To access the kit site parts using your WordPress Dashboard, follow the steps below.
- In WP Admin, navigate to Templates > Theme Builder.
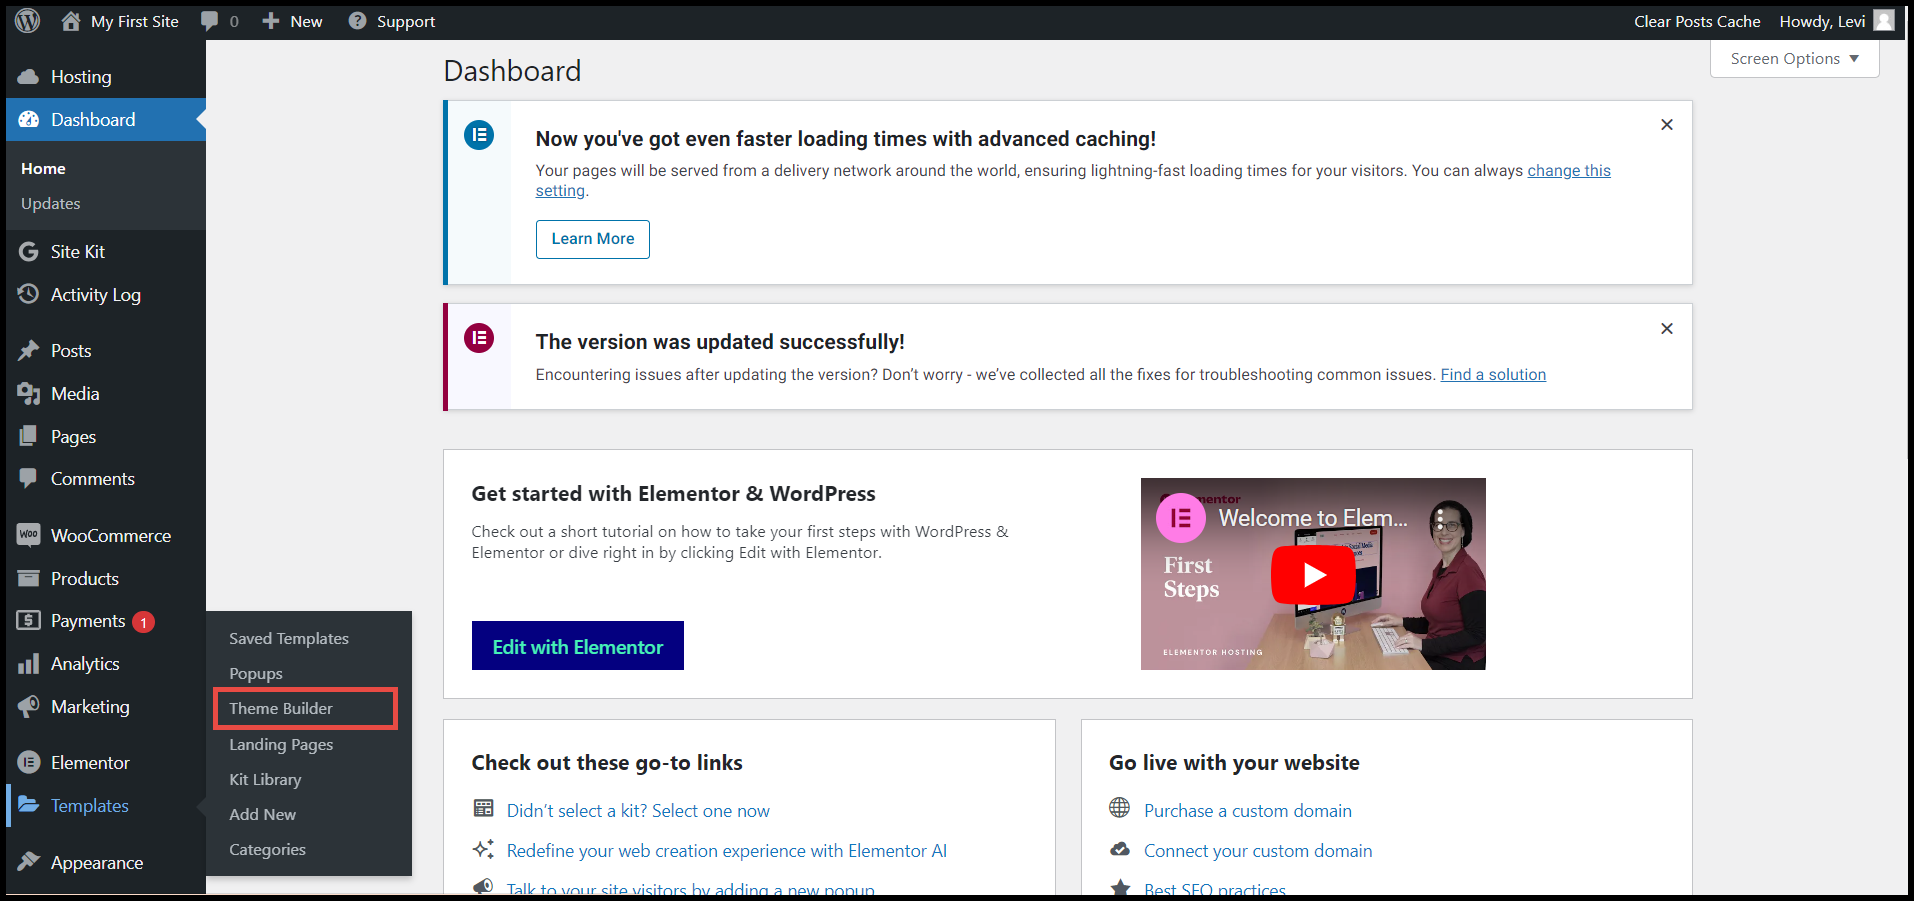
The Elementor Theme Builder appears.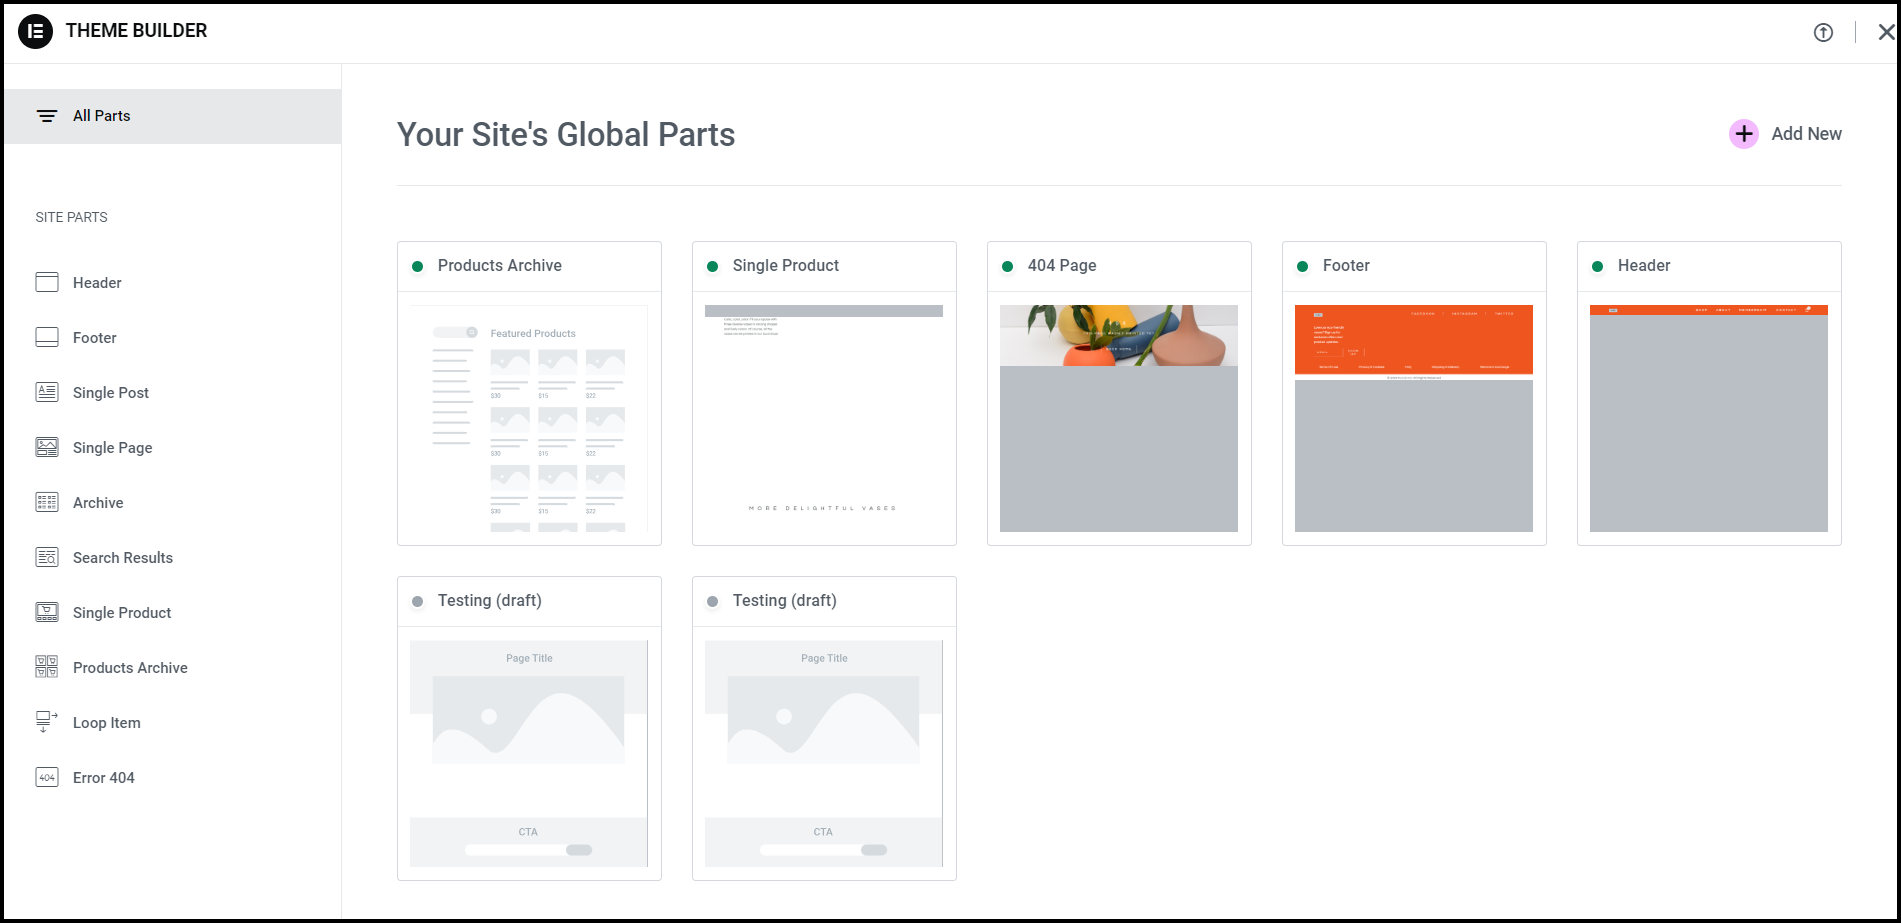
- Click the type of site part you want to edit.
- Click the site part you want to edit.
- The Elementor Editor opens with the site part in the canvas on the right.
Make the necessary changes to the site elements or components and update.
Using My Elementor dashboard
To access the Kit site parts using your My Elementor dashboard, follow the steps below:
- In your My Elementor Dashboard > Websites page, hover over the website card that you wish to access the pages and click Manage this website.
The Overview page appears.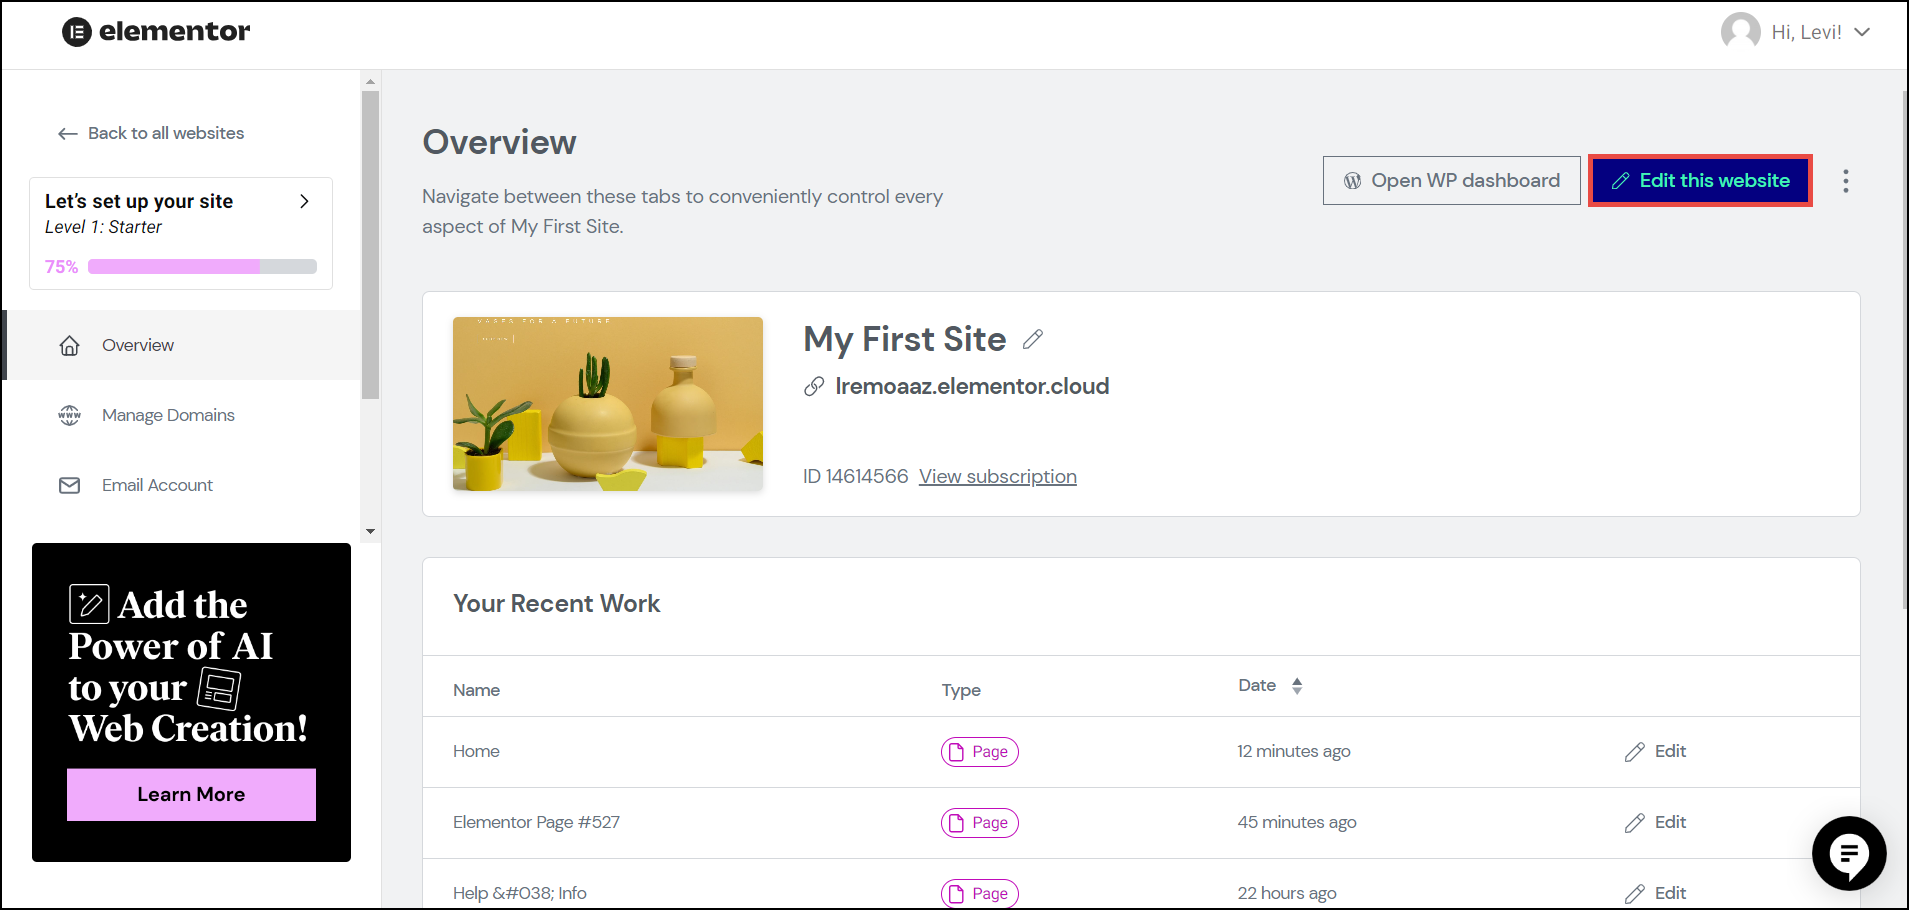
- Click Edit this website.
The Website editor appears.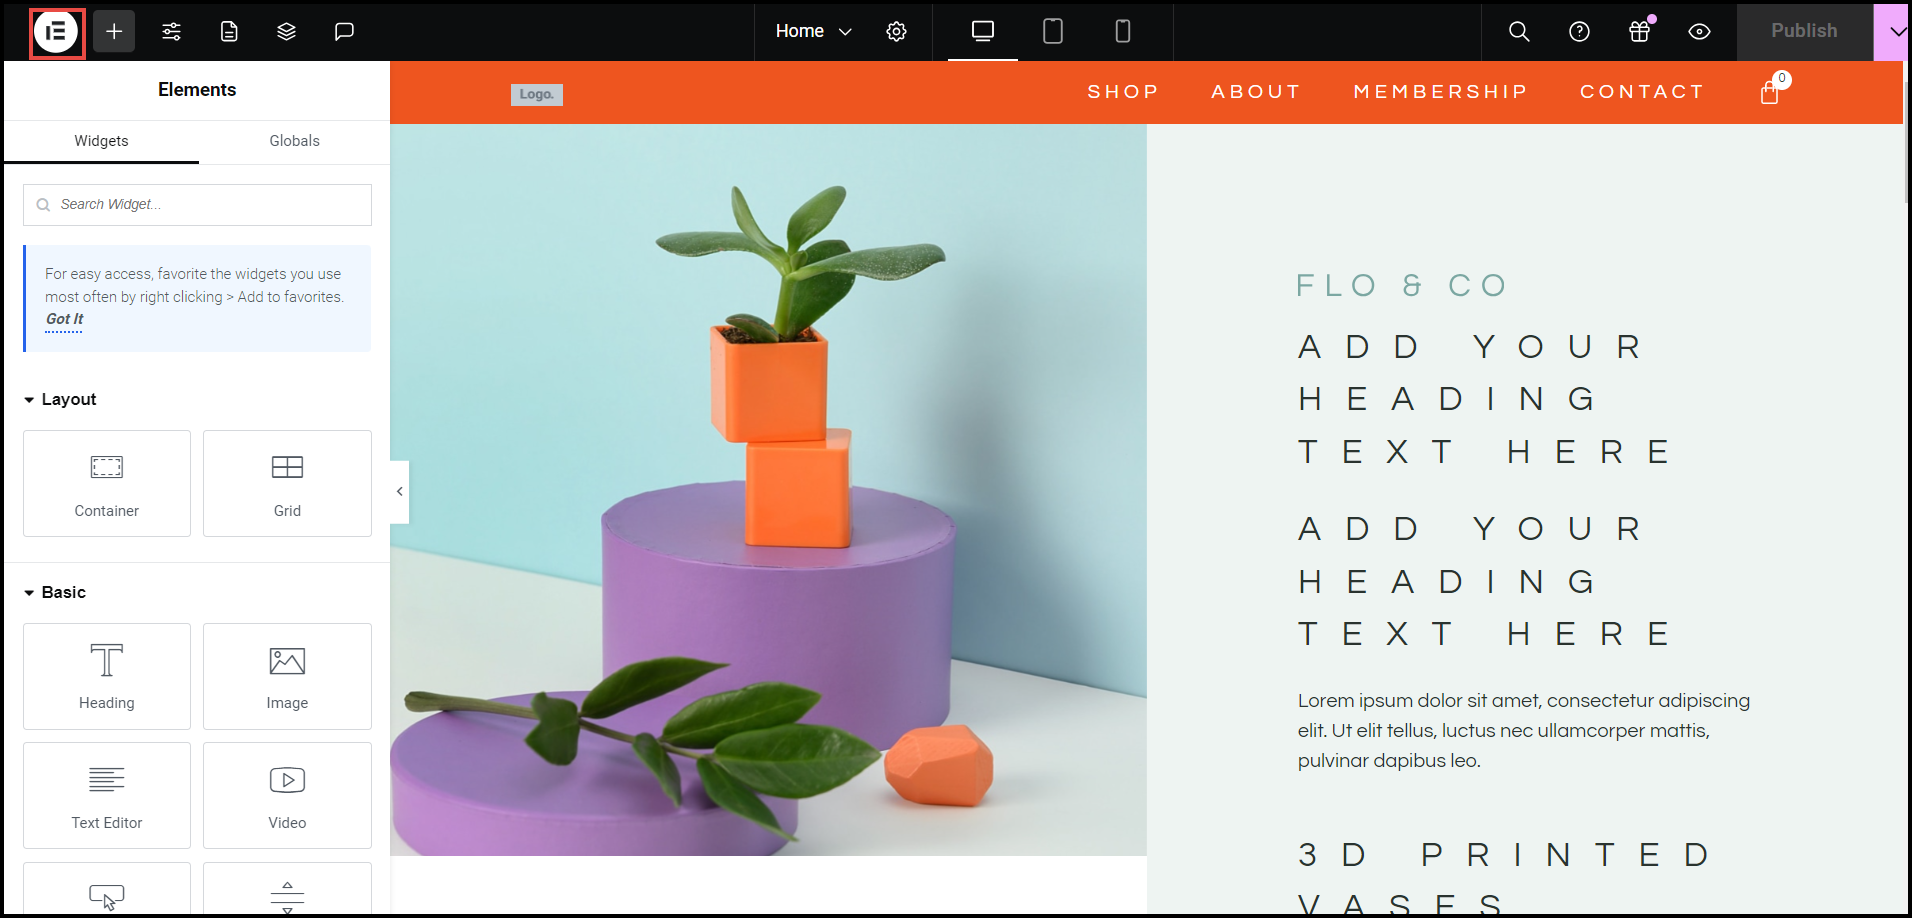
- In the upper left corner of the page, click the
 icon.
icon.
The dropdown menu appears.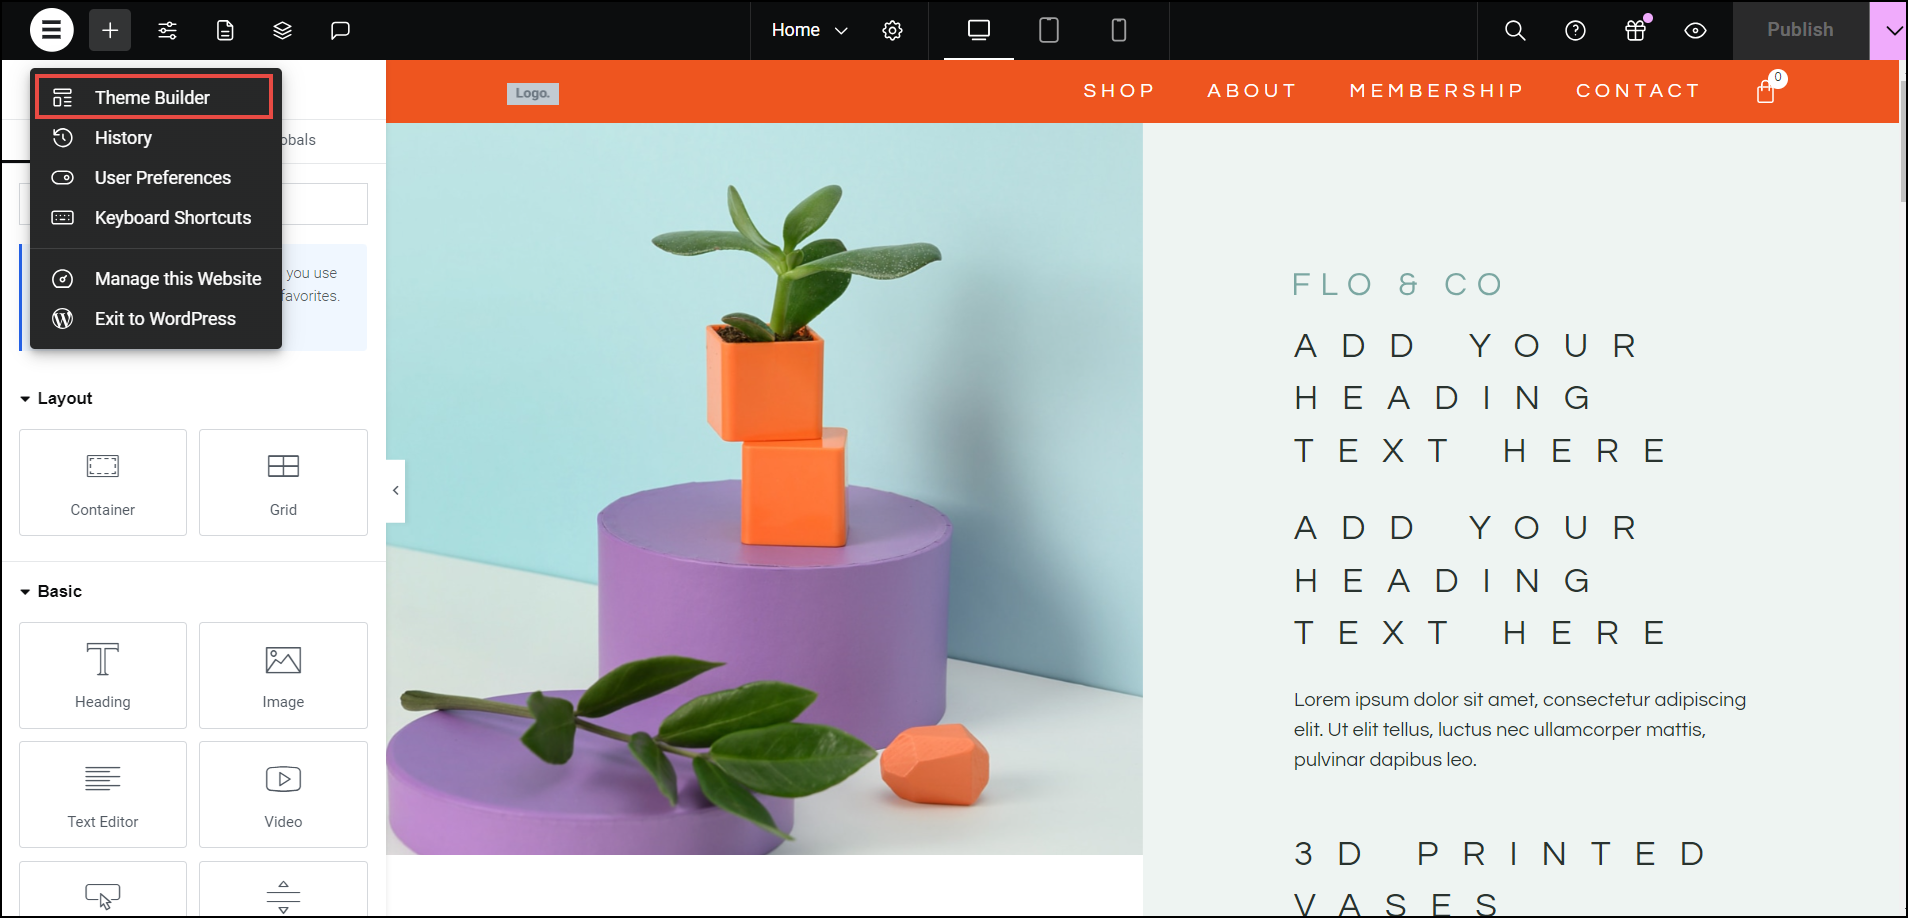
- Click Theme Builder.
The Theme Builder appears - Click the type of site part you want to edit.
- Click the site part you want to edit.
- The Elementor Editor opens with the site part in the canvas on the right.
Make the necessary changes to the site elements or components and update.
Customize the Global settings
You can customize the global preferences for global colors, fonts, etc, applicable across the website.
- Learn more about global fonts with View and edit global fonts.
- Learn more about global colors with View and edit global colors.
- Learn more about site settings in general with Configure site settings.
Preview, Save as draft, and Publish
After designing and customizing the website to your specifications, you can preview the website. After previewing, you have the option to save the website as a draft initially. When you are sure, you can publish it.
Learn more about saving and publishing your pages with Preview & publish your page.