Website templates overview
You can easily create professional-grade websites with the help of website templates, even if you do not know coding or designing.
Elementor website templates are fully customizable, SEO-friendly, and offer a great user experience. They provide complete design and structure for a website, including webpages, forms, dialogs, and other features, ensuring you do not forget any essential components to be added to your website.
What is included in a Website template?
All the Elementor website templates provide a common theme or style but vary in content. Most of them include headers with navigation menus and buttons. Some have a footer containing contact information, a website map, and social media links. Additionally, commonly used page templates such as the 404 error page, About us page, and templates with global colors and global fonts are available in most of the templates.
You can customize each page after importing them.
Access a website template
You can install a template in two ways:
When you install Elementor
You can start building your website by selecting the website template during the initial setup of your site. The website template wizard will guide you through the template selection process, easing the narrowing down process of the component selection based on the type of site you want to build and your experience level.
From WP Admin
Suppose you are a plugin user or a hosted website user who has not installed a templates yet, you can now install templates by going to WP Admin and Navigating to Templates > Website Templates.
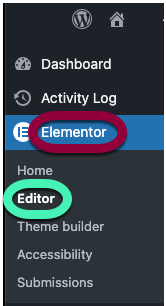
- From WP Admin, navigate to Elementor>Editor.
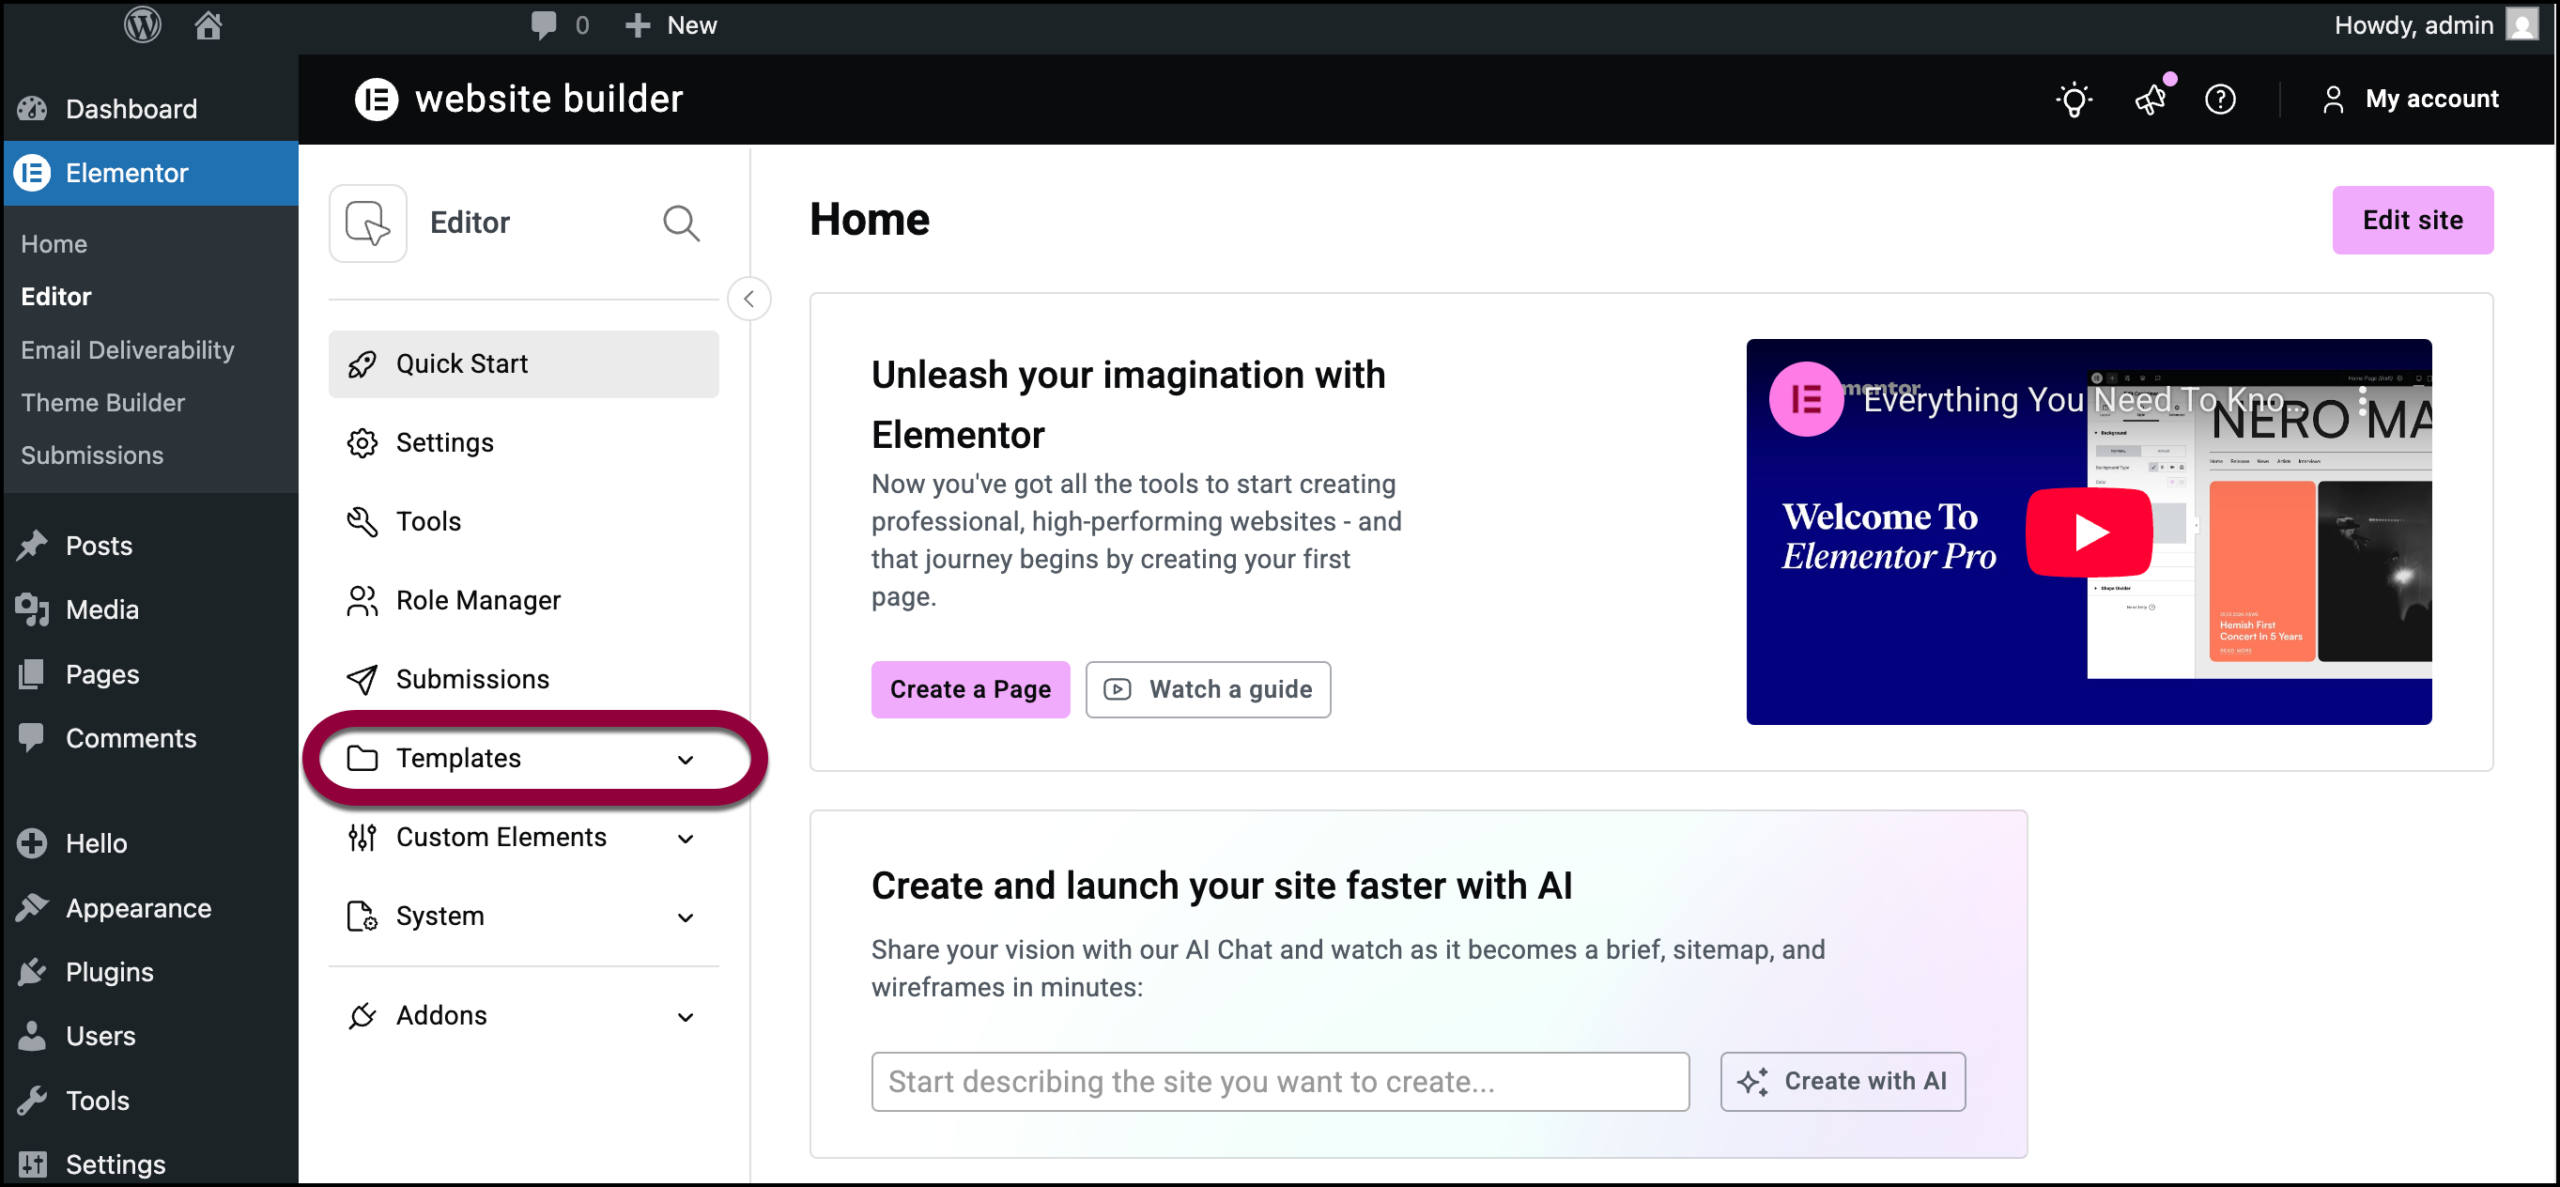
- On the left navigation menu, open the Templates field.
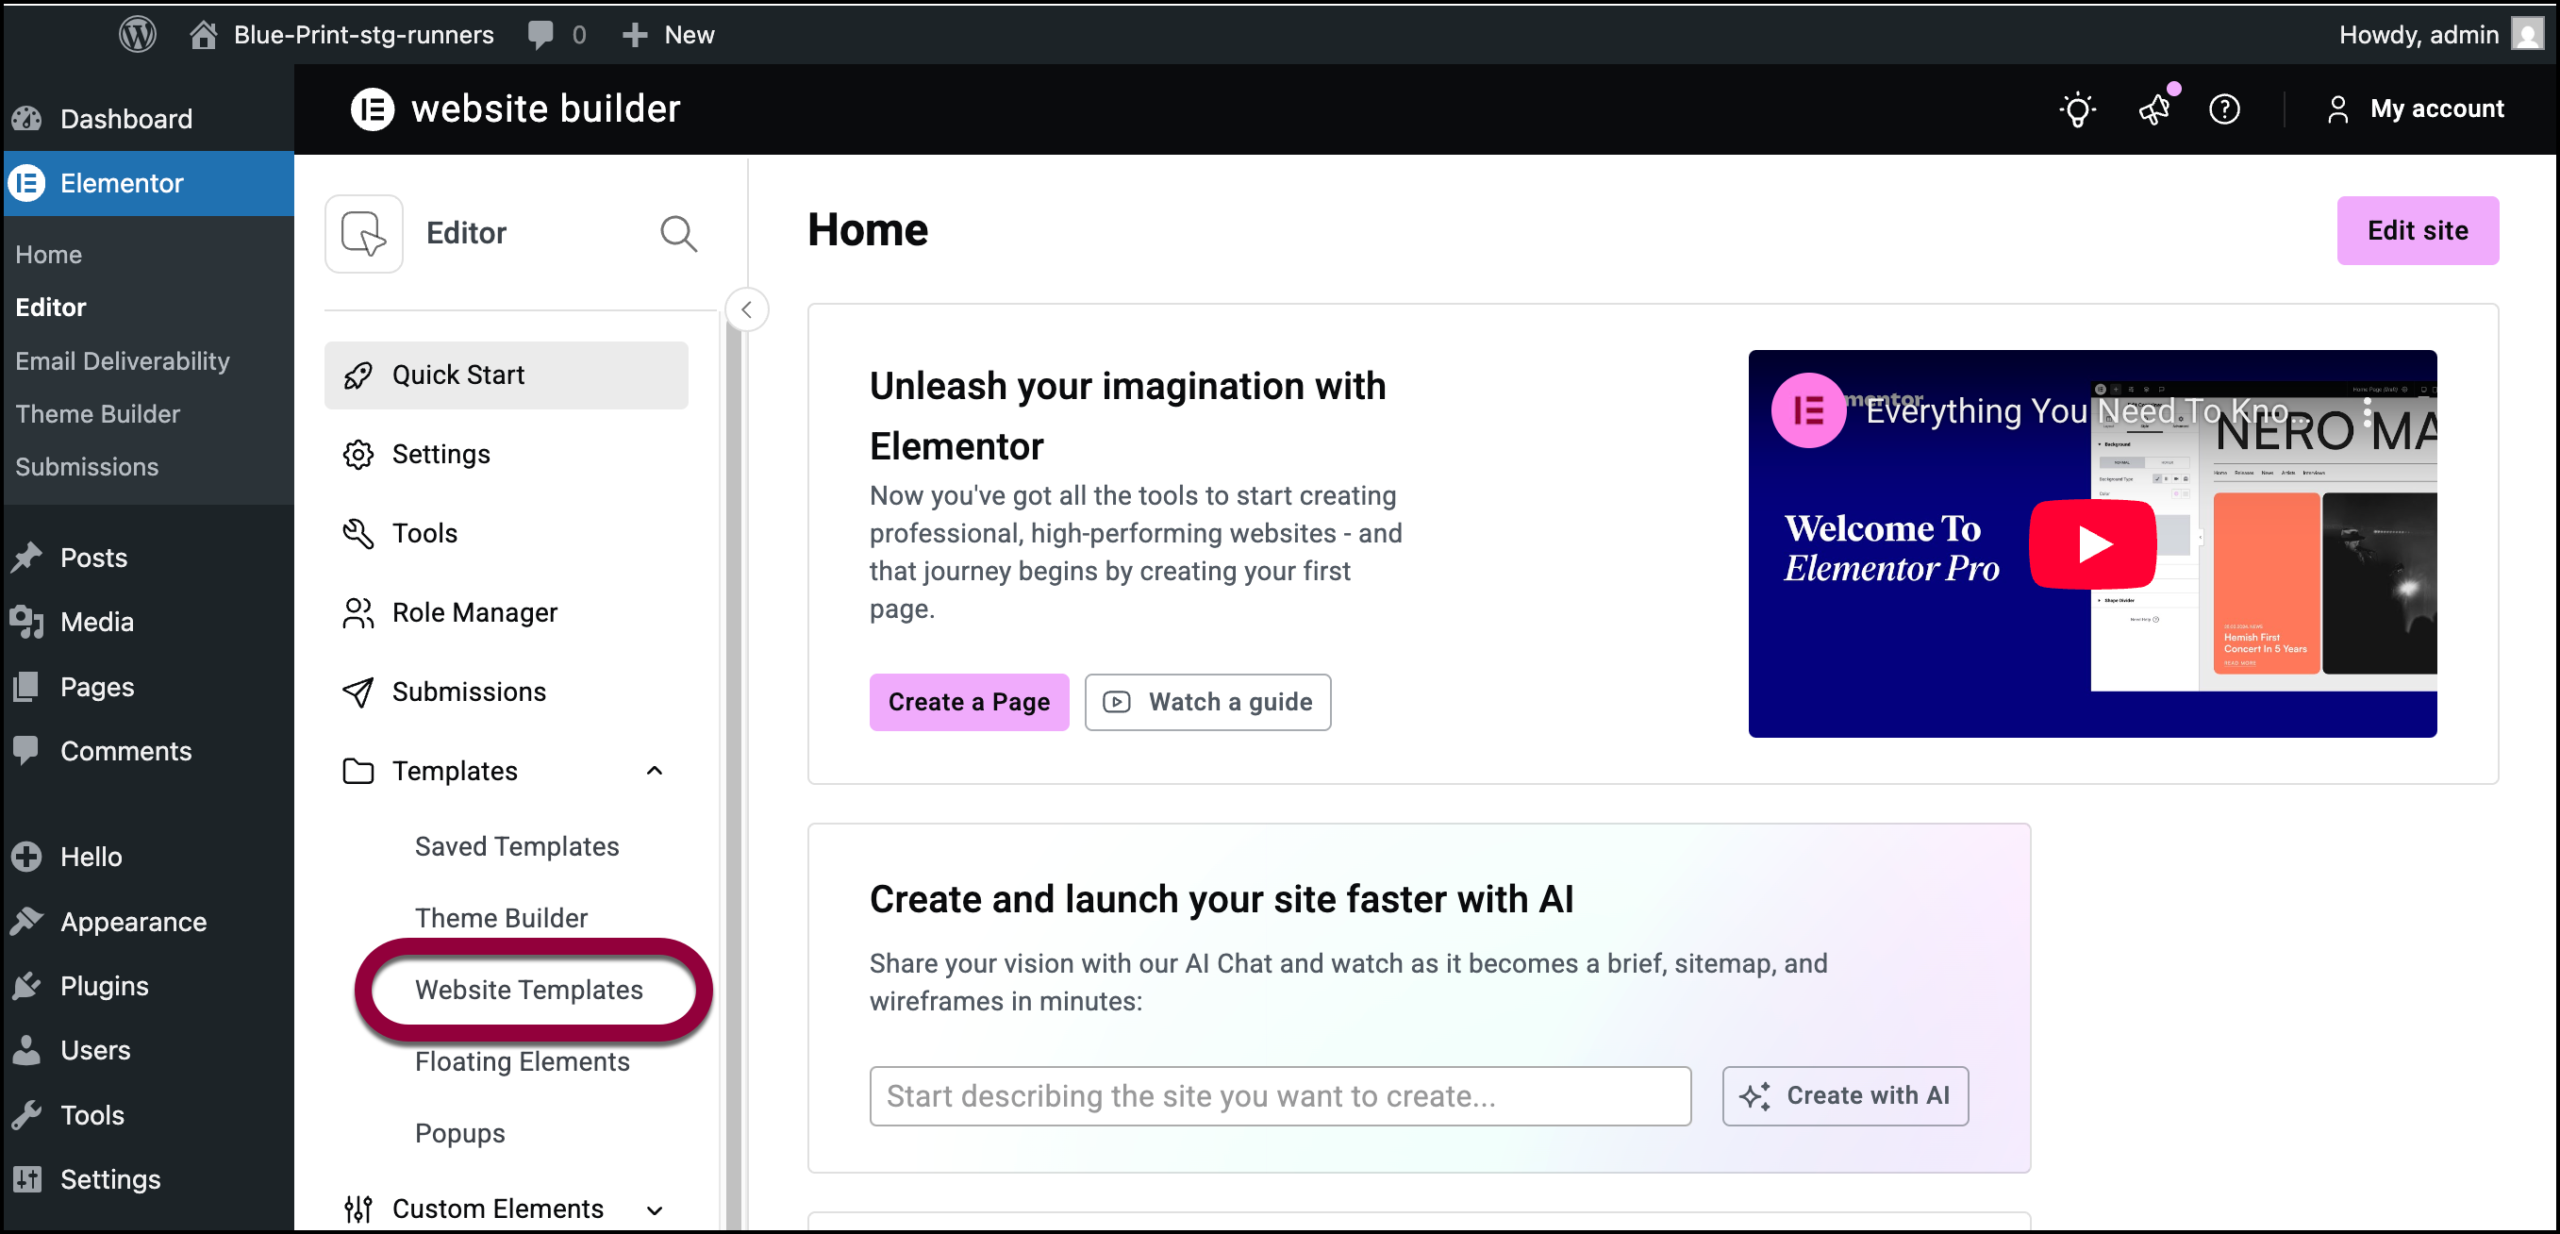
- Click Website Templates.
The Website templates page appears.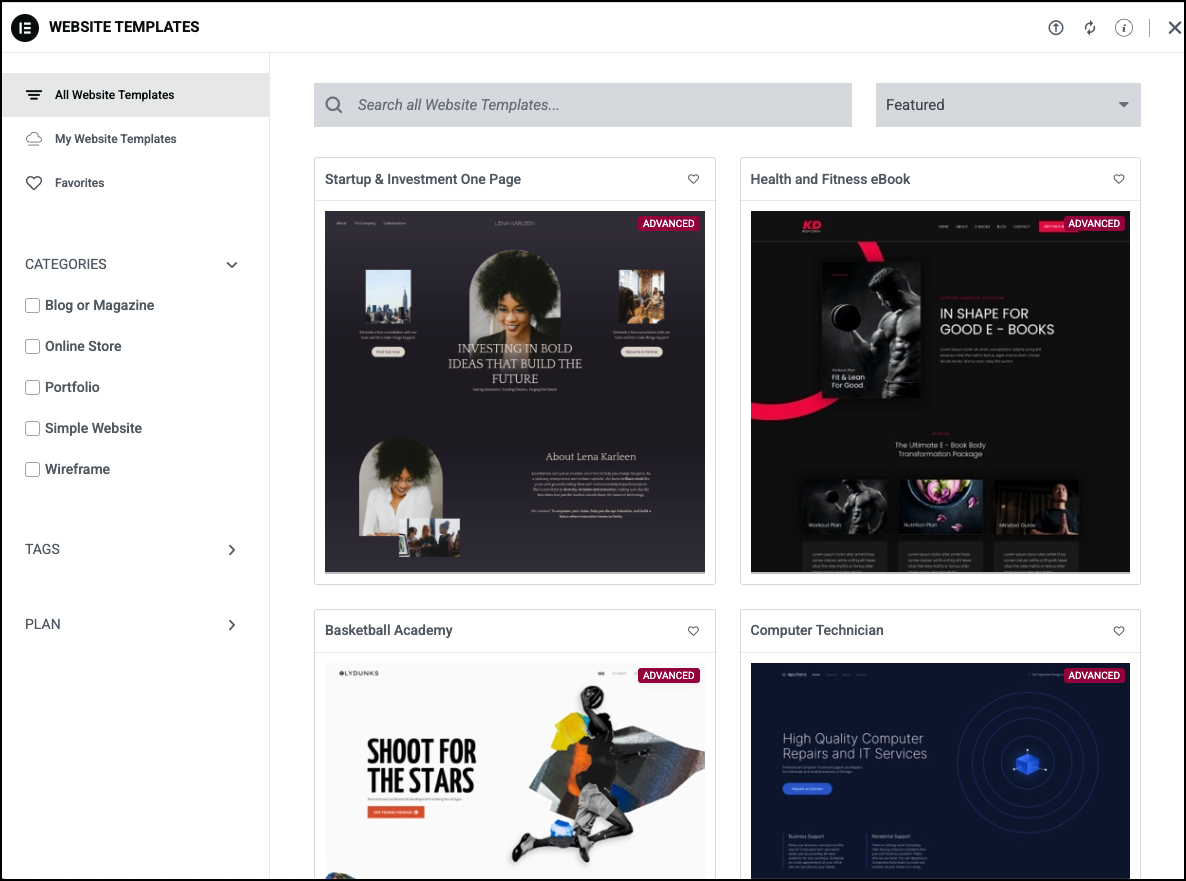
- On the Website templates page, scroll through the various website templates and select the one that best suits your requirements.
On the Website templates page, you can narrow down the Website temmplates page content using the following options.- On the top of the page, in the Search all Website Templates bar, enter a specific term based on which you wish to narrow down the page content.
- On the upper right corner of the page, select the feature based on which you wish to order the page content. The available options are
- Featured – The page displays the most recommended option.
- New – The page displays the most recently added website templates with new features for the website.
- Popular – The page displays the most sought-after website templates.
- Trending – The page displays the most sought-after website templates that gain quick popularity.
- On the left navigation menu, from the Categories section, select the category based on which you wish to narrow down the page content.
- On the left navigation menu, from the Tags section, select the tag based on which you wish to narrow down the page content.