To install a website template, follow the steps below:
- Navigate to your WP Admin.
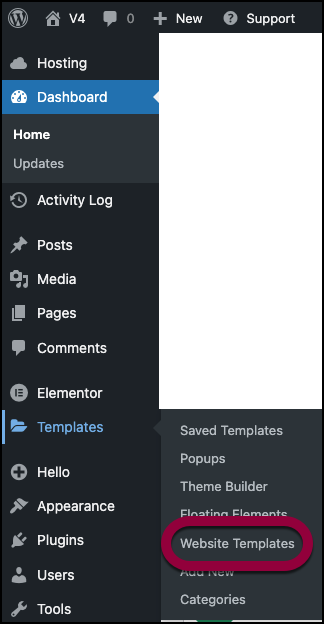
- On the left navigation menu, click Templates > Website Templates.
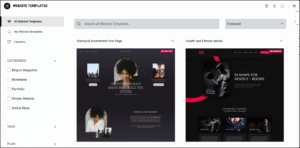
The Kit Library page appears.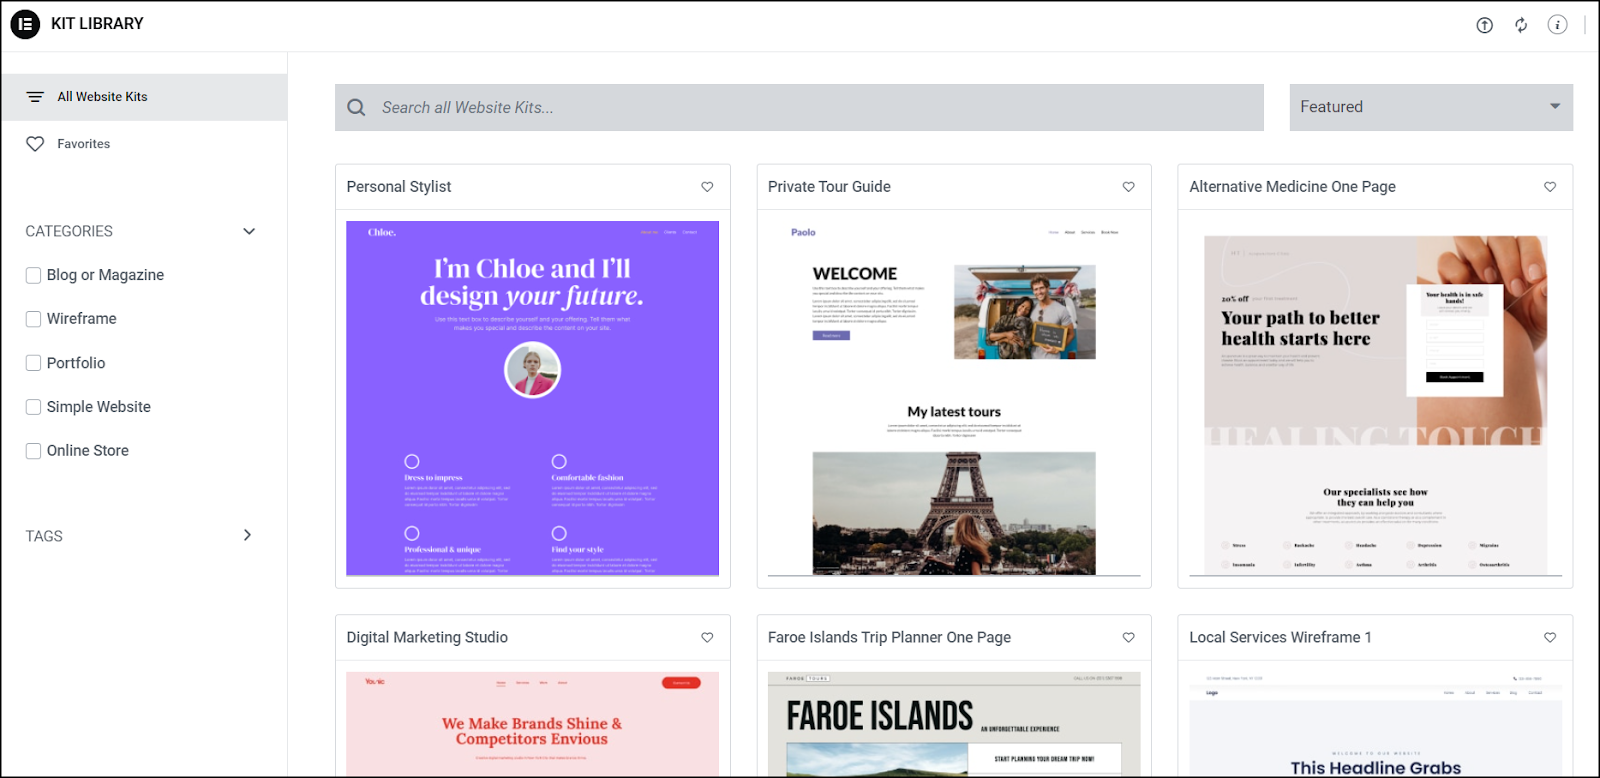
- Hover over a the website template you wish to apply.
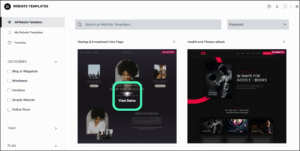
On the selected template, the View Demo option appears. - Click View Demo.
The preview of the website pages appears, allowing you to view the pages as they appear on a desktop, tablet, and mobile device.
The icons on the top of the Website Template page allow you to preview the page appearance of different screen types: desktop, tablet, and mobile.
 NoteIn some cases, you may run into issues installing kits because of their size. For situations like this, you can download the kit as a zip file by clicking the download button in the upper right corner.
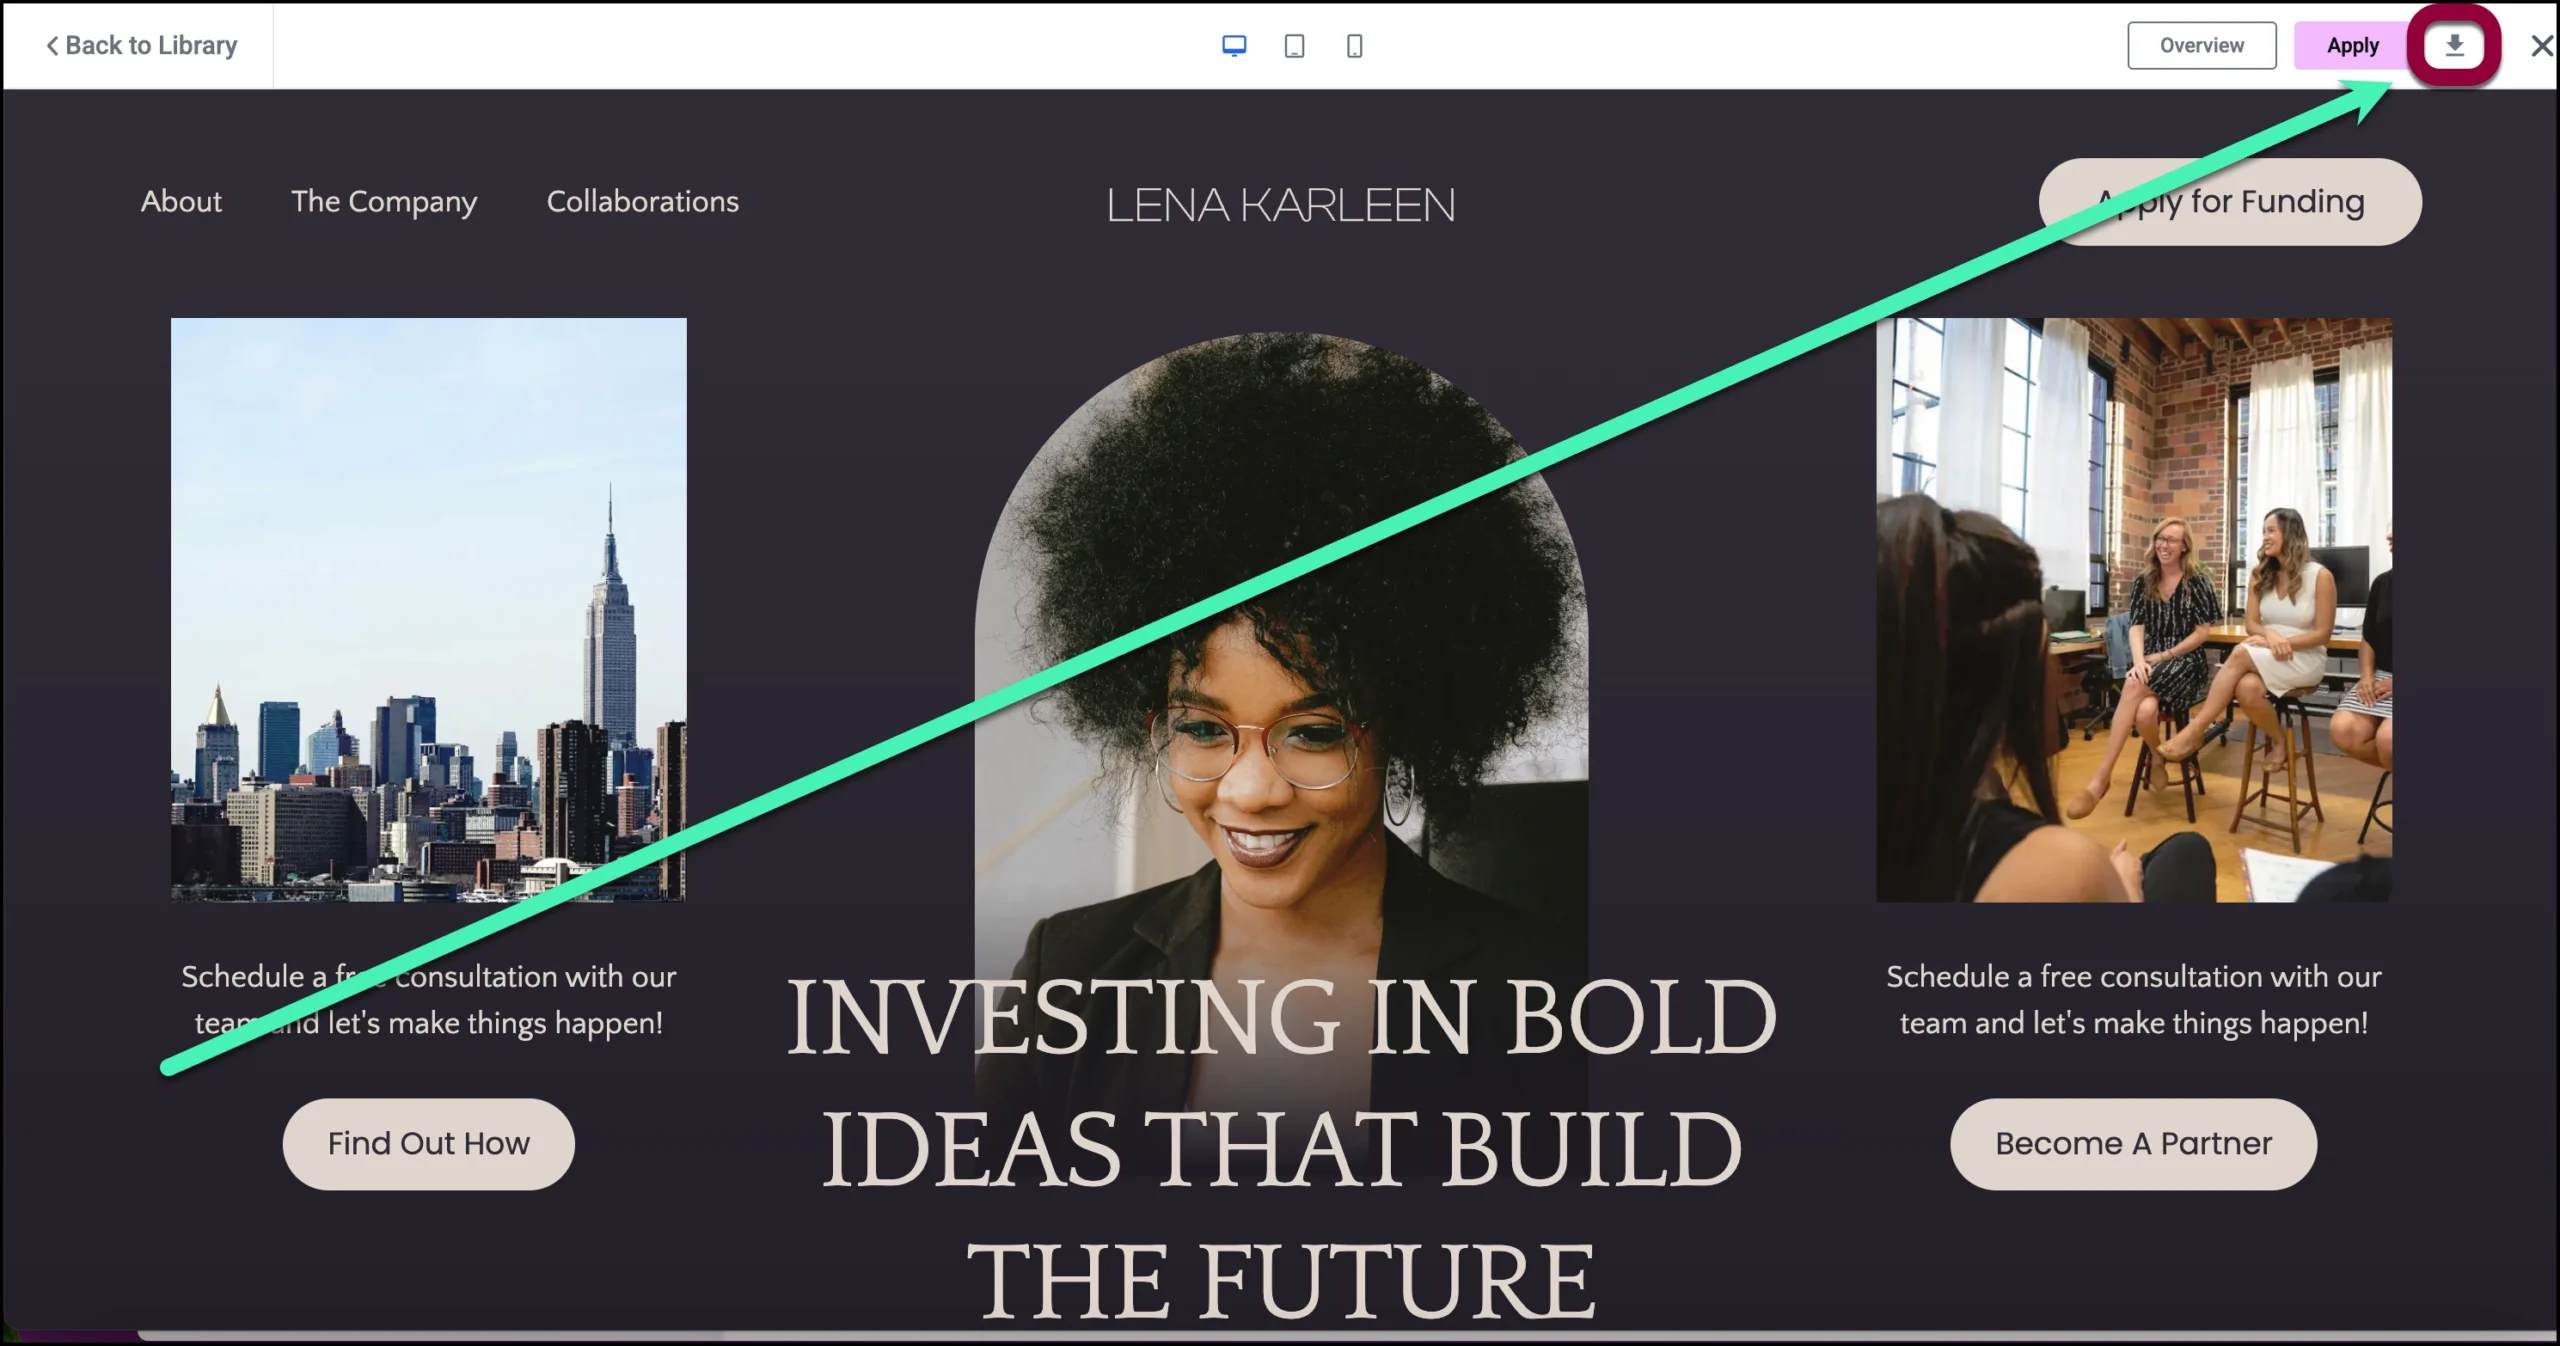
- On the upper right corner, click Overview.
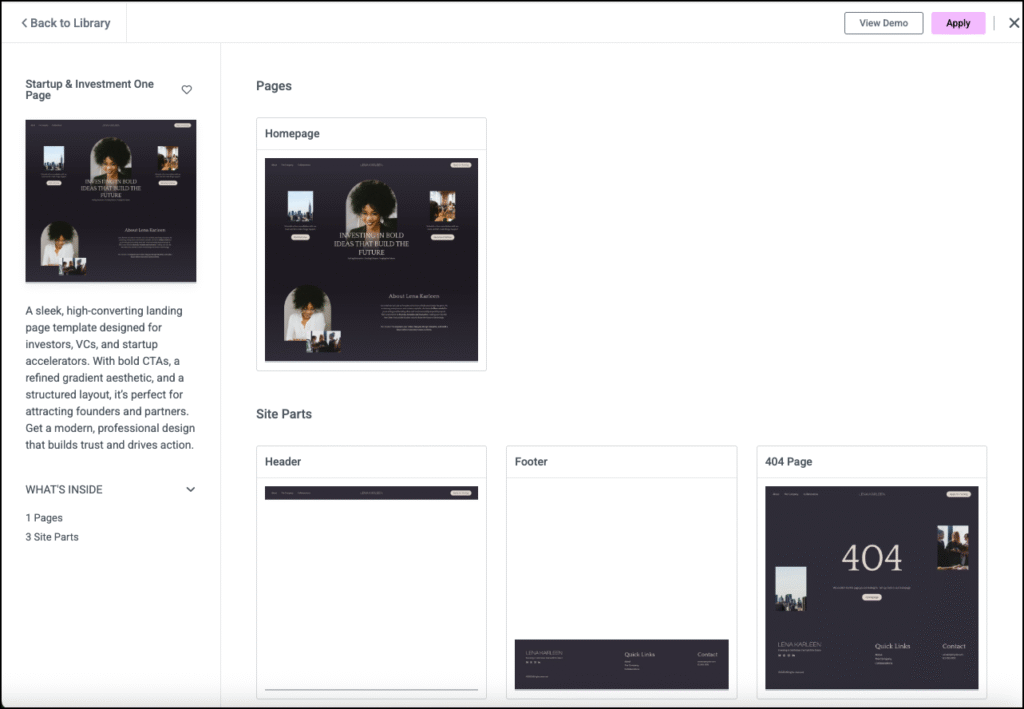
All the pages and site parts such as header, footer, page and templates, archives, and 404 pages available on the Website kit for importing appear.
- On the upper right corner of the page, click Apply.
The Apply dialog appears.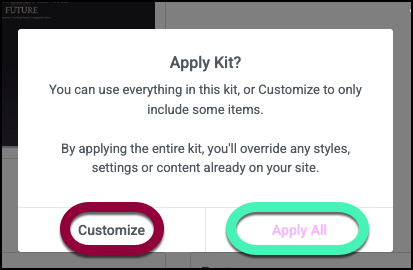
- Click Customize to tailor the content of the website. Otherwise, click Apply All.NoteWhen you click Apply All, you will be redirected directly to the IMPORT > Setting up your template page.
The IMPORT page appears when you click Customize.
Import Settings and Content
You can import the templates, content, and global site settings.

- Select the plugins that you wish to import.
- Click Next.
The IMPORT page to select the parts that you wish to apply appears.
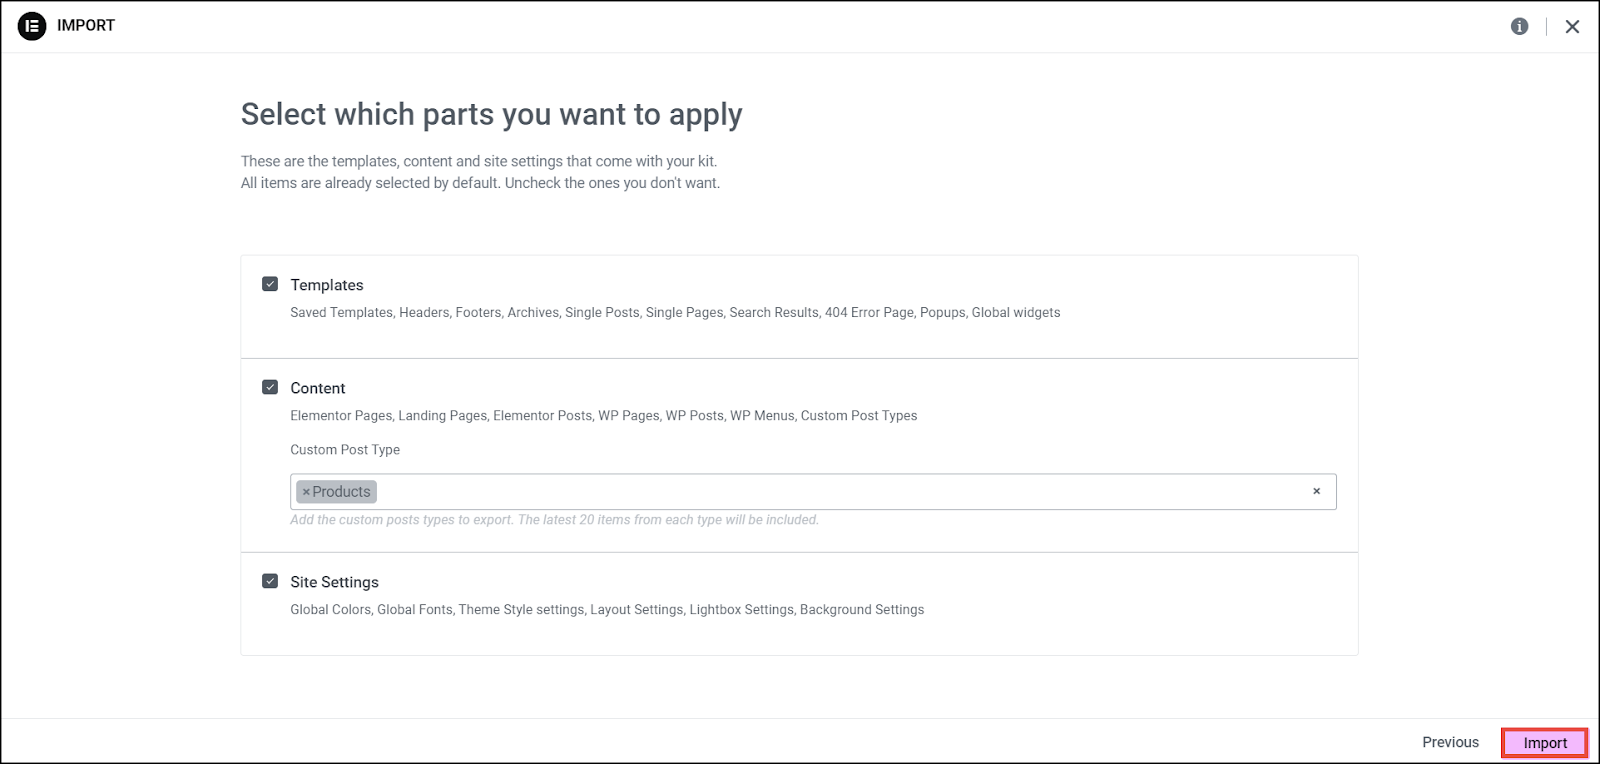
- Check the box Templates if you wish to import all the templates.
- Check the box Content to import contents and select the custom post type from the Custom Post Type dropdown list.
- Check the box Site Settings to import the Global Colors, Global Fonts, Theme Style settings, Layout Settings, Lightbox Settings, and Background Settings from the website template.
- Click Import.
The dialog to enable unfiltered file uploads appears.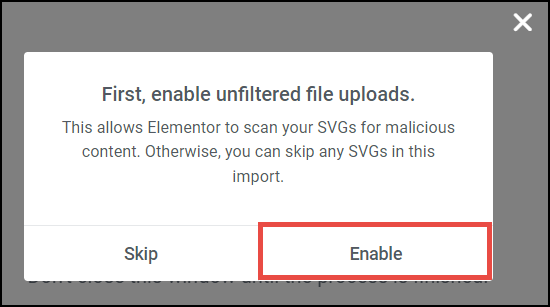
- Click Enable to import SVGs before applying the kit. We highly recommend you allow it.
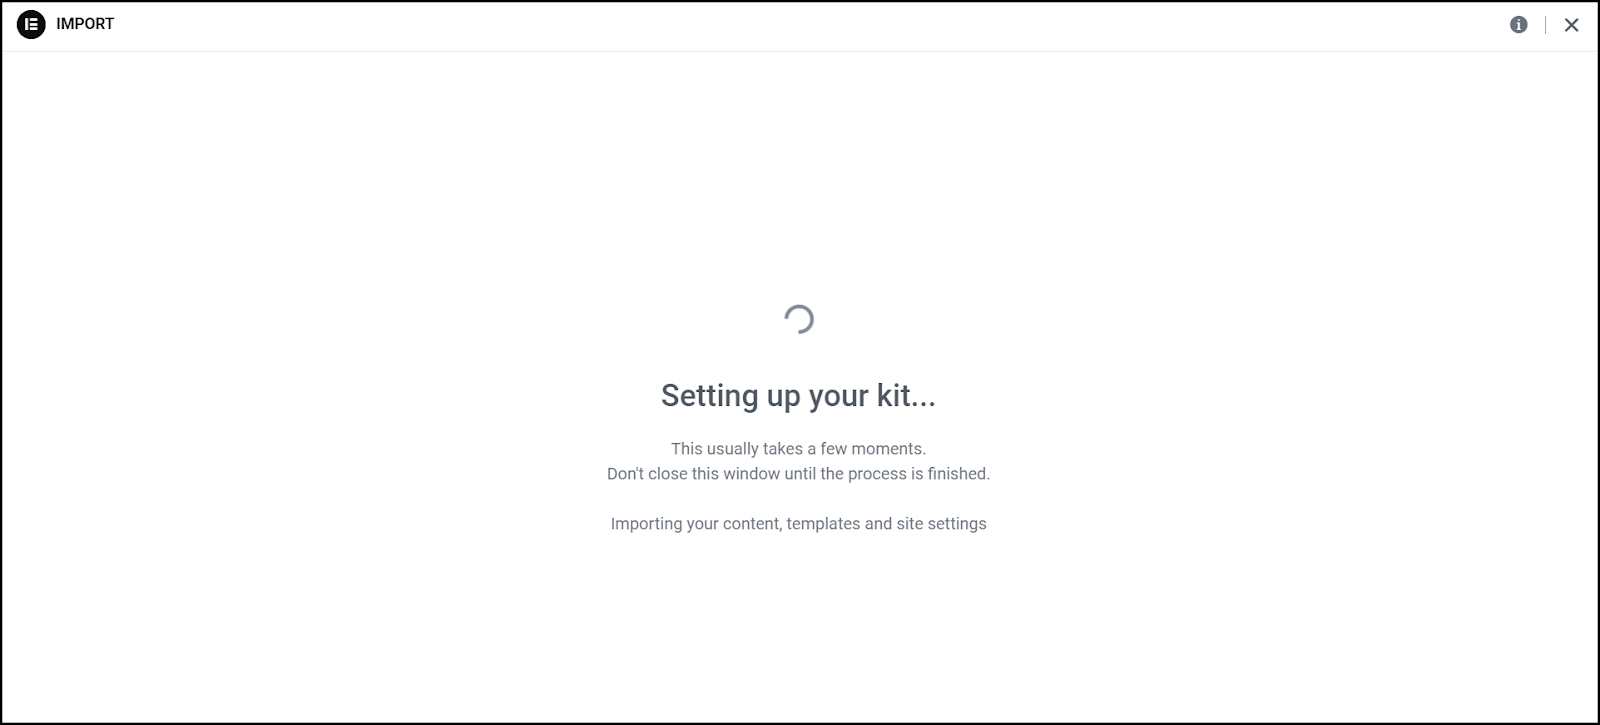
The IMPORT > Setting up your template page appears. Please wait for the importer to complete the process, and ensure not to close the screen until finished.
The successful application of the selected template page appears.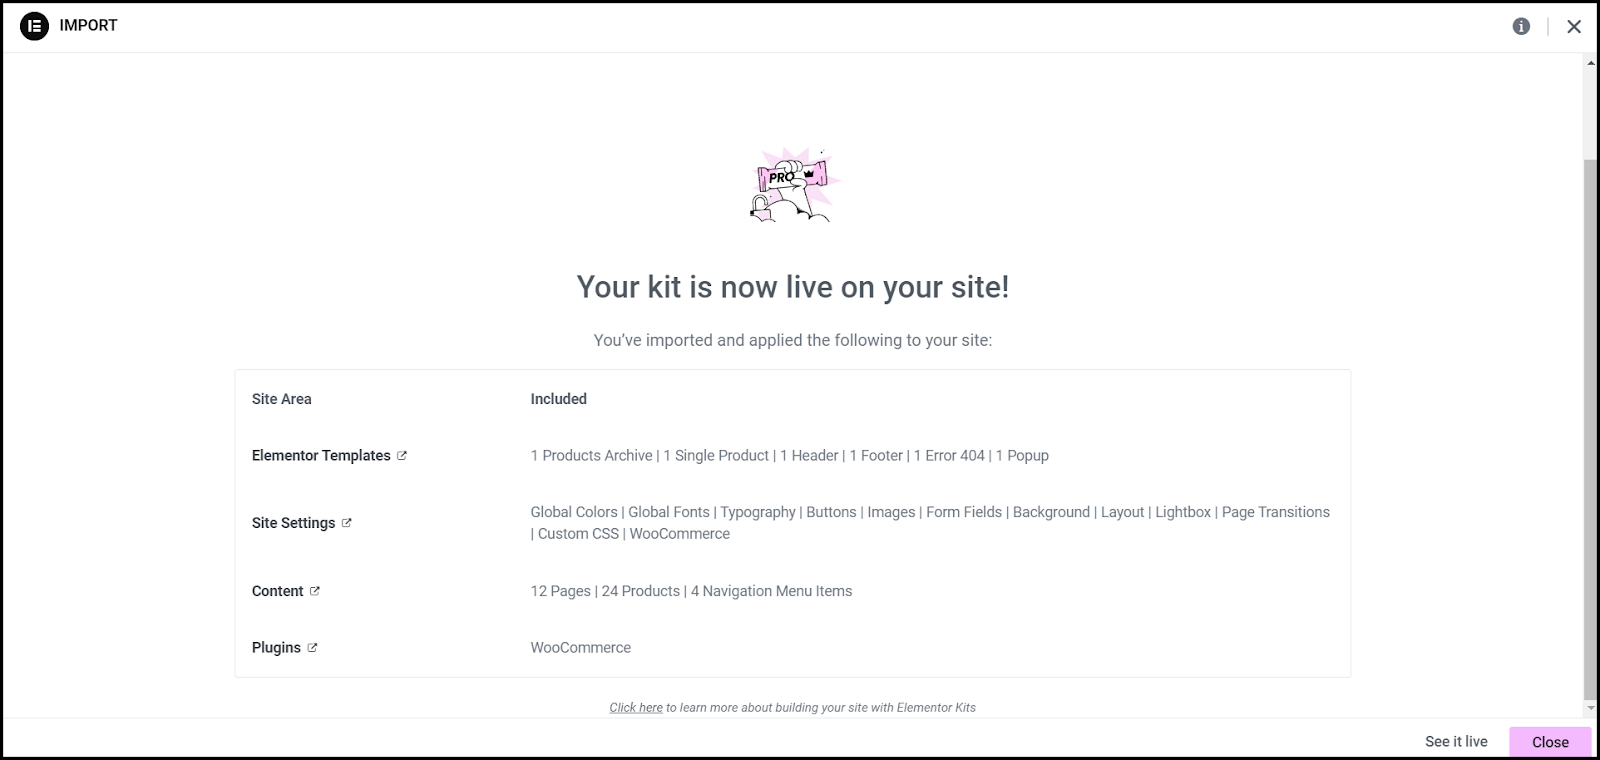 NoteWe highly recommend you install its on a clean WordPress website with no other kits, headers, footers, etc., previously installed. This recommendation is to avoid any conflict within your website that may arise due to the new kits overwriting or appending your current site data.
Please refer How do I delete my Elementor Host website to start over again? for information on how to start with a clean website. All users can export their sites using the Export process.
- Click Close.
- Navigate back to WP Admin , and on the left navigation menu, click Pages.
The Pages page appears, allowing you to view all the new pages added. You can customize them individually as needed.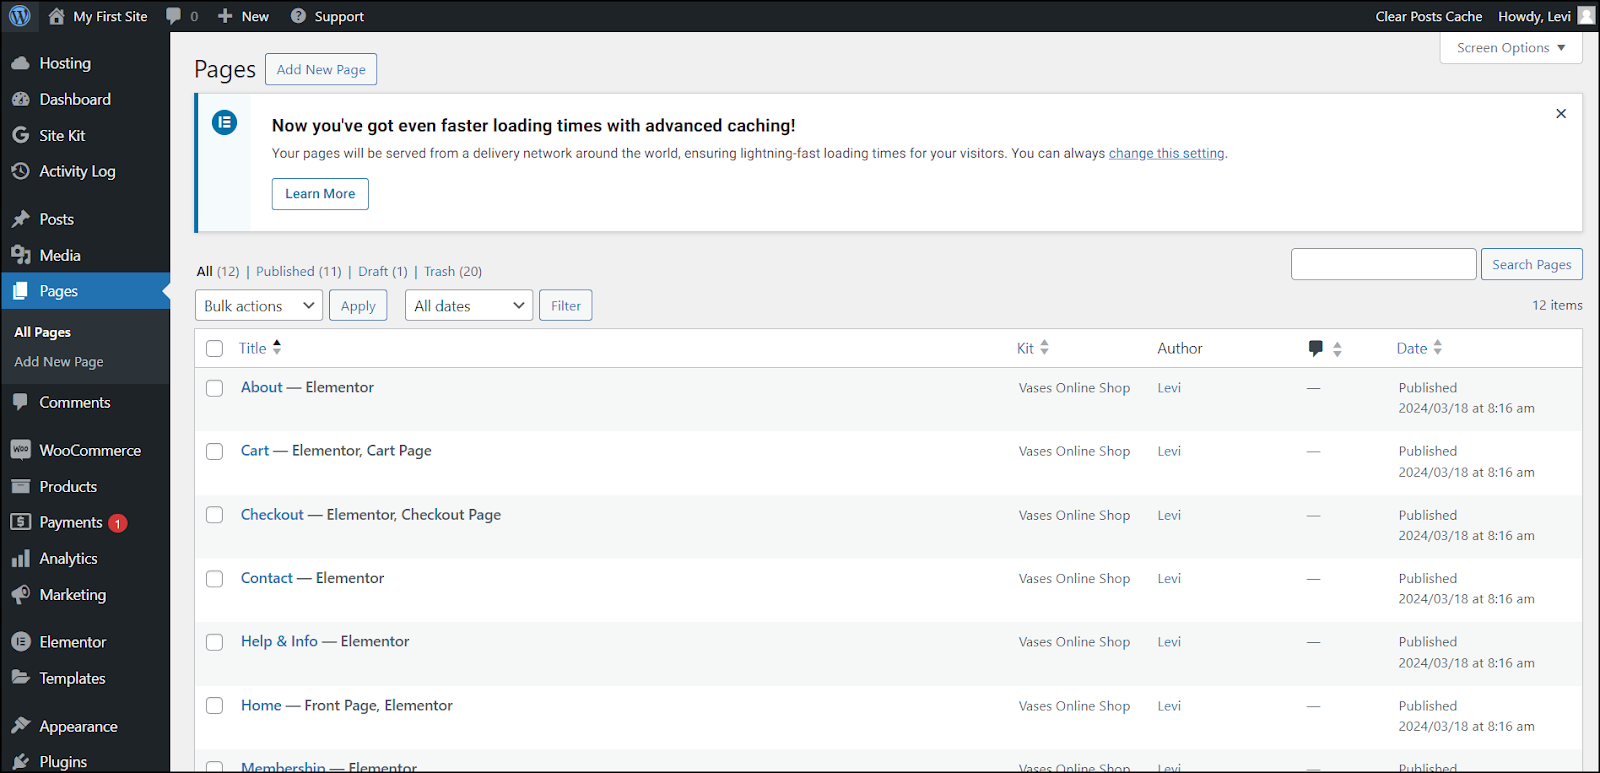 NoteThis articles applies to Elementor website kits. Elementor does not provide support for third party templates. If you run into issues with these templates, contact the theme author for support.