Overview
You can update the site identity to refresh your brand identity and enhance user experience, giving you a competitive advantage.
Update the site identity, description, logo, and favicon
To update the identity of the site, site description, logo, and favicon of the site, follow the steps below:
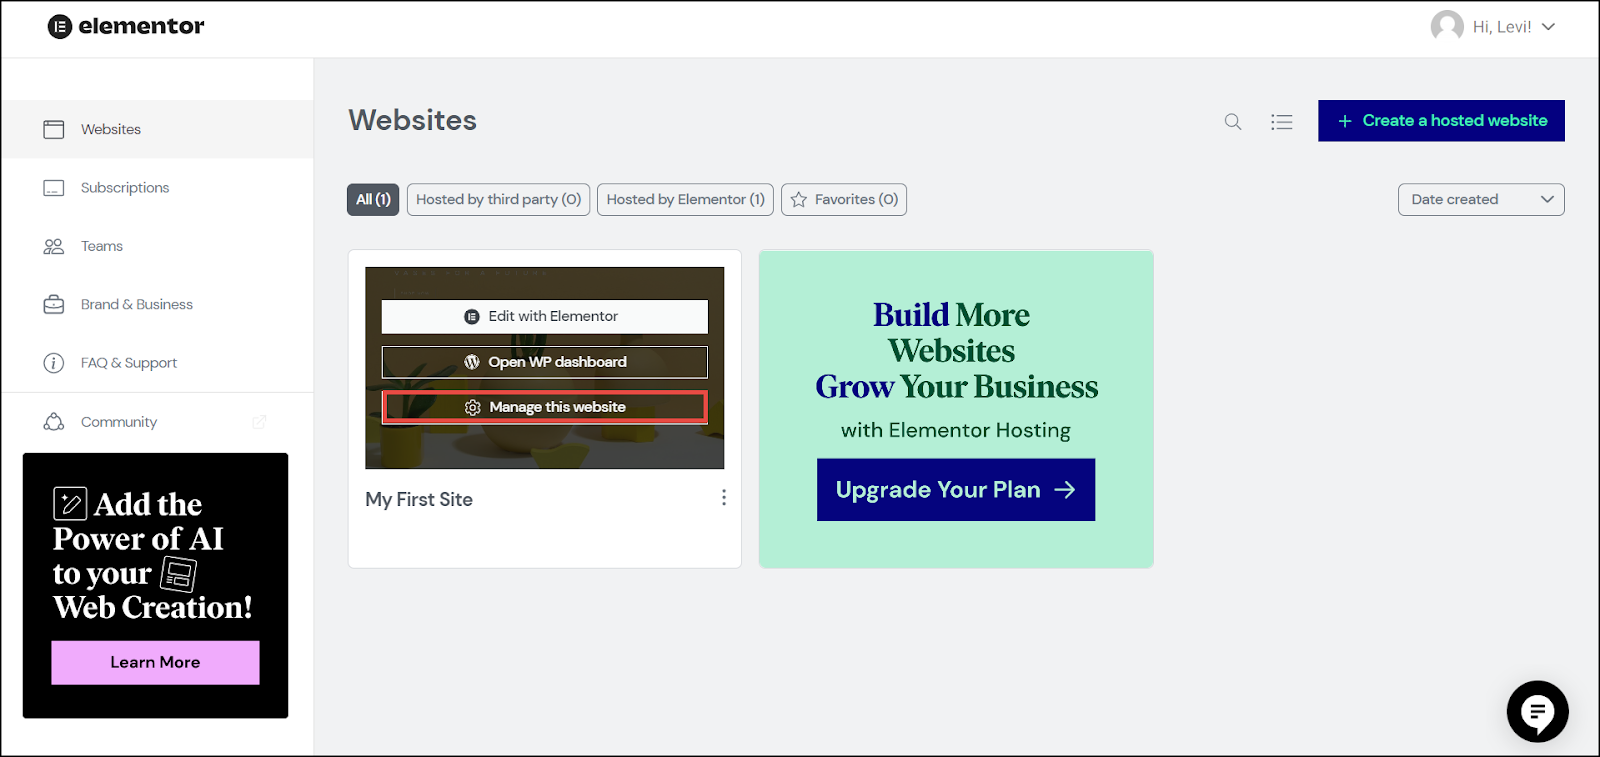
- In your My Elementor dashboard> Websites page, hover over the website card of the site you want to edit and click Manage this website.
The Overview page appears.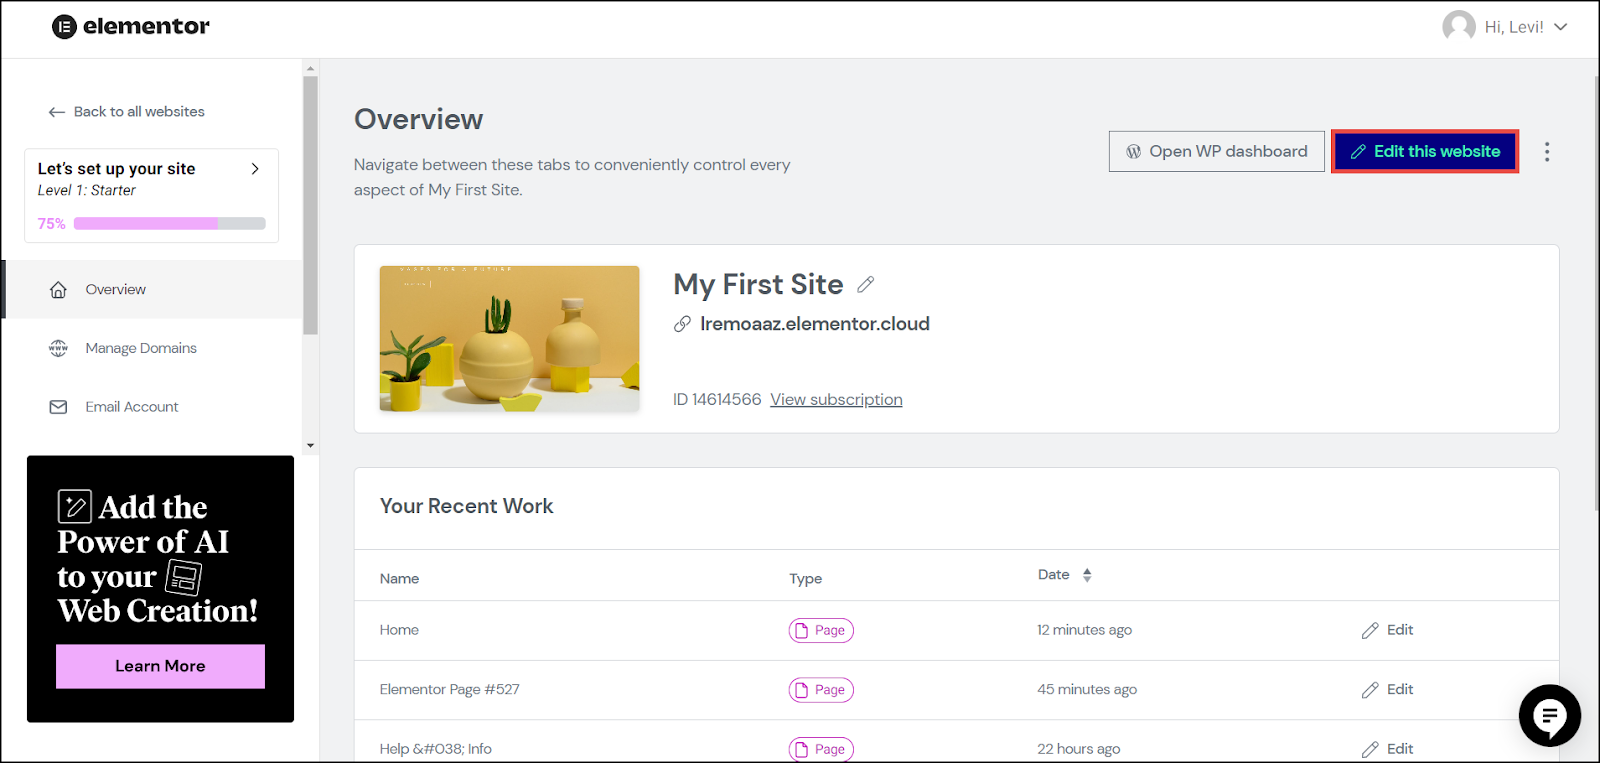
- Click Edit this website.
The Elementor Editor appears.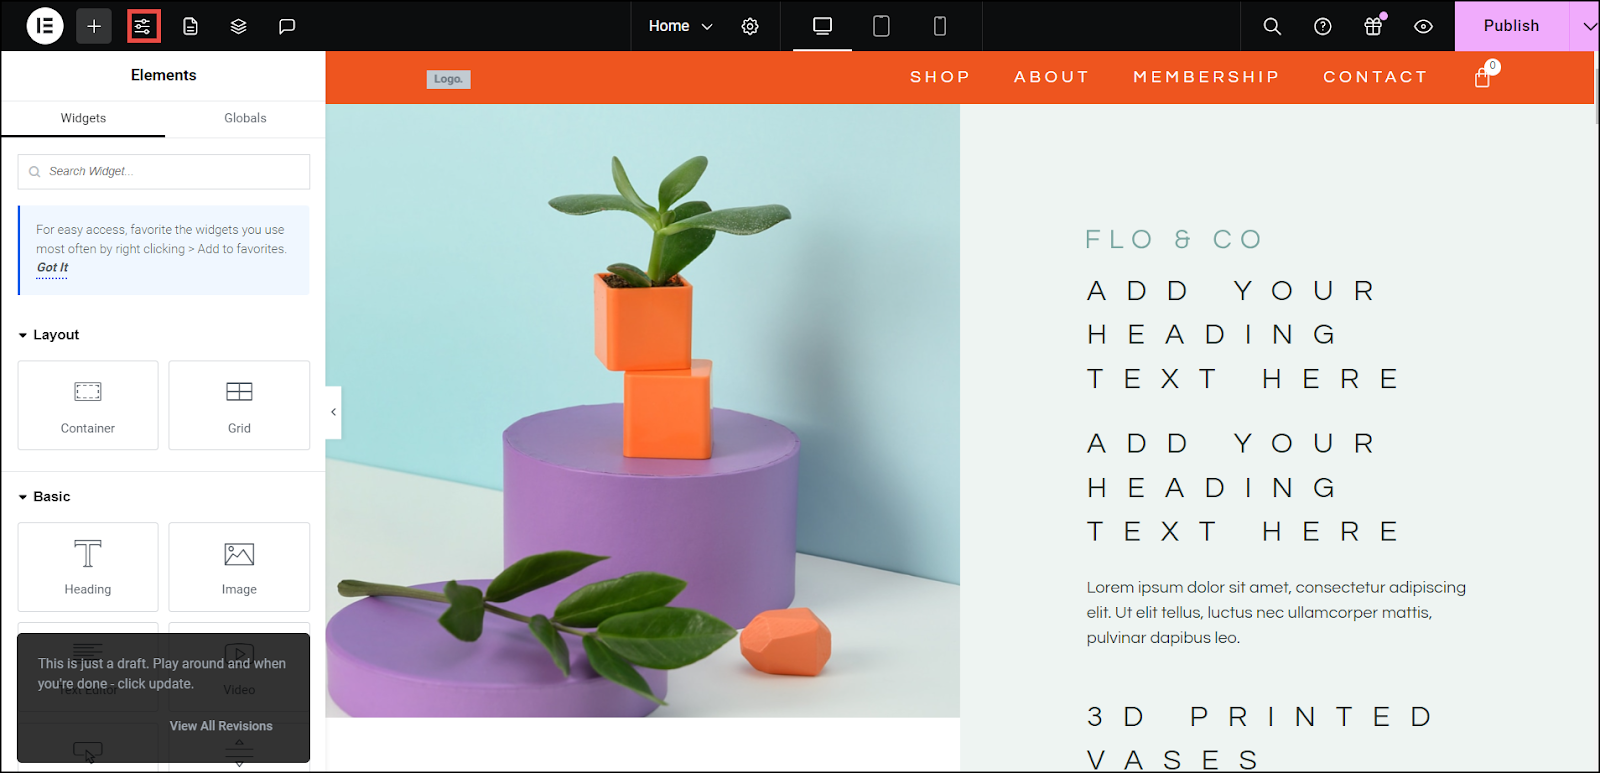
- Click the Site Settings icon.
The Site Settings dropdown menu appears.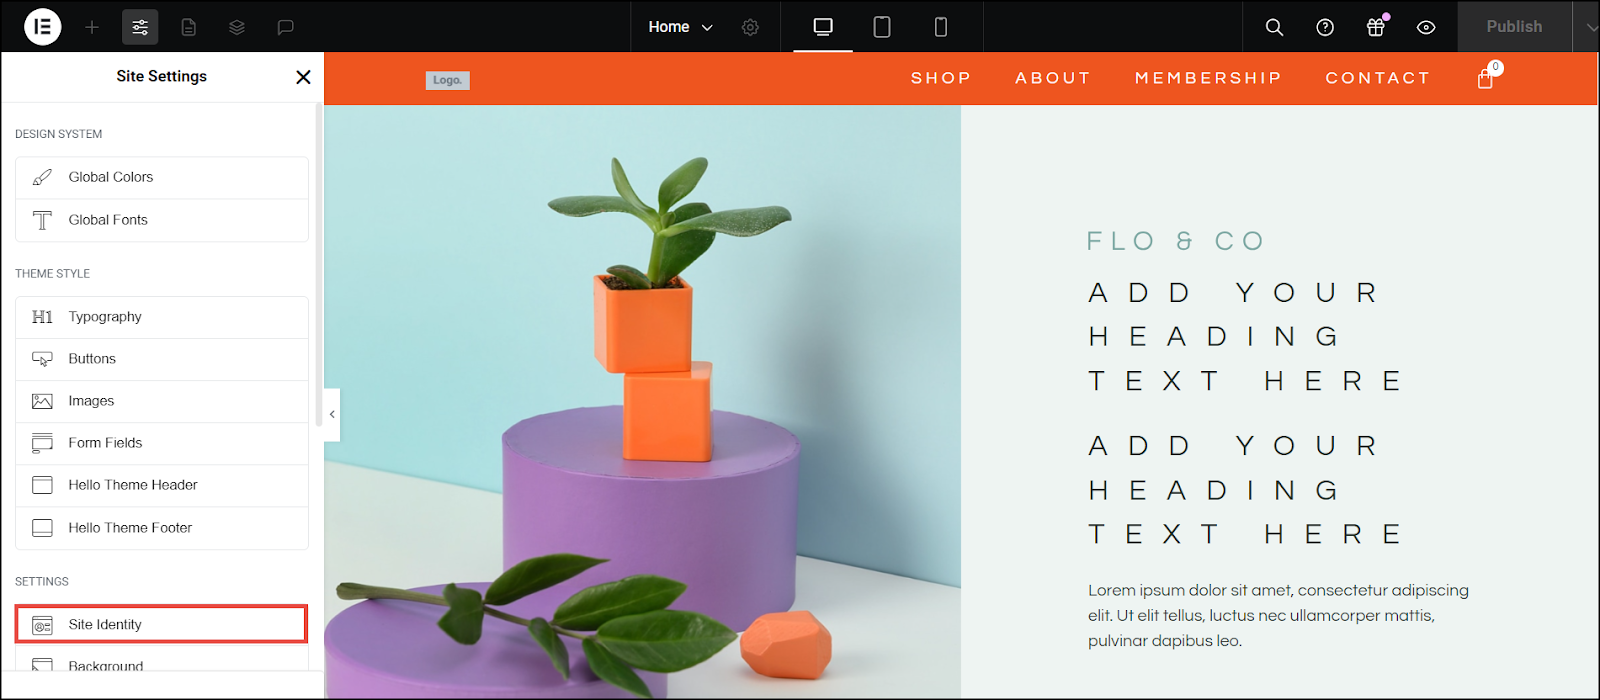
- In the menu, click Site Identity.
The Site Identity section appears.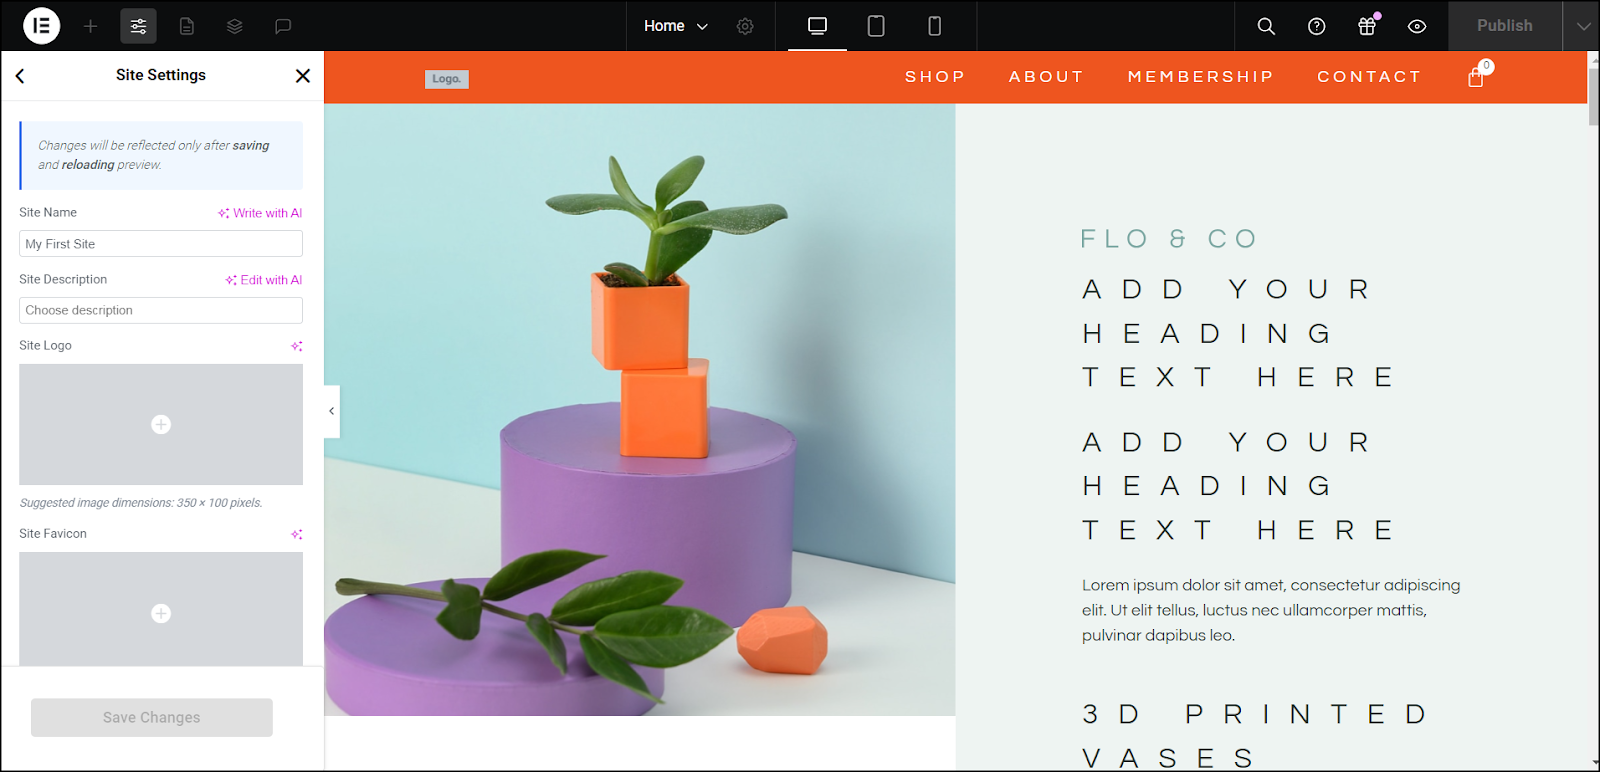
- In the Site Name field, enter the name of your site.
- In the Site Description field, enter a description of your site.
- In the Site Logo box, click the Choose Image box.
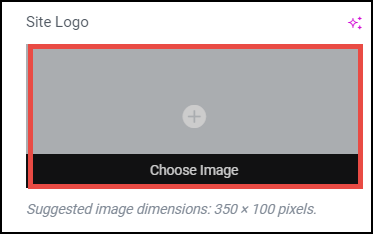
The Insert Media dialog appears.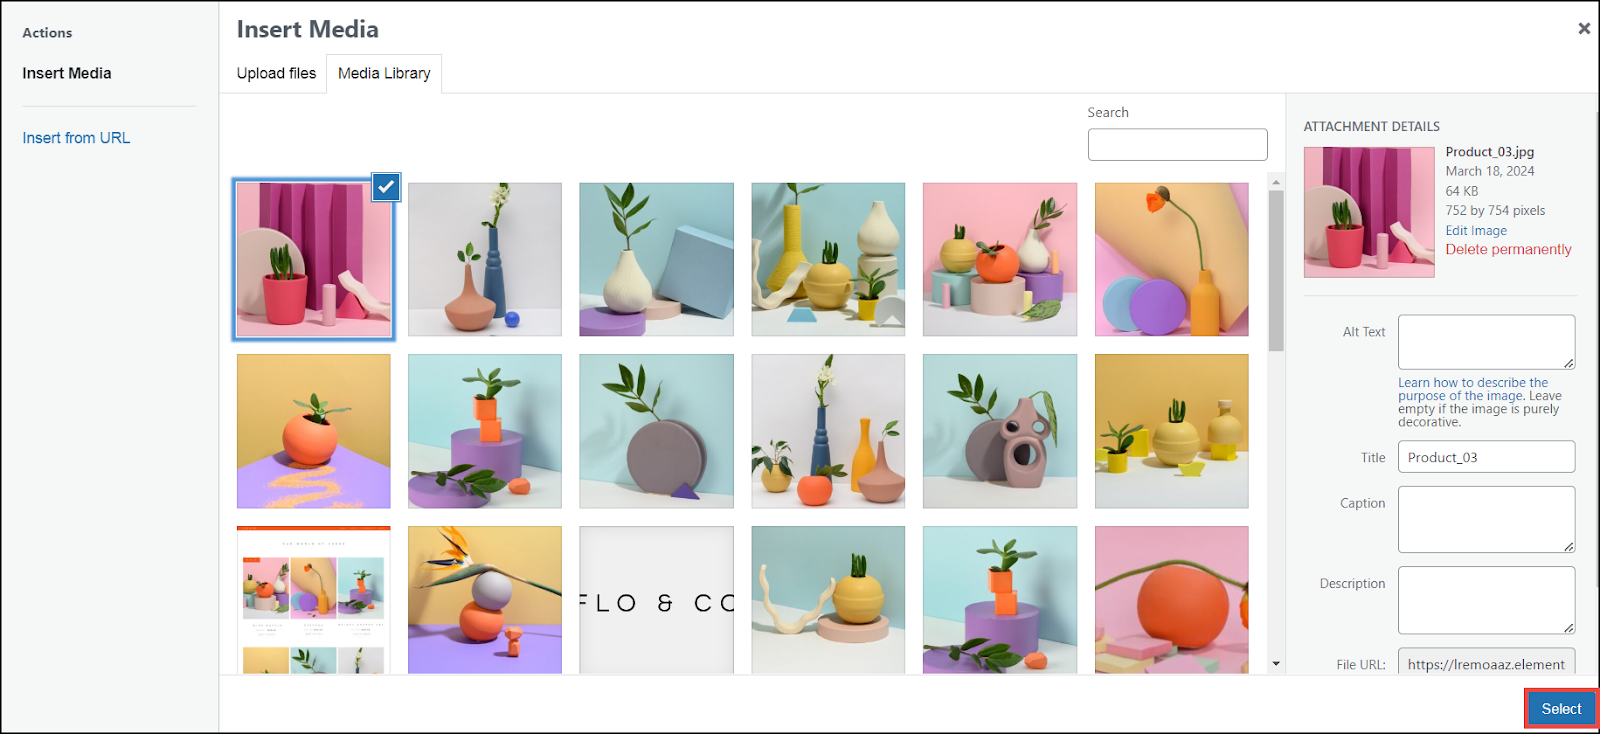
Here, you can select an image from the Media Library, upload an image file from your system, or insert an image using the URL of the image. - In the Site Favicon box, you can add your company logo or other image using the steps you used to set the Site Log.NoteA favicon is a small icon that represents a website. It usually appears in the browser’s address bar, tabs, bookmarks, and sometimes next to the website name in search engine results.
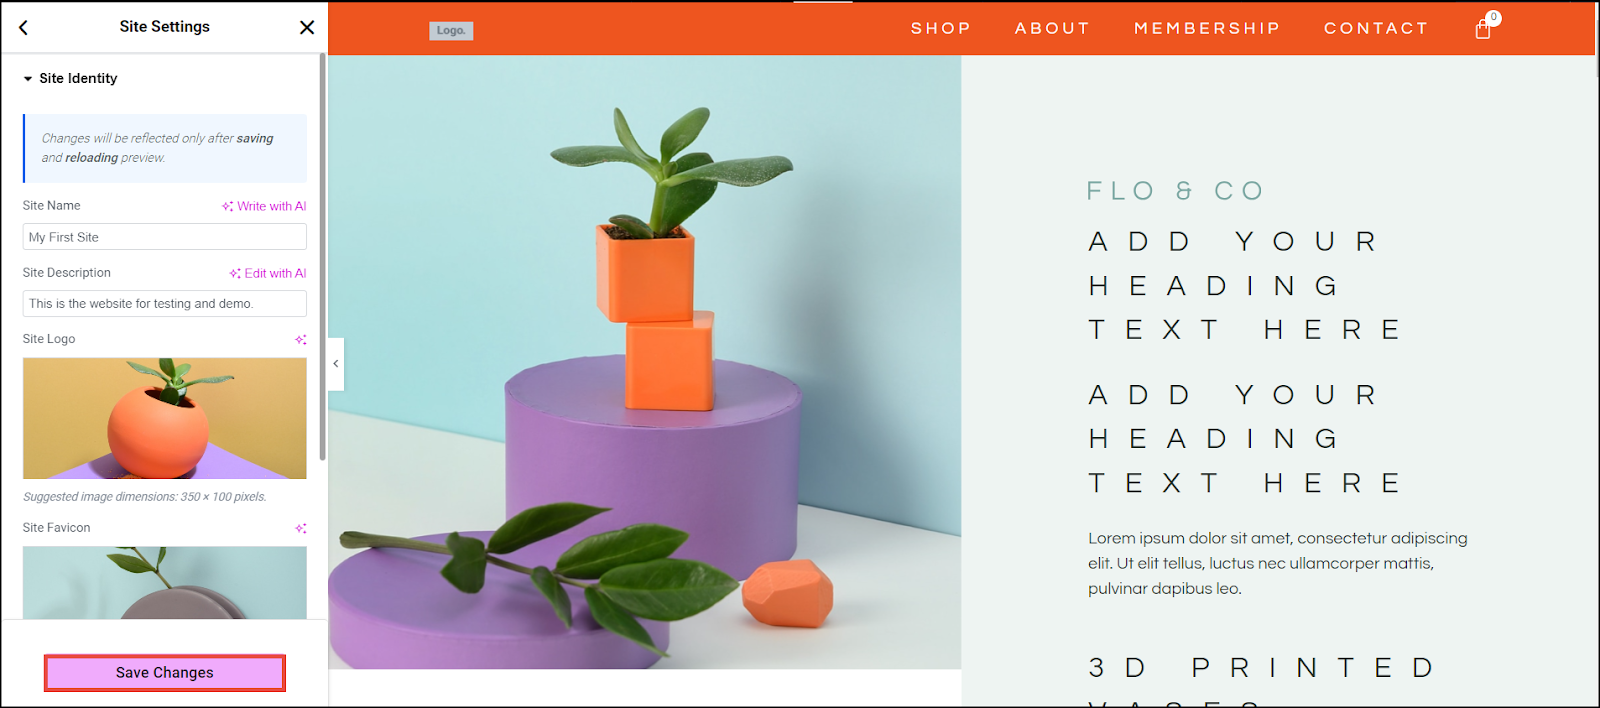
- Click Save Changes.
The changes saved success notification appears.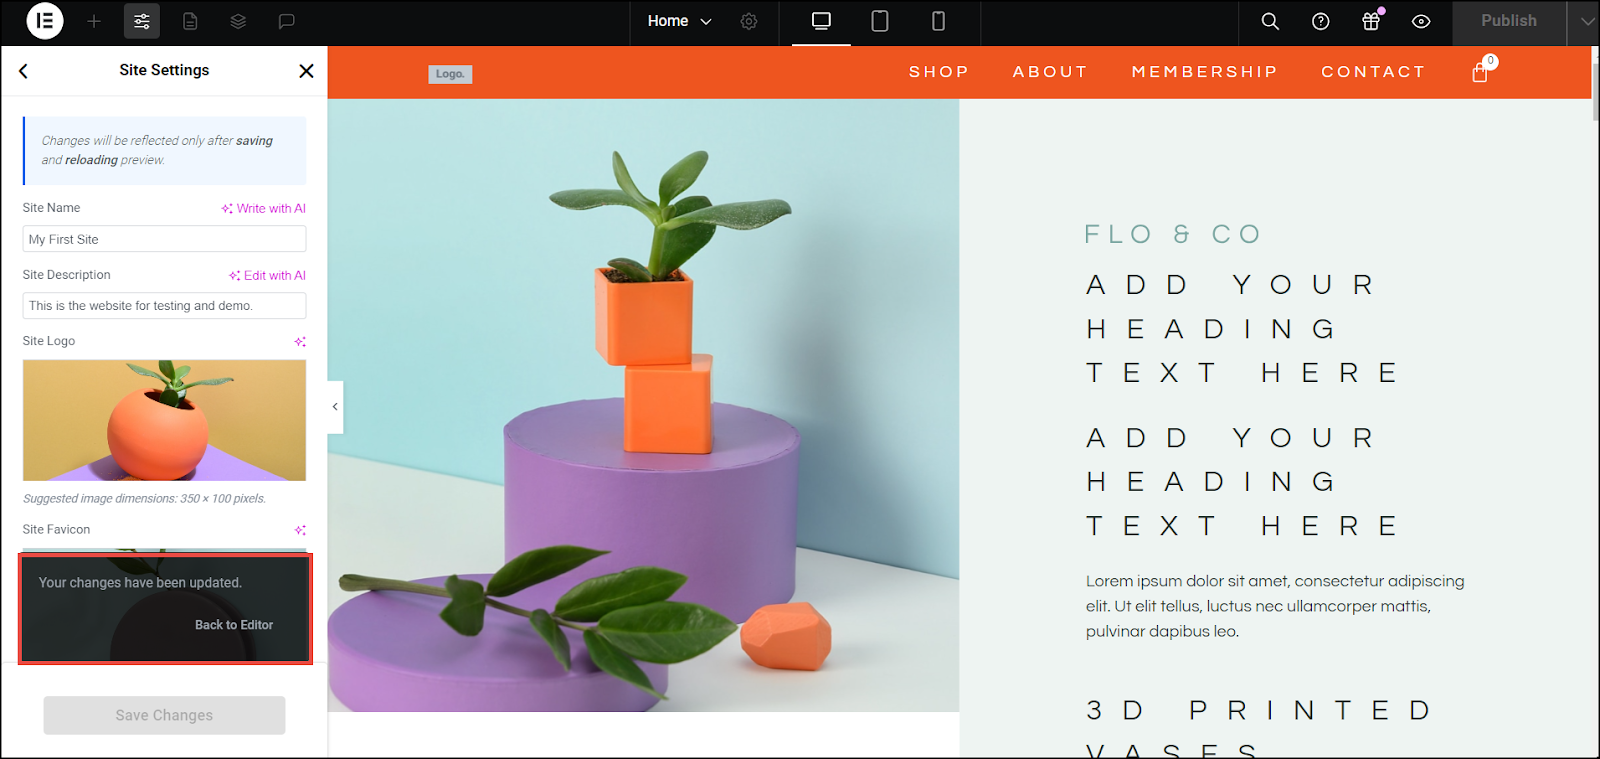 NoteIf you have already uploaded SVGs to the media library, you can use them when needed. You must also define a size in the style tab of your Site Logo Widget.
Create a menu
Initially, a website kit does not automatically generate your Navigation Menu. You can either create a menu using WP Admin, the Customizer or with the Menu widget.
- Learn more about building a menu in WP Admin with Create a navigation menu.
- Learn more about building a menu using the Customizer with Create a menu using the Customizer.
- Learn more about creating a menu using the menu widget with Menu widget.
Assign a menu
If you created a menu in WP Admin or the Customizer, you’ll need to add it to your header or footer.
To assign a menu after creating it, follow the steps below:
- In WP admin navigate to Templates > Theme Builder.
The Elementor Theme Builder page appears.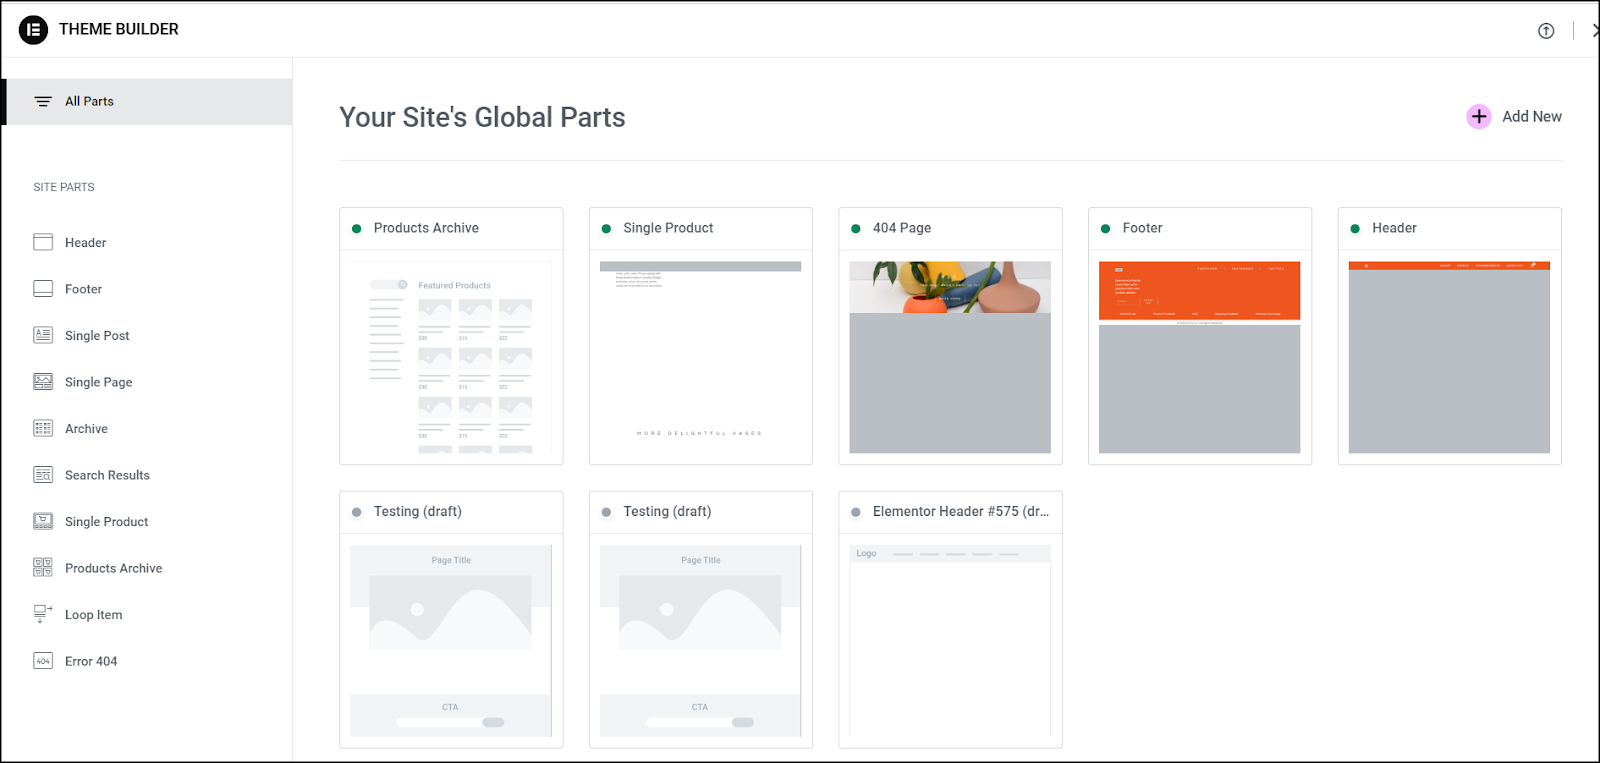
- Click Header/ Footer to assign the menu.
In the following example, we are illustrating how to assign a menu to the Header location.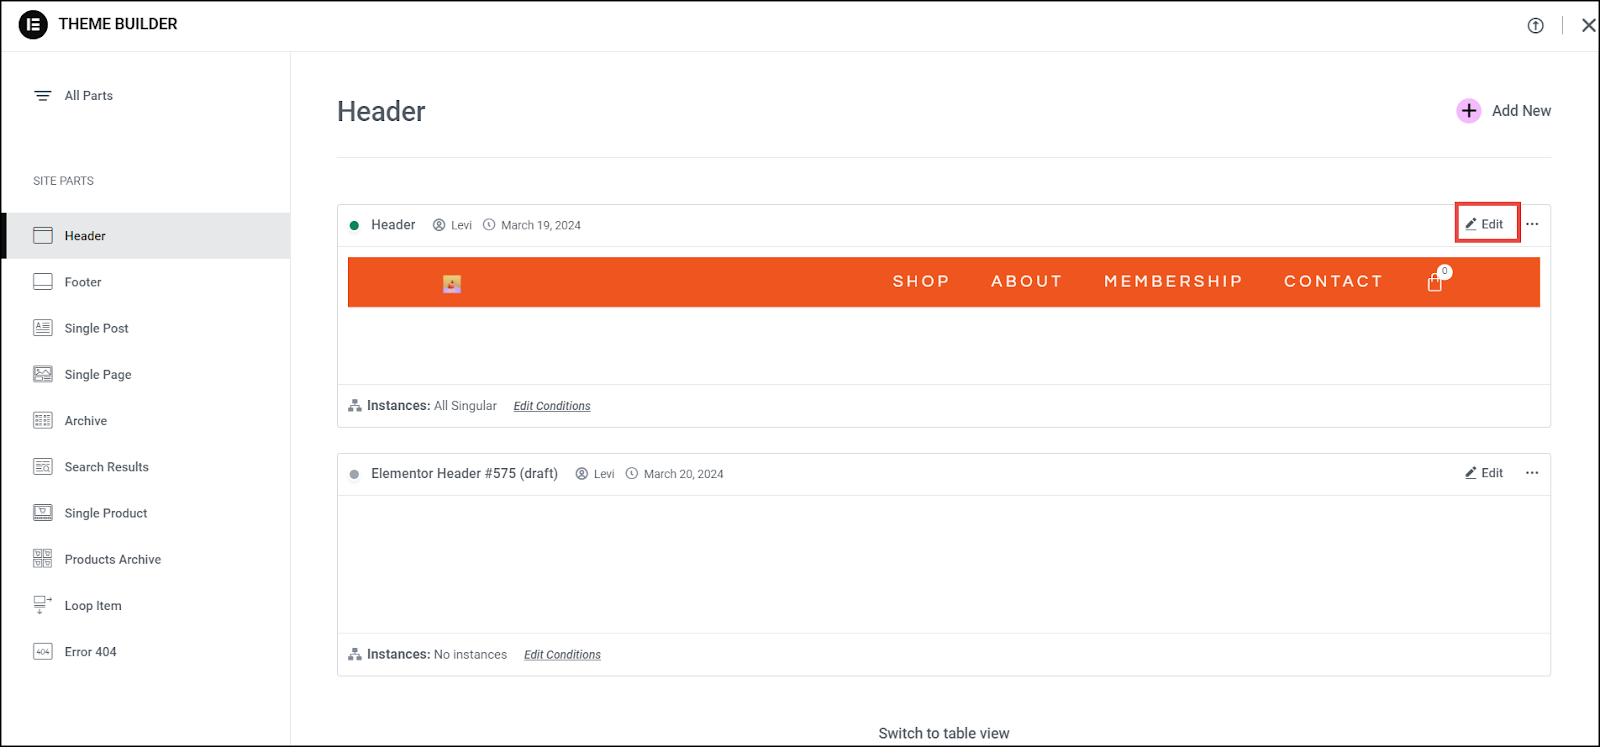
- Click Edit in the Header card you wish to add to the menu.
The Header Elements panel appears.
- Click WordPress Menu.
The Edit WordPress Menu panel appears.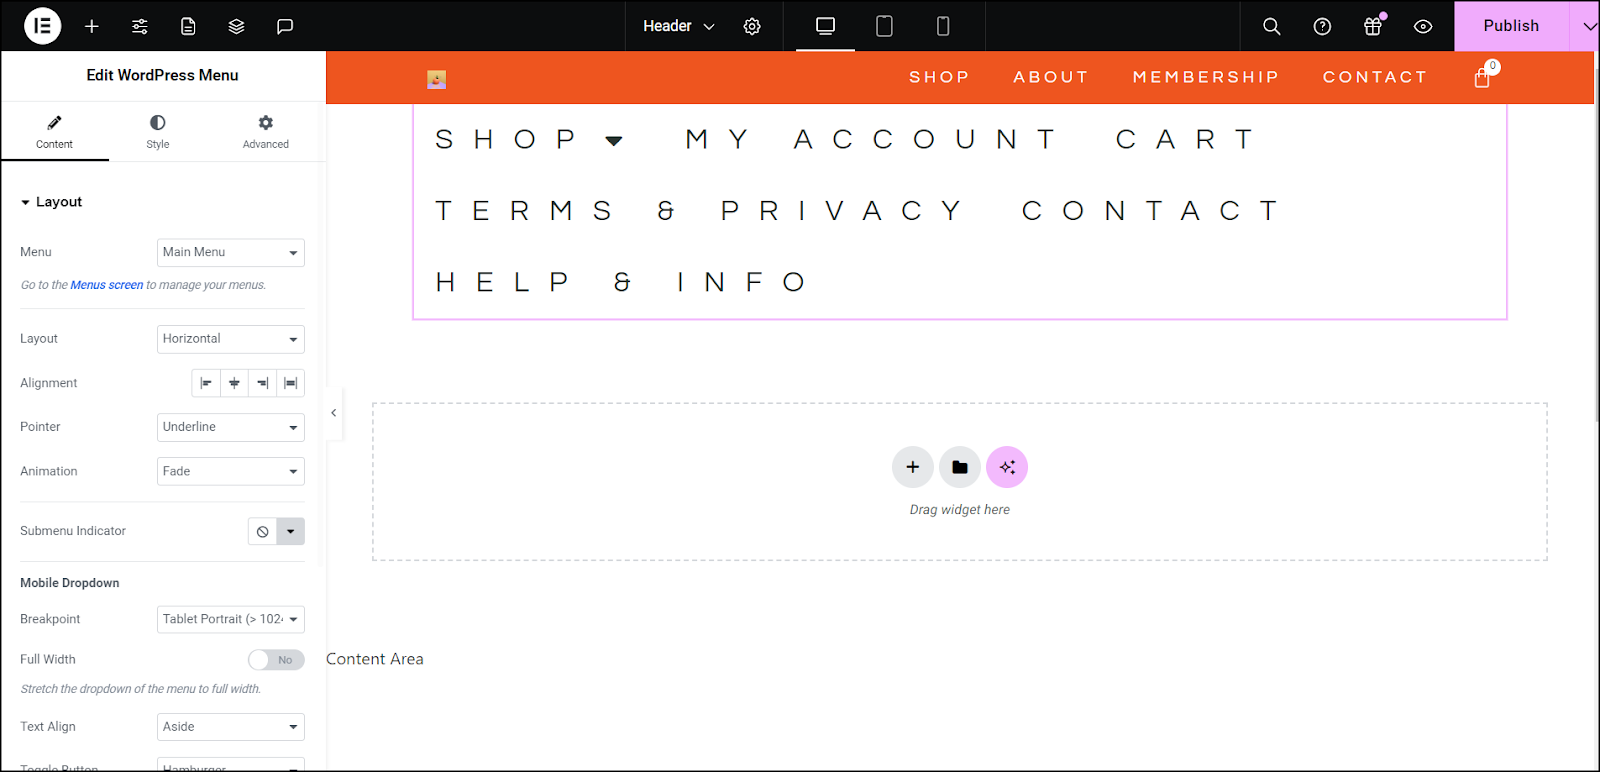 NoteIf your Footer template uses a Nav Menu widget, you may use the steps above to create and assign an additional menu(s). For more information about the WordPress menu widget, click here.
After assigning the menu, you can further customize your website. Please refer to Create a menu using the Customizer for more details.