Introduction
A website’s navigation menu allows users to quickly jump between different sections of your website. Menu items generally link to the most important pages such as, Home, Contact Us, Blog etc.
While Elementor provides you with many cool and creative ways to present your menu to users, the menu itself is a WordPress function and has to be created via the WordPress dashboard.
Building your menu
Create a top level menu
To build your website’s navigation top level menu:
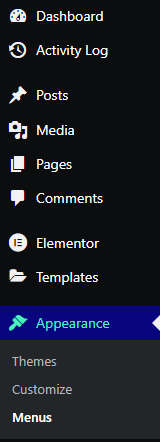
- Select Appearance>Menus from the WordPress dashboard.
- Give your menu a name and click Create Menu.
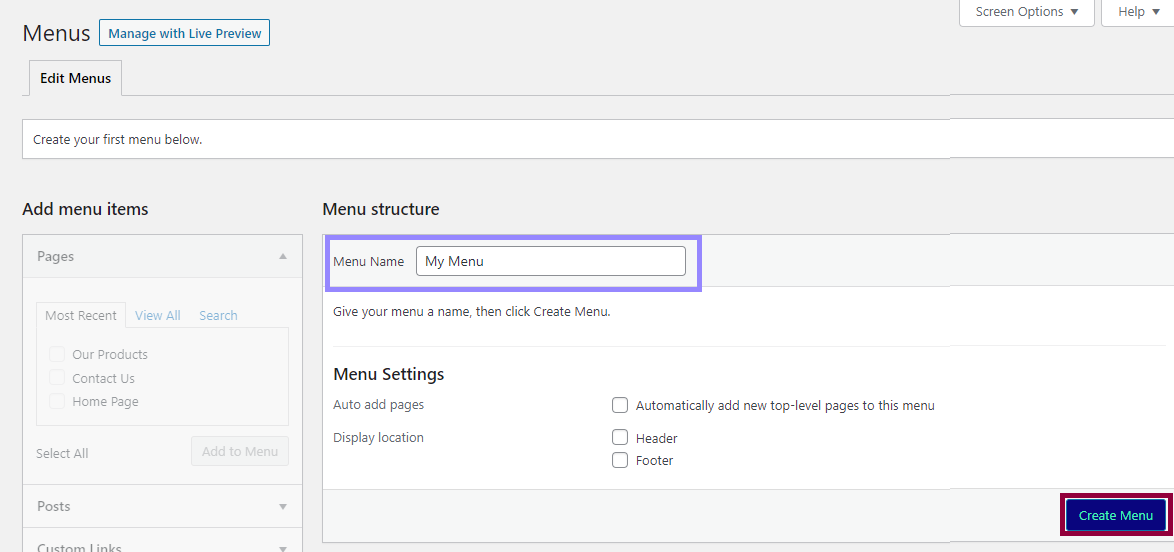
At this point you can choose to have the menu automatically appear in the header and/or footer. You can also set up the menu to automatically include newly created top-level pages in the menu. Top-level pages are the main page of a section and often have sub-pages under them.
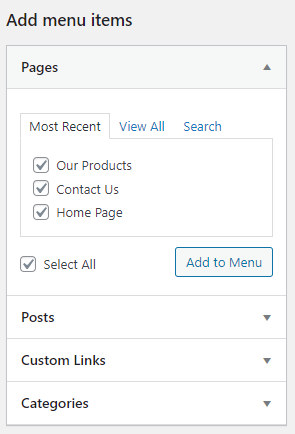
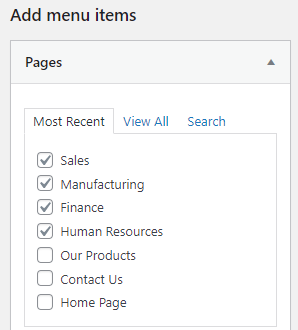
Once you create the menu, you’ll be able to add pages to it. - Use the checkmarks to select which pages will be included in the menu.
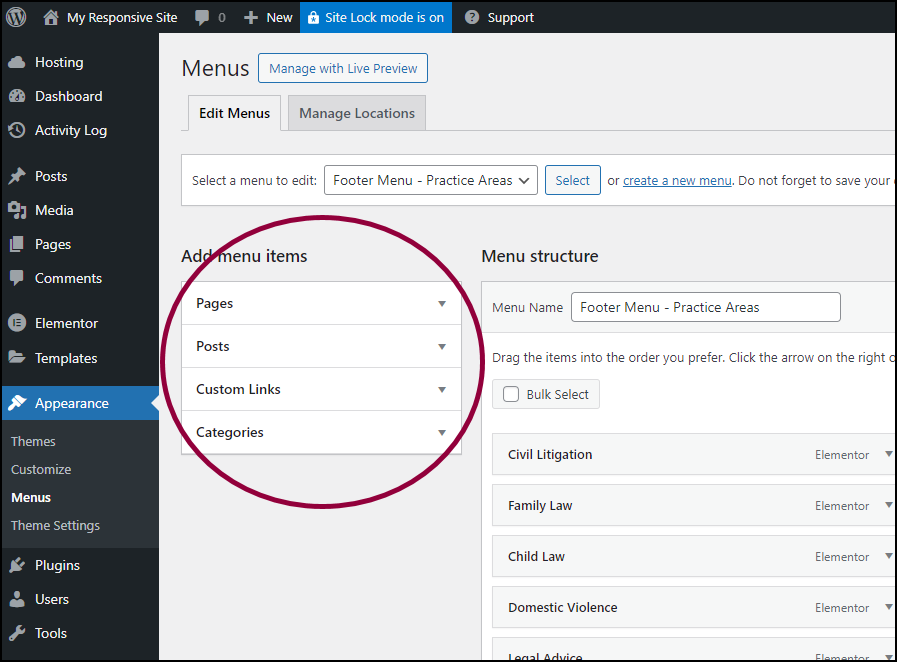
- Use the Add menu items menu to choose between adding Pages, Posts, Custom Links and Categories to the menu.
- Select Add to Menu.
After adding pages to your menu, they will appear in the Menu structure section.
You can rearrange the order of the menu by dragging and dropping menu items. Click the arrow next to the menu item for additional options such as renaming it. After making changes, remember to click Save Menu.
Create submenus
In many cases, you’ll want to create submenus (sometimes called children) for menu items. For instance, you may have a general Contact Us page with separate subpages for each department, which you want visitors to easily access.
To create submenus:
- Select Appearance>Menus from the WordPress dashboard.
- Use the checkmarks to select the subpages, and click Add to Menu.
- Once these subpages become part of the menu, drag them under and slightly to the right of the top-level page.
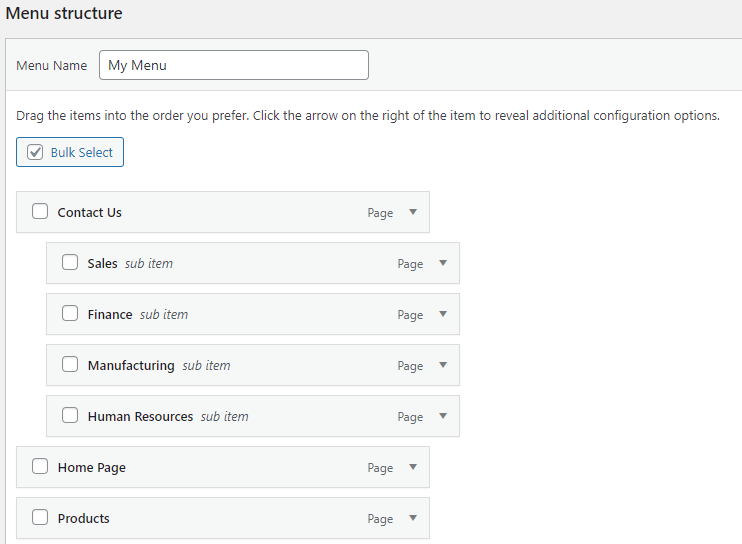
This same procedure can also be used to create subsubmenu items.
Related articles
Nav Menu widget
Create a hamburger menu
Create a dropdown menu