Introduction
Mega menus give you the flexibility to create stylish menus for your website. The following article will walk you through the creation of a mega menu. For a comprehensive guide to all the options available in your mega menu, check out our article on the Menu widget.
Want to learn faster? Book a 1-on-1 expert session today.
Mega menus require the activation of several experimental features. These include:
- Flexbox Containers
- Nested Elements
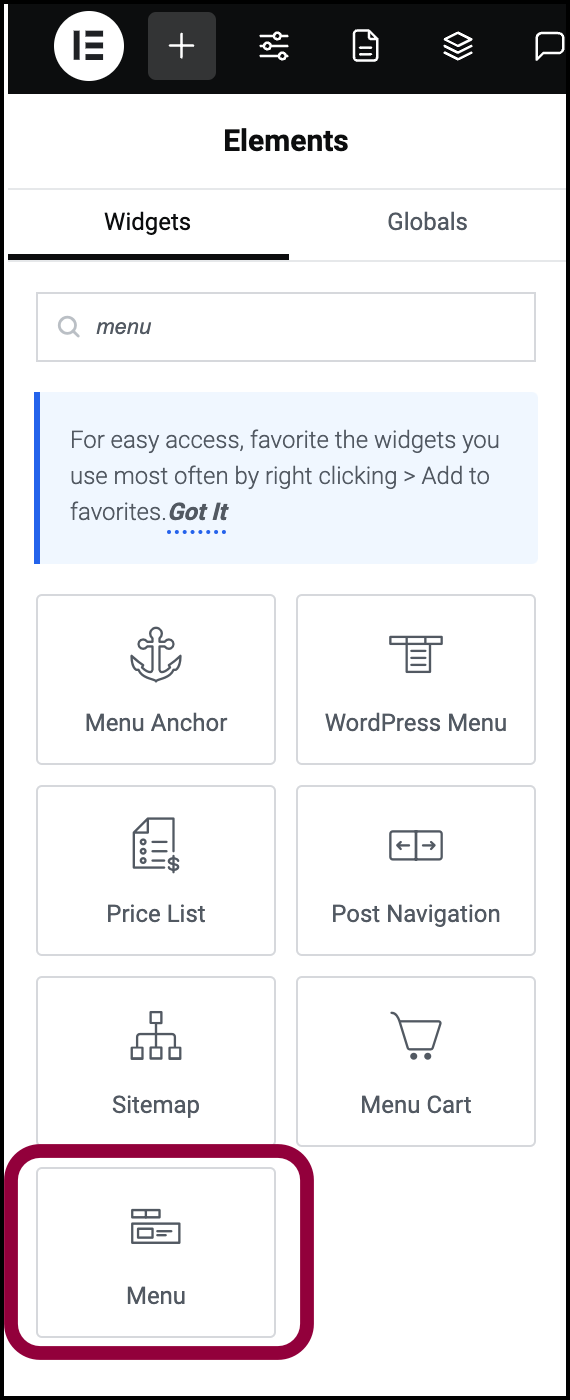
- Menu
Creating a mega menu
To create a mega menu:
- Select create a new header using the Theme Builder.
- Drag the Menu widget to the header’s container (you could also add a new container to the header.)

- Our menu has three top-level menu items. To create them, Items 1-3 need to be replaced.
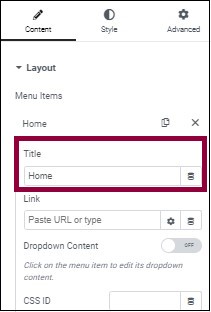
- In the Content tab, click Item #1.
- In the Title text box, type in Home.
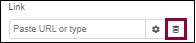
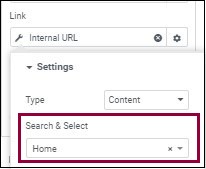
- Now we need to link the menu item to the Home page. You can put in the URL of the Home page, but it’s best practice to use a dynamic link.
- Click the dynamic tag icon.
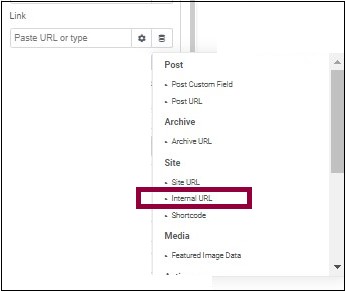
- For the Dynamic link choose Site>Internal URL
- Click Internal Link.
- From the Type dropdown, choose Content.

- Under Search and Select, start typing the name of the page you’re looking for – in this case Home. Select it when it comes up.
- Repeat this for the Our Breads and Our Story pages.


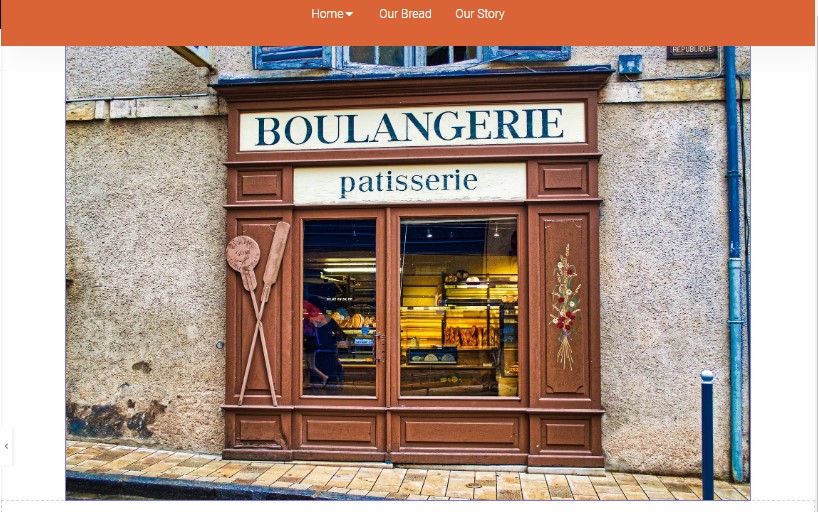
The header looks like this:![]()
Adding a design element
You can spruce up the menu by adding a design element.
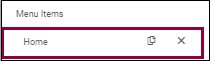
- In the Content tab, under Menu Items, select Home.
- Click the Dropdown Content switch. This switch is what turns the menu into a mega menu, allowing you to add all kinds of content to your menu items. By default, an arrow icon will appear next to the item.
- Click Home on the mega menu. The arrow next to the item will turn down and a content area will open up below the menu.

- Drag an Image Widget into the content area.
- Select an image that will appear when a user hovers over the menu item.
- Close the content area by clicking on the arrow.
- Repeat the above steps with the Our Bread and Our Story items.


By default, these images will appear when visitors hover over the menu items. You can’t see this while editing so you’ll have to preview the page to see the mega menu in action.
Next Steps
Now that you know the basics behind creating a mega menu, learn how to style a mega menu and how to create a multi-layered mega menu.
Note: You cannot put a menu widget inside another menu widget (i.e. a mega menu inside a mega menu.)