When you purchased your Elementor hosted website, you were assigned a domain name (e.g. mysite.elementor.cloud). However, you probably changed that to something more user friendly (e.g. MyBusiness.com), using our add a custom domain name process.
Despite adding a custom domain name, mail sent from an Elementor hosted website server will still be sent from the original name assigned to your site (for example – the return address will appear as [email protected] instead of [email protected]). This can lead to email providers classifying these messages as spam and sending them to the spam folder. To help avoid this, you can authenticate/validate your email address as described below, making it much more likely your emails reach their destination.
Note: In order to send emails from your custom domain you must have already linked your site to your custom domain.
Authenticating your email
- Go to your My Elementor dashboard.
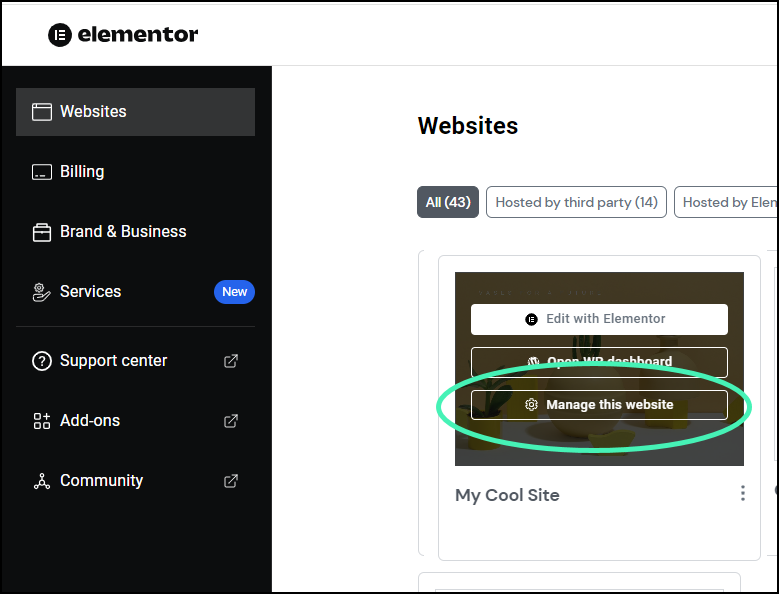
- Hover over the website card of the site you want to authenticate and click Manage this site.

- Click the Emails tab.
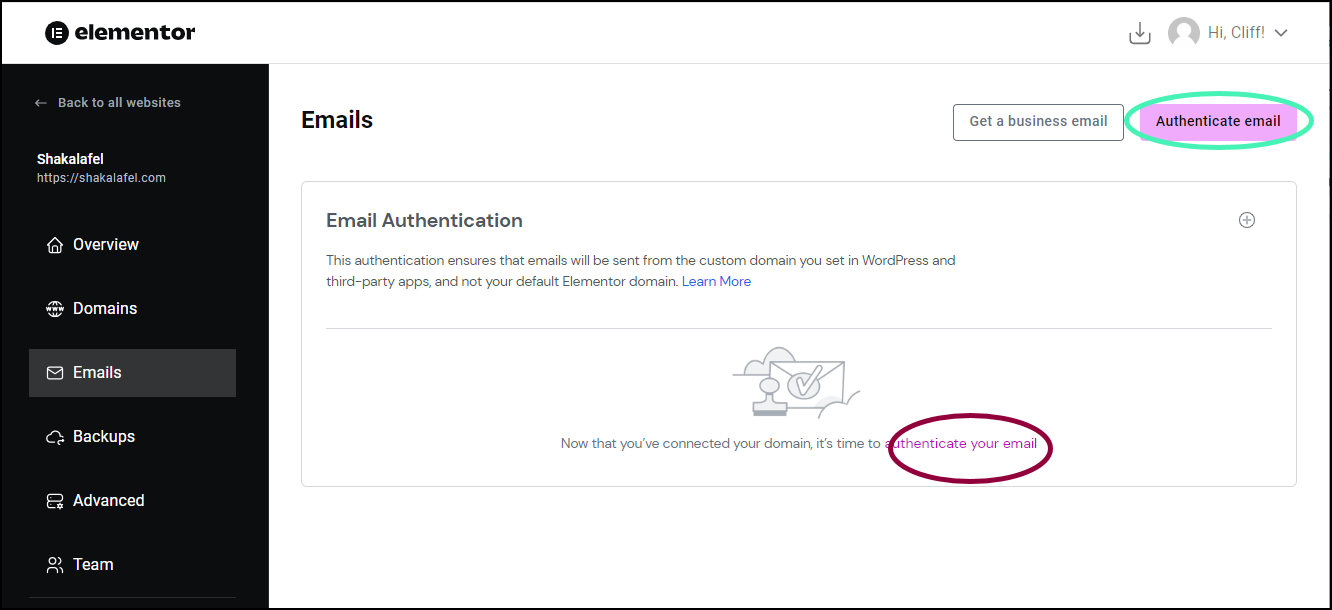
- Click authenticate your email.
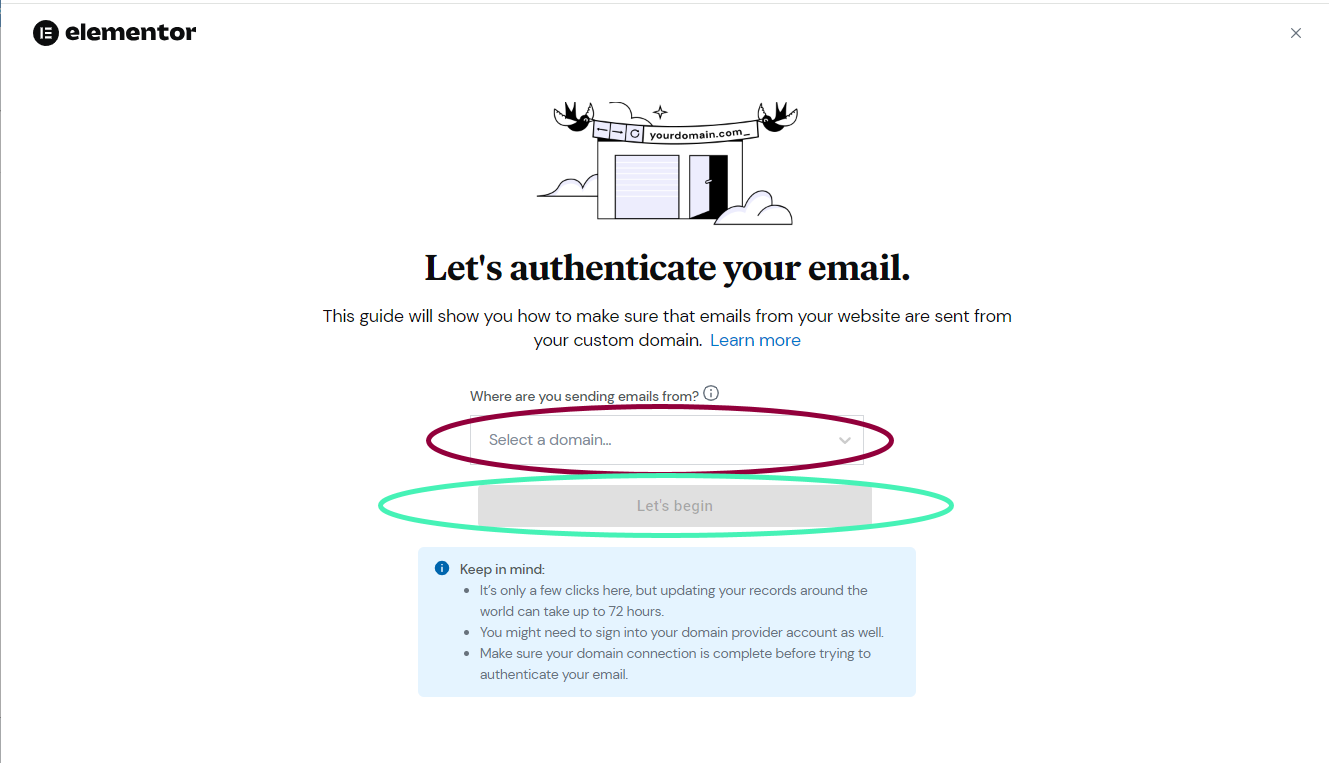
- Select the custom domain you’d like to authenticate from the dropdown and click Let’s begin.
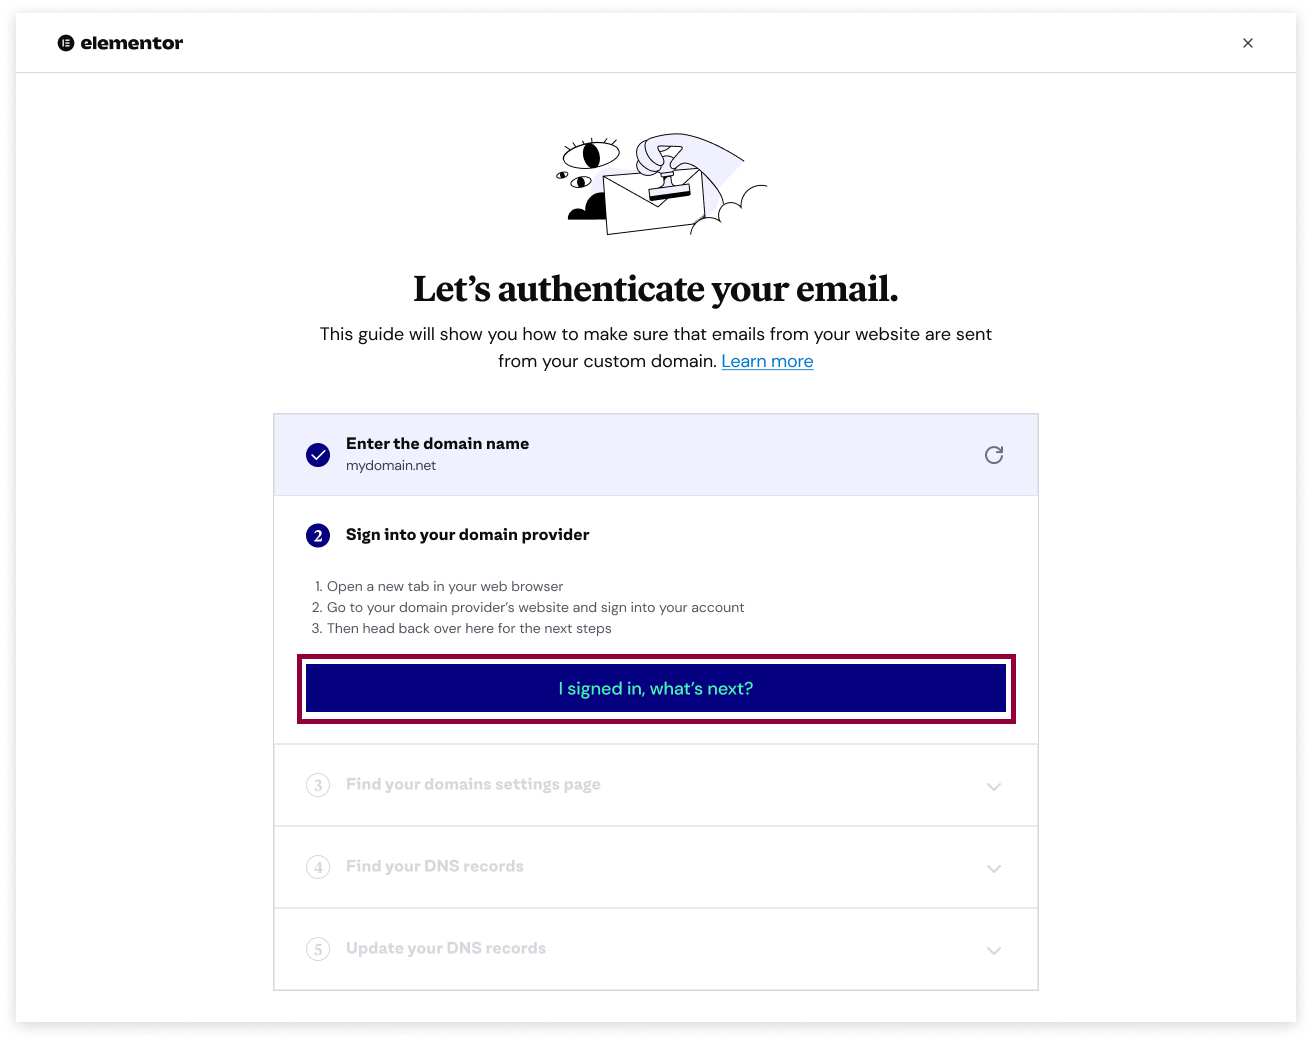
Note: Email authentication can only take place after your custom domain is linked to your website. This can take up to 72 hours after you’ve completed your request. If the site you want to authenticate is listed as, “Connection in Progress,” you’ll have to wait until the connection is complete to authenticate the email. - Open a new tab or browser window and sign in to your domain name provider.
- Click I signed in, what’s next?
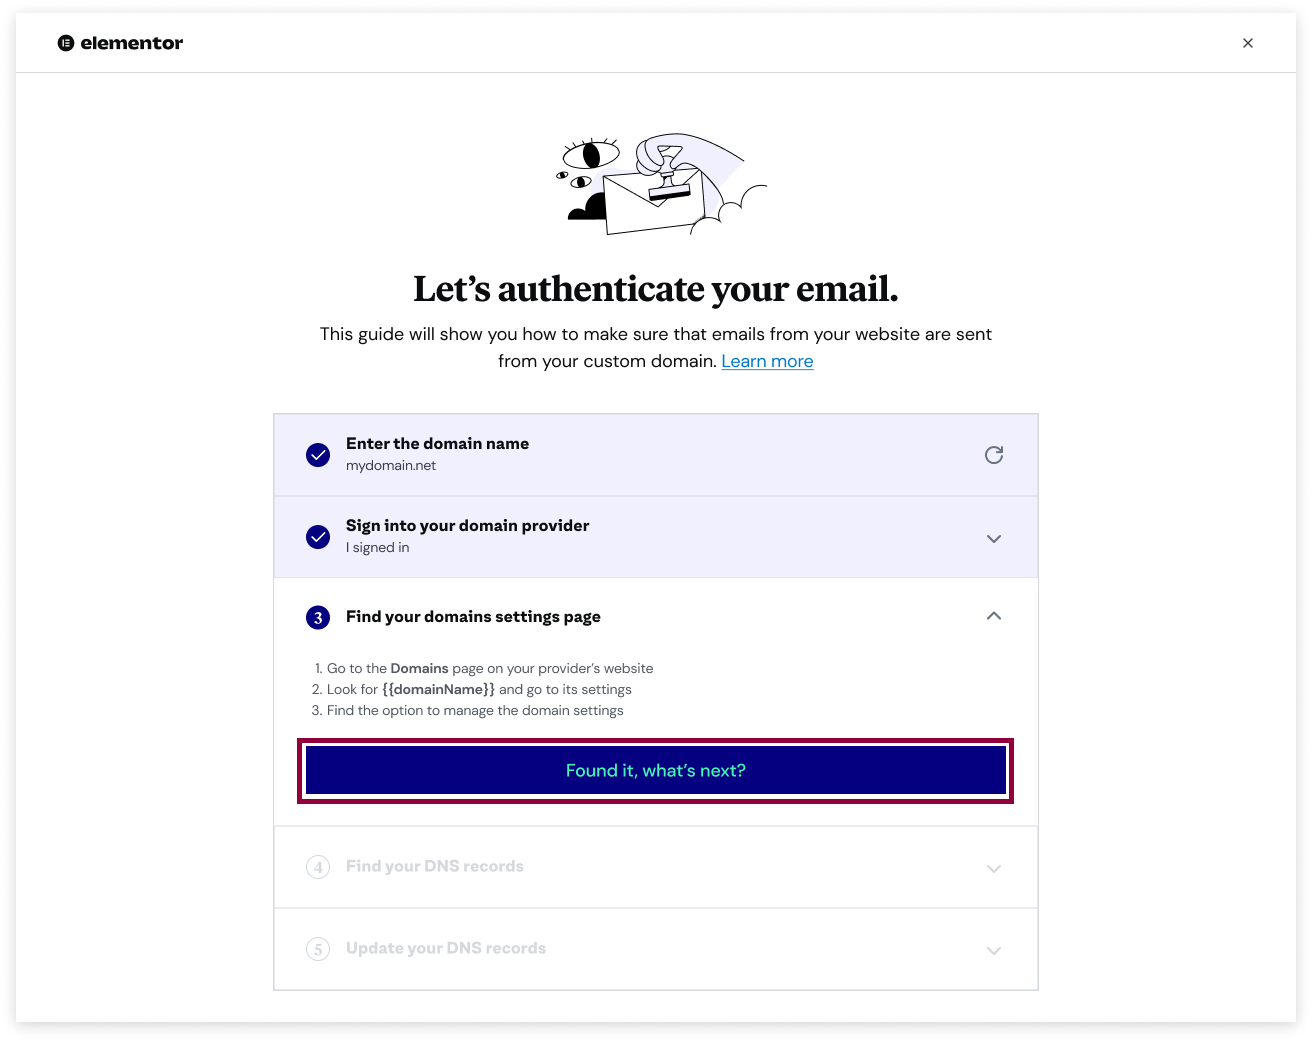
- Find the domain settings page on your domain providers site.
Each domain name provider has different ways of accessing domain settings. If you are having trouble finding these settings, you can find more information on the provider’s website or you can check out the following articles:
Connecting your GoDaddy domain to an Elementor hosted website
Connecting your Google domain name to an Elementor hosted website
Connecting your Bluehost domain to an Elementor hosted website
Connecting your NameCheap domain to an Elementor hosted website
Connecting your Hover domain to an Elementor hosted website - Click Found it, what’s next?
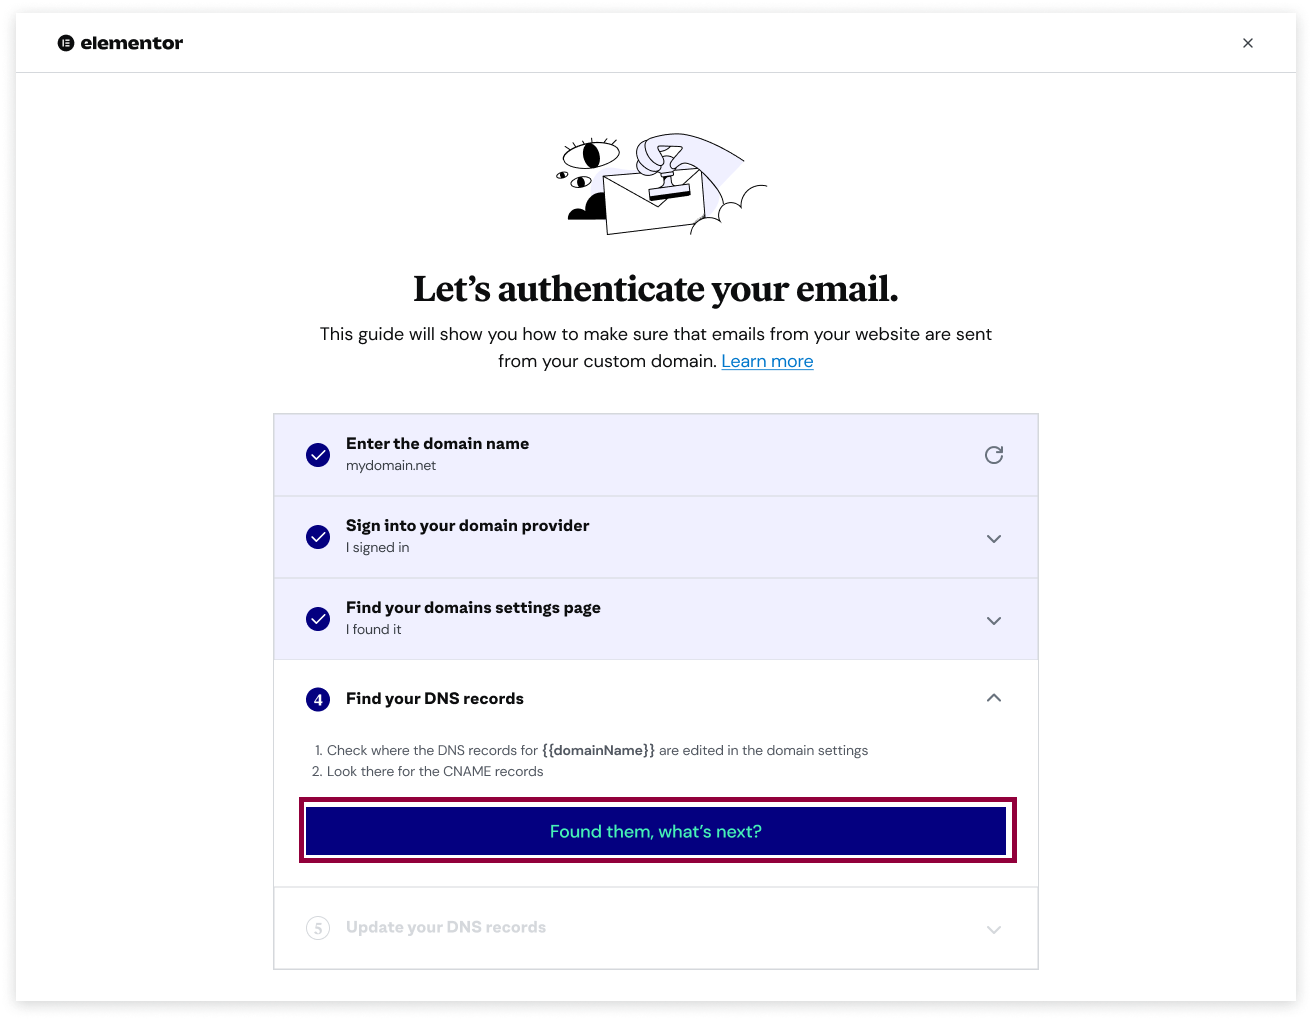
- Locate the CNAME records with the domain settings.
- Click Found them, what’s next?
- Go back to your domain name provider’s site and add the three CNAME settings as they appear in the modal. Keep in mind you are adding these settings and not editing the current settings. In addition, your provider may use different terms than appear in the modal. For instance, the term Name in the modal may be listed as Host Name or Host Record by your provider and Value may be referred to as Points To.
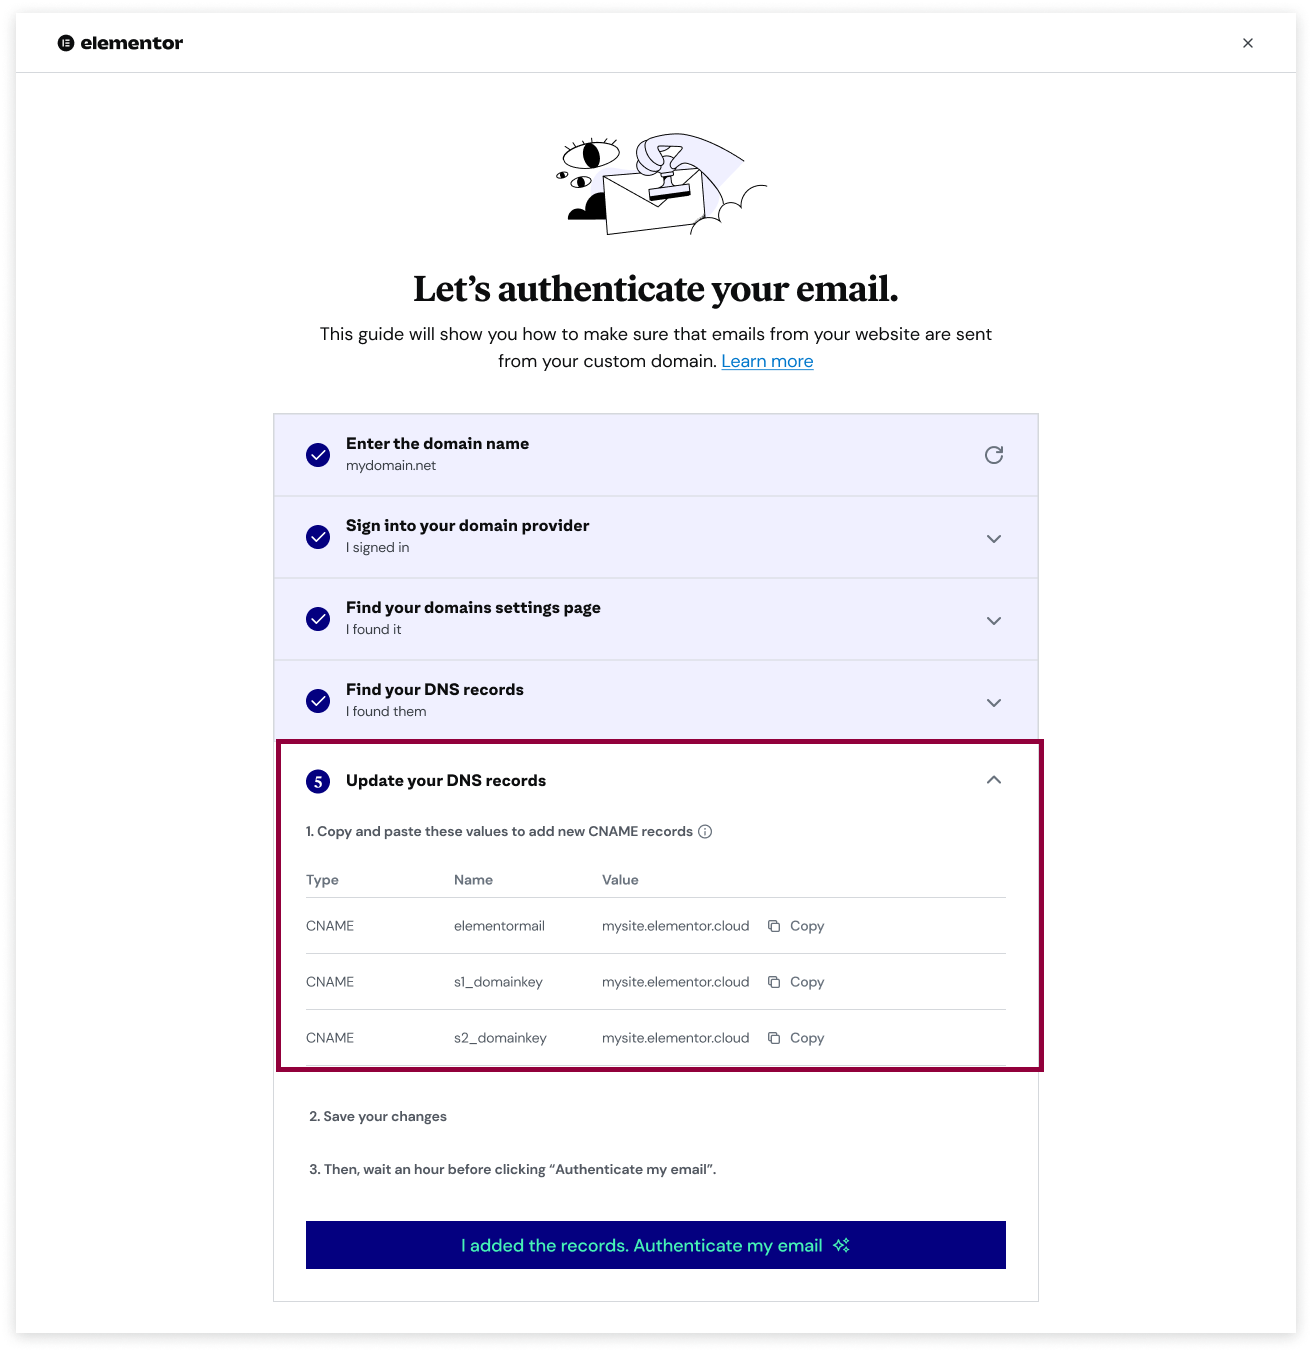
Note: To make things easier, use the Copy button to copy the proper Value to the domain settings.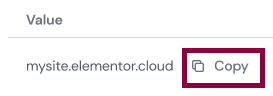
- Save the changes to your domain settings.
- Wait an hour for the new settings to take effect.
- Select I added the records. Check validation.
- If there is an error, you’ll receive an error message. Follow the instructions in the message.
Note: Once you begin checking the validation, you’ll be able to check the validation status by going to your website card and selecting Manage this website.
Note: Your subscription includes up to 100 emails per day sent from your website. This would be things like – form submission emails, purchase confirmation emails, admin notifications etc. The Elementor hosted website offering does not include purchase of 3rd party emails providers such as Google Workspaces or Office 365. An email plan must be purchased from your chosen provider.
What’s next?
Now that you’ve taken steps to ensure your emails are reaching their destination, try learning more about adding forms to your site.
To get the most out of Elementor, check out the Knowledge hub for helpful learning resources.