Overview
Changing a transparent header to an opaque header when scrolling can be done in different ways, including writing your own code. But it is easier doing it using the Elementor built-in Scrolling Effects feature.
Note
The following will change the transparency of the header background, not the entire header. Making the entire header transparent would hide valuable information from visitors.
Prerequisite
Create a custom Header template using the Theme Builder. For details, see Create a Header template using flexbox containers.
Start by creating a two column header section with your logo in an Image widget and a Navigation widget.
Create transparent header
Follow these steps:
- Login to WP Admin.
- Edit the header by clicking its handle
 . The Edit Container panel shows on the left.
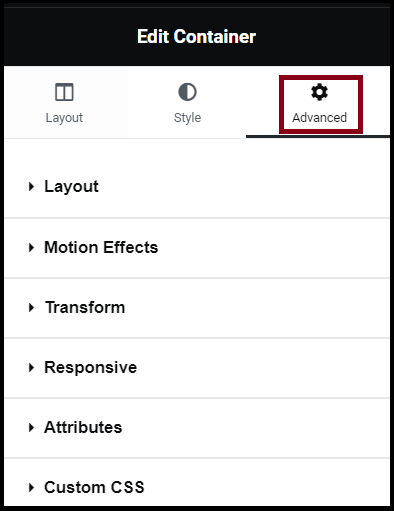
- Click Advanced.
- Expand Layout.
- Set the following:
- Margin (Bottom) – a negative value (for example, -125px). This moves the section that is below the header to the top of the page.
- Z-index – This should always remain on top of the content. You may enter any number higher than the rest of your website’s content. For example 1,000.
- Expand Motion Effects.
- Set Sticky as Top.
- In Sticky On, choose Desktop, Tablet Portrait, and Mobile Portrait. This makes the change visible on all three devices.
- Click Style.
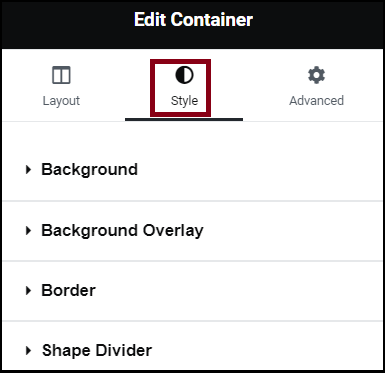
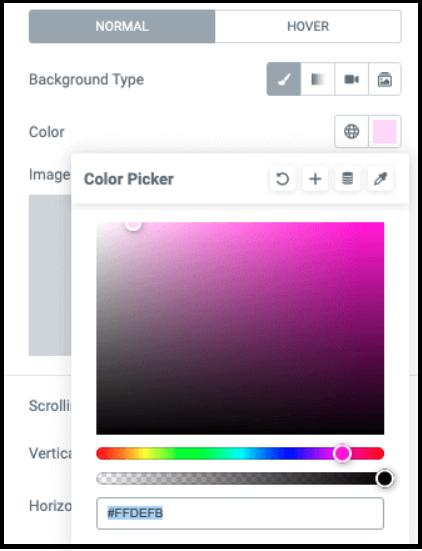
- Go to Background > Normal.
- Set the final background color or gradient in the color picker.
- Toggle Scrolling Effects. The scrolling effect settings displays.
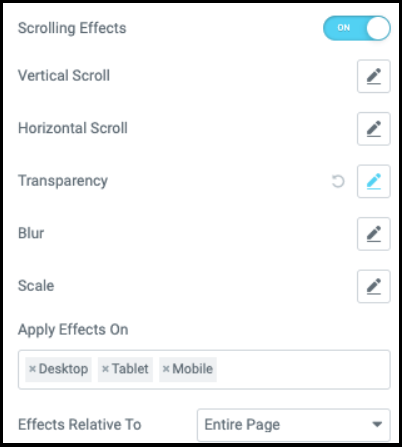
- Click edit icon for Transparency.
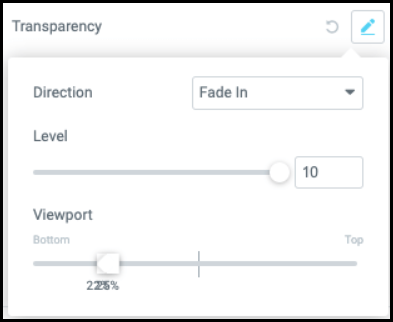
- From the viewport sliders, adjust the values to create the desired effect. Scroll to the spot on your page where you want to have the full opacity.
- Decrease the Top value until your heading has 100% opacity (example: 25%).
- Increase the value of the Bottom. If you want the effect to happen quickly, set the values very close to Top (example: 22%). This causes the effect to happen over a 3% page scroll.
- Click Publish.
Note
The Viewport slider determines the area of the page where the effect is applied. For details, see What Is The Viewport Control? and Understanding the Scrolling Effects Viewport – Elementor WordPress Tutorial