If Elementor AI doesn’t generate the images you want, or you want to edit an existing image, you have several options:
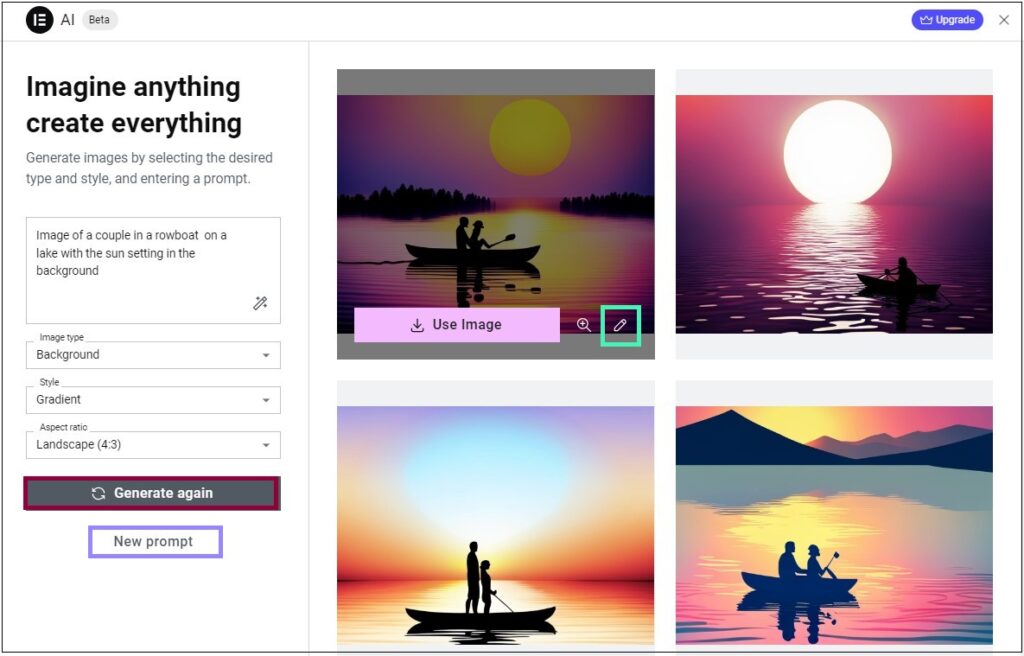
- Click Generate again to create four more images based on your existing prompt.
- Start again by clicking New prompt.
- Edit the image.
Edit the image
If an image is close to what you want, but not quite there, you have a number of ways to edit it.
You can choose:
- Expand Image
- Generative Fill
- Resize
- Variations
- Remove background
- Replace background
- Cleanup
To start editing:
- Select the image you want to edit, and click the edit icon

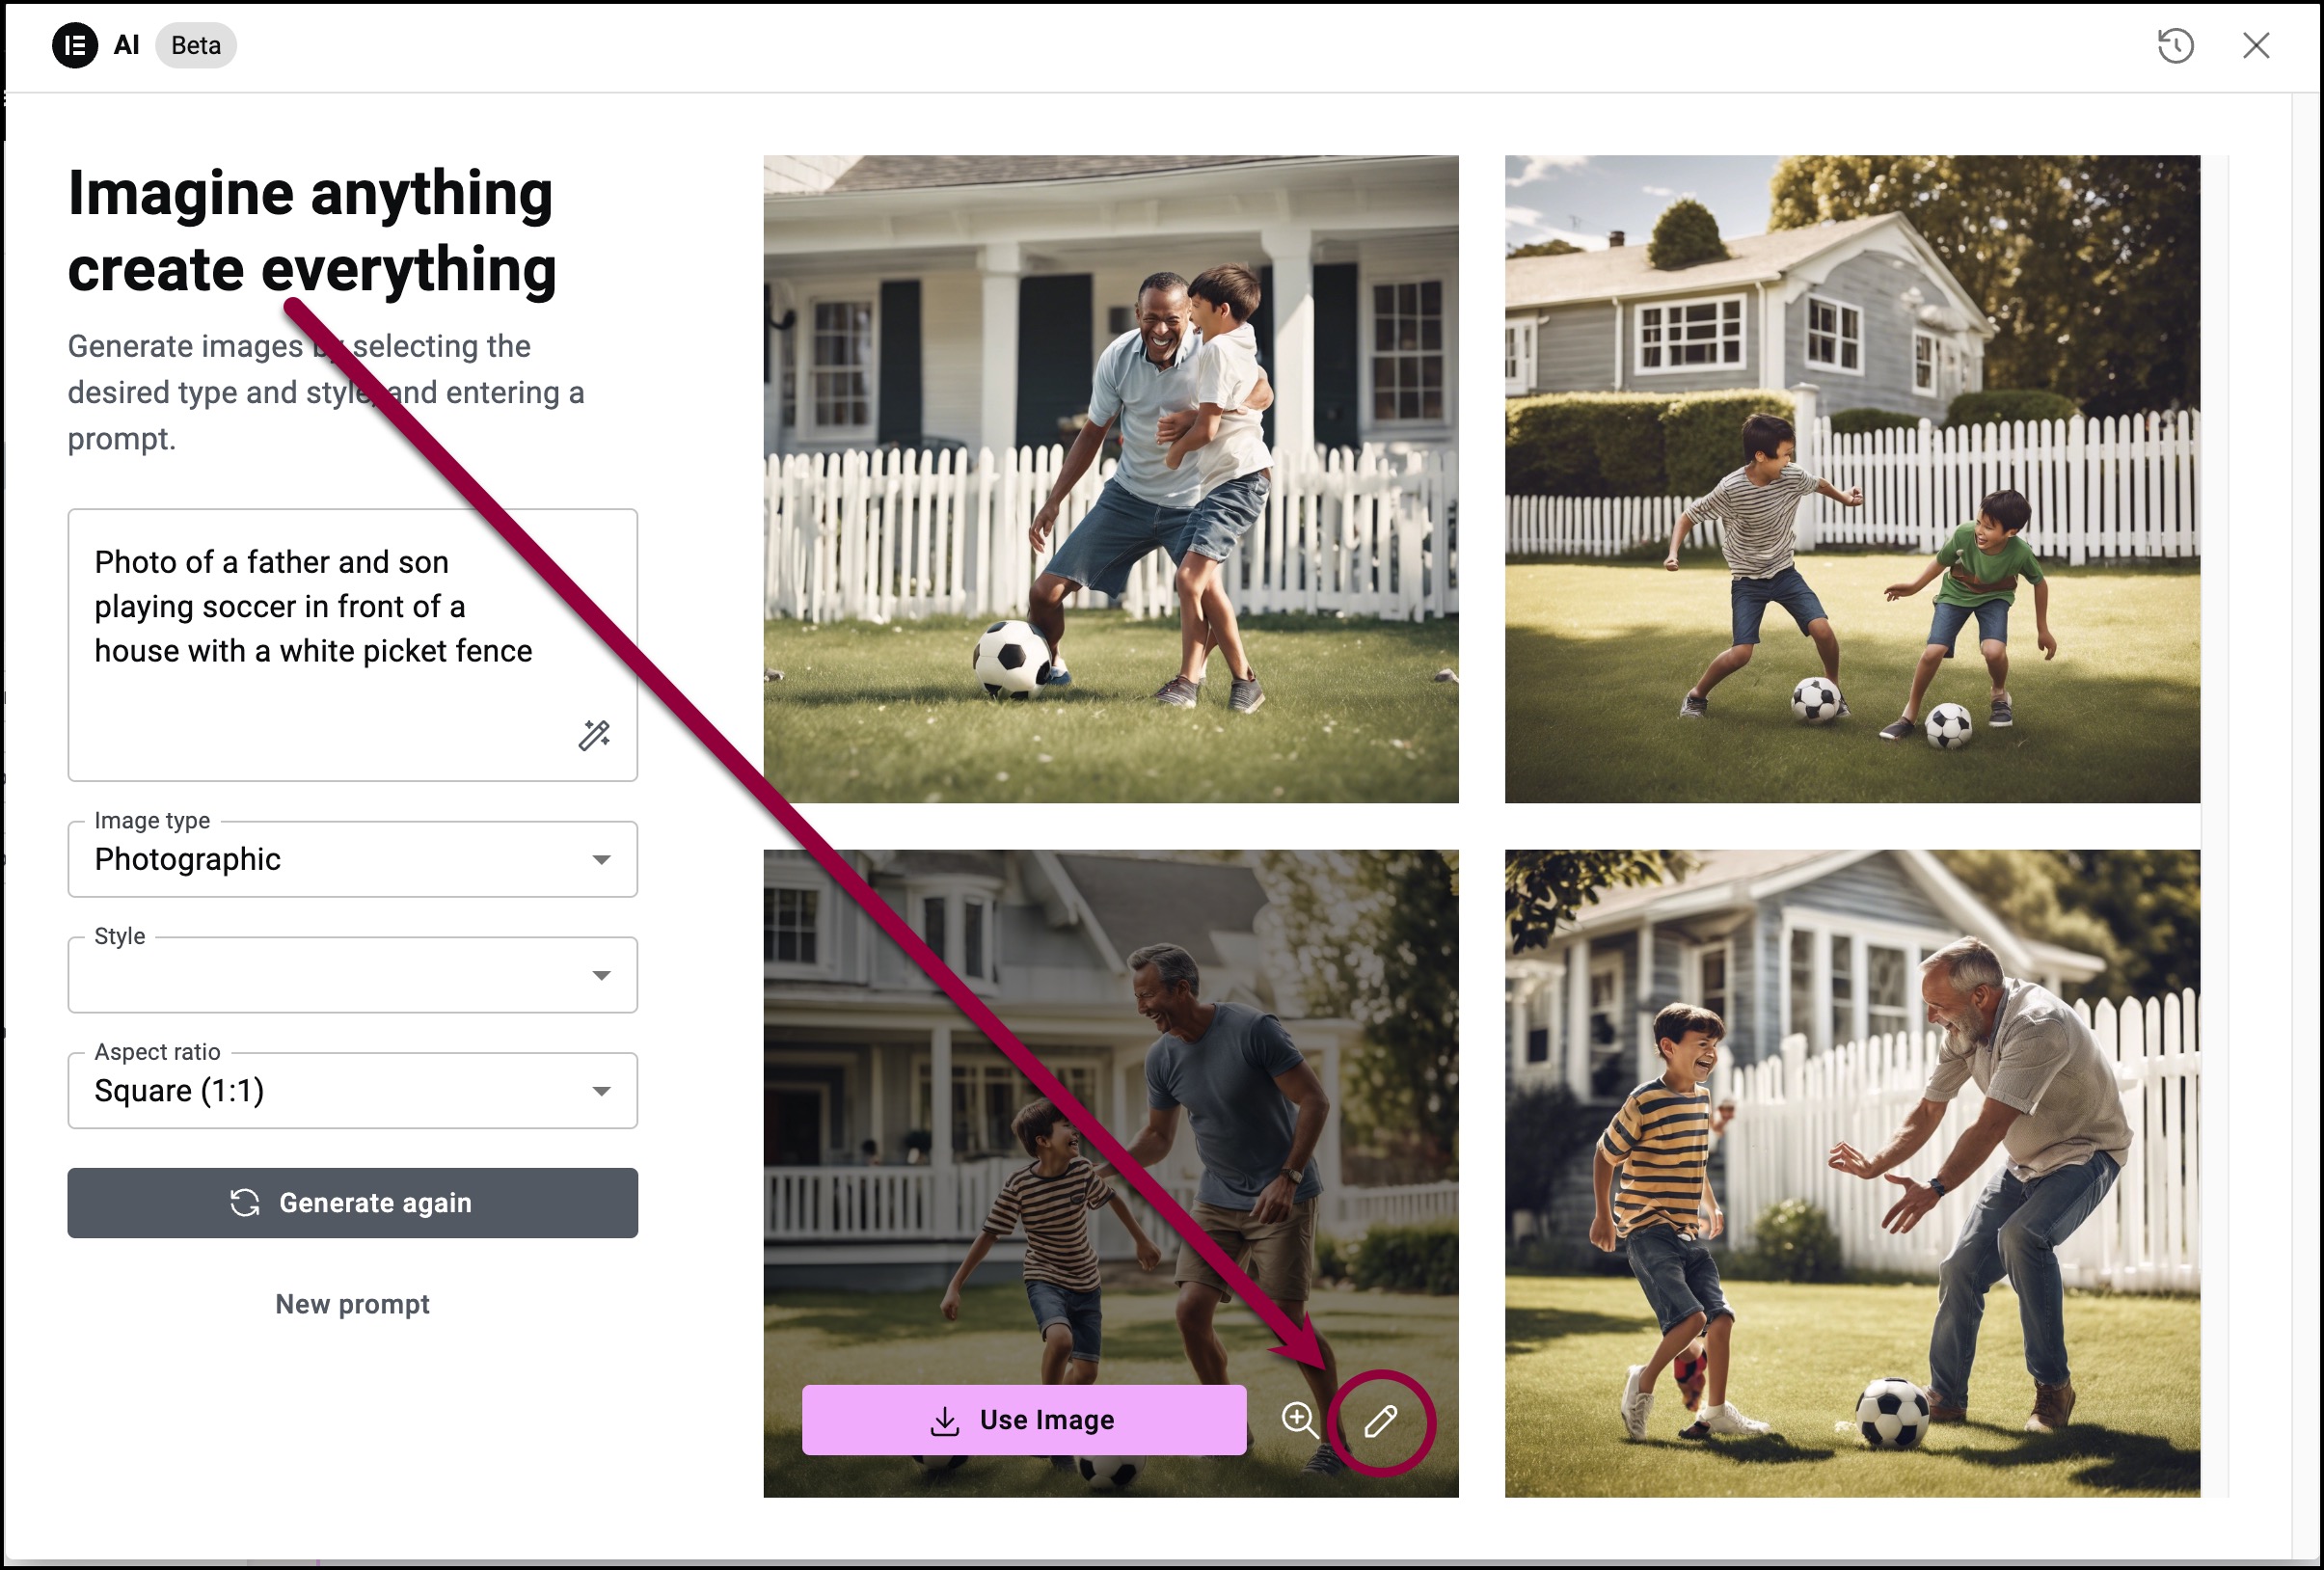
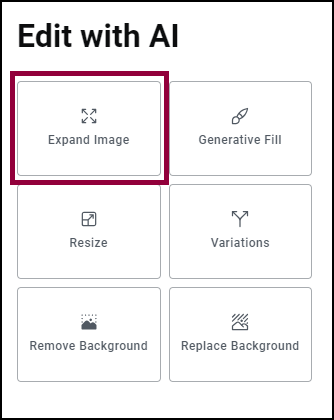
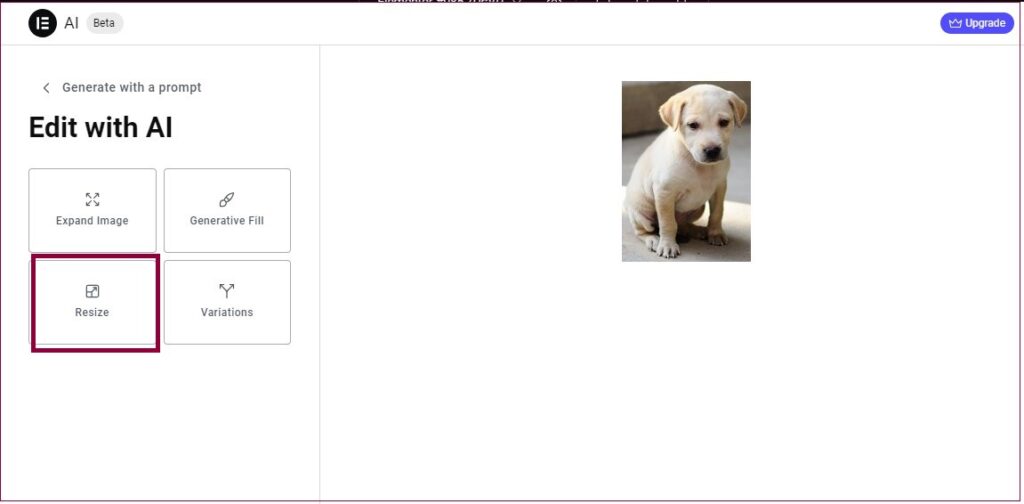
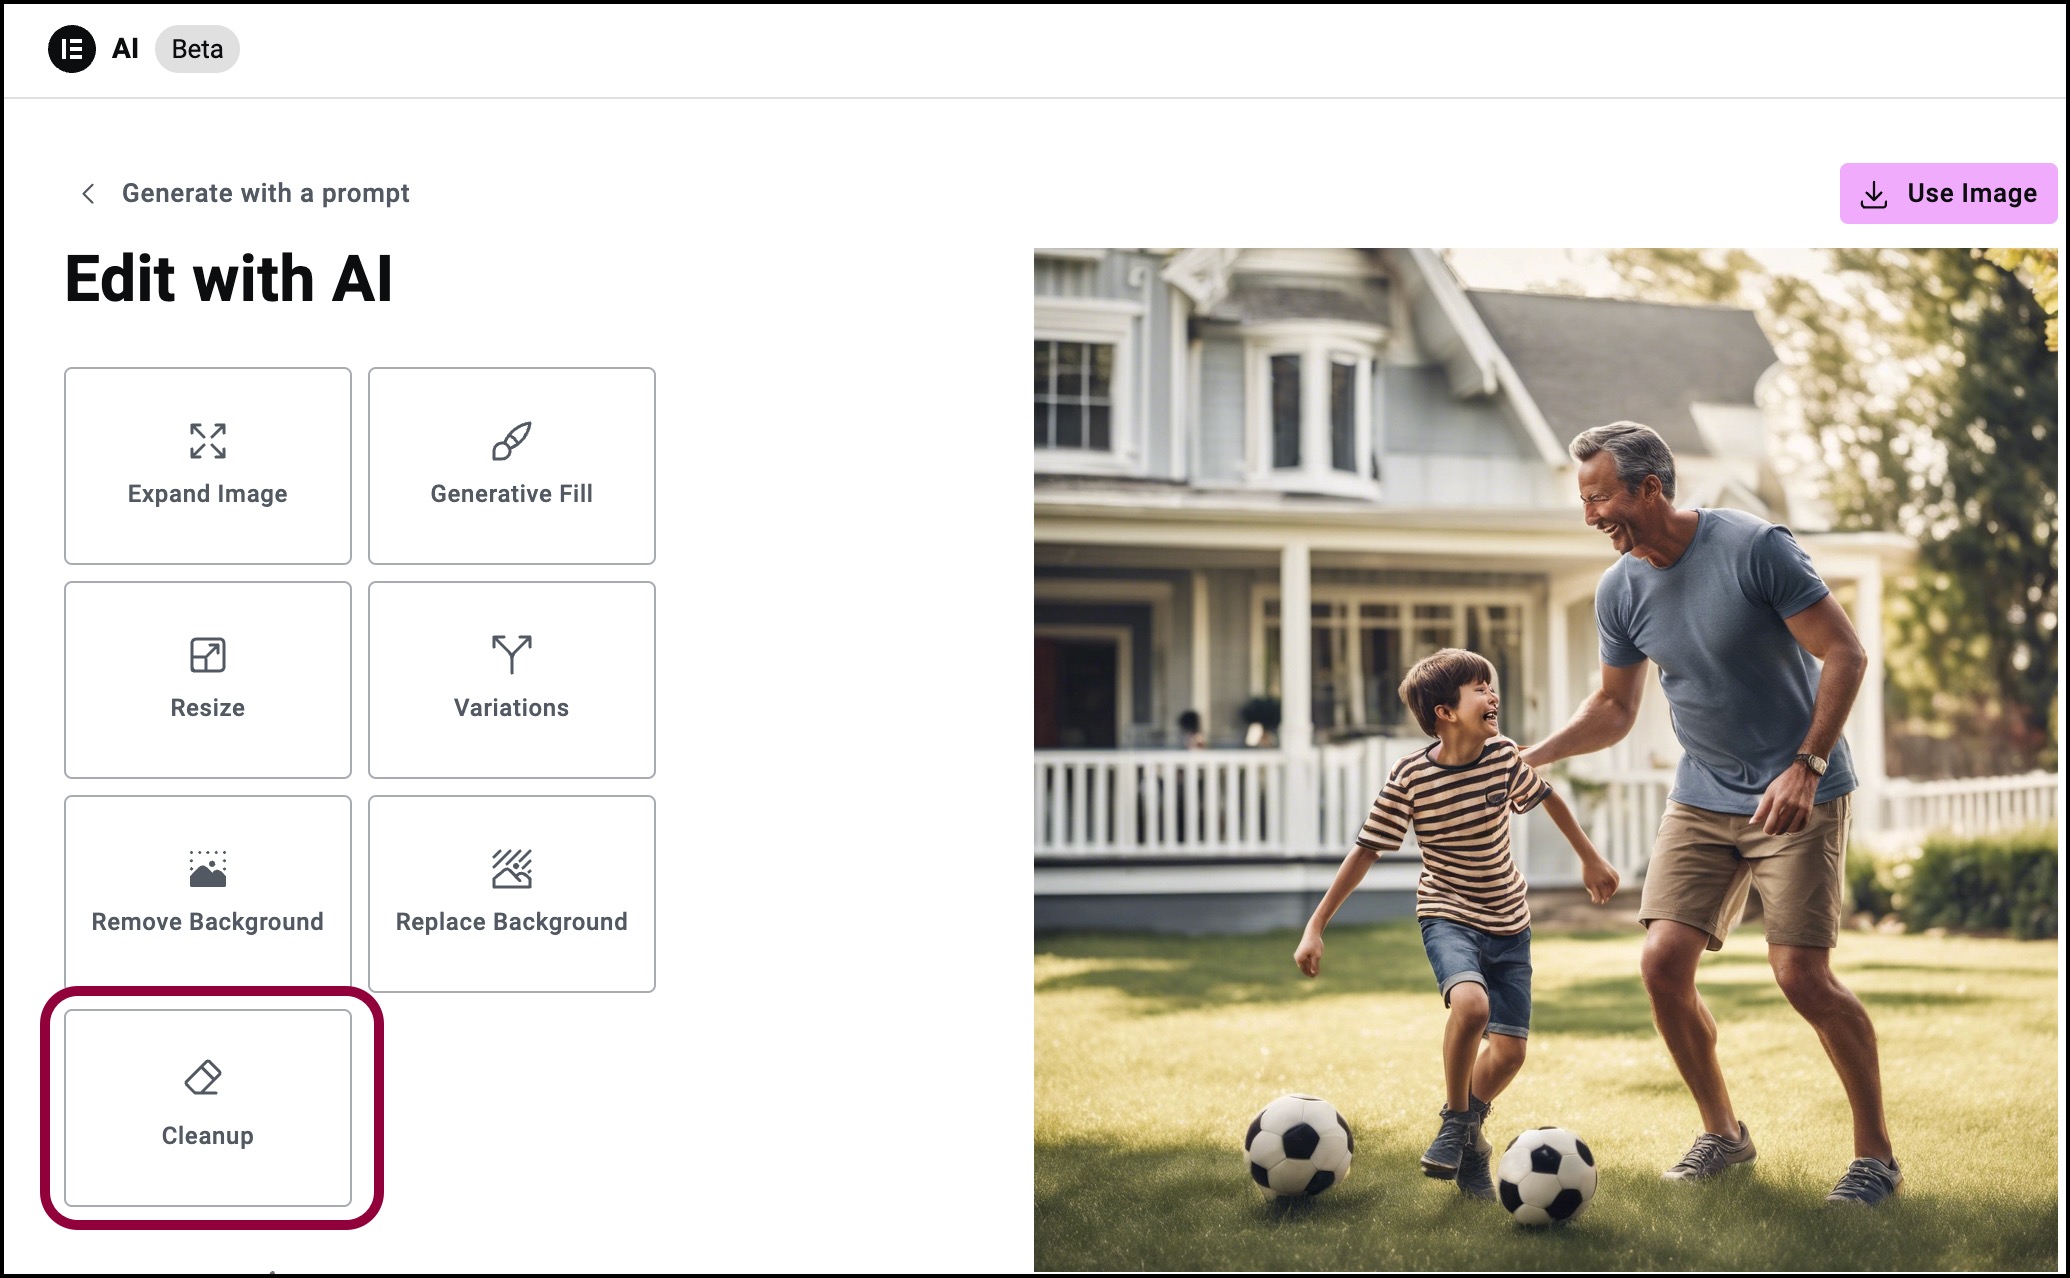
The editing screen appears with the six options.
- Select what you want to do with the image.
Expand Image
Expand Image allows you to put your picture in a wider framework. In the example below, we will take an image of a father and son playing soccer in front of a house, and let Elementor AI create a neighborhood around them.
To expand your image:
- Click Expand Image.
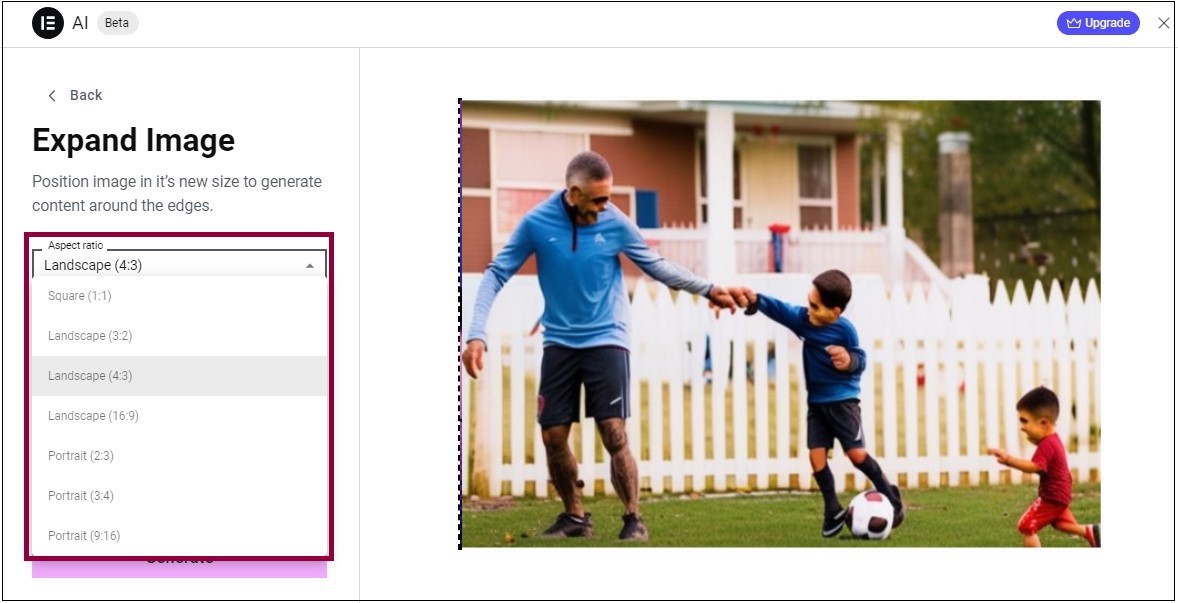
- (Optional) Change the dimension of the image according to different ratio options. To do this, from the Aspect Ratio menu, select the dimensions of the image you want to create.
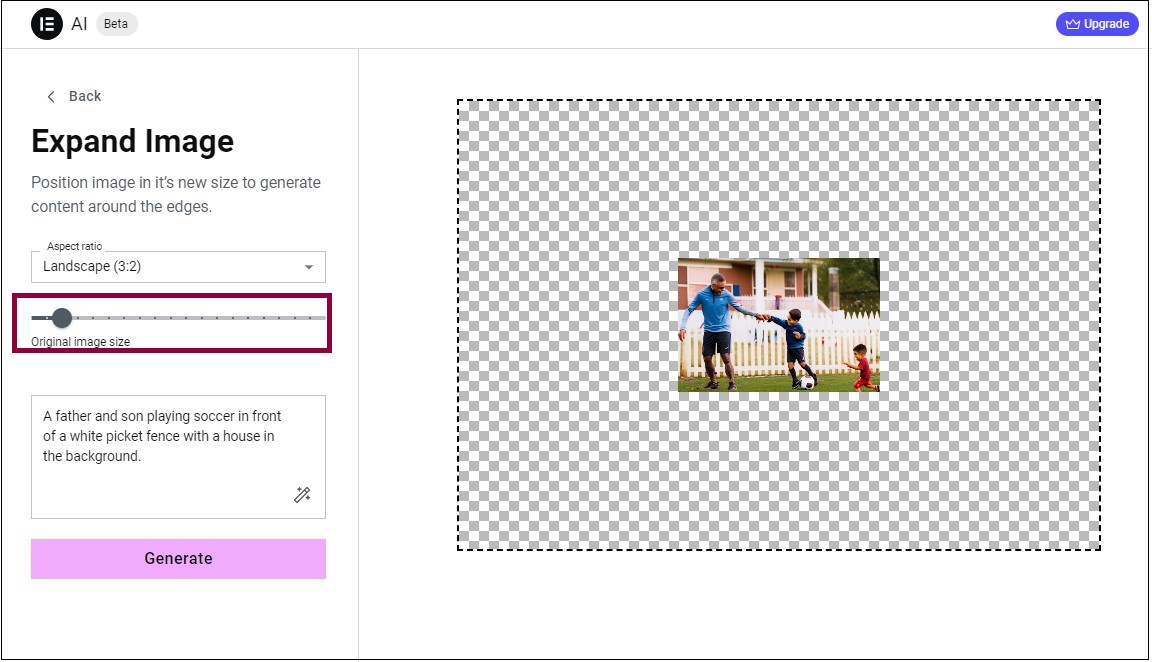
- Move the slider to the left to add extra area around the image. AI creates new surroundings in the area around your existing image.
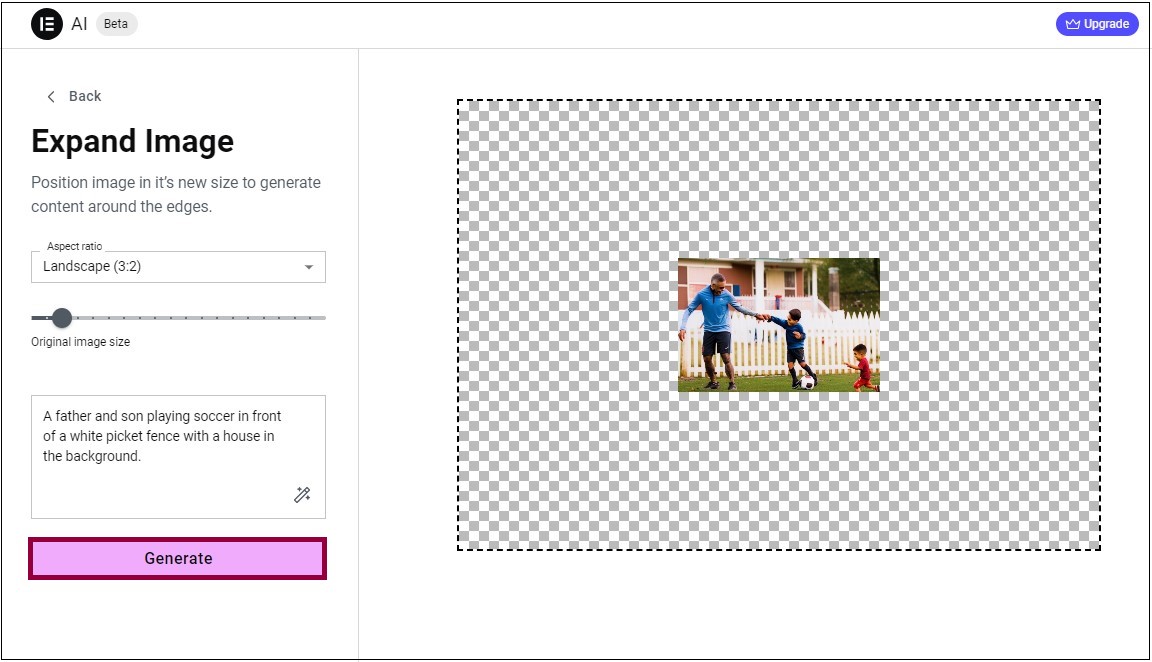
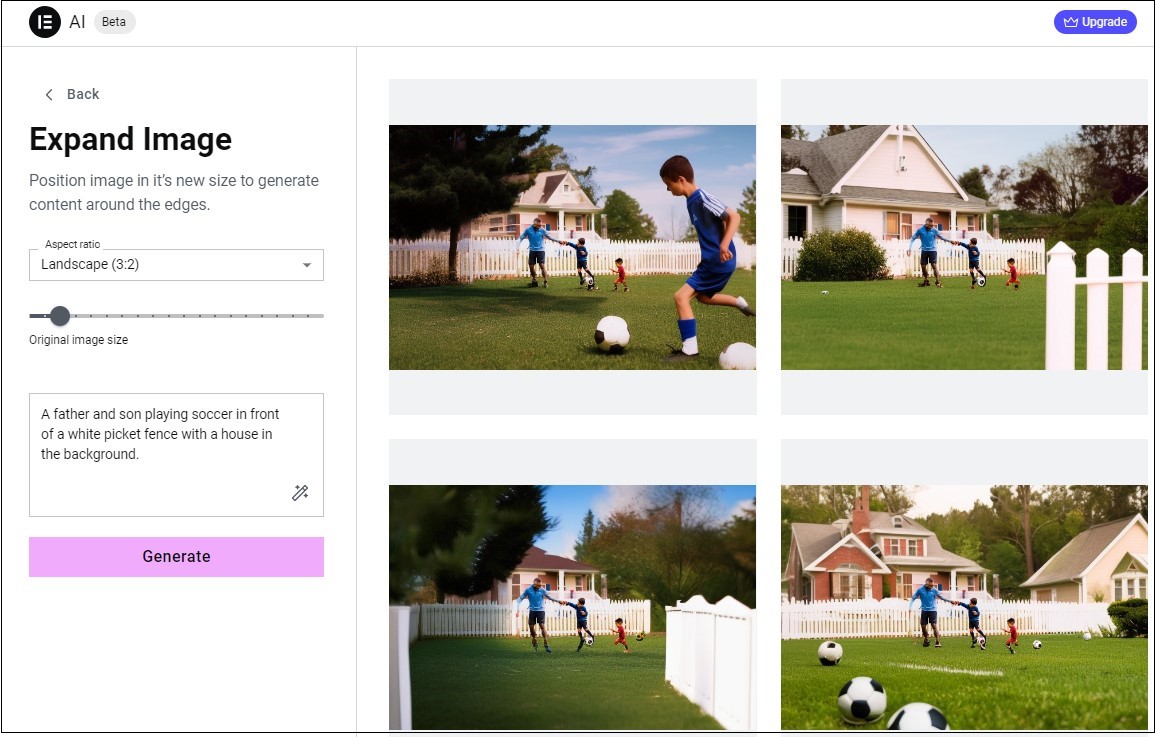
- Click Generate. AI produces four images for you to choose from, or to further edit.
Generative Fill
Generative fill allows you to select an area of the image and replace it with AI generated visuals.
To use generative fill:

- Click Generative Fill.
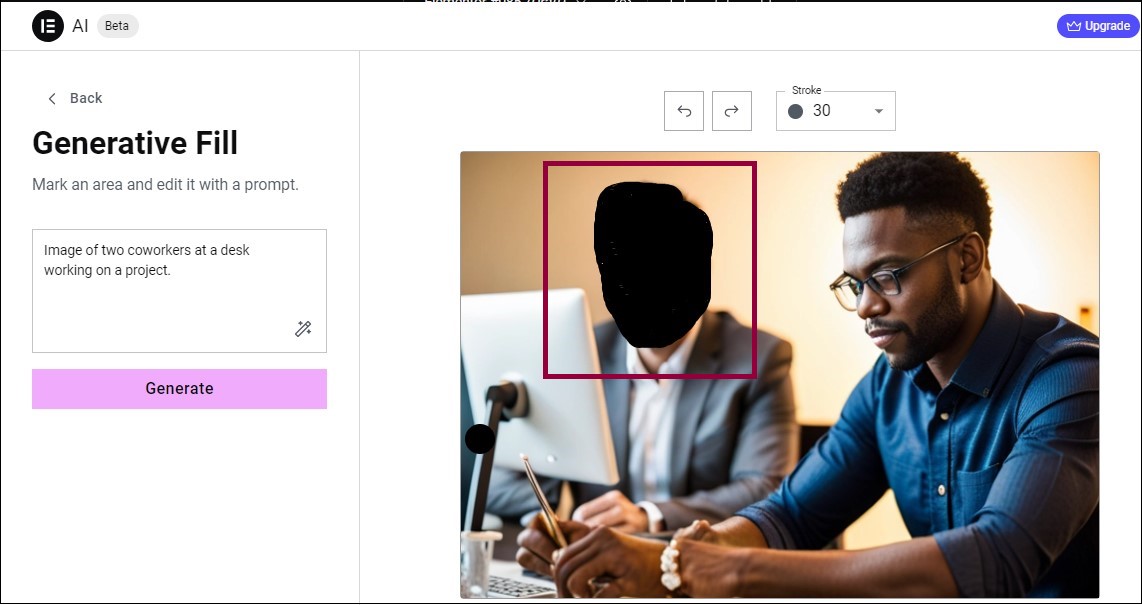
- Use your cursor to define the area of the image you want to replace.
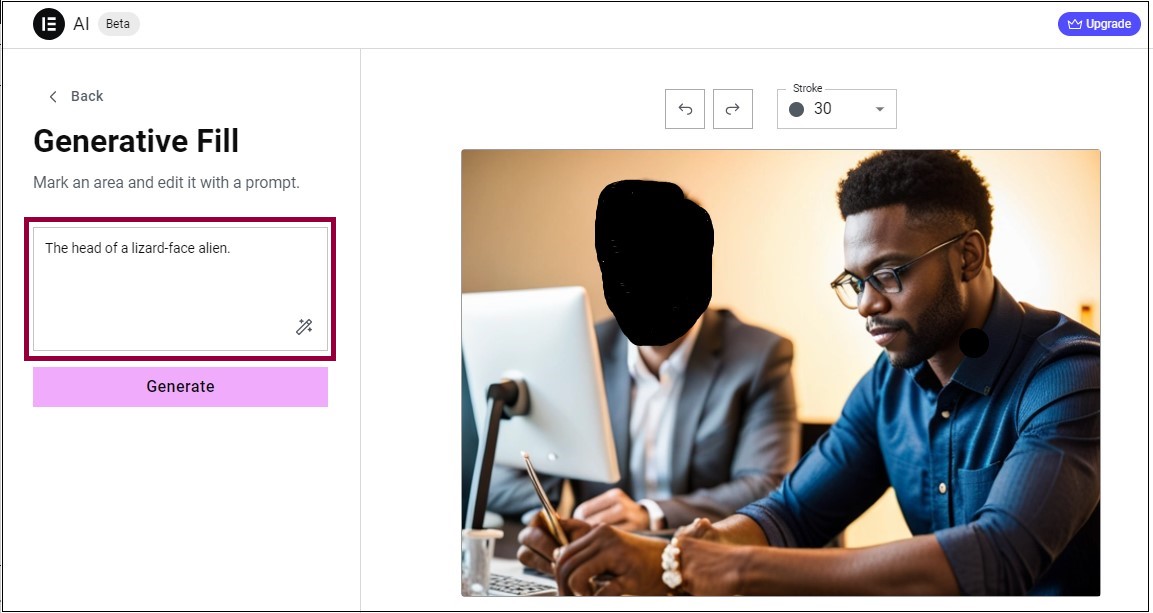
- In the textbox, enter a description of what you want to appear in the defined area.
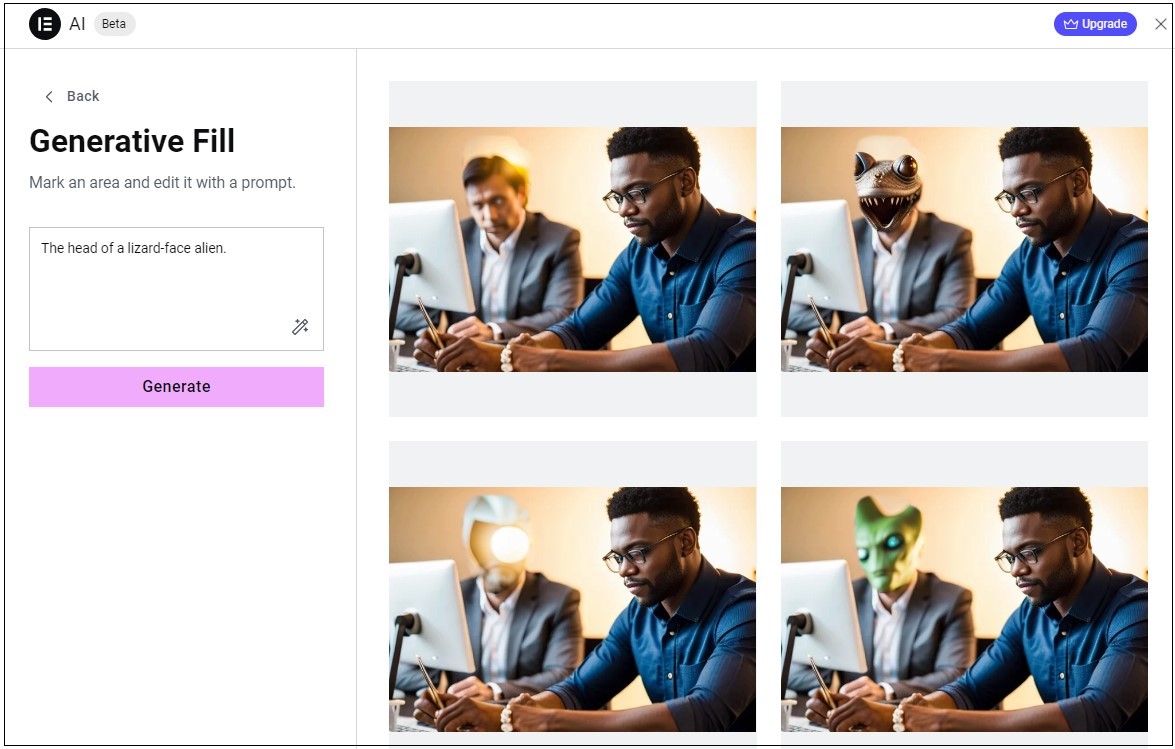
- Click Generate. AI produces four images for you to choose from, or further edit.
There are three tools at your disposal to define an area for generative fill: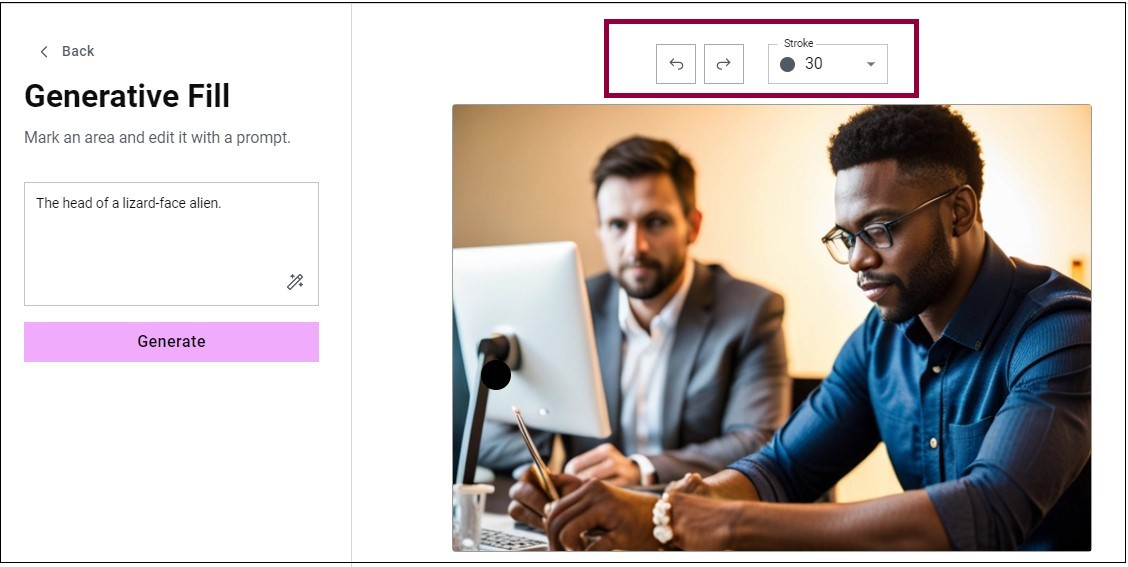
- Undo
– revert to your previous action.
- Redo
– recreate your previous action.
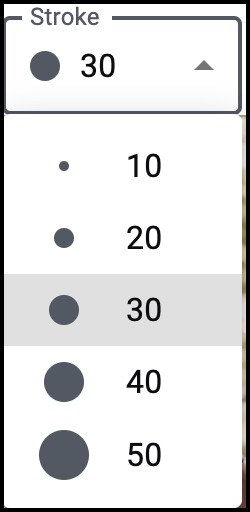
- Stroke – a dropdown menu that lets you select the brush size when defining the area.
Resize
Normally, when you try to enlarge an image, it loses resolution and becomes pixelated. Elementor AI makes pictures bigger without losing resolution.
To resize an image:
- Click Resize.
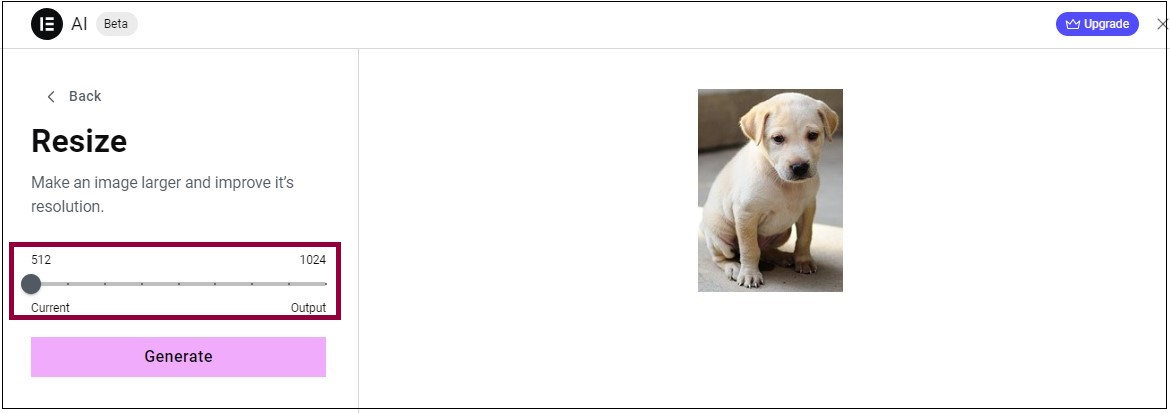
- Select a new size using the slider. This will increase either the height or the width (whichever is larger), and the other dimension will automatically increase to keep the image in proportion.
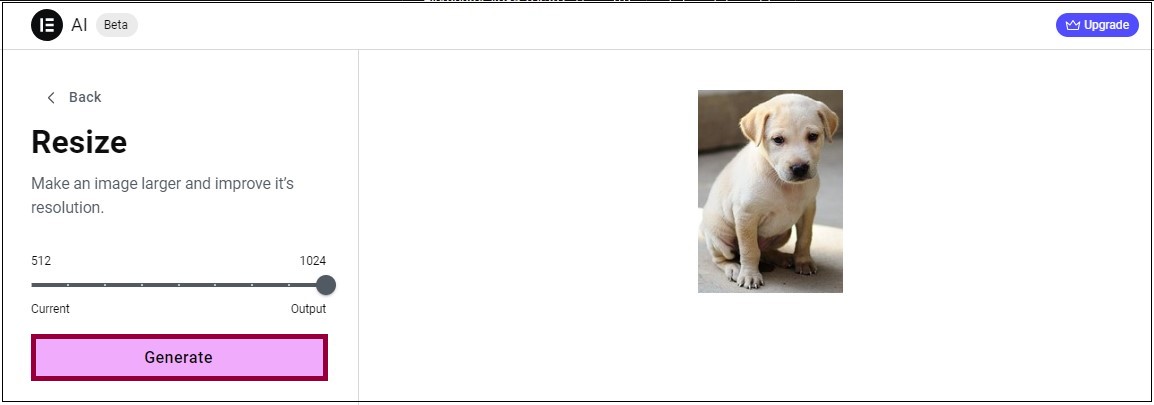
- Click Generate.
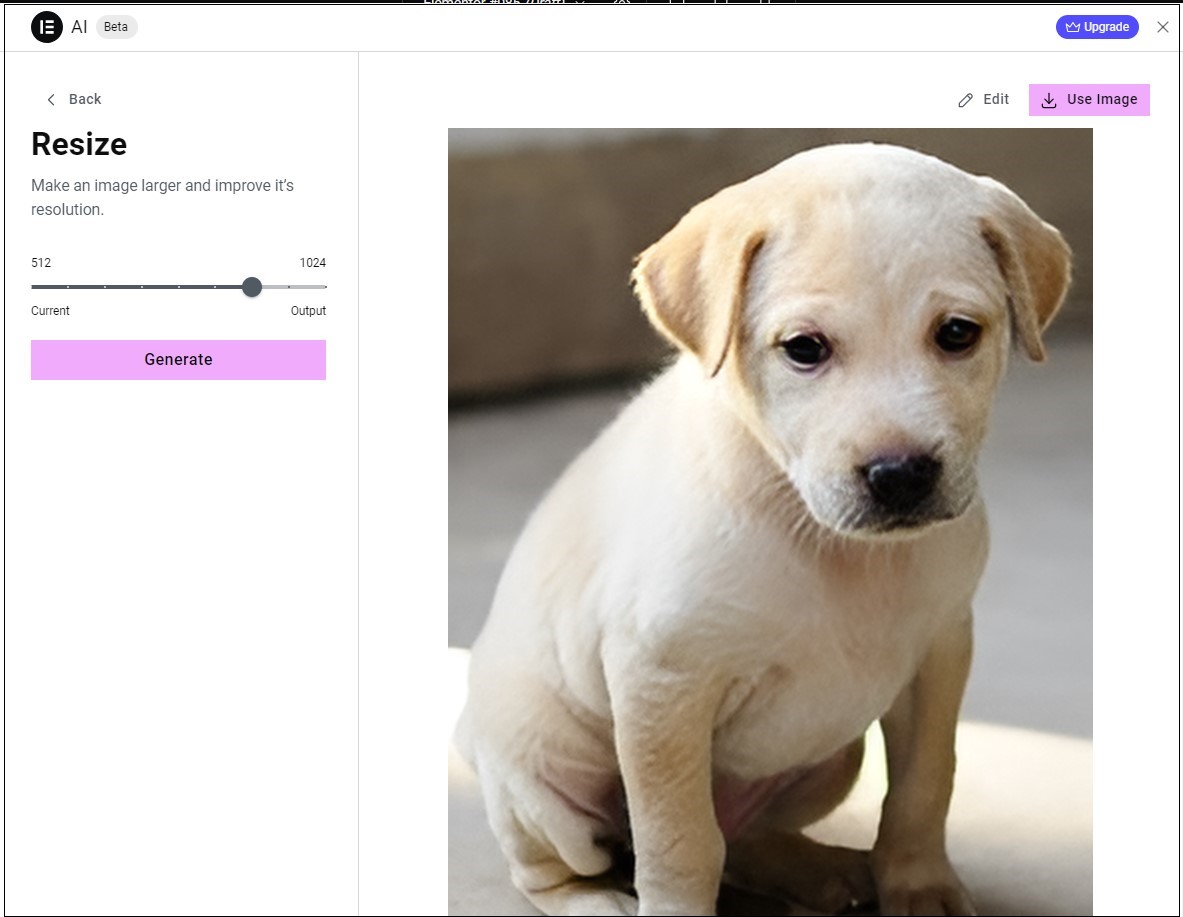
Your image is resized.
Remove a background
Elementor AI automatically detects the object in your image and replaces the background with a transparent one. It’s best used to give product images and portraits the same background color as their parent container.
To remove a background:
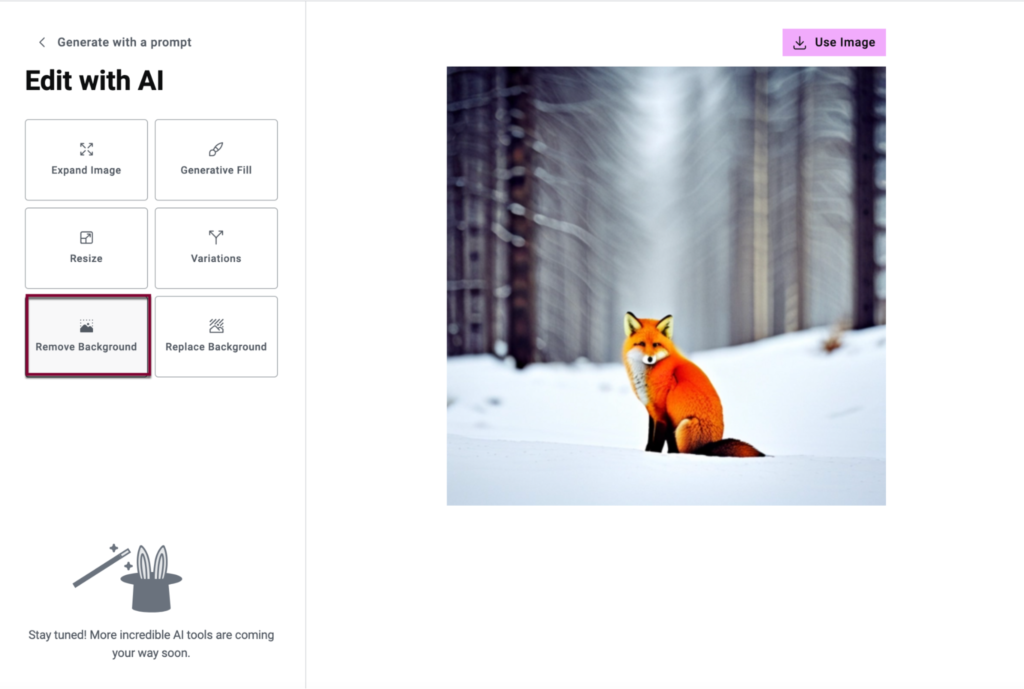
- Click Remove Background.
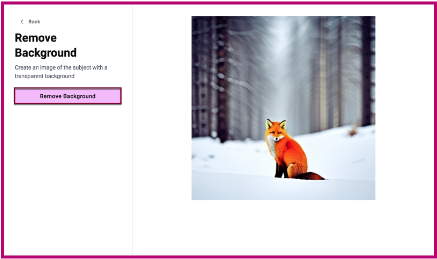
- In the Remove Background screen, click Remove background.
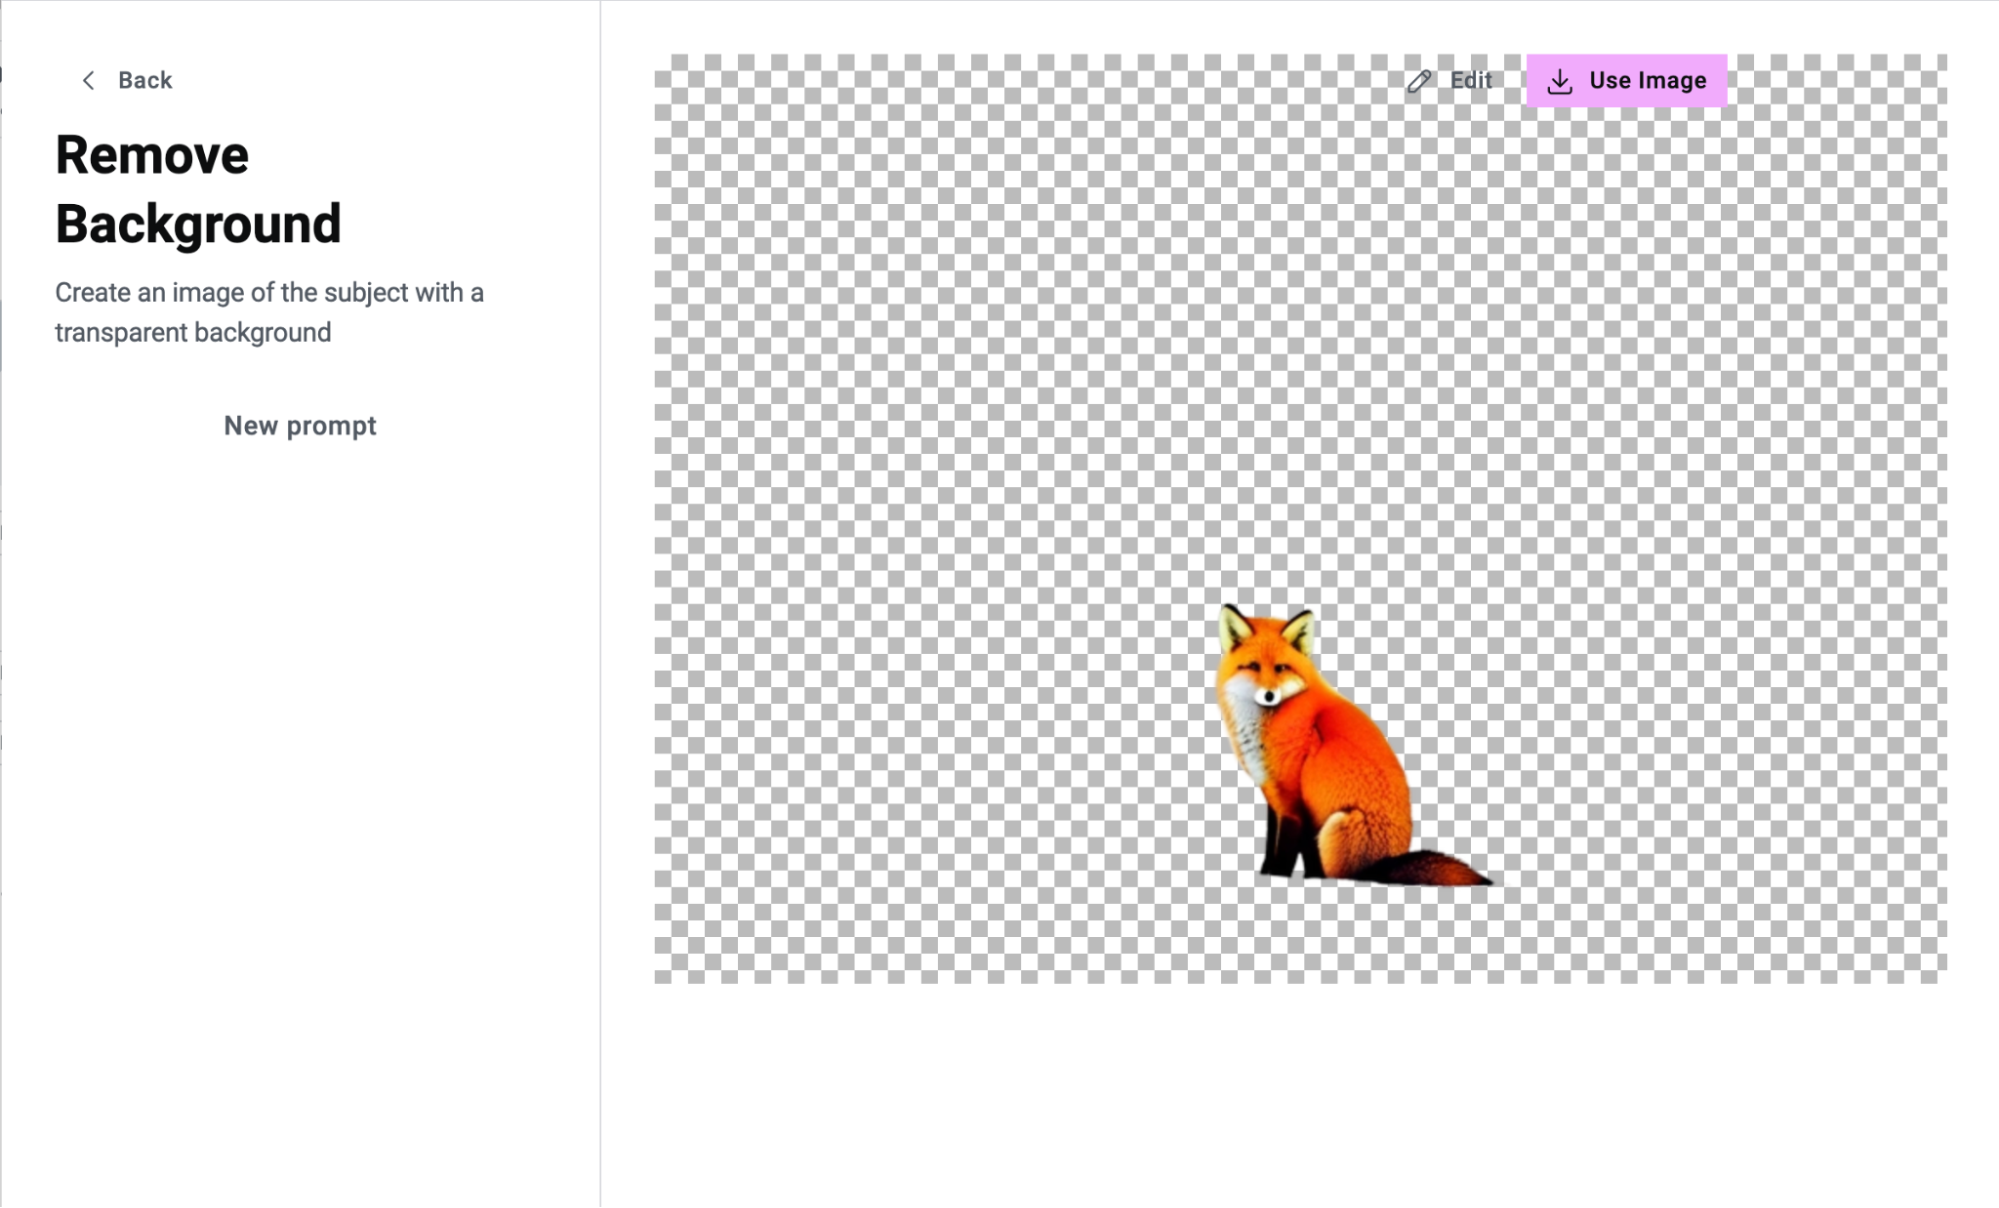
- Verify that the background is removed.
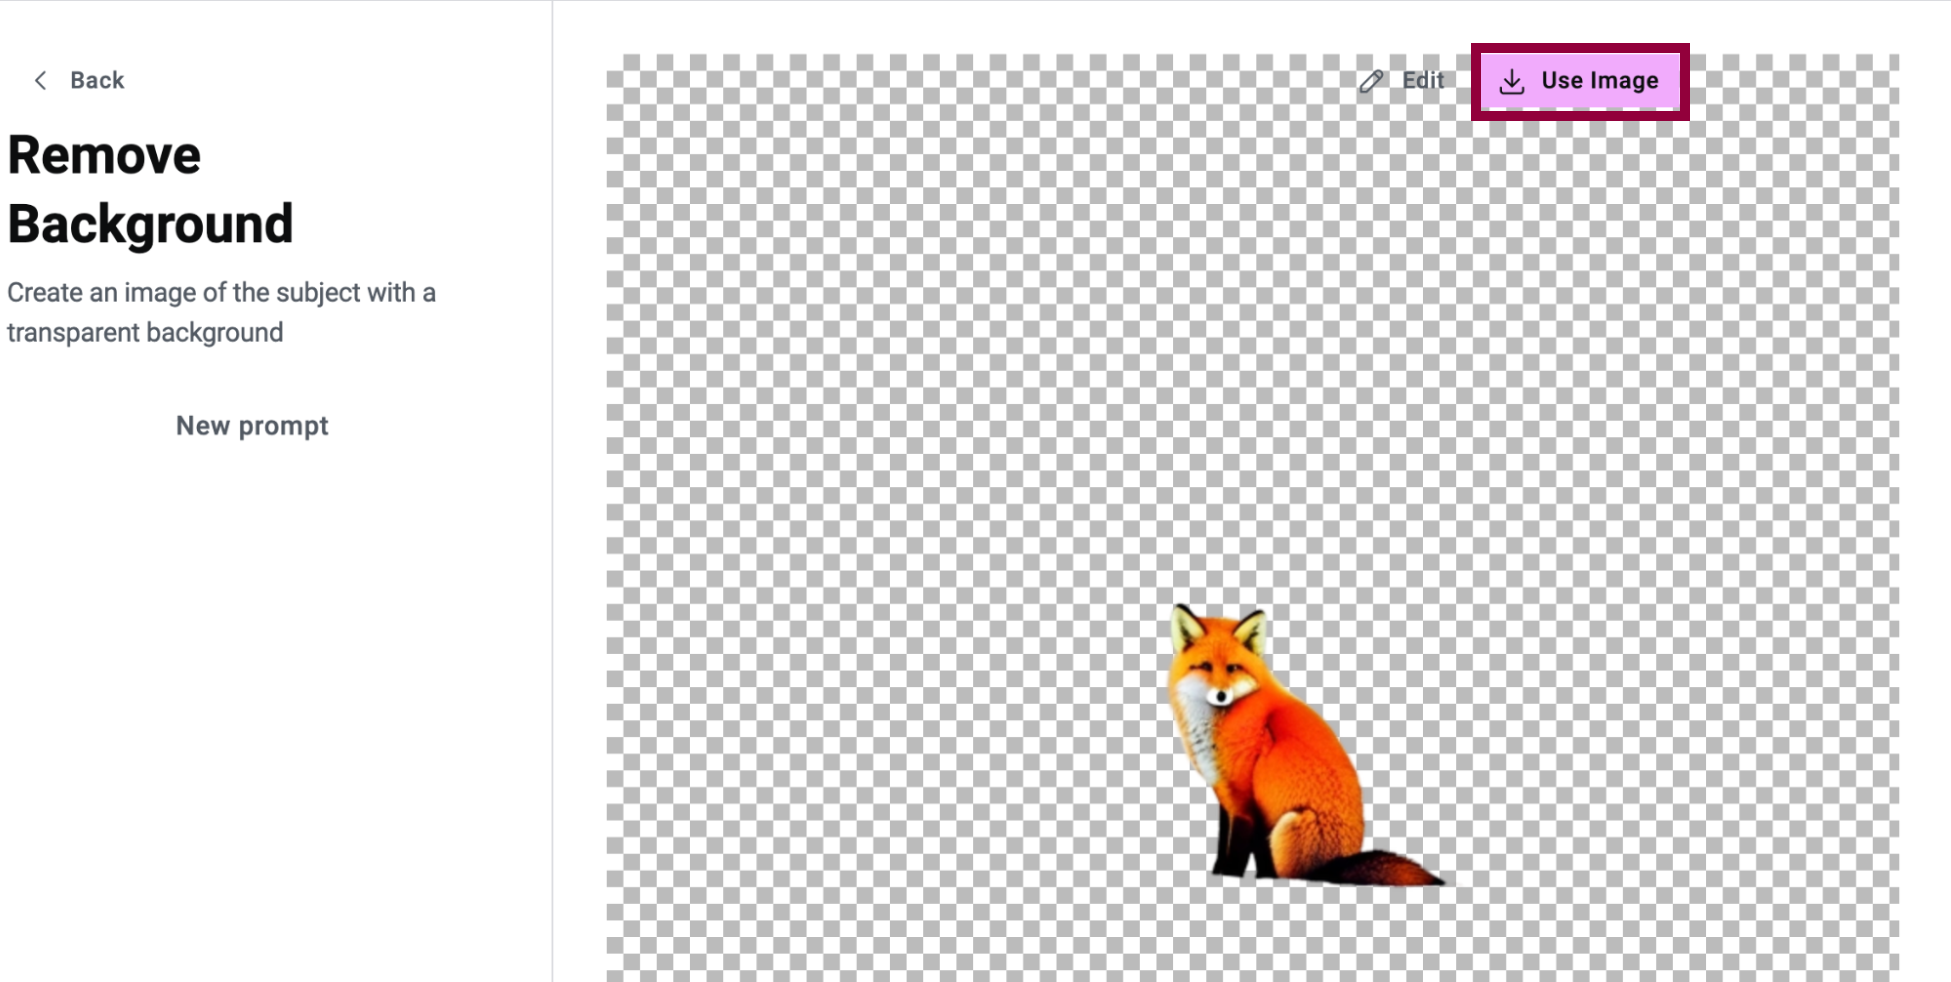
- To use the image, click Use Image.
If you want to replace the background image with something else, see Replace a background.
Replace a background
Change the background of an image using a text description. For example, switch your model’s background from a beach to a rainforest or outer space.
To replace a background:
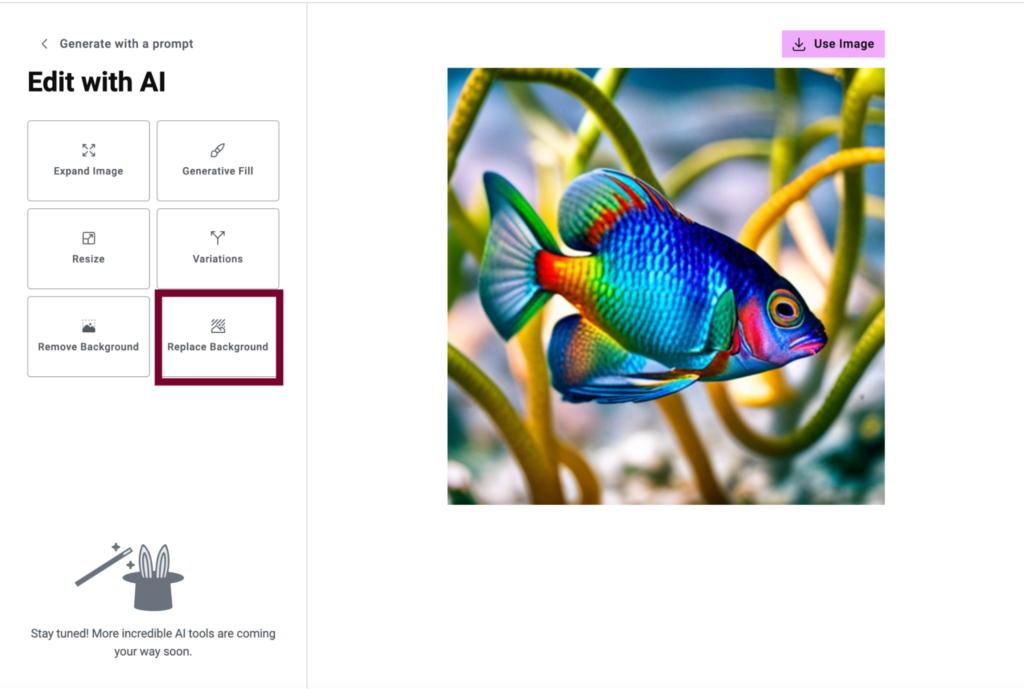
- Click Replace Background.
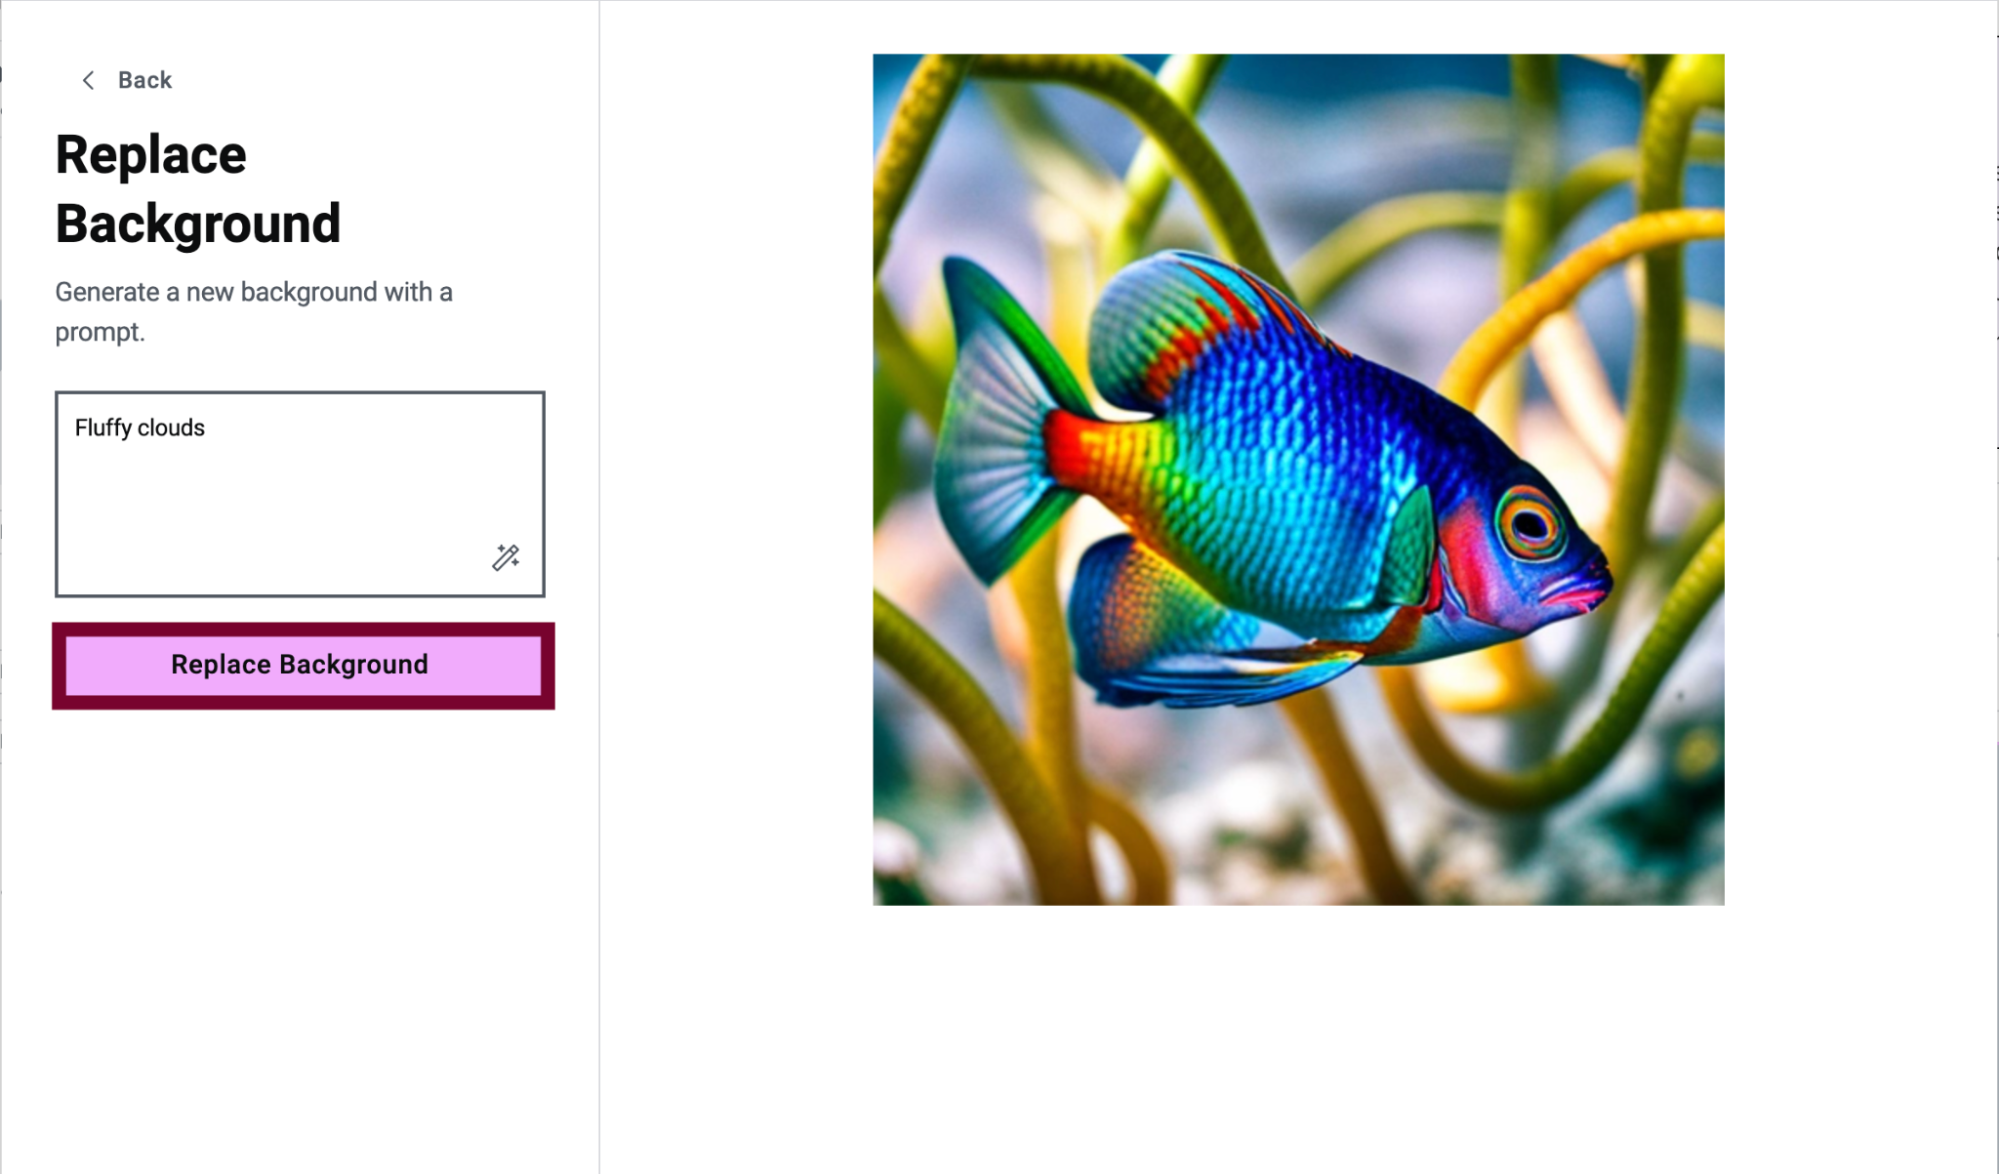
- Enter a prompt that describes the desired background, and click Replace Background.
- Try different prompts and configurations until you’re satisfied with the background.
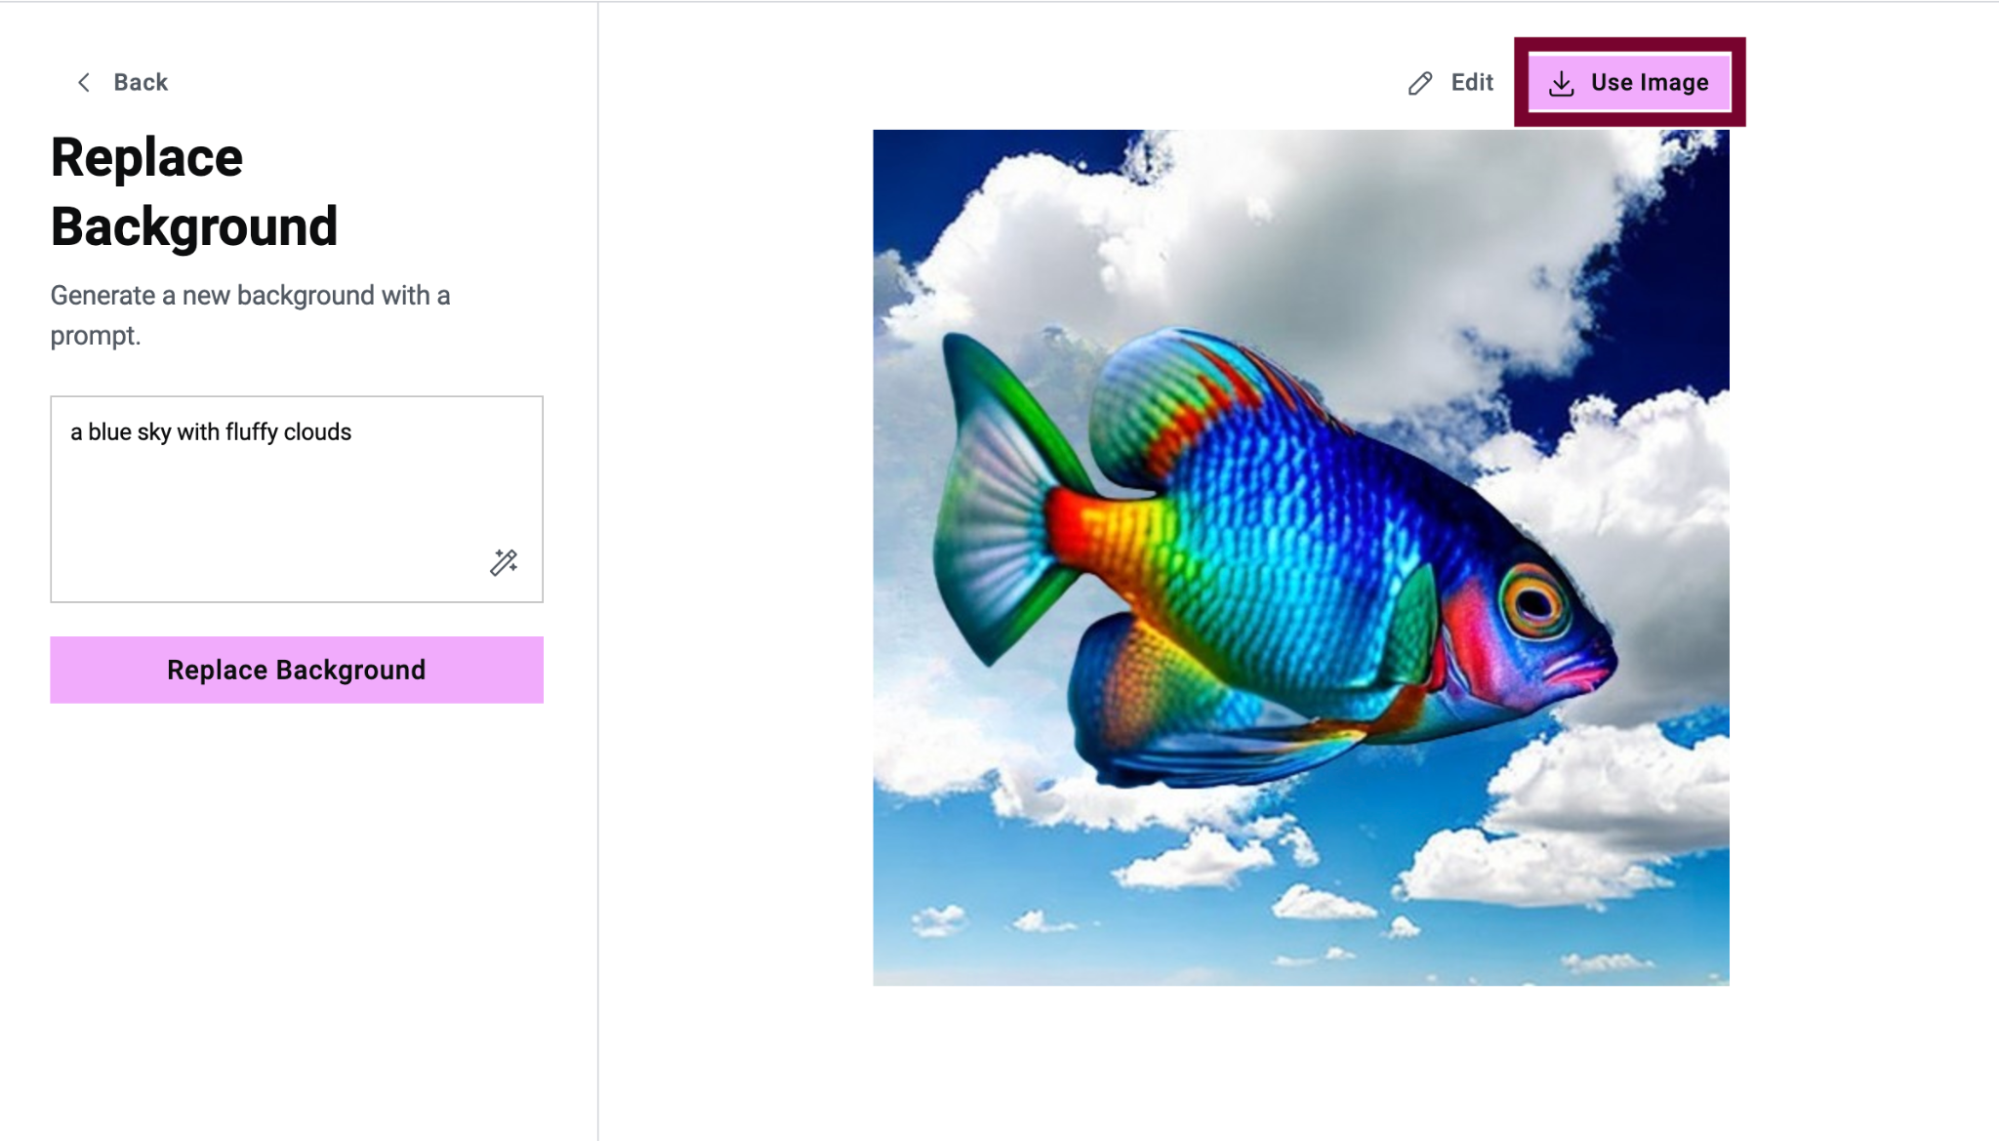
- Click Use Image to insert the image.
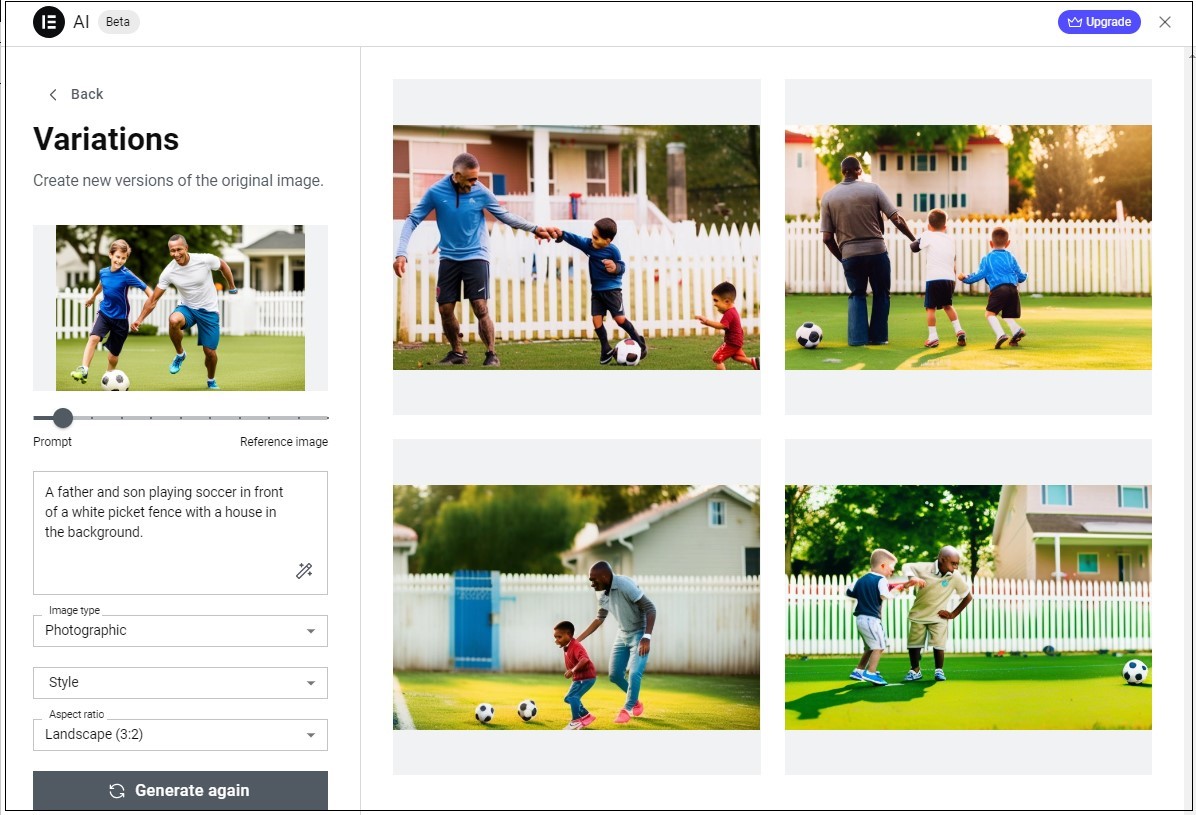
Variants
When your image is close to what you want but needs some adjustments, use Elementor AI to create better versions of your image. When creating these variants, you determine to what degree the new image will be based on either your prompt, or the existing image.
To create a variant image:
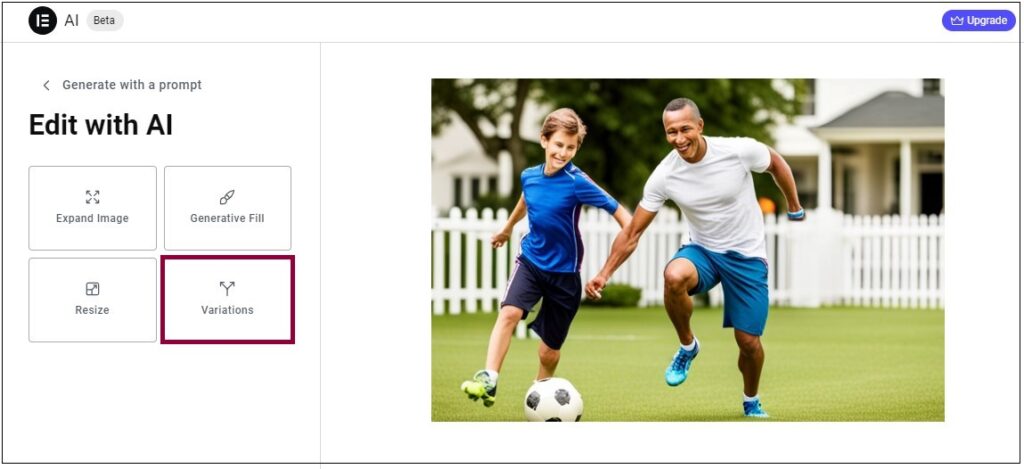
- Click Variants.
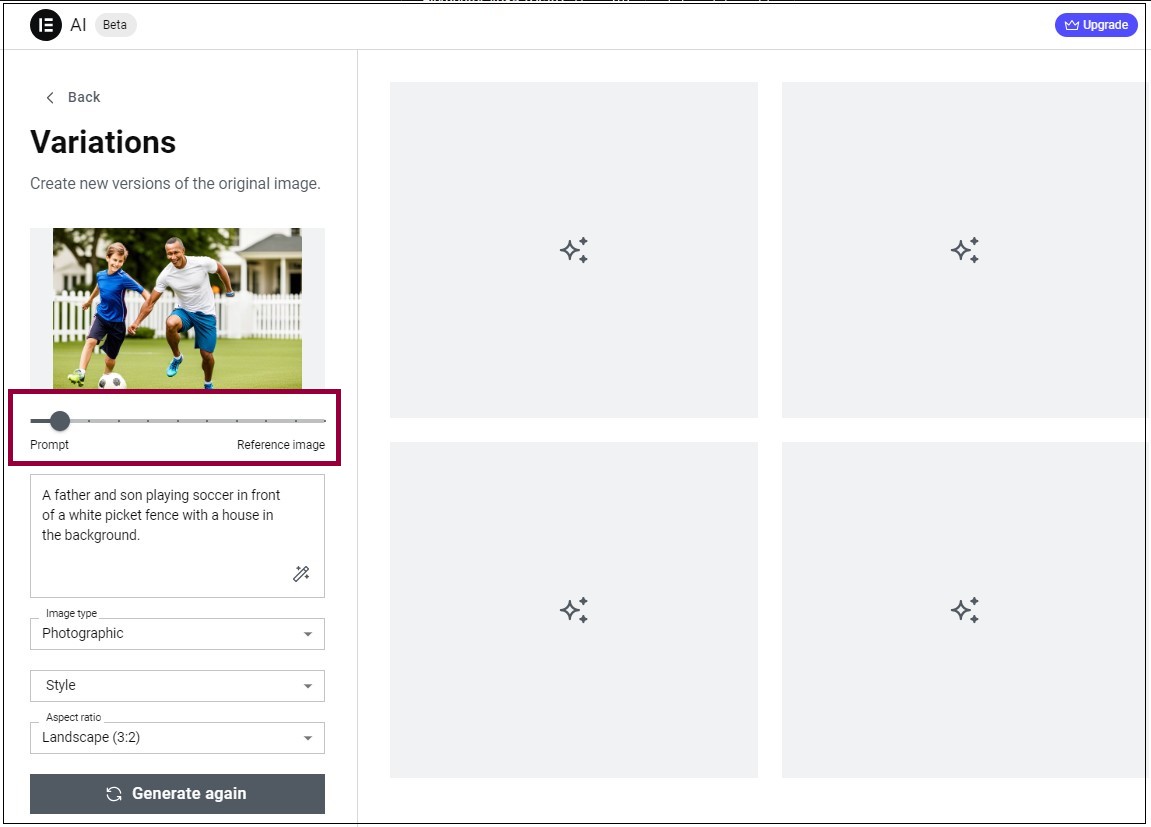
- Adjust the slider to determine whether the edited version should closely resemble your Prompt description or closely resemble the Reference image.
- Change one or more of the following: Image Type, Style, or prompt.
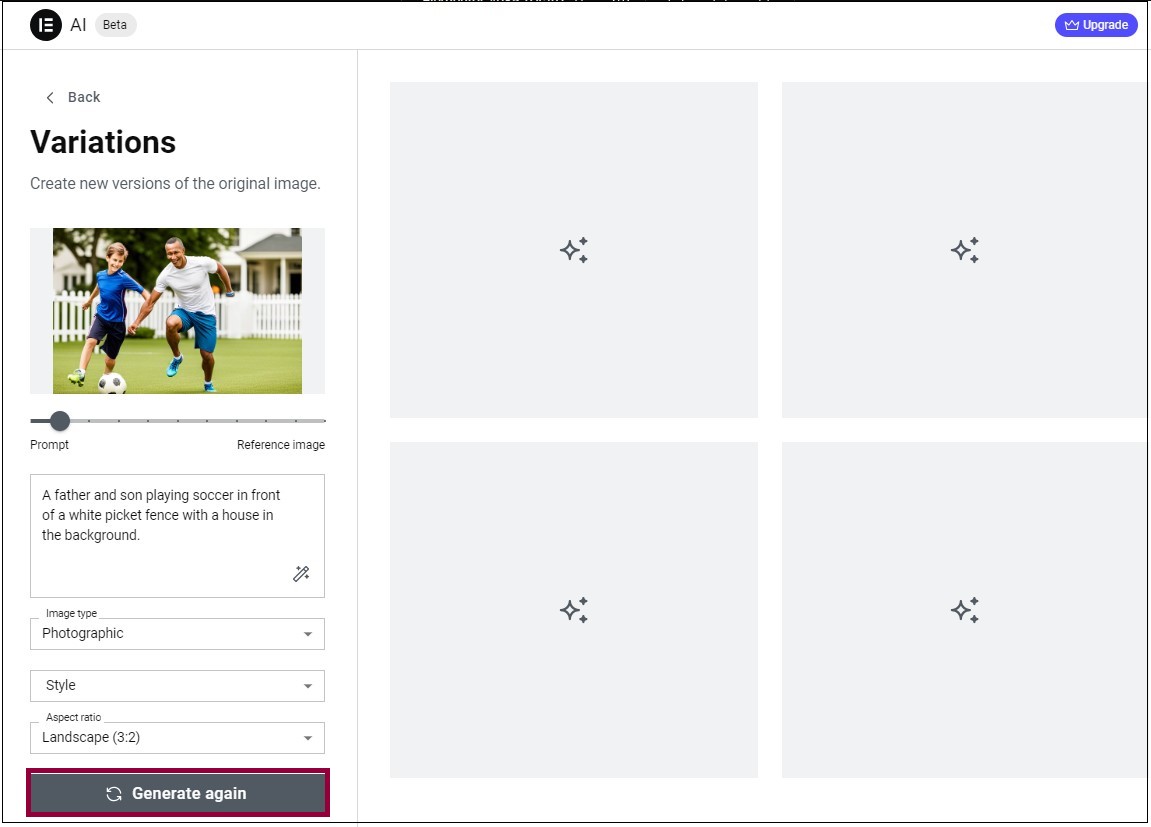
- Click Generate again.
Important: Regenerating images count towards your used credits.
Cleanup
Cleanup lets you remove unwanted objects or defects from your image.
To clean up an image:
- Click Cleanup.
The cleanup screen opens.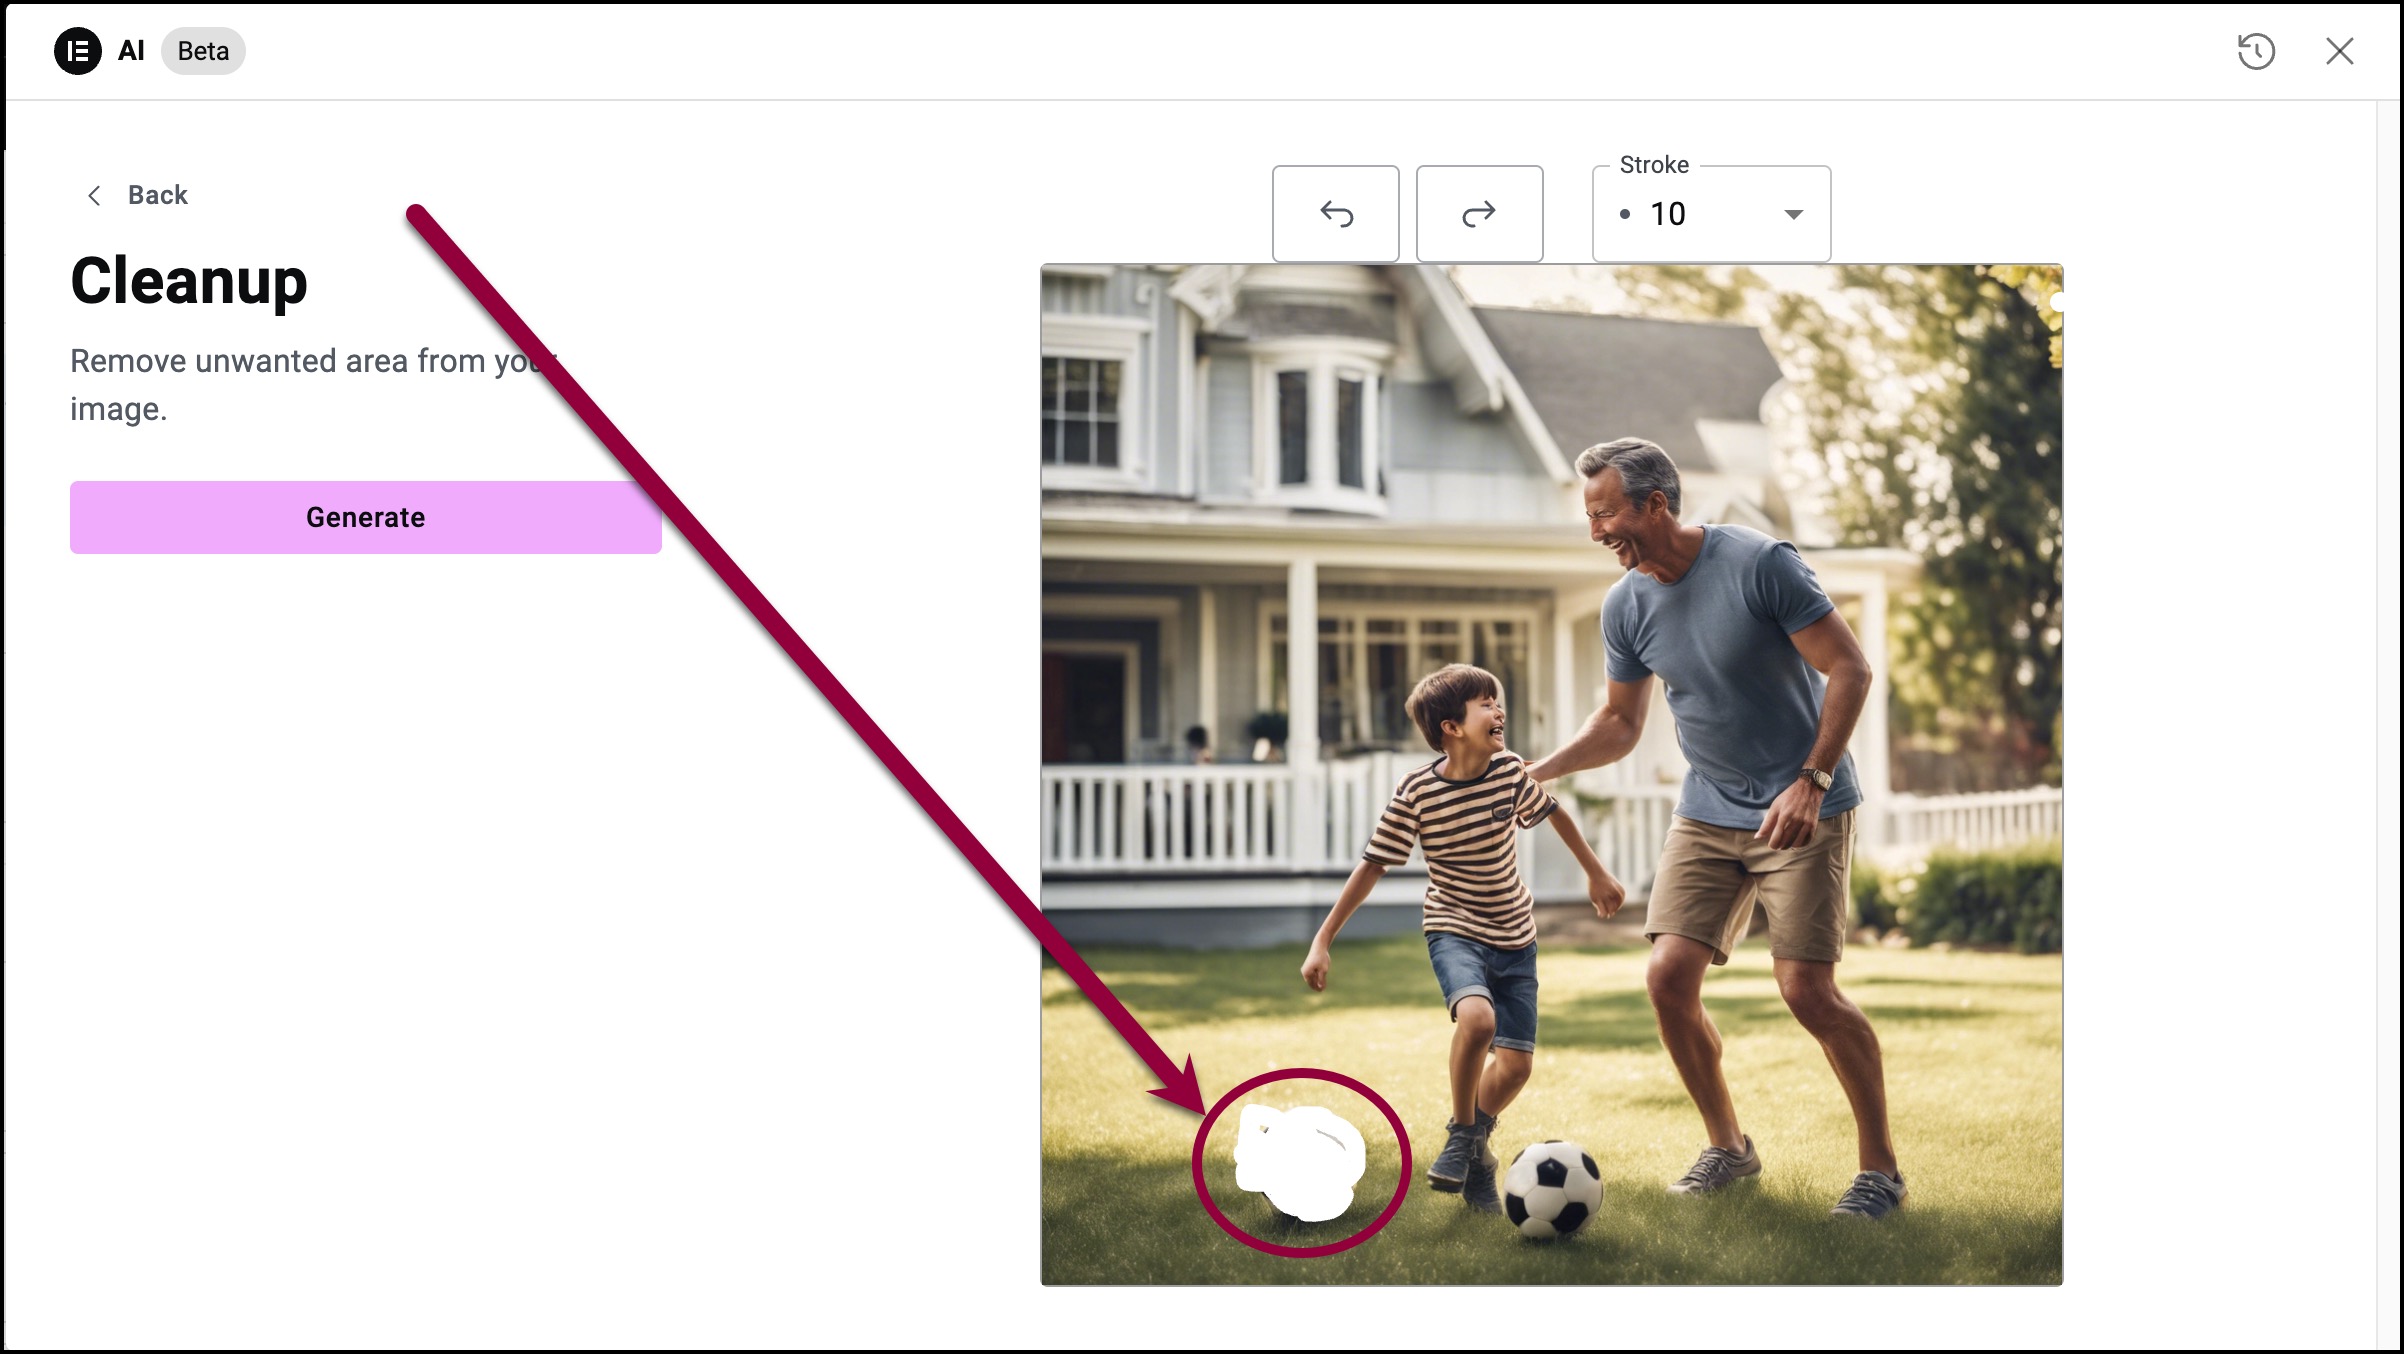
- Click and hold the button on your mouse and use the cursor to define the area you want to clean up.
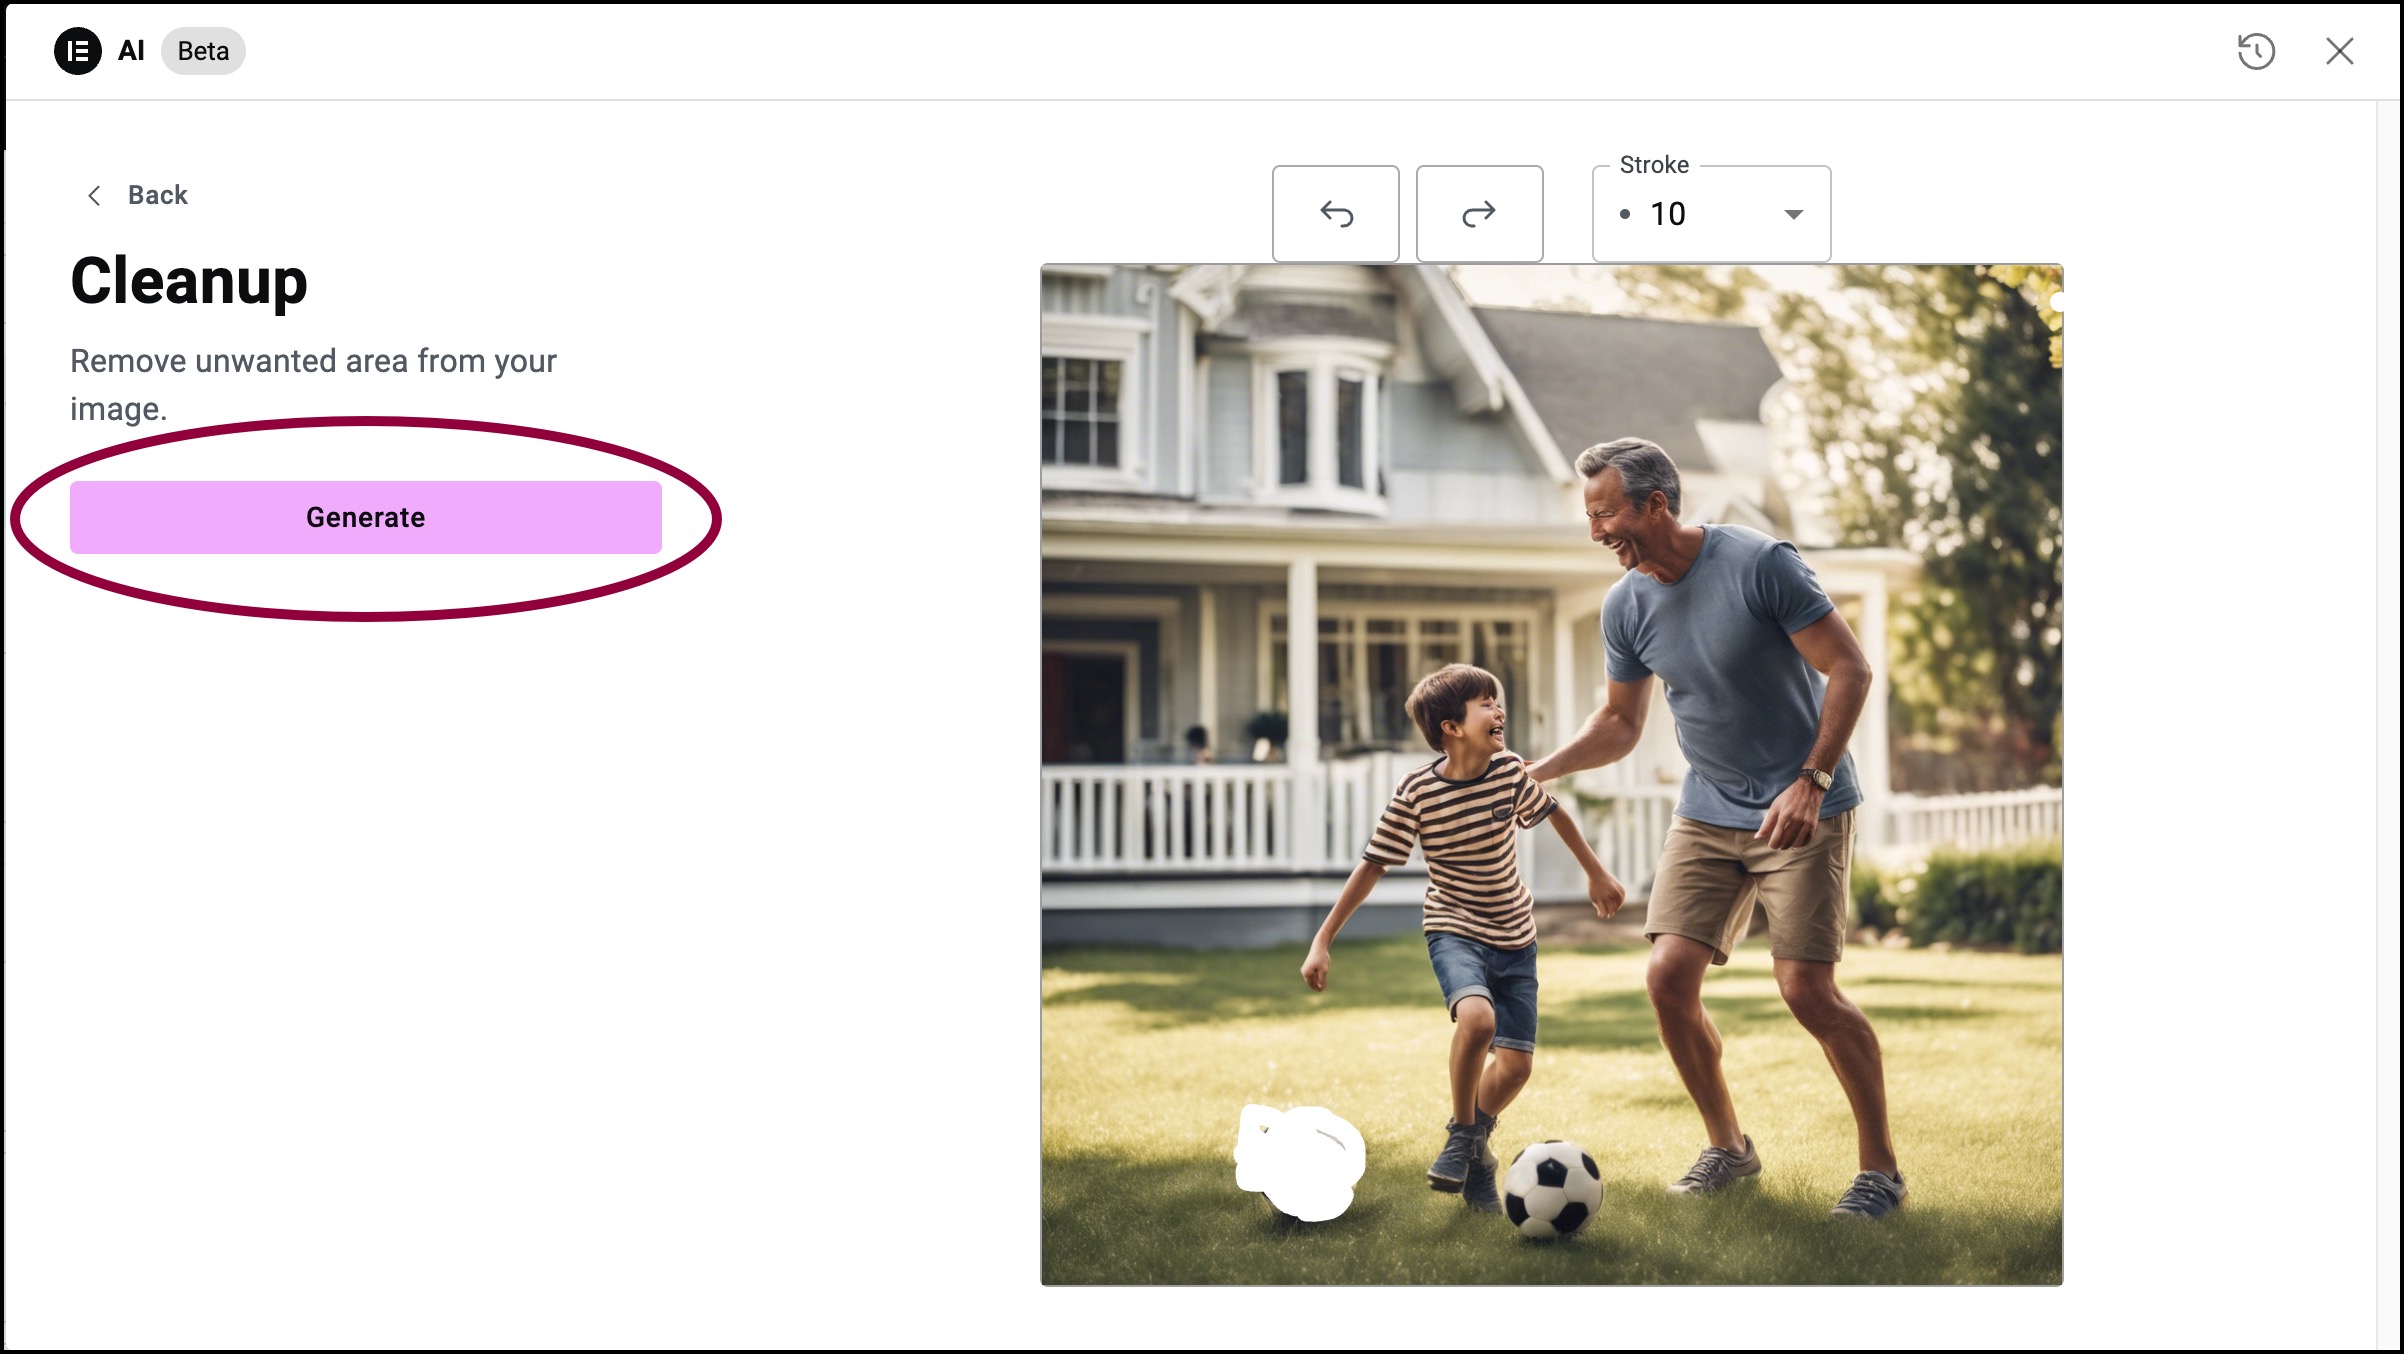
- Click Generate.
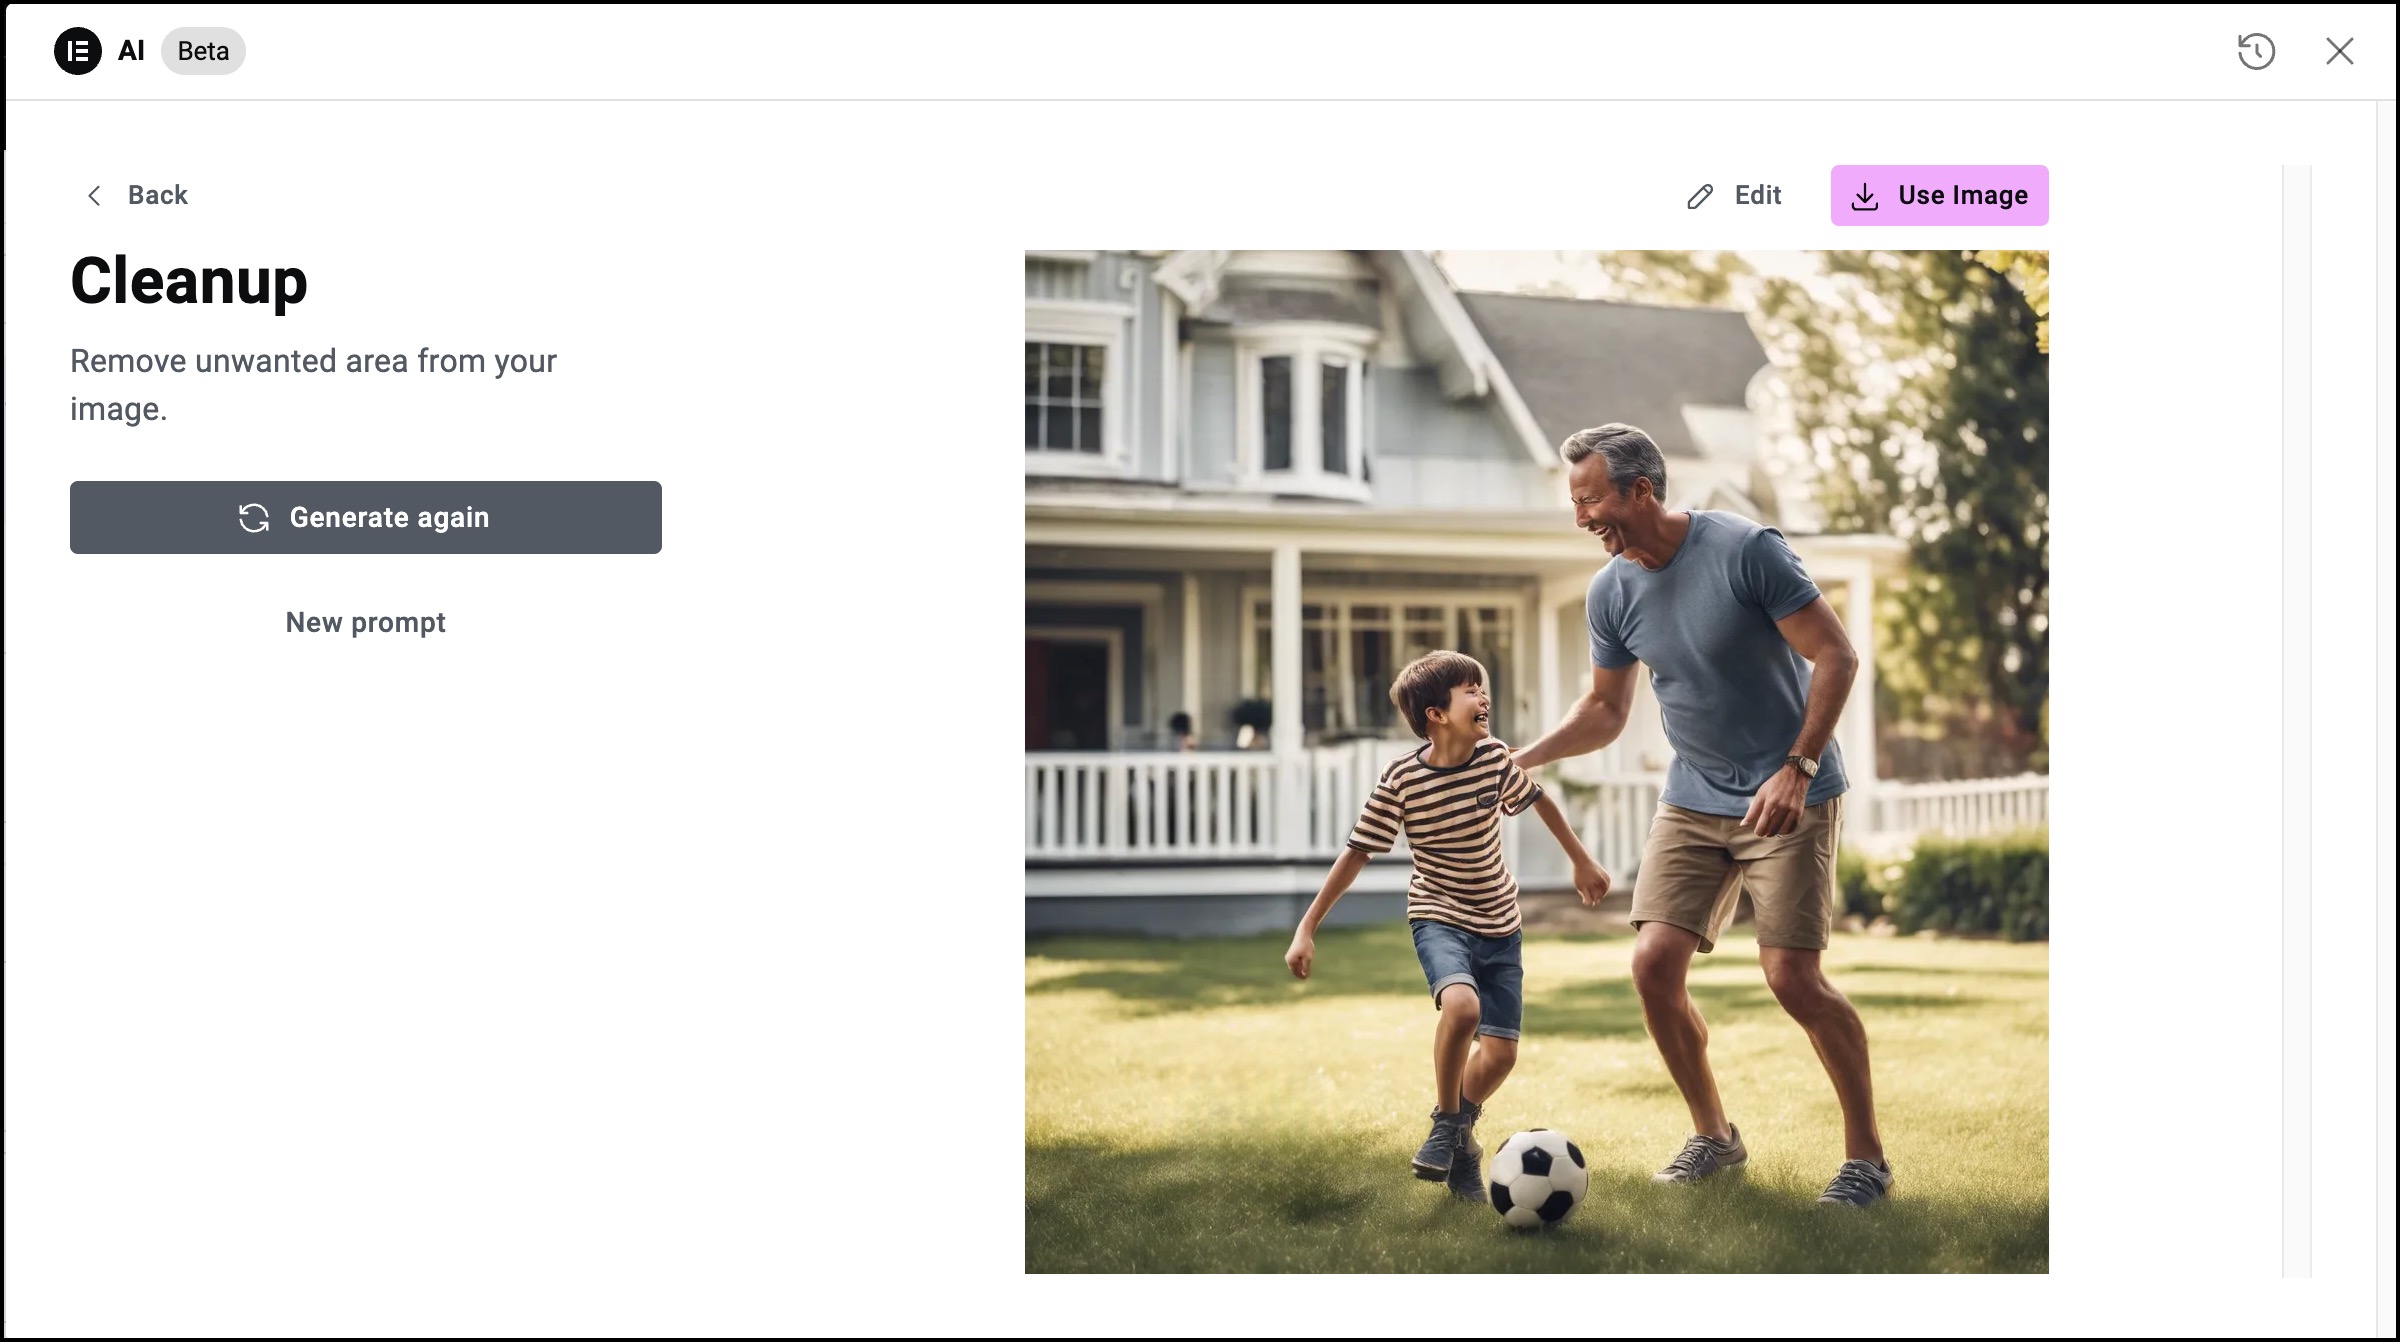
AI generates a cleaned up image.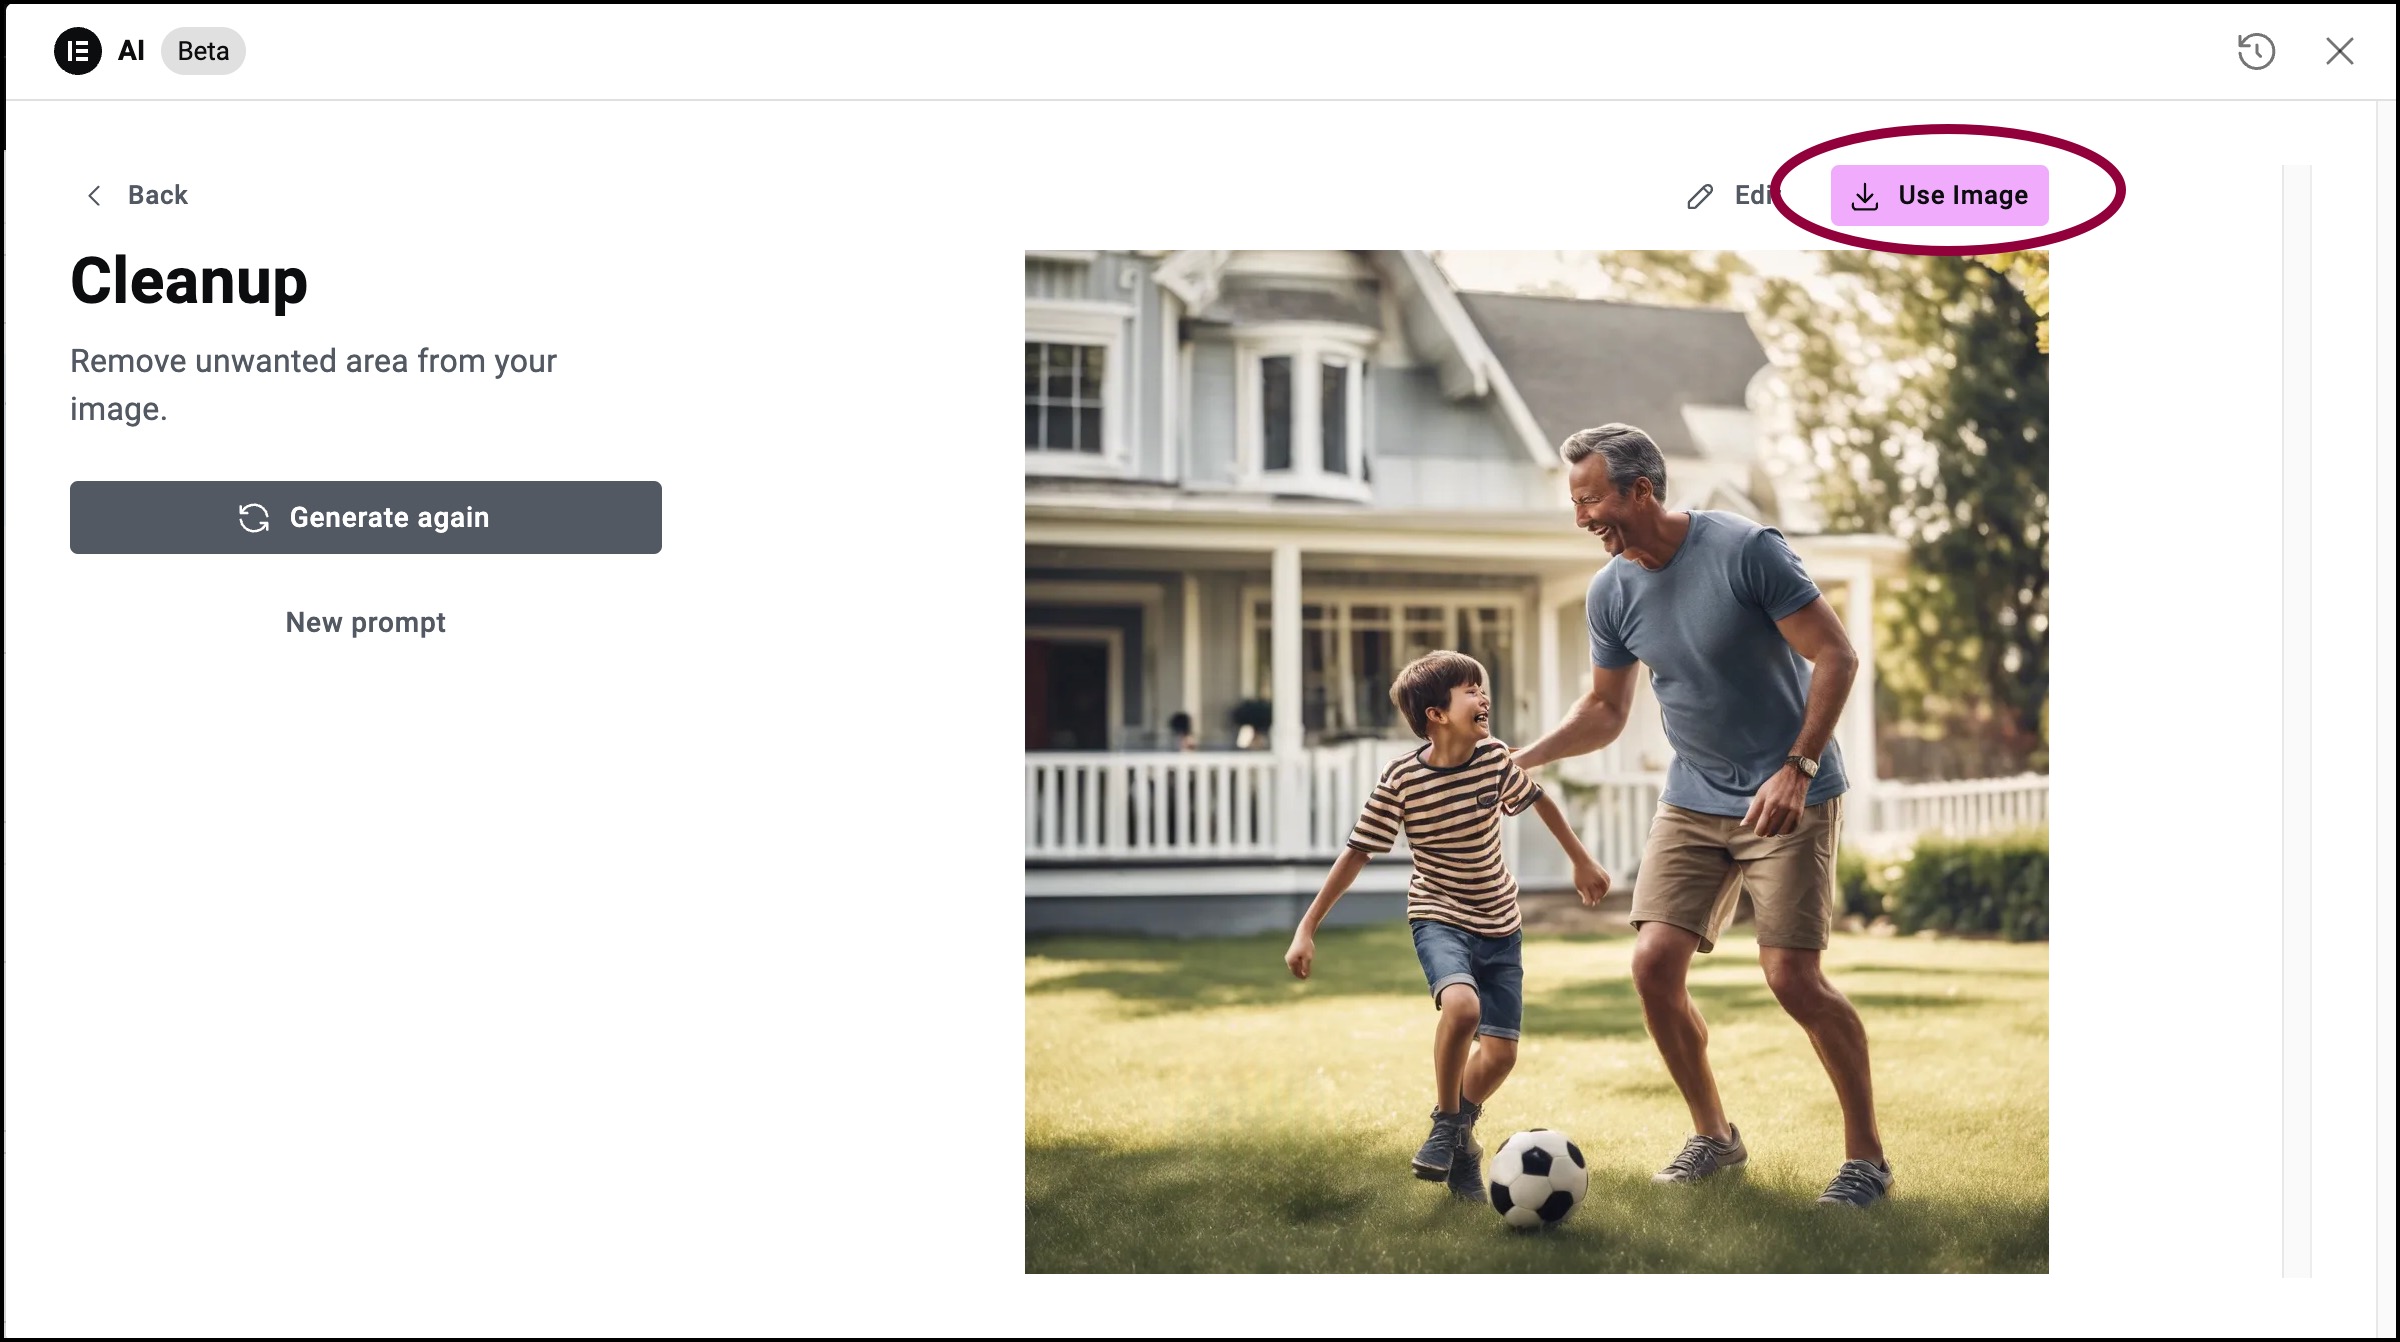
- If you’re satisfied with the image, click Use Image.
Cleanup tools
- Use the dropdown menu to change the size of the cursor when you define the cleanup area.
 Undo changes you made with the cursor.
 Redo changes you made with the cursor.