If you use the Import and Export process to migrate your site to Elementor Host, you may need to use additional tools for Non-Elementor based content. The WordPress Export / Import tools will help migrate the additional content. It is important to install any dependent plugins on your new site before starting the migration.
Need professional help? Migrate your site smoothly with our expert support.
If this happens, you may use the Hosted Elementor Website backup restore tools to restore your original connection.
Export data
Follow these steps:
- Login to WP Admin.
- Go to Tools > Export. The Export window opens.
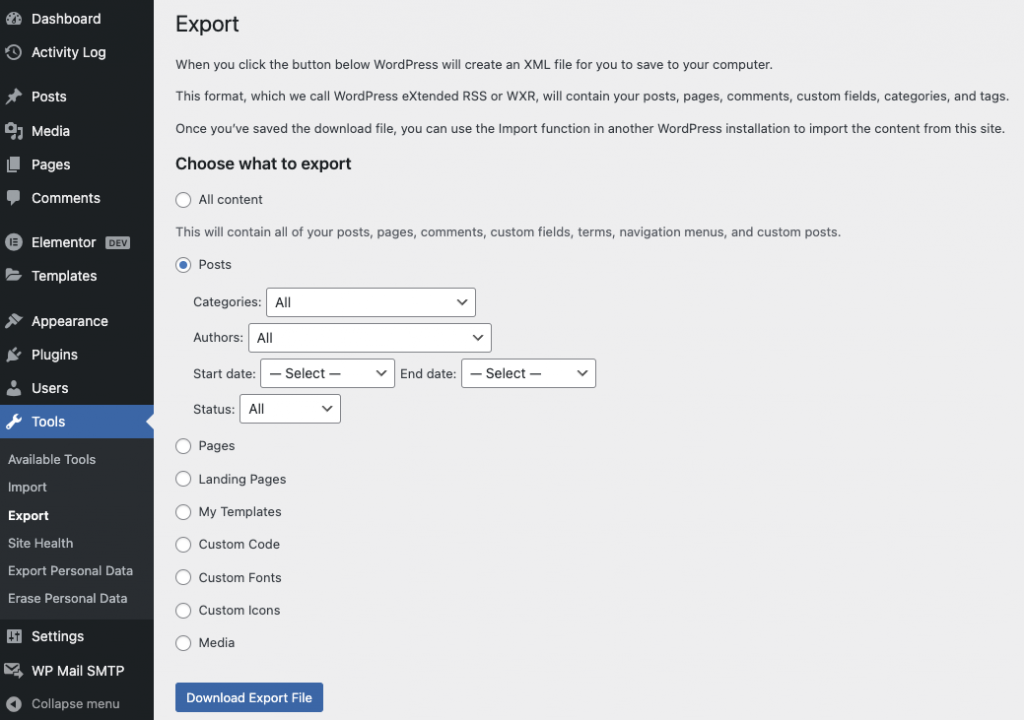
- Choose the content you want to export.
- For smaller sites, you may choose All content.
- For Posts and Pages, you may additionally filter the content you wish to export.
- If you use additional plugins such as WooCommerce, you will see additional export options for those listed here.
- For larger sites, break the process into separate files to avoid server timeouts.
- Click Download Export File.
Import data
Follow these steps:
- Login to WP Admin.
- Go to Tools > Import. The Import window opens.
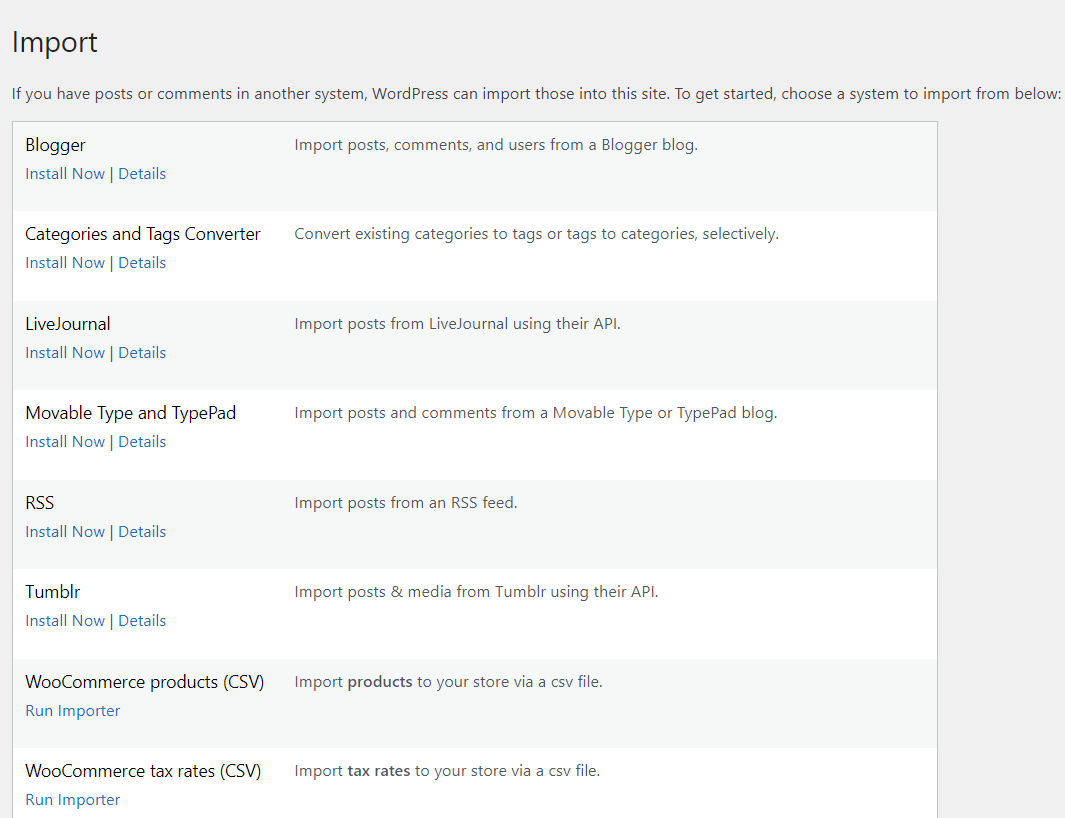
- From the list on Import window, install the WordPress.
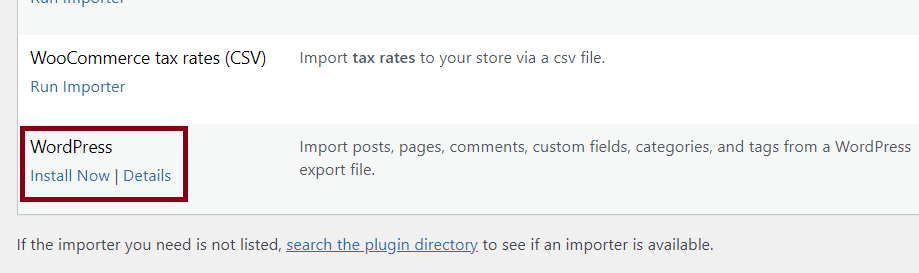
- Click Run Importer. The Import WordPress window is displayed.
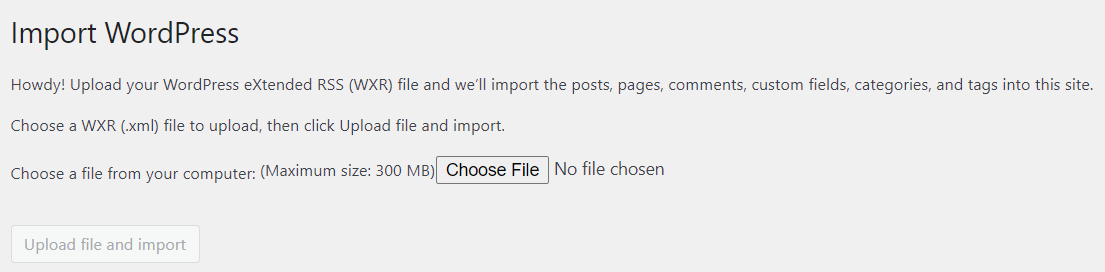
- Choose your XML file to upload. (File limit is 300 MB. If your file size is big break it up into smaller files).
- Click Upload file and import. A screen shows prompting you to assign the author.
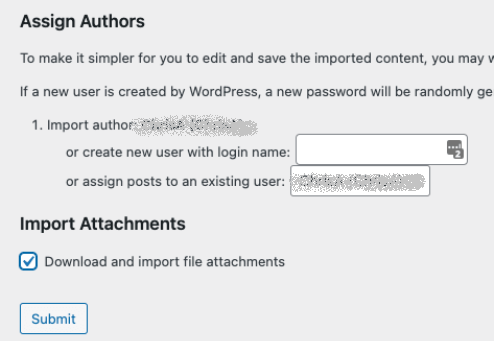
- Create an author. Enter your name, if unsure.
- Check Download and import file attachments to retrieve the images and other media of your original site.
- Click Submit.
The importer will take a few minutes to run and give you an “All Done Have Fun” message.
Additional tasks after migration
Resave Permalinks
Follow these steps:
- Login to WP Admin.
- Go to Settings > Permalink. The Permalink Settings page shows.
- Click Save Changes.
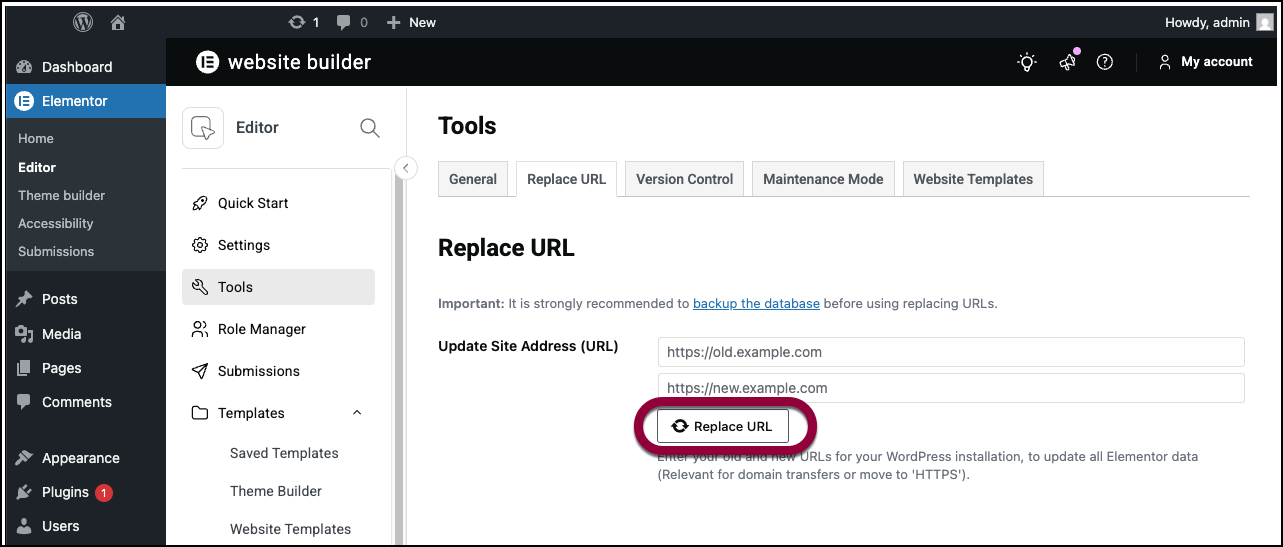
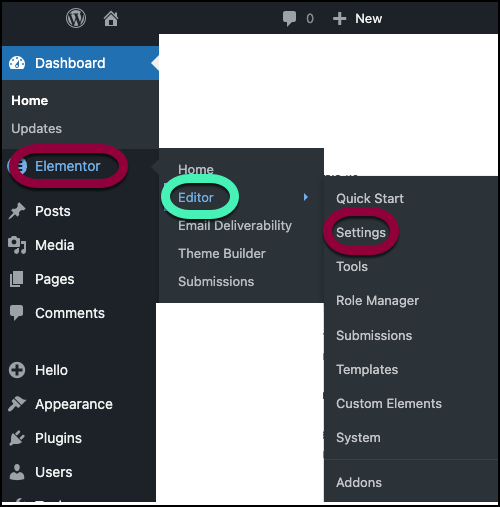
Run the Elementor Replace URL tool
- From WP Admin, navigate to Elementor>Editor>Tools.
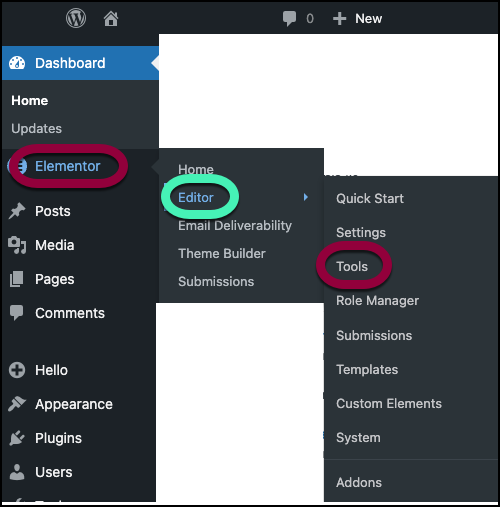
- Click the Replace URL tab.
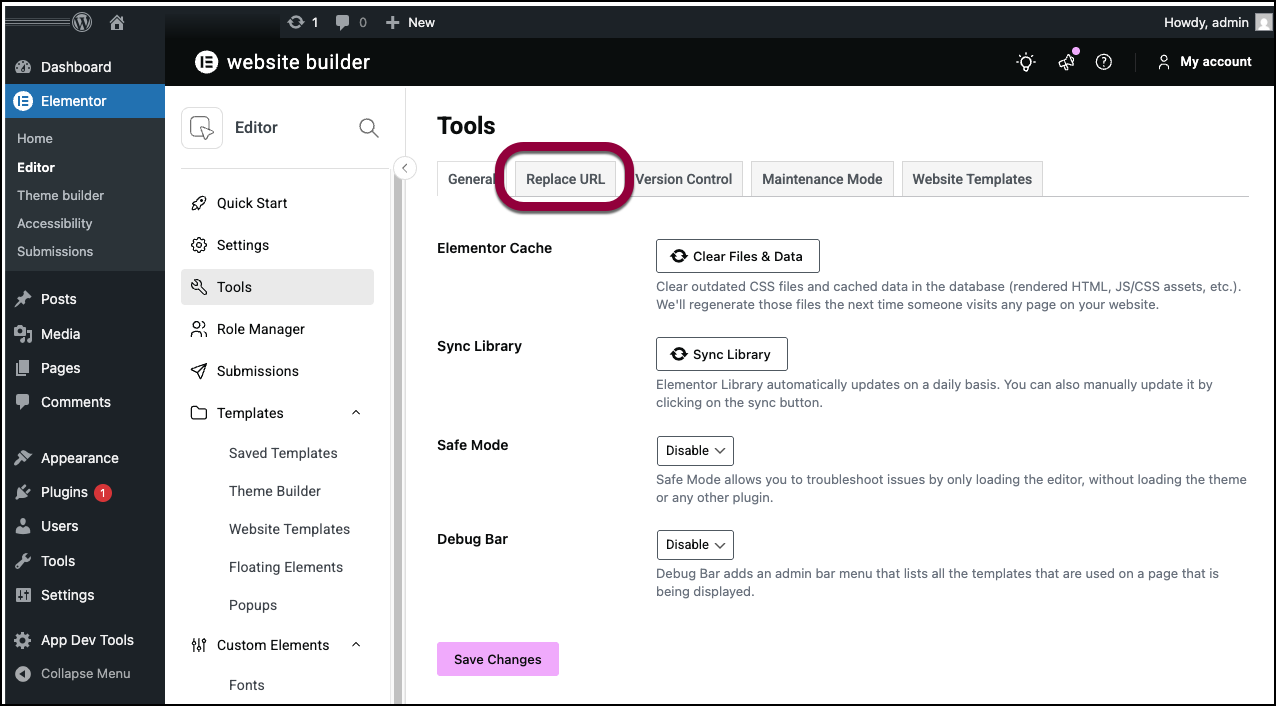
- Under Update Site Address (URL), enter the old url and new url.
- Click Replace URL.
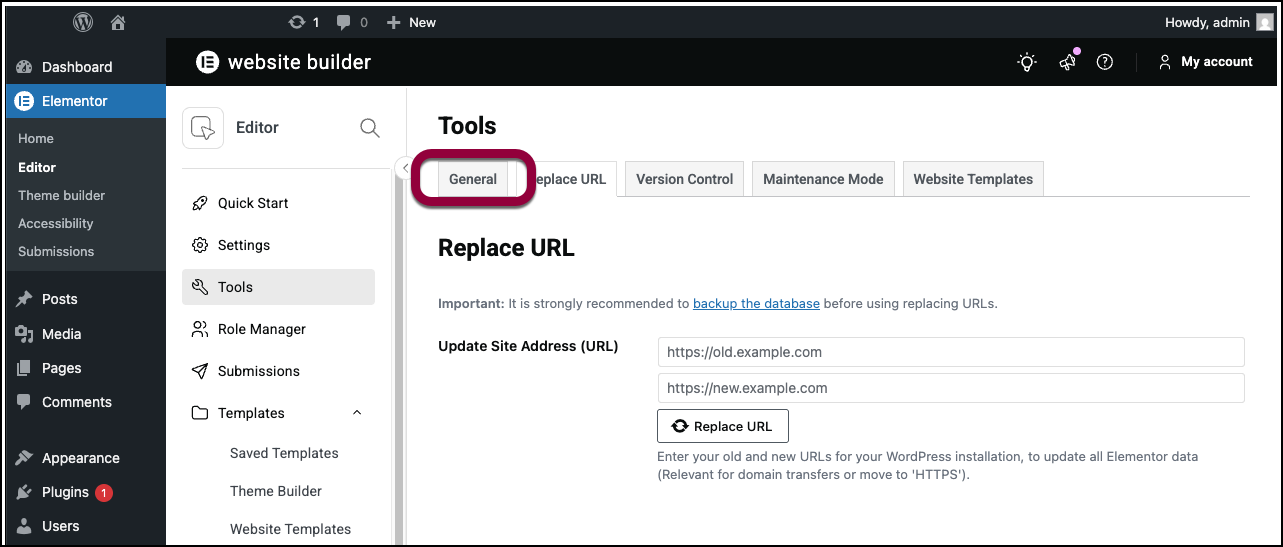
- Click the General tab.
- Click Clear Files & Data.
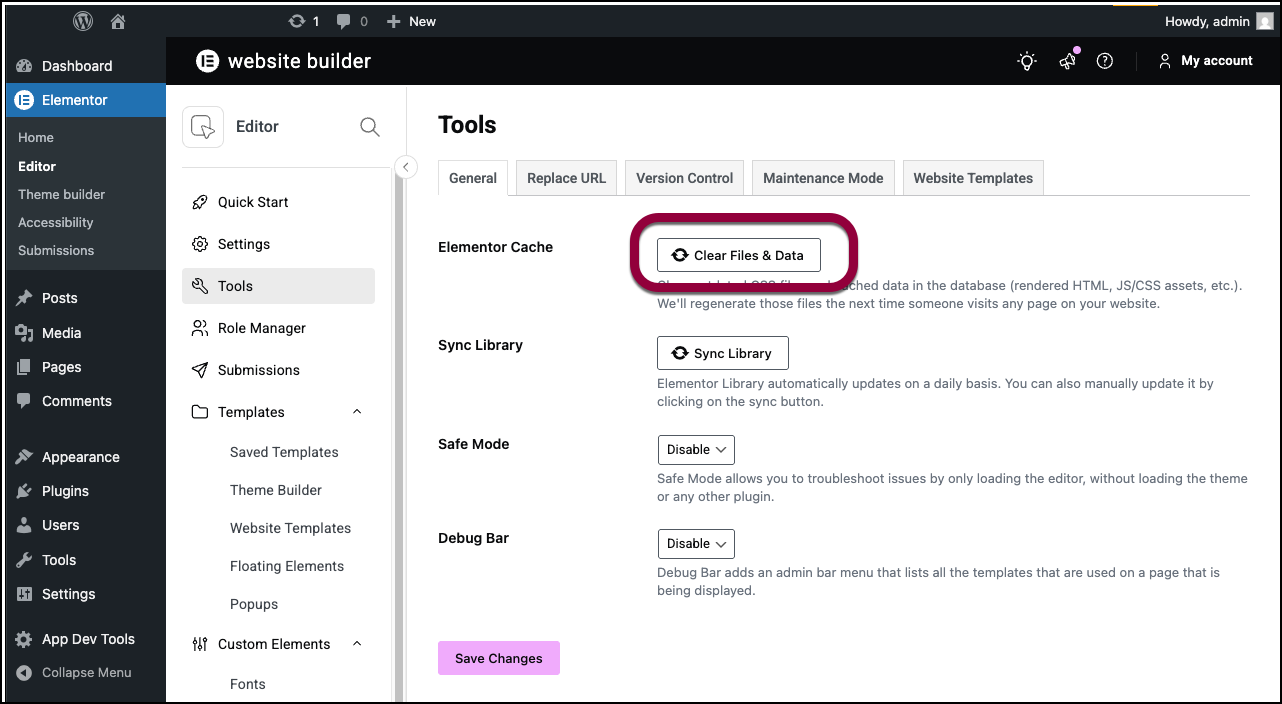
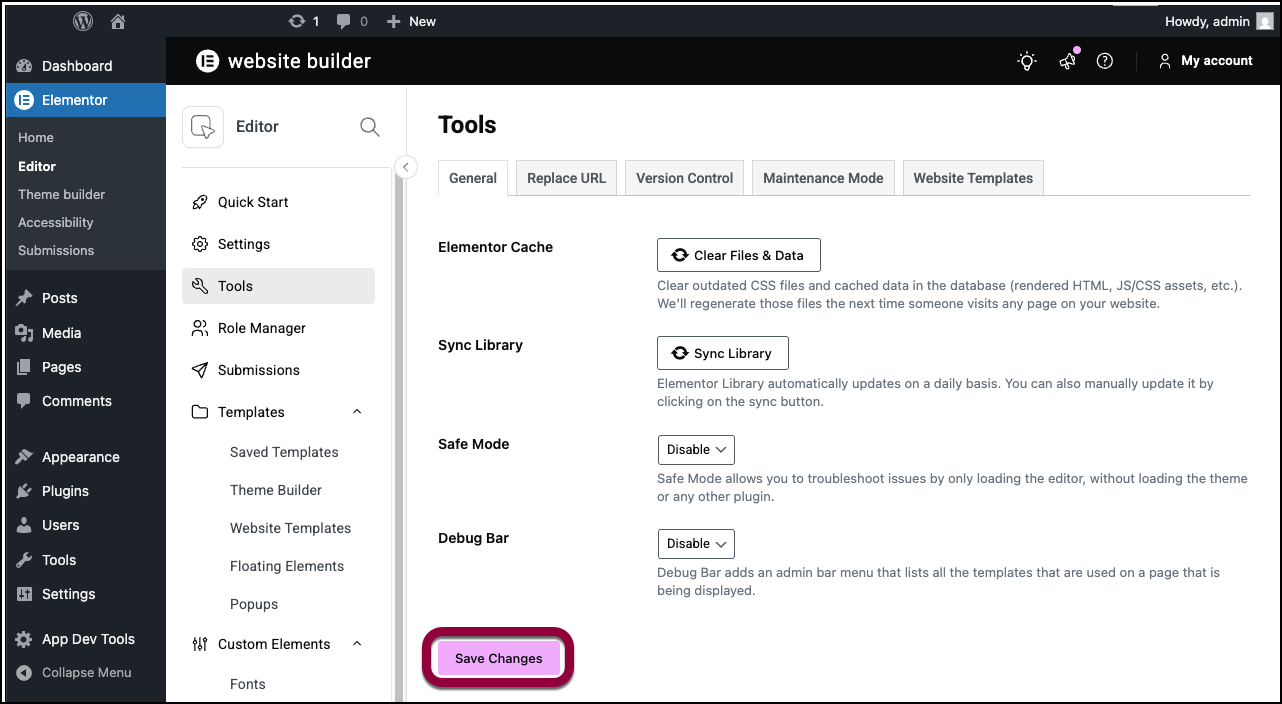
- Click Save Changes.
Replace any missing images / dependencies
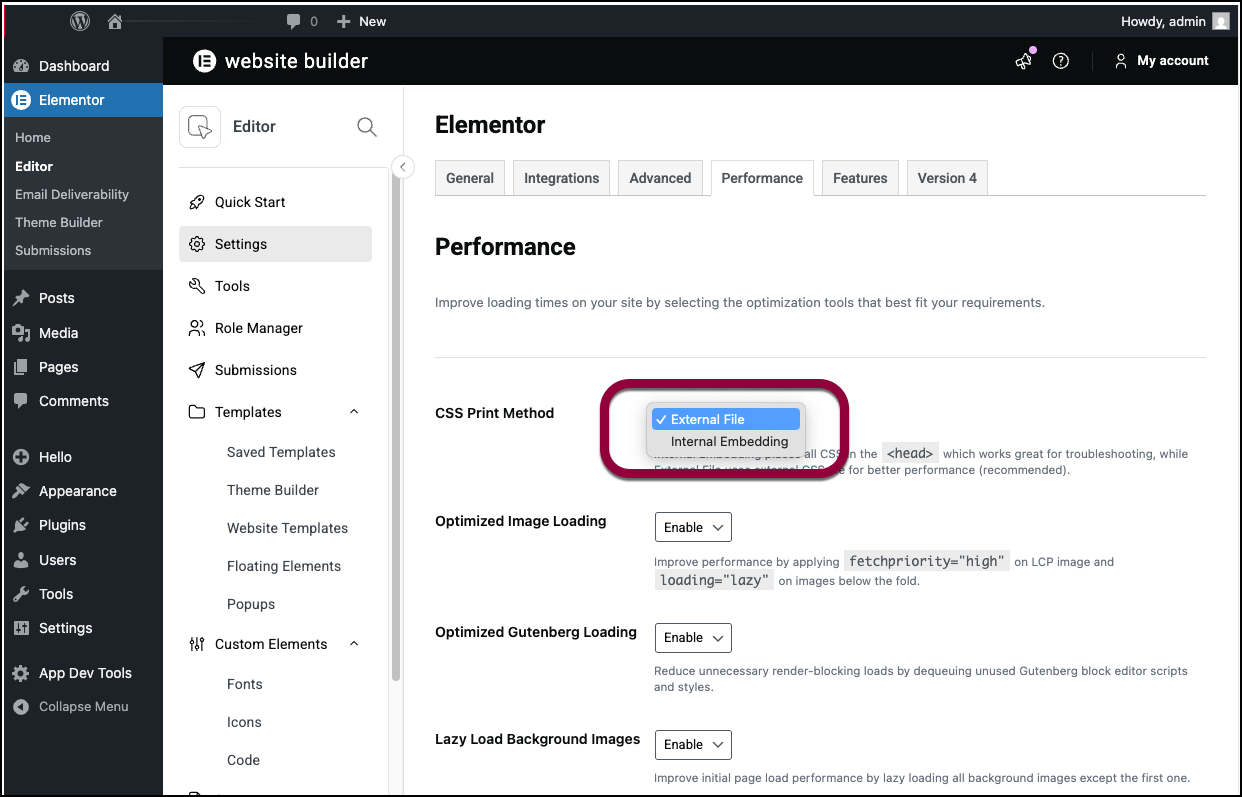
Background images are stored in a CSS file with an absolute URL. To prevent migration issues related to these images, set the CSS Print Method to internal embedding rather than using external files. For details, see Site Migration Issues.
- From WP Admin navigate to Elementor>Editor>Settings.
- Click the Performance tab.
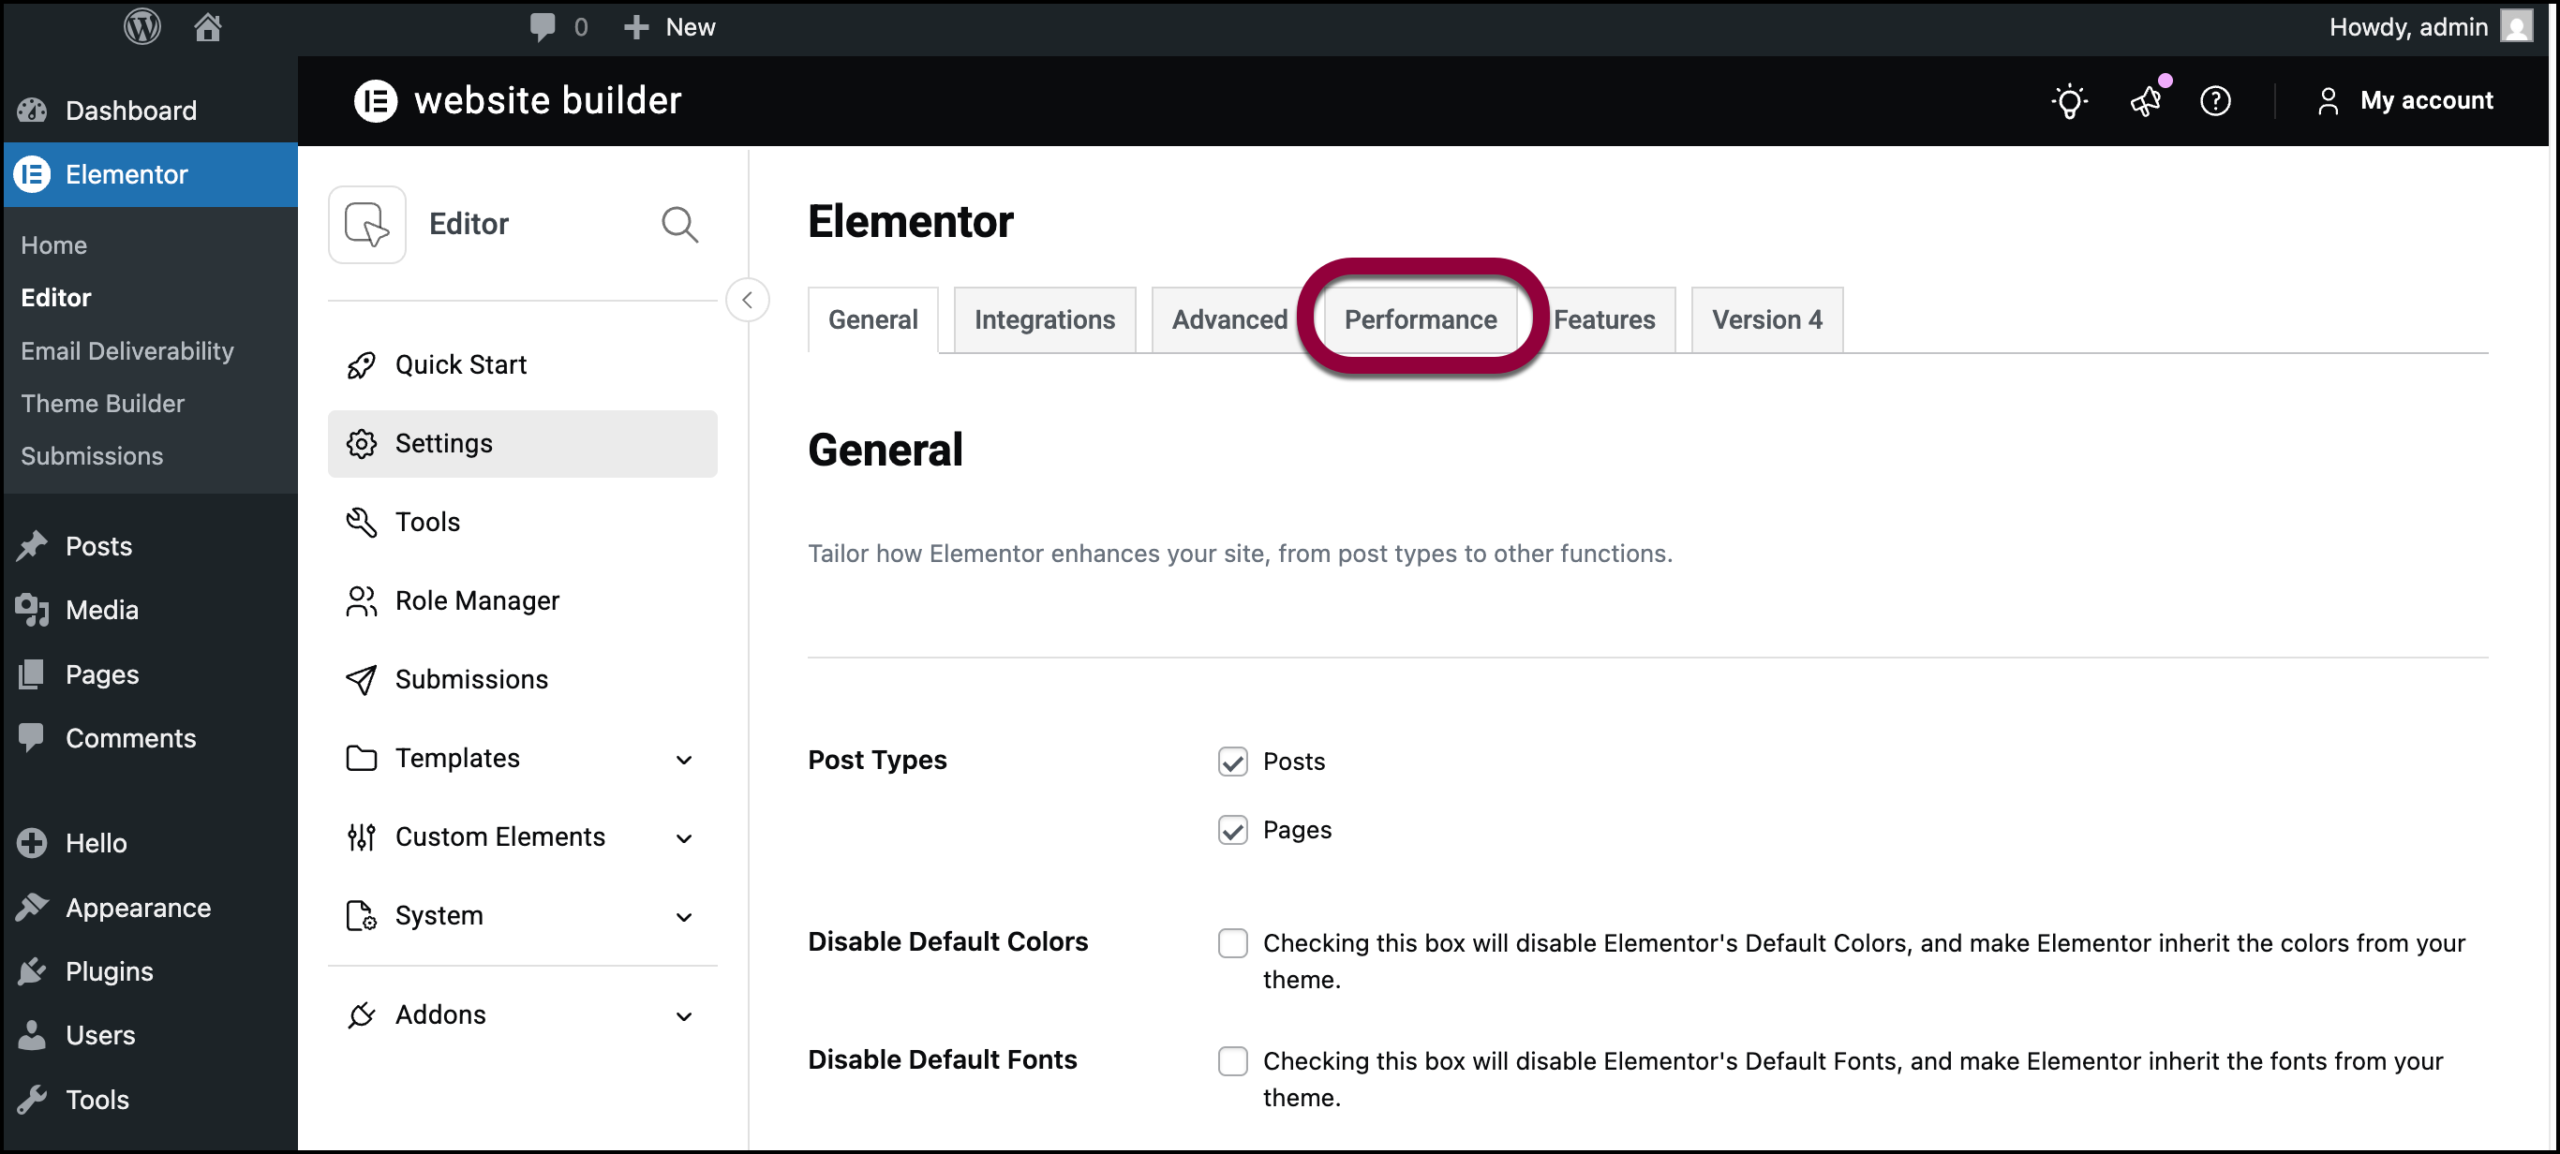
- Set CSS Print Method to Internal Embedding.