Overview
Elementor offers an end-to-end solution for hosting with the best features in comprehensive packages. It includes high-speed, AI-powered tools, and various design tools, empowering you to create magnificent websites with complete control.
In this article, we will walk you through purchasing and creating your Elementor hosting website.
Get started
Elementor Host is optimized for WordPress. It allows you to focus on building your business instead of worrying about dealing with different companies for your hosting and site-building requirements.
Our intuitive tools and setup checklist enable you to get started on your website effortlessly and efficiently. With Elementor, you can create a consistent web experience for your users.
Purchase a hosting plan
- Navigate to the Elementor Pricing page.
The plans page displays all the available plans with features at an annual price with a 30-day money-back guarantee.NoteElementor Hosting offers two types of hosting plans: Hosting for WordPress and eCommerce hosting. eCommerce hosting is recommended if you’re playing on creating an online store. - Compare the features and click Buy Now in the plan that suits your needs.
The billing page appears.
Complete payment
- Under Billing Info, enter your full name in the First name and Last name fields.
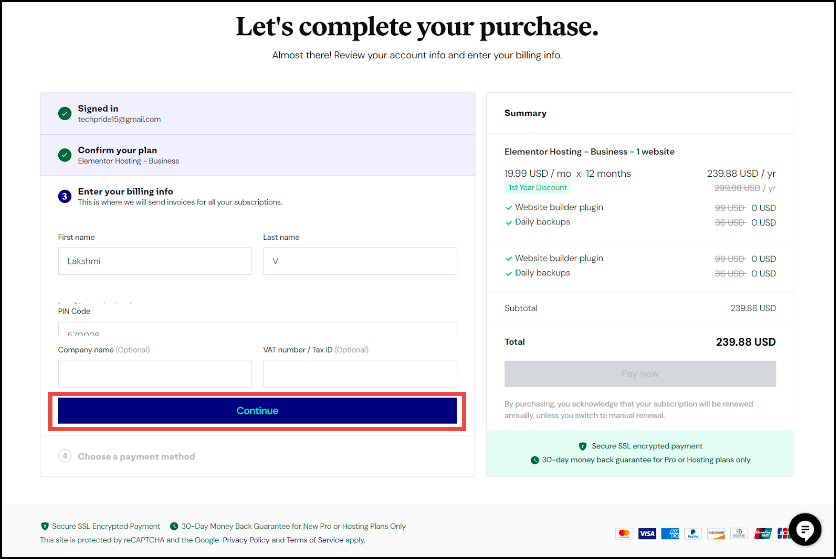
- In the Email to receive invoices field, enter the email address where you wish to receive the invoices. This email is used to identify for 2FA, so make sure it is an email account you have access to.
- In the respective Address fields, fill in your address details.
- In the Company name field, enter your company name.
- In the VAT number/ TAX ID field, enter your company’s VAT number or tax identification number.
- Click Continue.
The payment section of the page appears.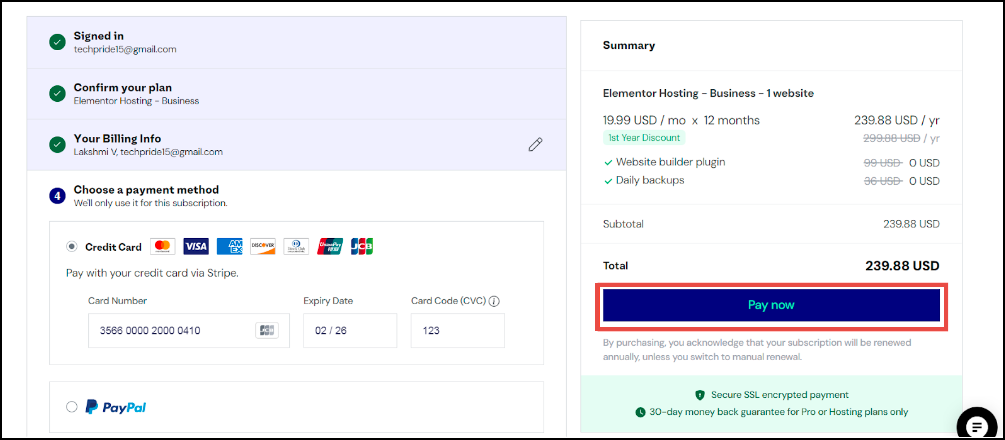 NoteIf you have a discount code, in the Discount Code field, enter it.
 - Select the payment method as Credit Card or PayPal
- Based on the selection, provide the card details or PayPal ID to process the payment.
- Click Pay now.
The success message for your purchase appears.
Customize your site
After purchasing your hosting plan, a wizard will guide you through the process of setting up your site.
You have two options when setting up your site:
- If you not have an existing website, you should Create a new site.
- If you have an existing site, you have the option to Migrate an existing site.
Choose one of these options and a wizard will walk you through the site creation process.
Create your site with a website kit
Website kits are installed from your WP Admin screen For details about installing website kits, see Elementor website kits.
Customize your site
To start adding and editing your site content, you should familiarize yourself with:
For other questions, check out the Elementor Help Center or our YouTube channel.