A favicon is a small icon that appears in the browser tab or window title bar next to the site’s title. It’s also displayed in browser bookmarks and as part of search results. Favicons are usually a simplified version of a website’s logo or branding.
Add a favicon to your site
Adding a favicon helps increase your website’s visibility and adds to your branding. It’s highly recommended to add one to your site.
Note: The following steps walk you through adding a favicon from the Elementor Editor. You can also add a favicon through the WordPress Customizer or through the Settings section of WP Admin.
To add a favicon to your website:
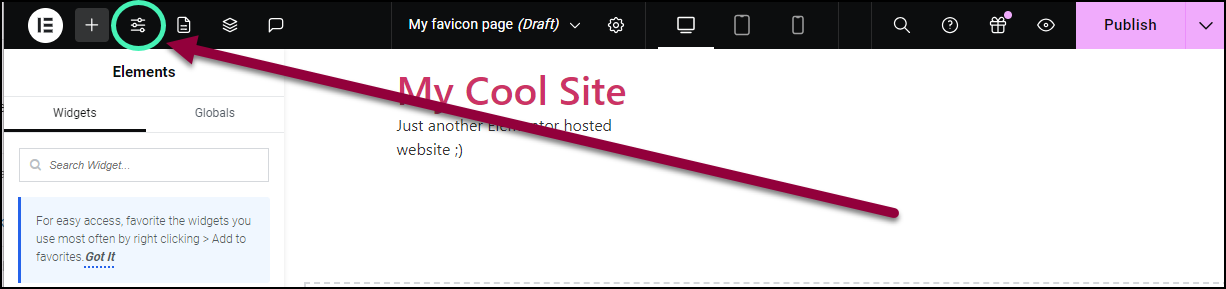
- From the Elementor Editor top bar, click the site settings icon.
In the panel, the site settings options appear.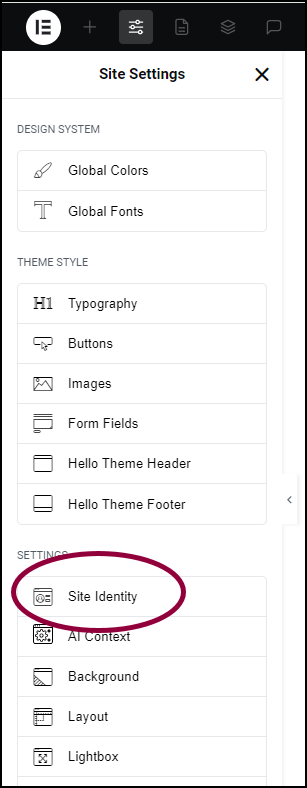
- In the panel, click Site Identity.
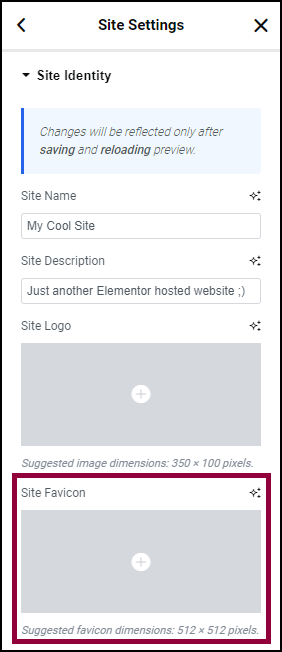
- Click Site Favicon.
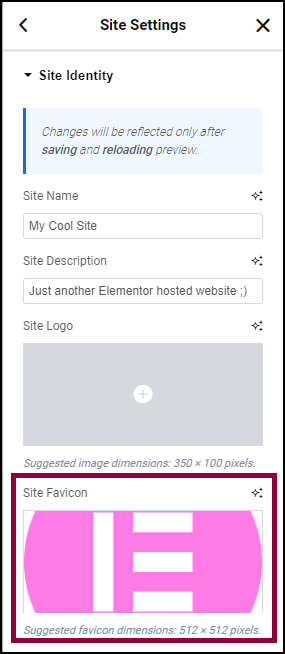
- Select your favicon. For more information about adding images, see Add images and icons.NoteWe recommend using an 512px x 512px image.
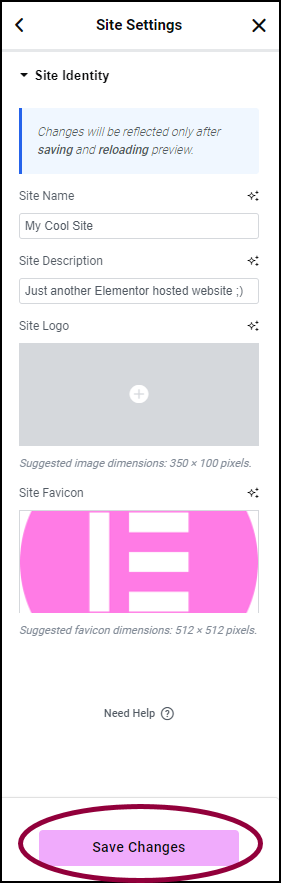
- Click Save Changes.
The image is set as your favicon. For more information, about creating a favicon, check out the Elementor blog post, How to Create the Perfect Favicon.