Introduction
Graphic elements can be:
- Images
- Icons
They are used to inform users or to simply liven up an otherwise boring chunk of text.
Start by selecting which graphic element you want to use.
Inserting an image:
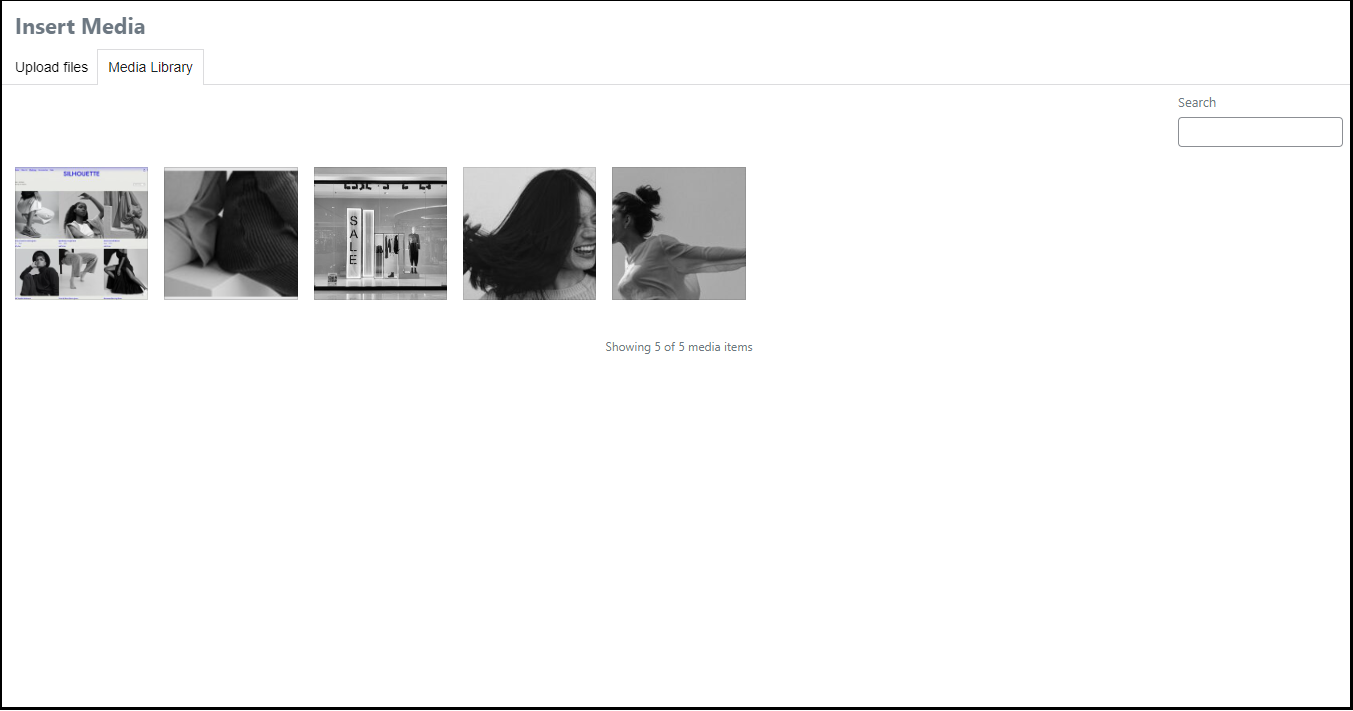
- Click on the graphic field.

- This will take you to the WordPress media library.
- If the image is not in your library, we suggest uploading it to your library by selecting the Upload files tab.
- Click Select files to add the image to your library.
- The image will upload into the media library and appear along with a dialogue box called “ATTACHMENT DETAILS” Fill in your alt text, title, caption, and description. While these are optional, alt-text improves accessibility and a caption helps with SEO. Among your attachment details you’ll also find a URL for your image which you can easily copy and share.
- Click Insert Media.
Inserting an icon:
- Click on the graphic field.
- If you want to use an icon from the Elementor library, choose Icon Library, if you want to use your own SVG icon, choose Upload SVG. The library contains three sets of icon styles: regular, solid, and brands. The brands collection includes some top brand names and logos including Apple, Amazon, Etsy, etc.
- If you choose to upload an icon from the library, select an icon and then click Insert.
- If you choose to upload an SVG, you’ll do that through the media library.