Angie can create a base design system from various inputs, including images, prompts, or pasted CSS, mapping them to CSS classes and Variables.
Generating from an Image or Screenshot
- Open Angie within the Elementor Editor.
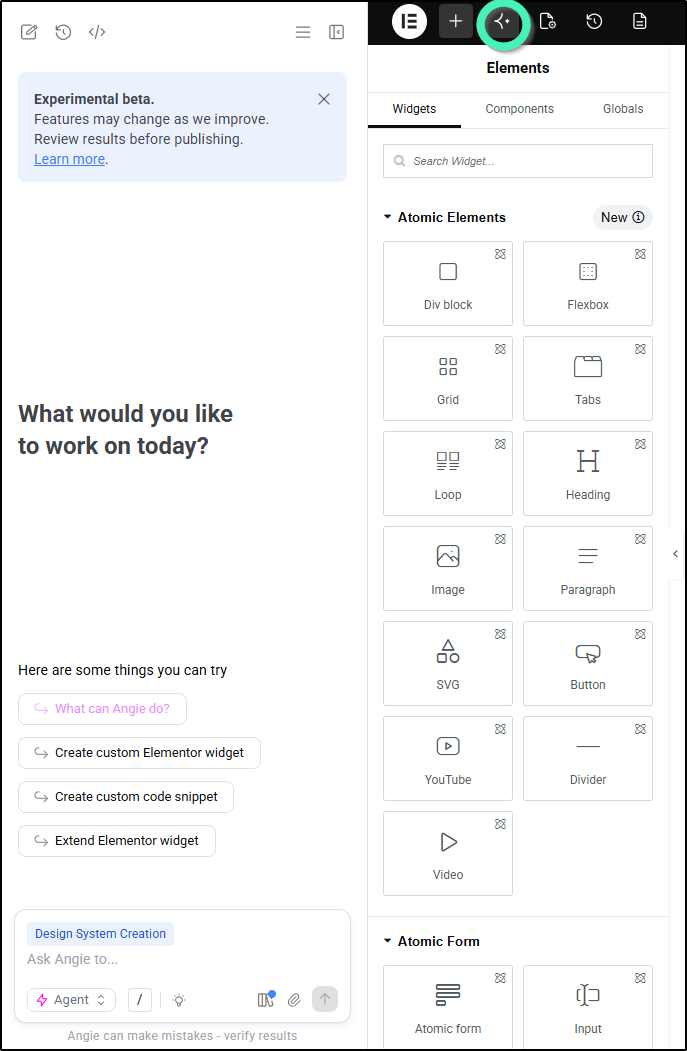
- Click the Upload icon in the prompt window and select a design reference image or screenshot from your computer.
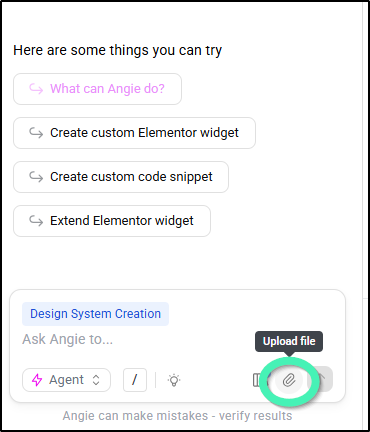
- Submit a prompt like: “Create a design system based on this mood board”
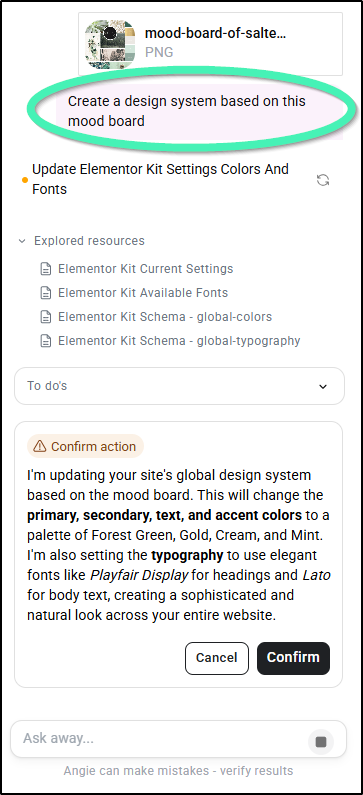
- Review the proposed style preview and click Confirm
Generating from a Text Prompt
- Open Angie within the Elementor Editor.
- Enter a prompt describing your desired visual direction (e.g., “Create a testimonial card with a clean layout, a customer quote, and a round photo placeholder.“)
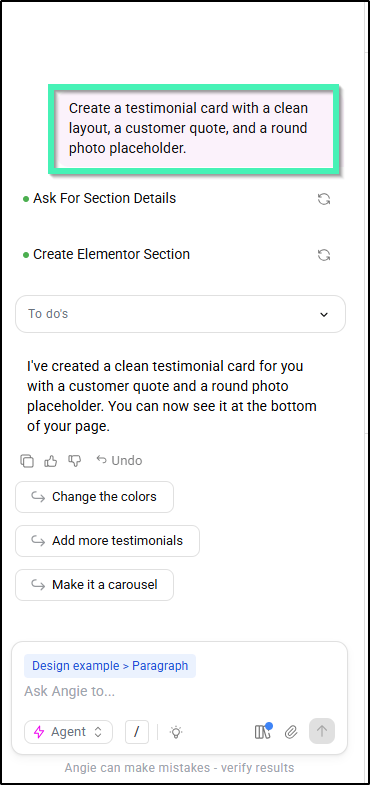
- Submit your prompt and review the design
Generating from Pasted CSS
- Open Angie within the Elementor Editor.
- Paste your raw CSS properties directly into the prompt box.
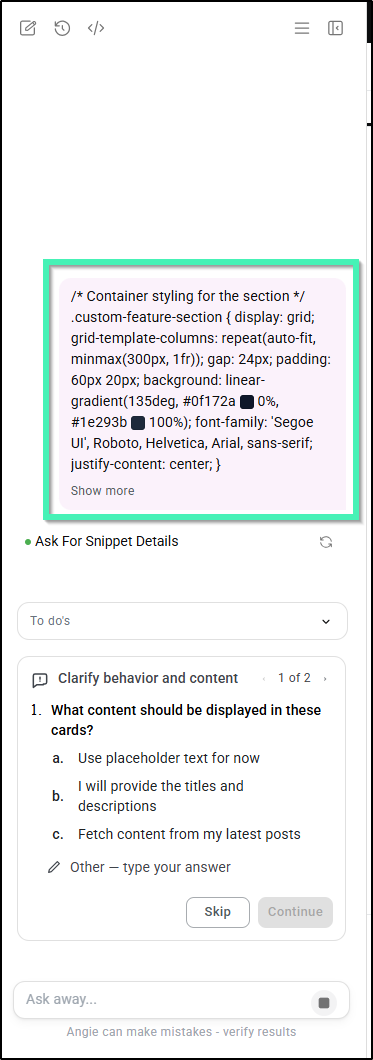
- Submit your prompt.
- Click Apply to let Angie automatically map the CSS to your design system
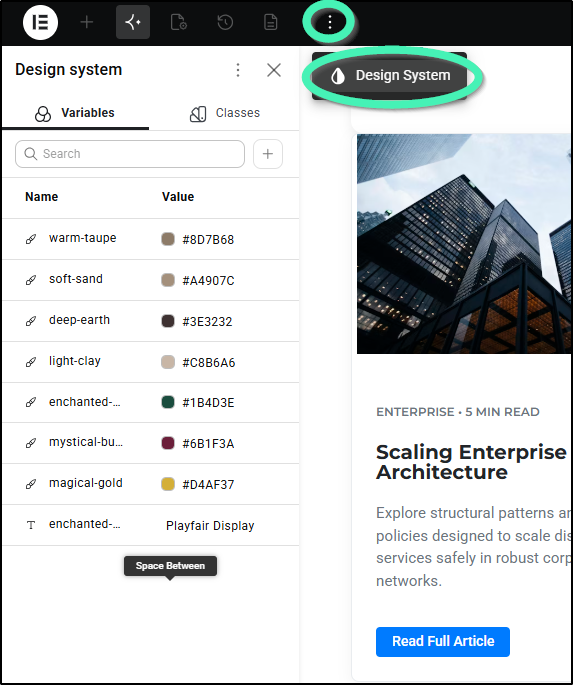
You can view or tweak Variables and Classes at any time by clicking the three dots icon in the Elementor top bar to open the Design System.
Generate Website Sections
Ask Angie to build custom website elements – such as hero sections, feature grids, or content blocks – and the generated layout lands directly in the Editor fully optimized and ready to edit, rather than needing to be rebuilt from scratch.
- Open Angie within the Elementor Editor.
- In the prompt field, describe what you need (e.g., “Create a hero section with a bold headline, a short description paragraph, and a call-to-action button”).
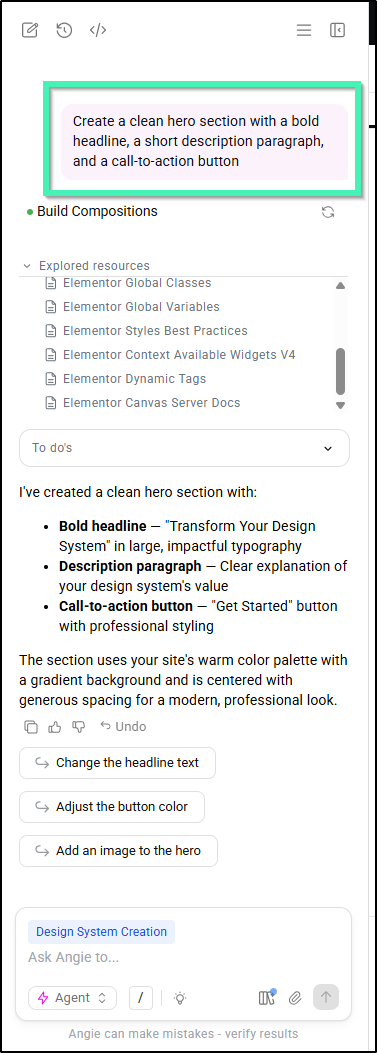
- Submit your prompt.
- Once added to your canvas, you can click directly on any element to change the text, colors, or layout manually.
Generate Dynamic Loops (Pro)
Angie can generate full Loop structures, including query, layout, and item templates, from a single prompt. Ask for a blog archive or a product grid and Angie wires the Loop, maps dynamic fields, and applies your design system.
- Open Angie within the Elementor Editor.
- Ask it to build a dynamic layout (e.g., “Create a modern 3-column grid for my recent blog posts”).
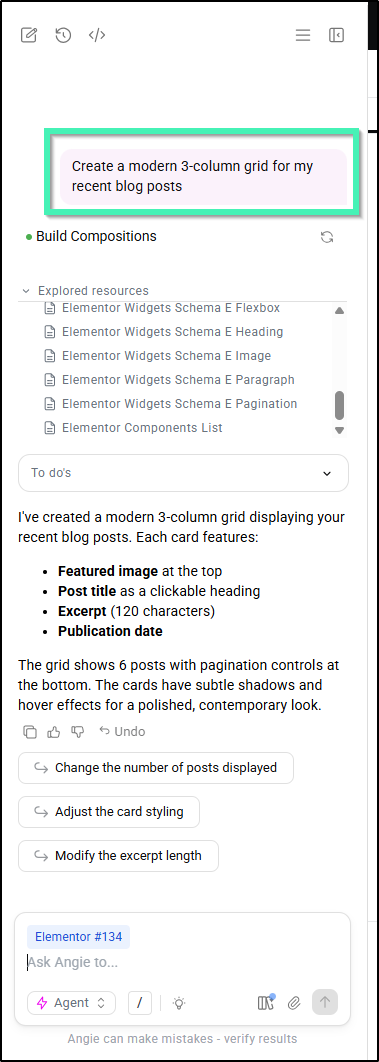
- Submit your prompt. Angie will place a Loop container on your canvas, automatically hook up the query settings, and design a layout item card.
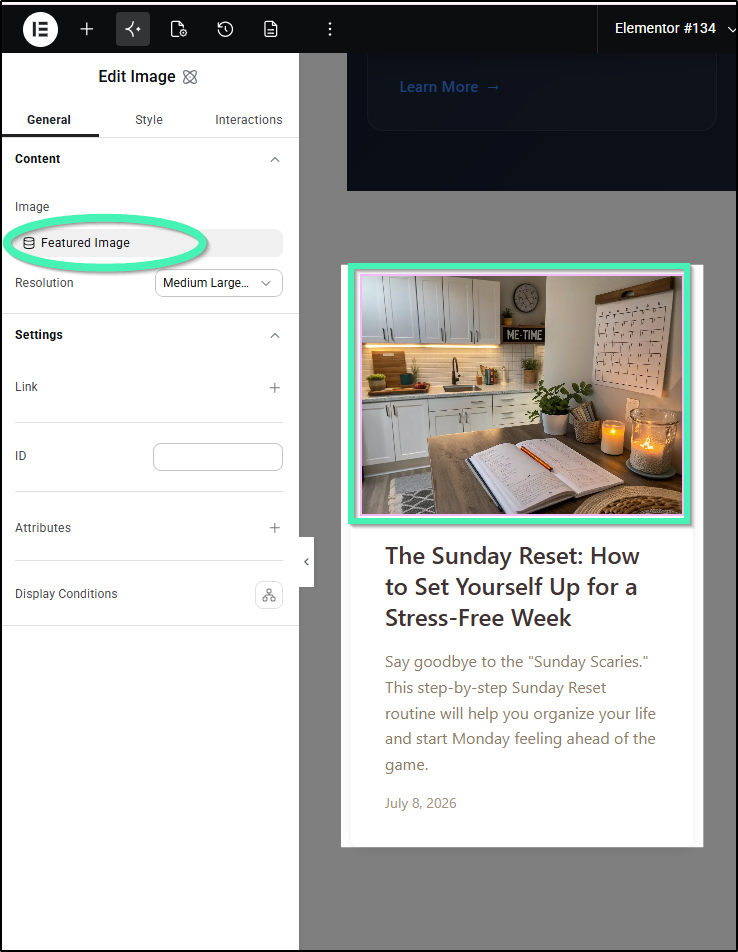
- Verify that Angie has automatically mapped your dynamic content fields (like Post Title, Featured Image, and Excerpt).
- Hover over the loop, double-click on it and Edit Loop Item to fine-tune the design card.
Important Note on Turning Loop Items into Components: Because a Loop Item is already a specialized template type, you cannot turn it into a Component while inside the Loop Item editor (the Create component option will be grayed out).
How to turn your card design into a Reusable Component:
- Go to a regular page (such as your Homepage or a test page).
- Build the design you want for your card using Atomic elements (Containers, Heading, Image, etc.).
- Right-click the main container of that design.
- Select Create component.
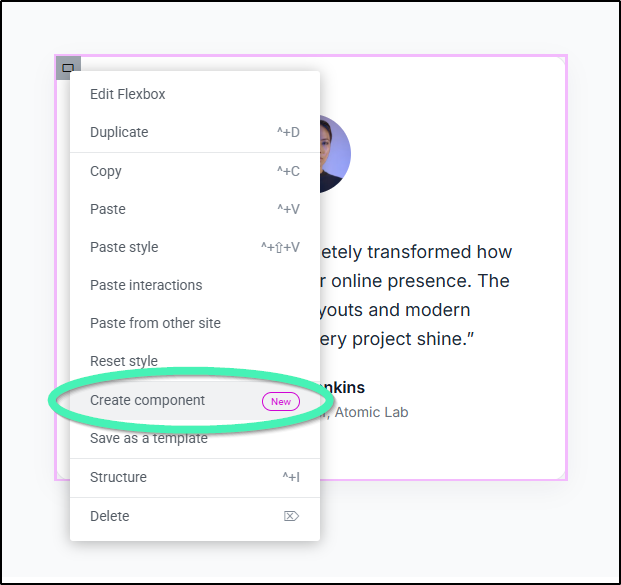
- Once created, you can use that Component inside your Loop Item to maintain a synced design across different loops.