Introduction
A Hero is one of the most commonly used sections on your page. It generally contains a large image and text in a 50/50 layout. It can be used as an about us, a bio, a mission statement, or to sell a product. In this tutorial we will create a simple hero in the most optimized way using the container.
Note: An additional container may be used to place the image(s) in if more than one is required, or other additional content needed. It is not required in this tutorial and would result in an unneeded wrapper.
Getting started
Begin by adding a new page or editing an existing one with Elementor. You will then be able to start building.
Add a new container
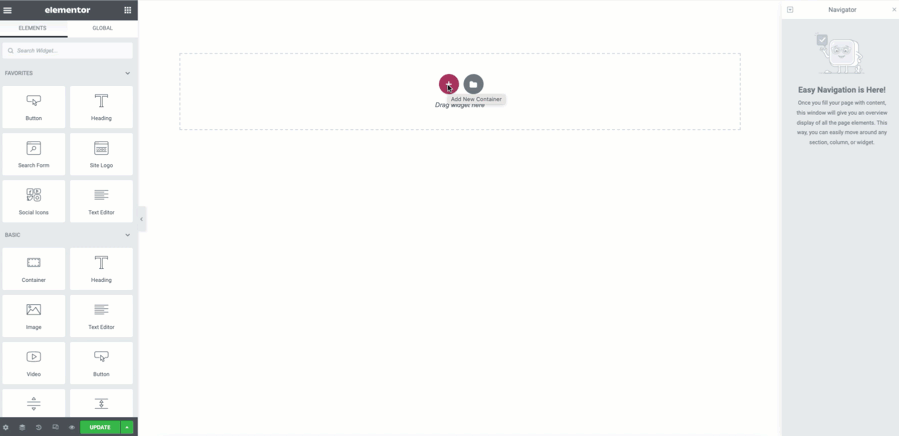
- Create a new Container by clicking the + sign
- Select the single column layout*
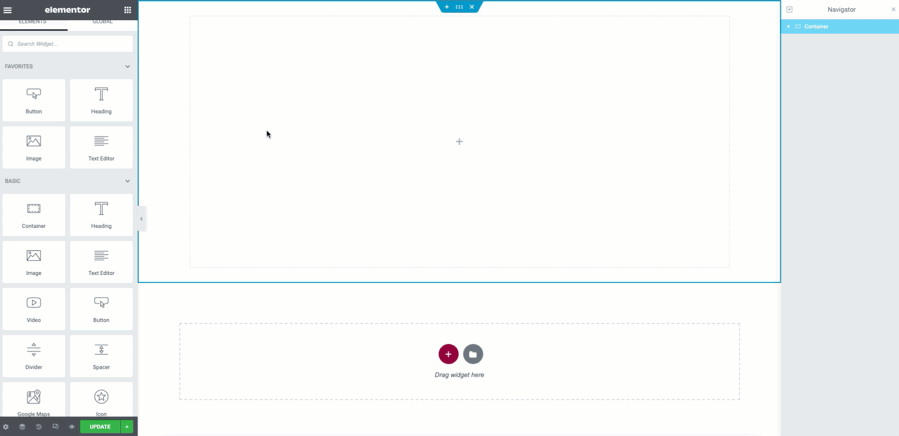
- In the container layout properties, change the Height to 60VH
- Scroll down to the Item properties section
- From the Direction options, select the Row property
- Align the items to center
- In the Advanced Tab give the Container some padding (example: 21PX)
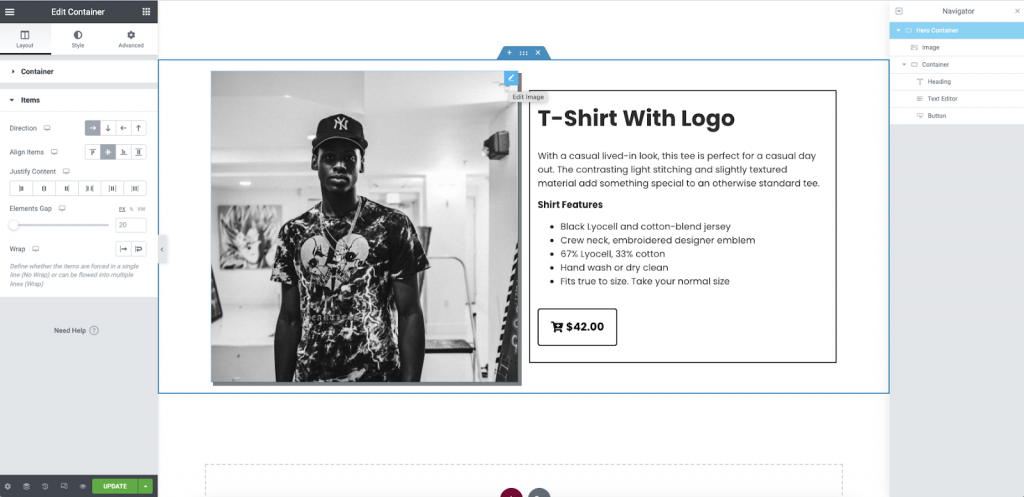
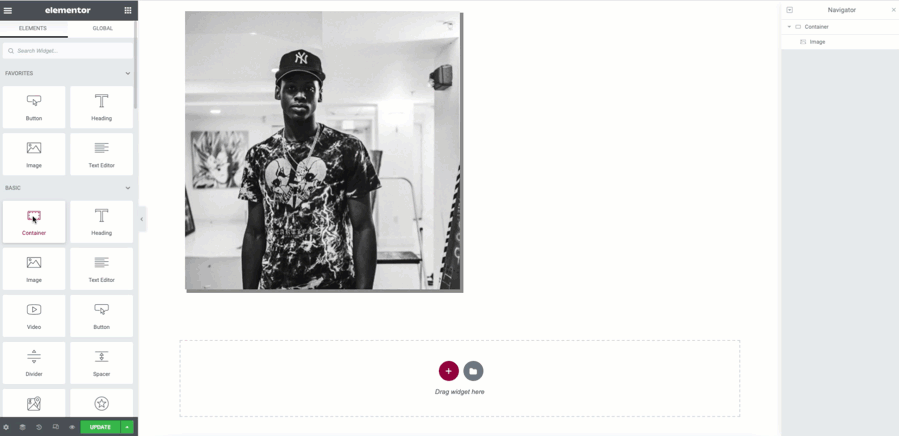
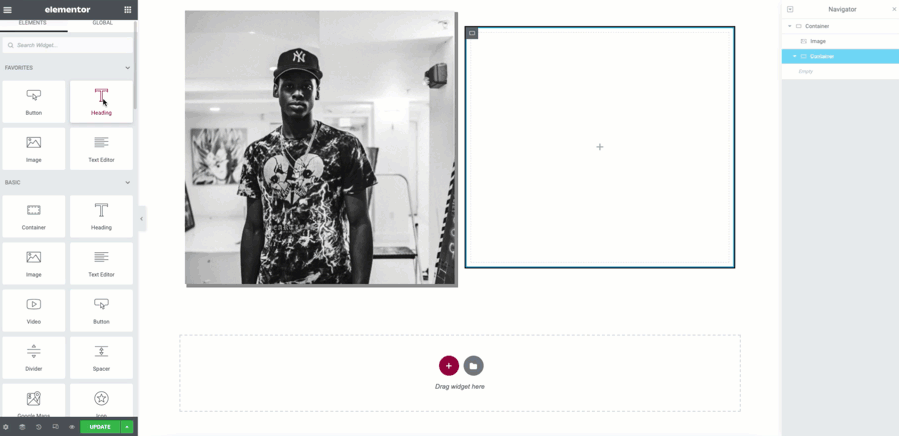
Add Image widget
- From the Panel, drag and drop an Image widget to your Container.
- Select an Image from your media library. This image should already be prepared and optimized for your website
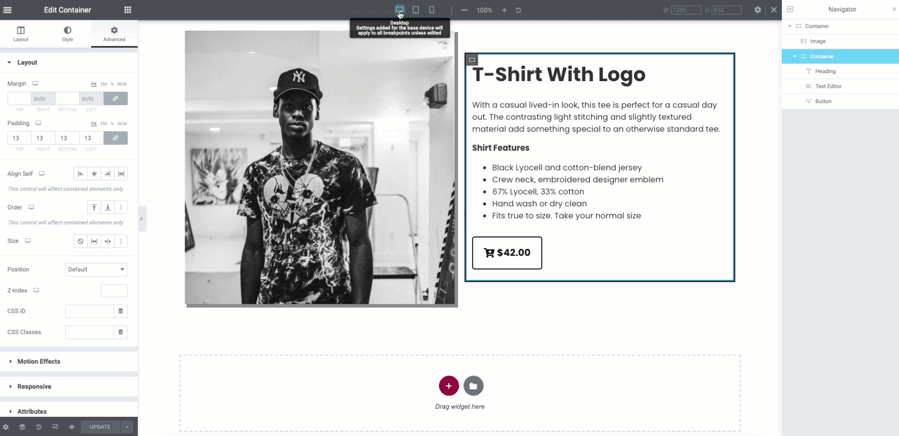
- In the Advanced Tab, use the Width feature to size the image to 50%
- From the Style Tab, you may add additional options. A box shadow is applied here for effects.
Add a child container
- From the Panel, drag and drop a new container to the right (or left) of your image
- From the Layout tab, choose the Full Width option from the dropdown
- Set the Width of the Container to 50%
- Set the Minimum Height of the container to work best with your image (example:55VH)
- From the Style tab, you may give your container additional options. A 2PX border is applied for a visual guide here.
Add the content
- From the Panel, drag and drop a Heading widget to the child-container and edit its content
- Next drag a Text Editor widget below the Heading. This will be the body of your hero. For faster workflow, you should have it prepared and ready to paste into the editor
- Give your hero a call to action. Add a Button widget below the text editor and edit it. This may be linked to a page, post, or product
- To make final adjustments, return to container layout
- From the Justify Content properties, select Space Evenly to align all the content to the center.
- Additional padding may be added if using a border. You may do this from the Advanced tab of the child-container (example: 13PX).
Check responsive views
- Open the Responsive views by clicking on the icon located at the bottom of the Panel
- Check the tablet and mobile views
- Make minor adjustments to the size of text and width on the image to best fit your design.
Go dynamic!
You can take your designs one step further by using the dynamic capabilities. Most Elementor widgets can use dynamic tags to call a featured image, meta data, custom fields, and products from WooCommerce.
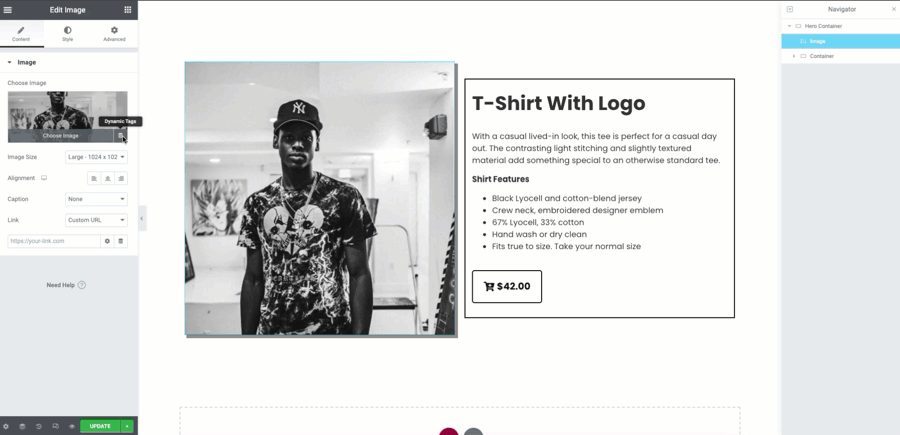
By using these in this example, you can have the dynamic tags call all the content of this product. The image may be called from the featured image of the product and linked. The Heading, Text Editor and Button may also be made to automatically update dynamically. The Button widget may also be changed to a Custom Add to Cart button to instantly collect a sale. Any time the product is edited in WooCommerce, it will then reflect in your Hero Container. Use these functions to create more revenue from your website.
Next steps
Check out some other layouts you can create with containers:
Creating an Intro Section using Flexbox Containers
Creating a Call to Action Section using Flexbox Containers
Creating A Services Section using Flexbox Containers
Creating a Hero Image Gallery using Flexbox Containers