- Add the Sitemap widget to the canvas. For details, see Add elements to a page.
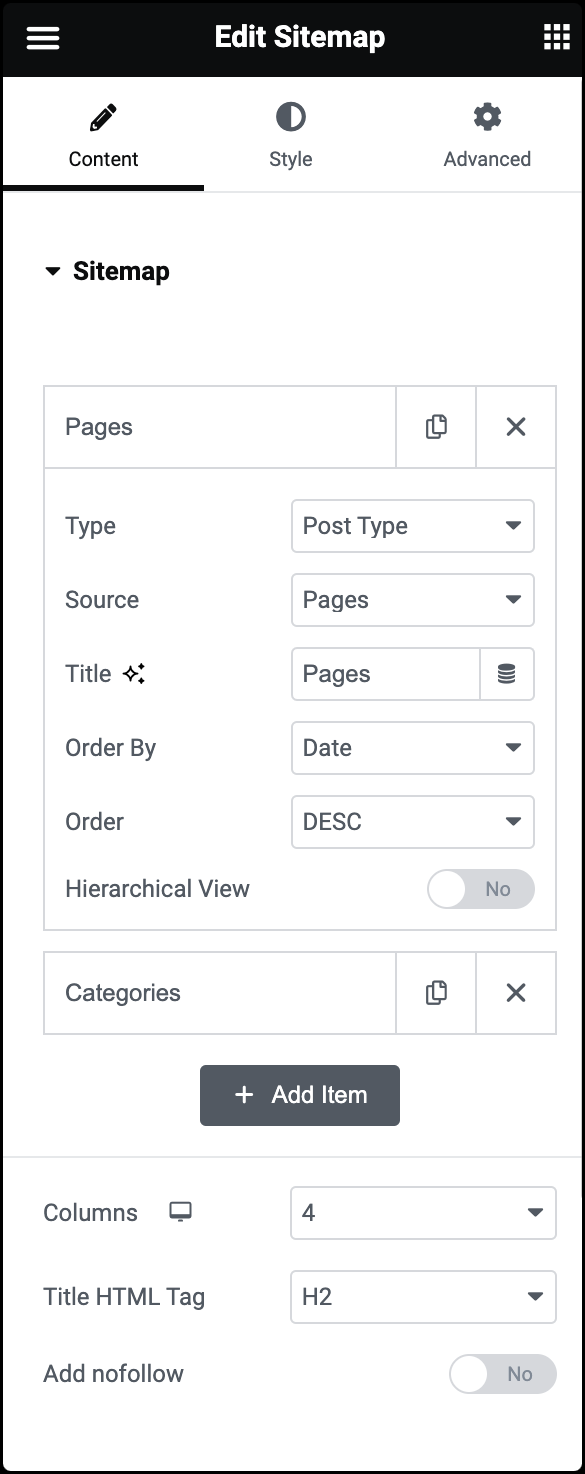
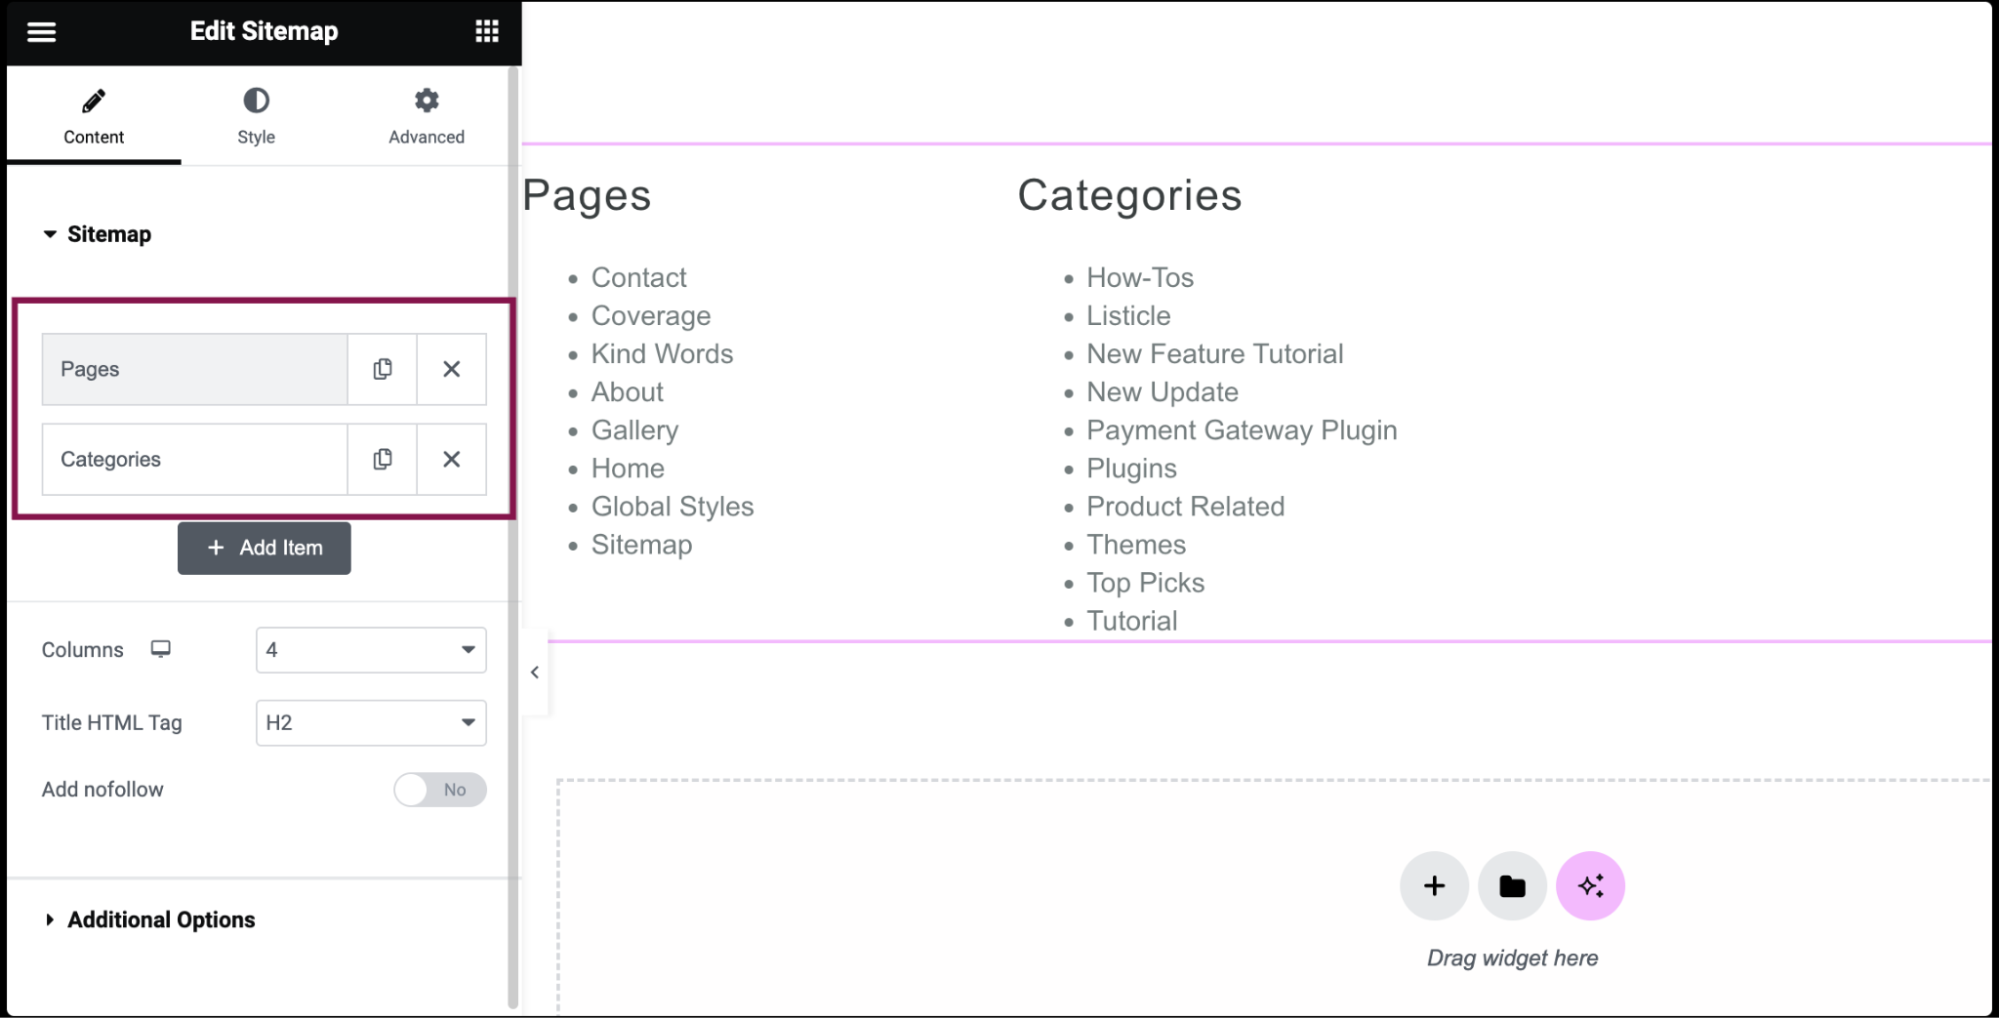
- In the Content tab, under the Sitemap section, you’ll find two default items named: Pages and Categories. You can add or delete these default items.
- Click on the item to open its settings.
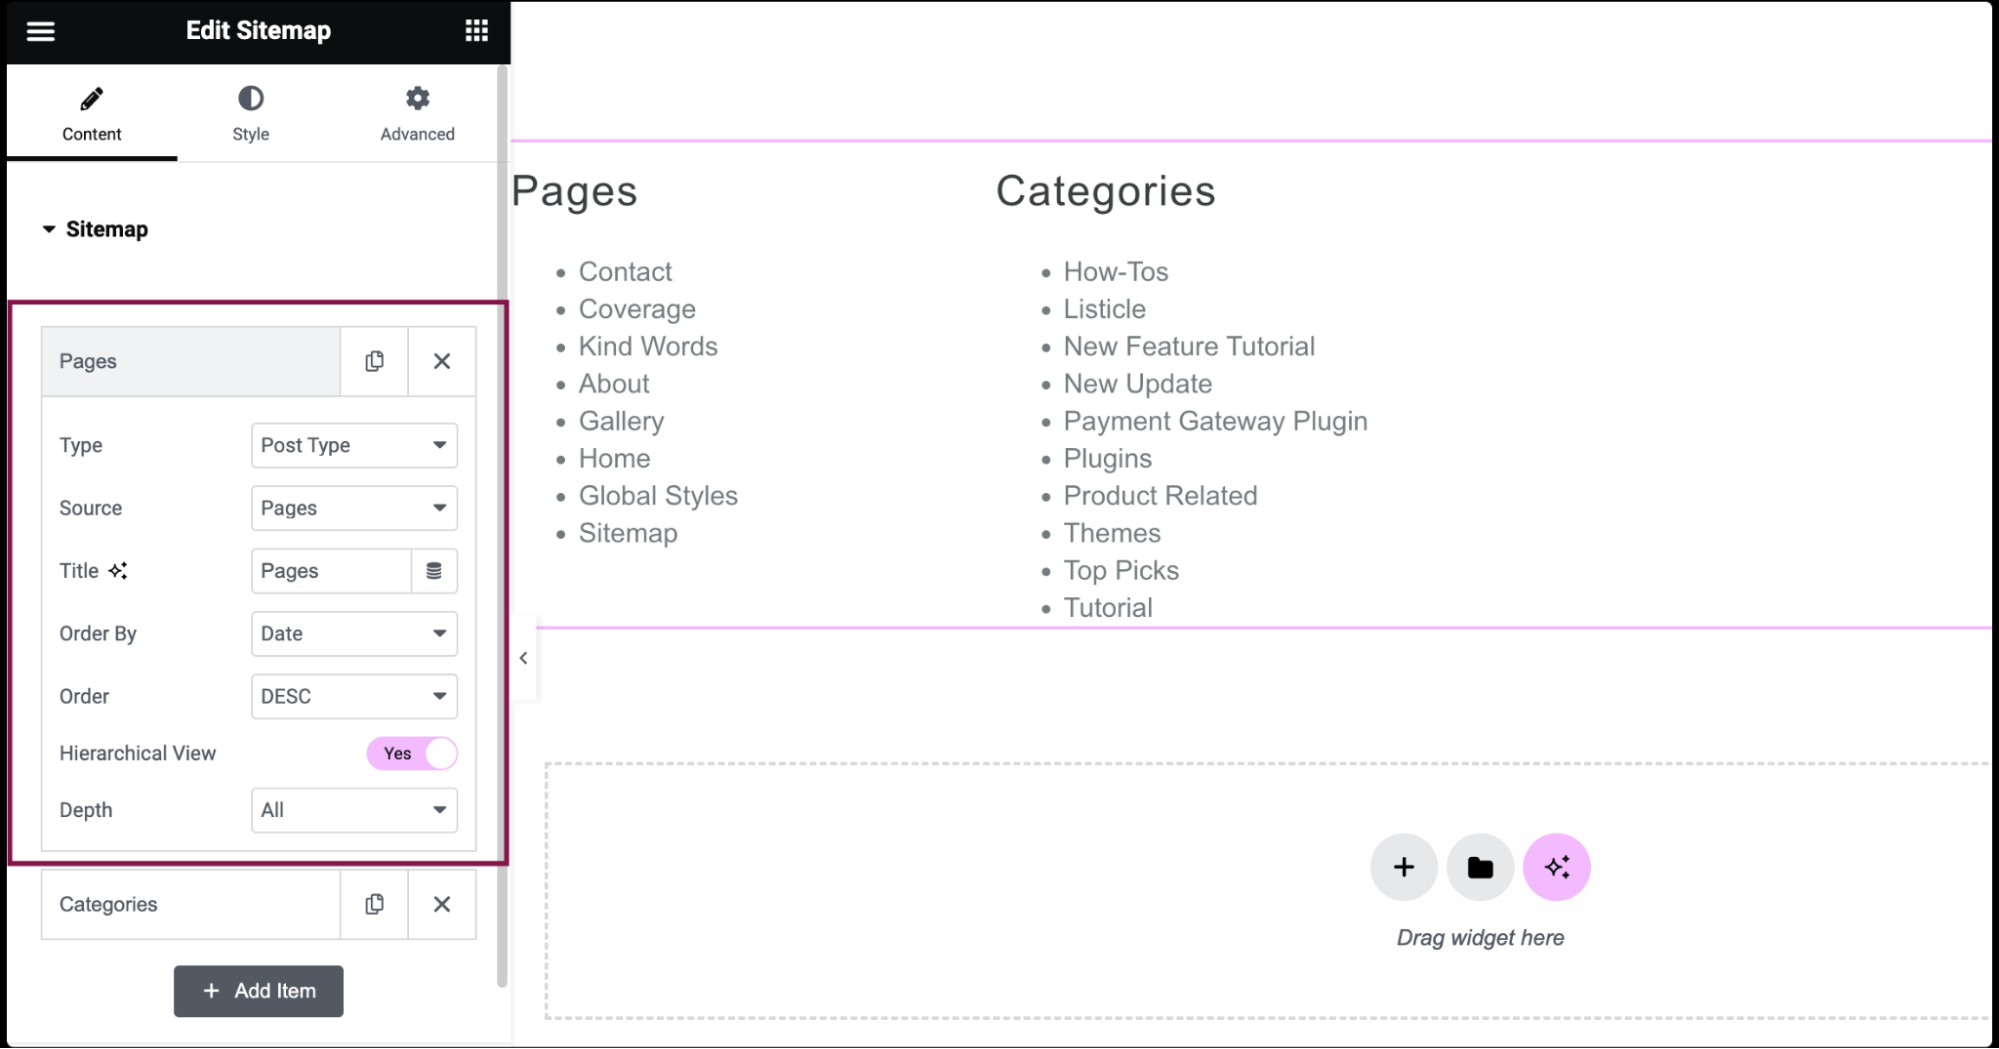
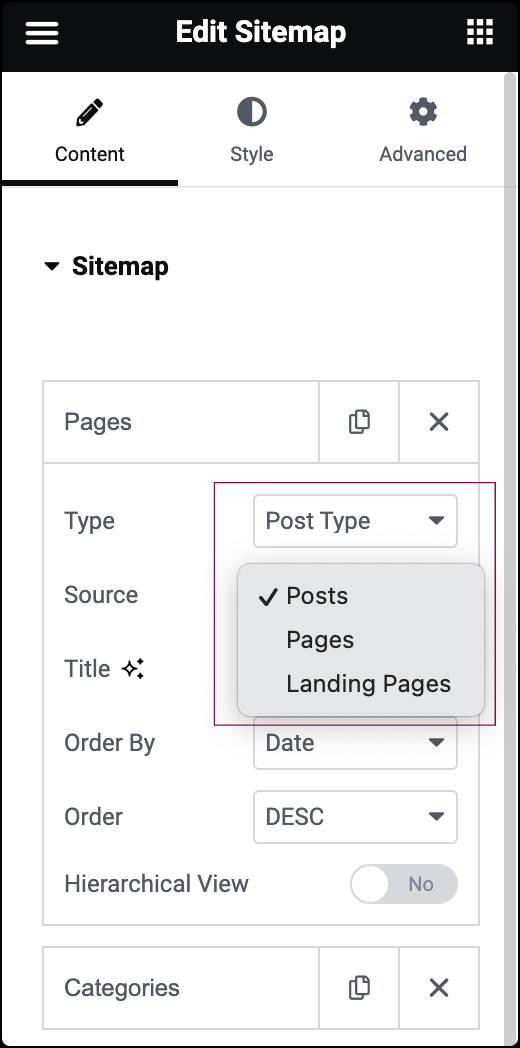
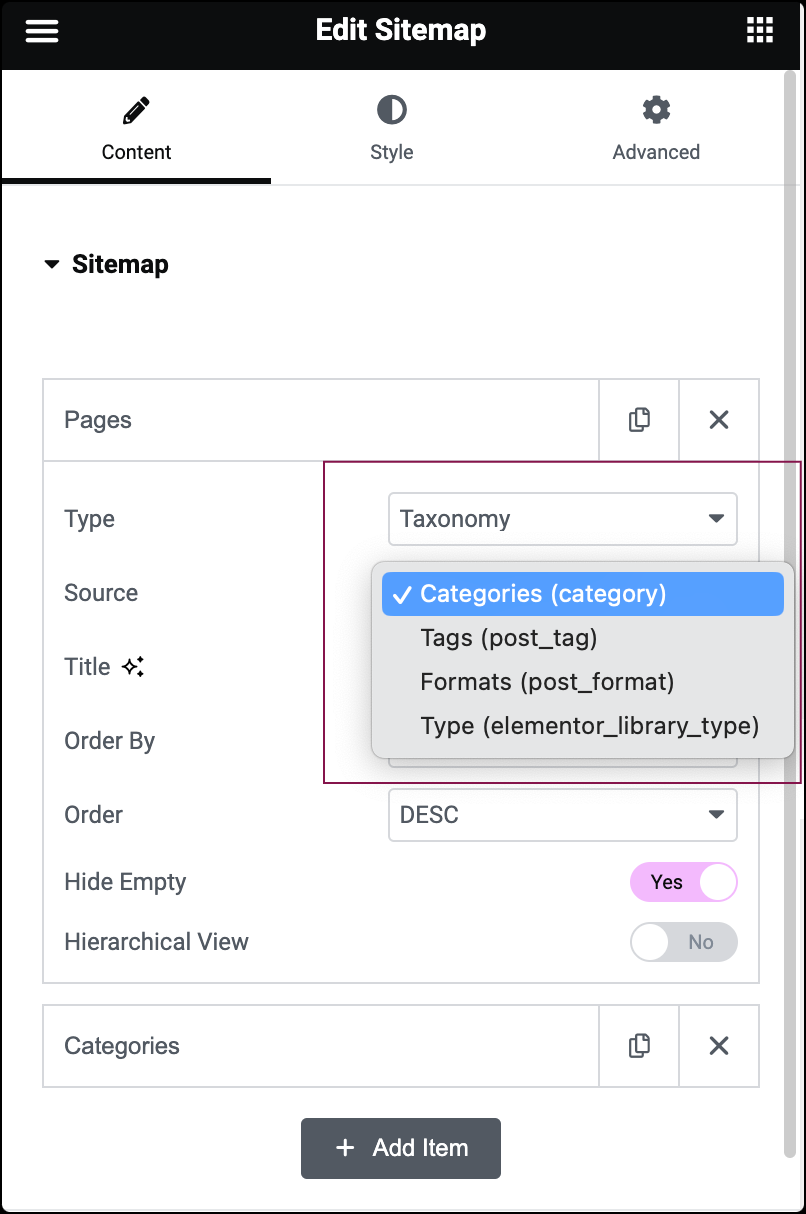
- In the Type field, choose either Post Type or Taxonomy to determine what type of content the sitemap will display.

- In the Source field, specify the source of the content to be included in the sitemap. The available sources will vary based on your selection in the Type field.
- If you choose Post Type, select Posts, Pages, or any available custom post types.
- If you choose Taxonomy, select Categories, Tags, Format, or any available custom taxonomies.
- If you choose Post Type, select Posts, Pages, or any available custom post types.
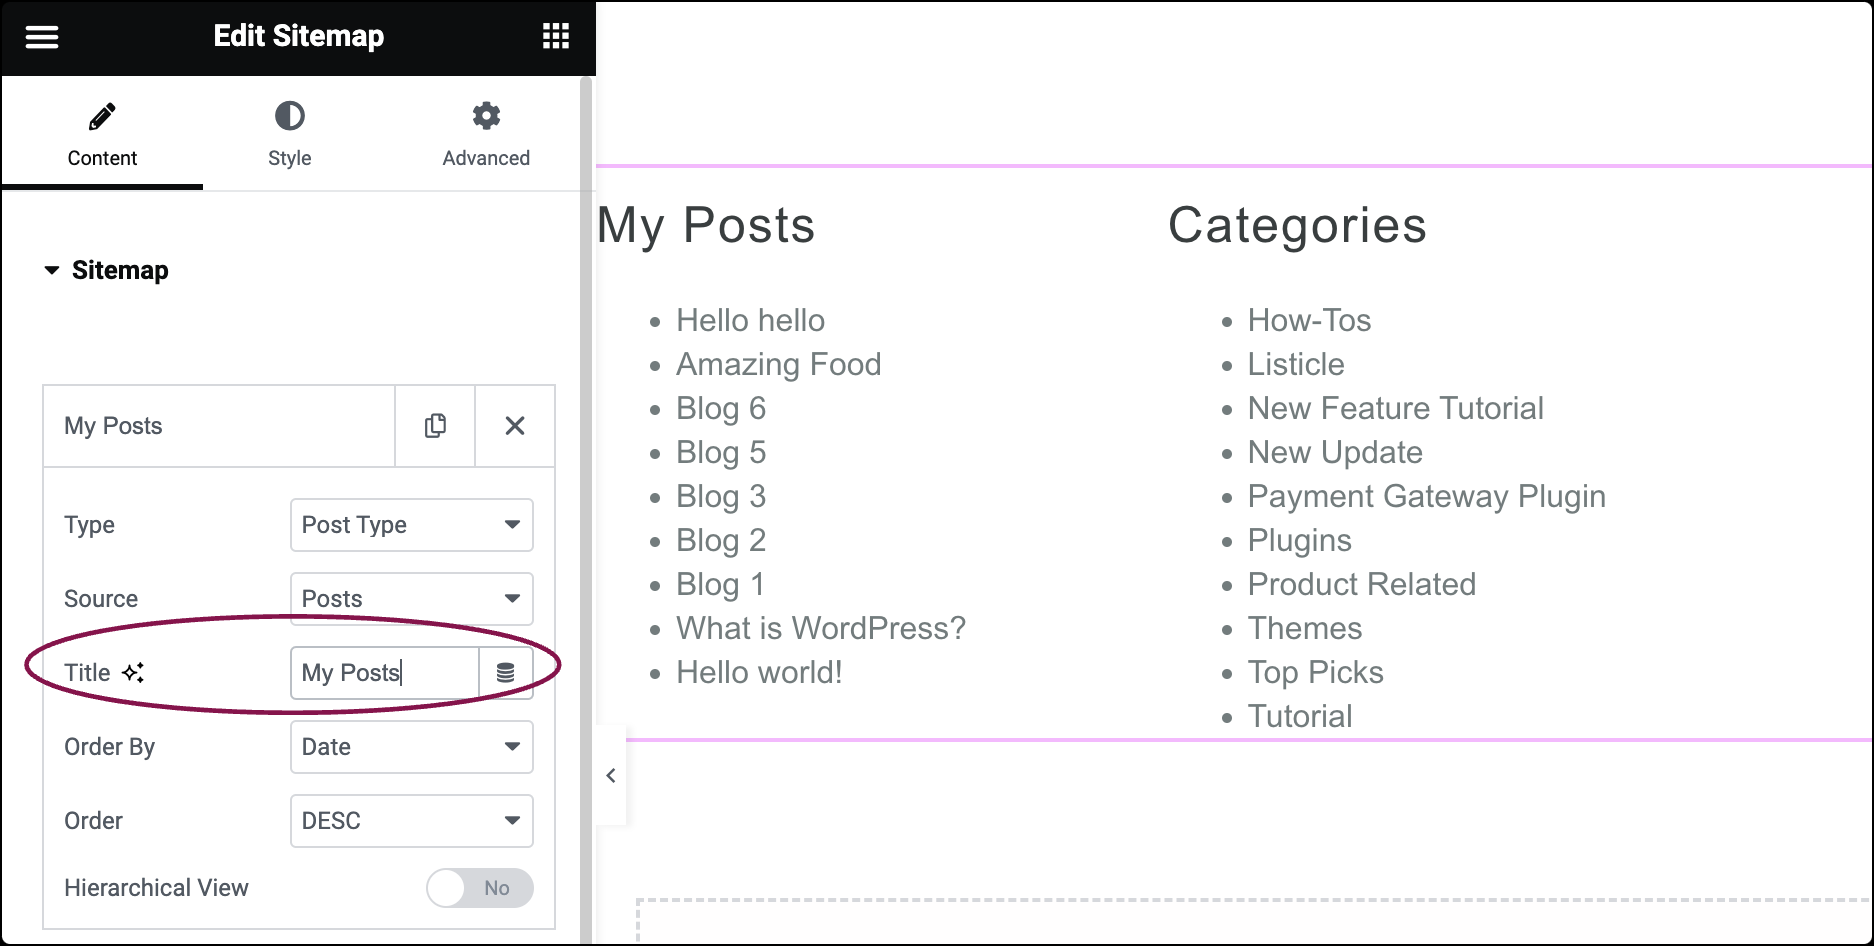
- In the Title field enter the desired text or use dynamic tags for your title. Learn what dynamic tags are available?
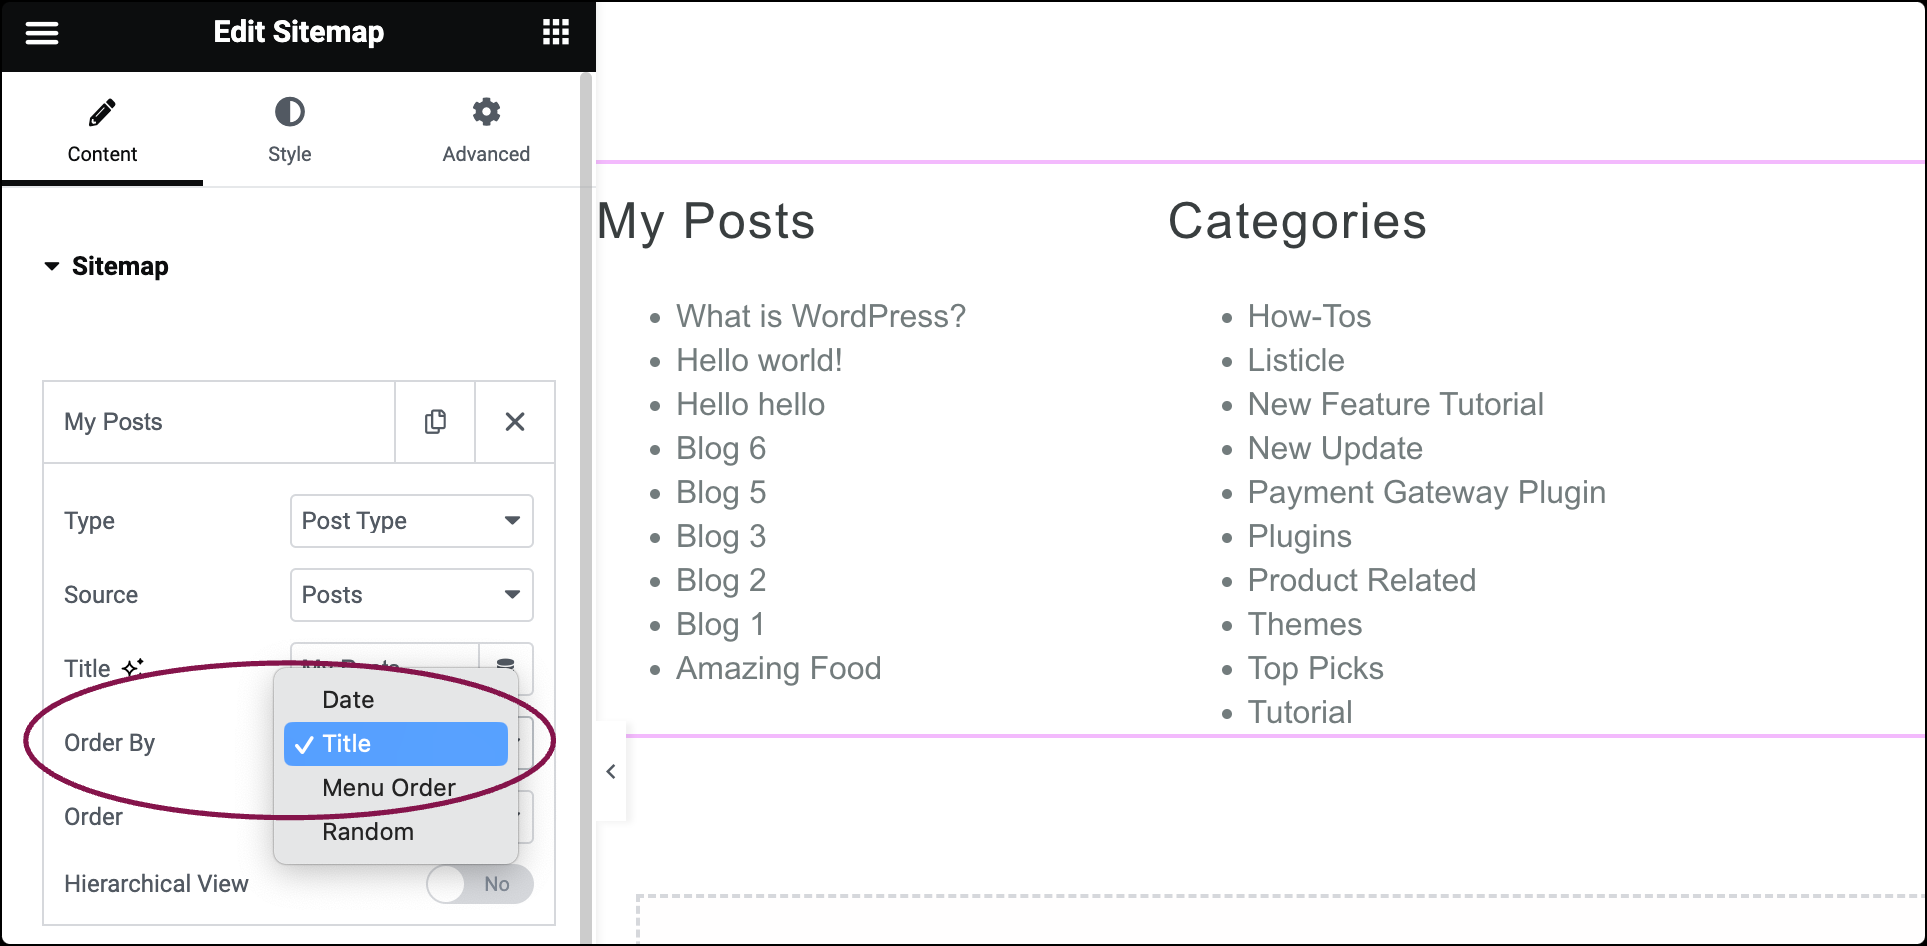
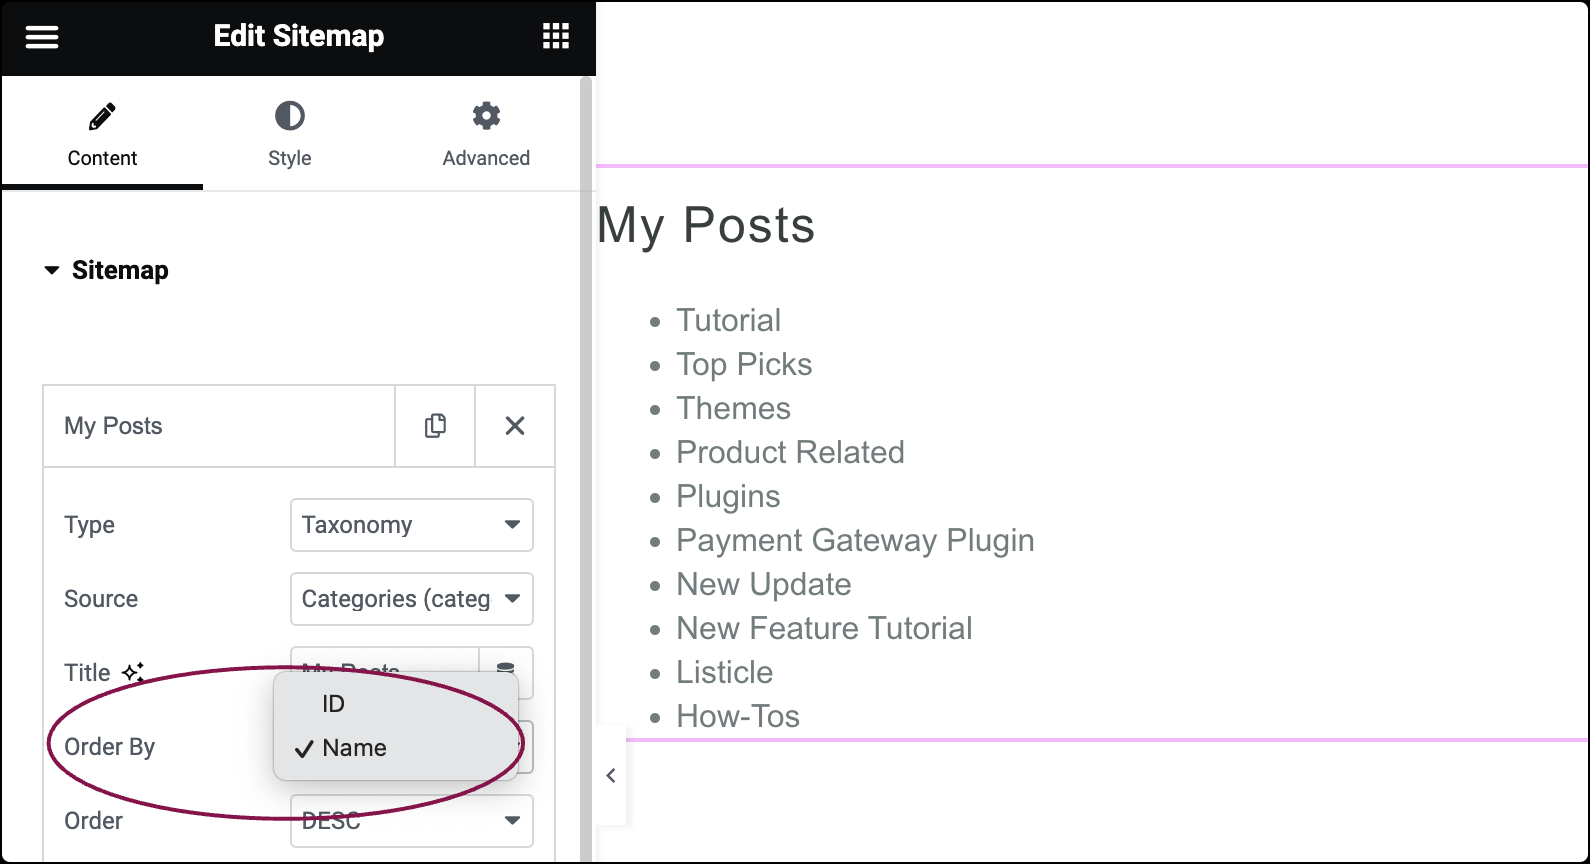
- In the Order By field, choose how to order the links.
- For Post Type selection, choose from Date, Title, Menu Order, or Random.
- For Taxonomy selection, choose from ID or Name.
- For Post Type selection, choose from Date, Title, Menu Order, or Random.
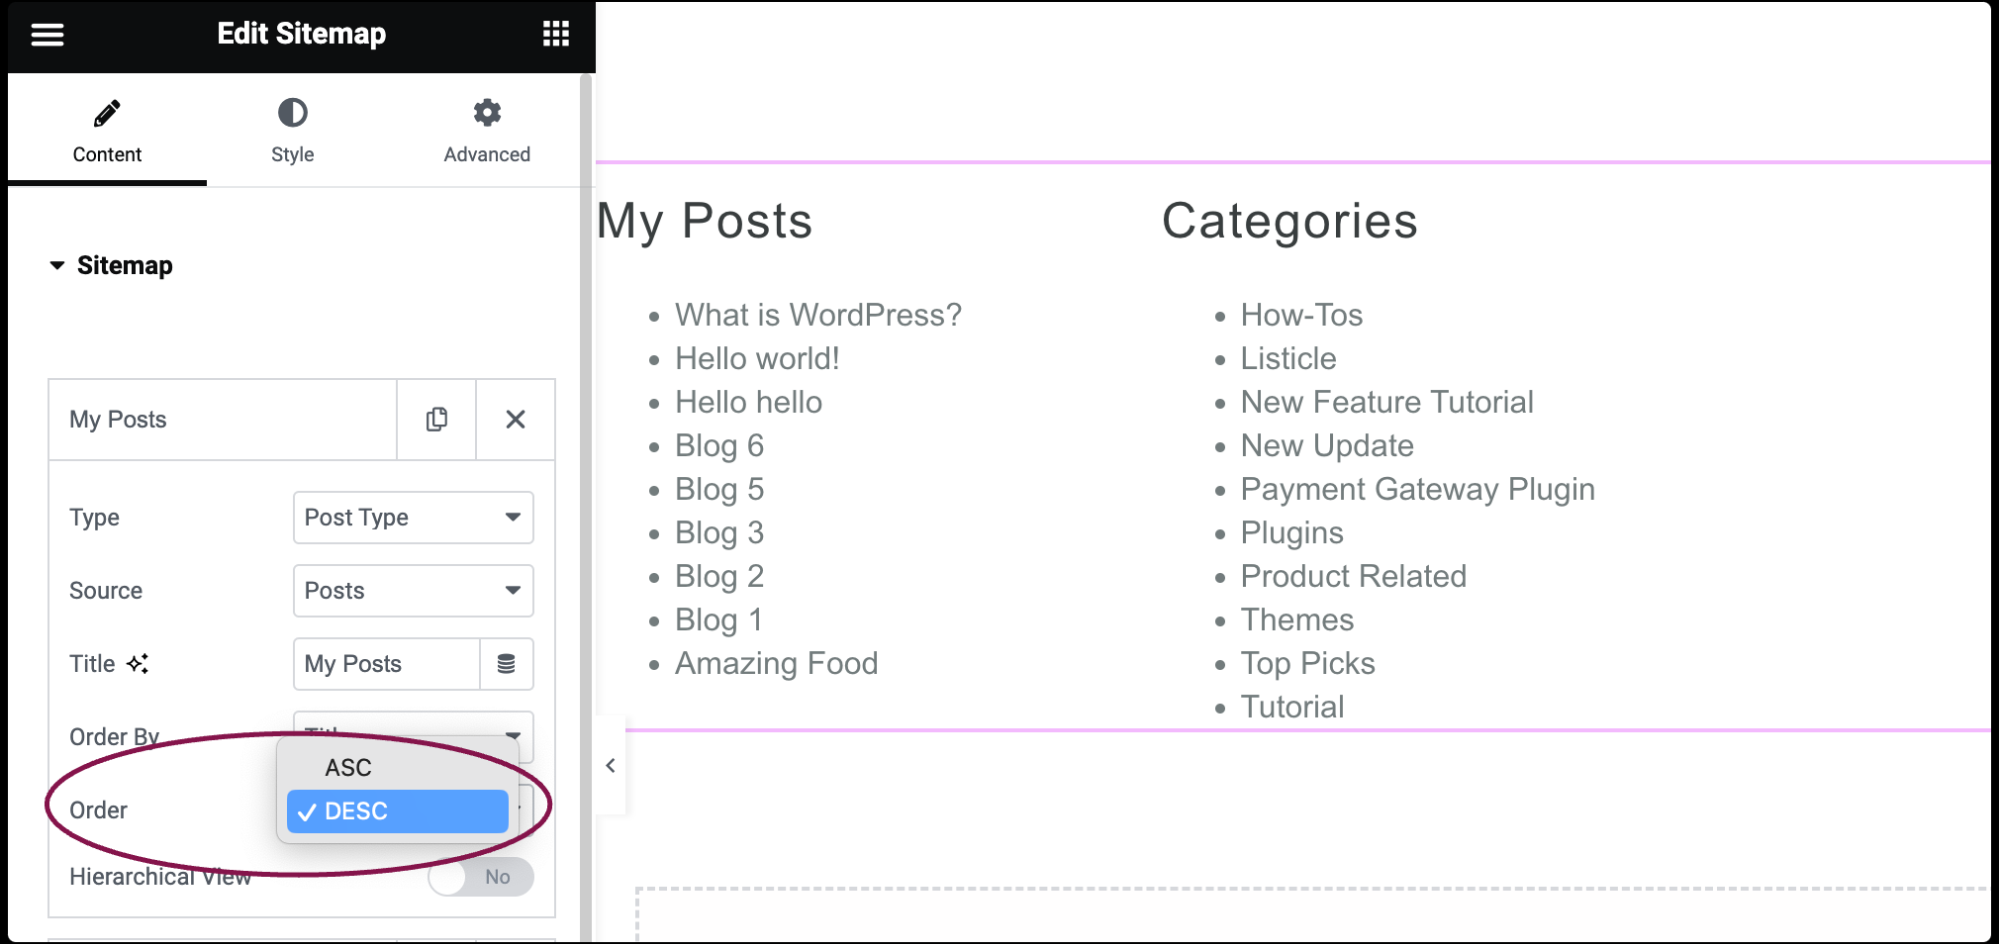
- In the Order field, choose the order in which the items are displayed. DESC (descending) or ASC (ascending).
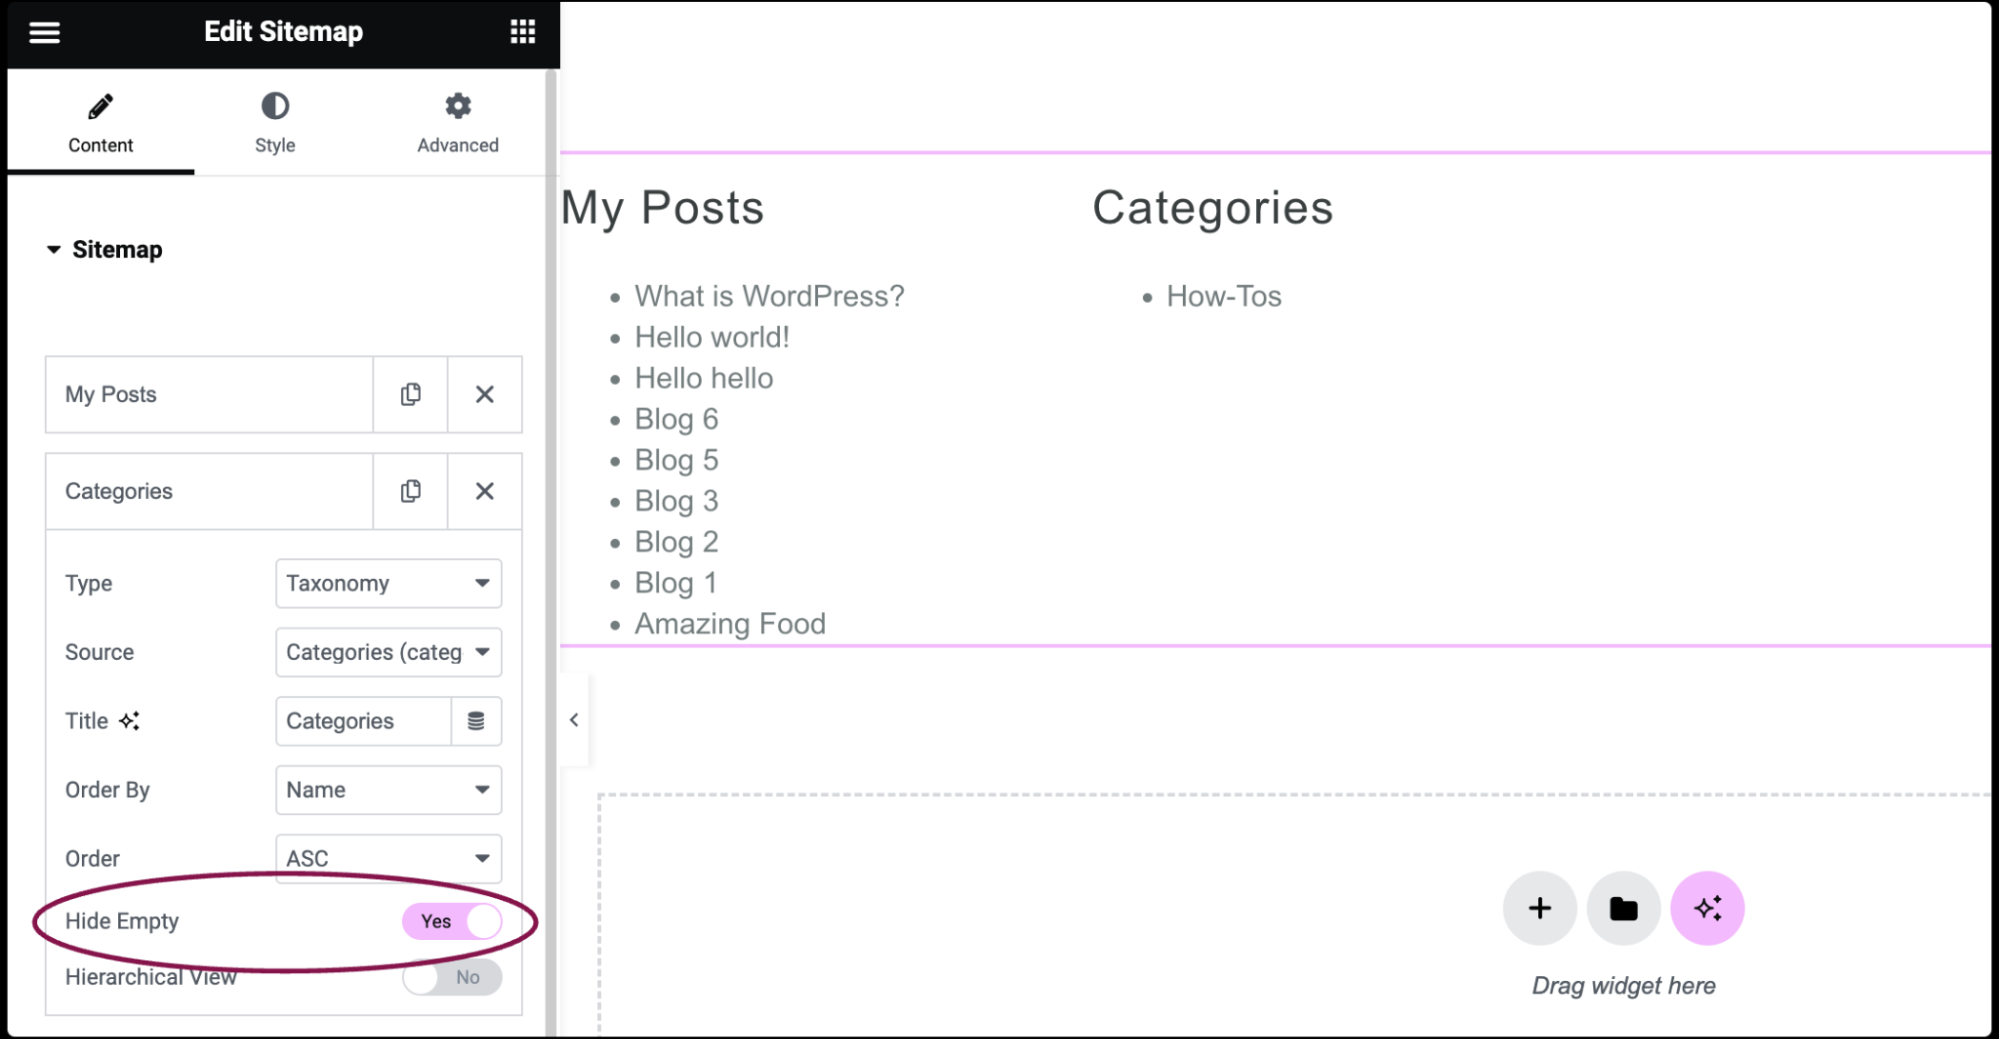
- Slide Hide Empty toggle to Yes to hide if the taxonomy is empty.
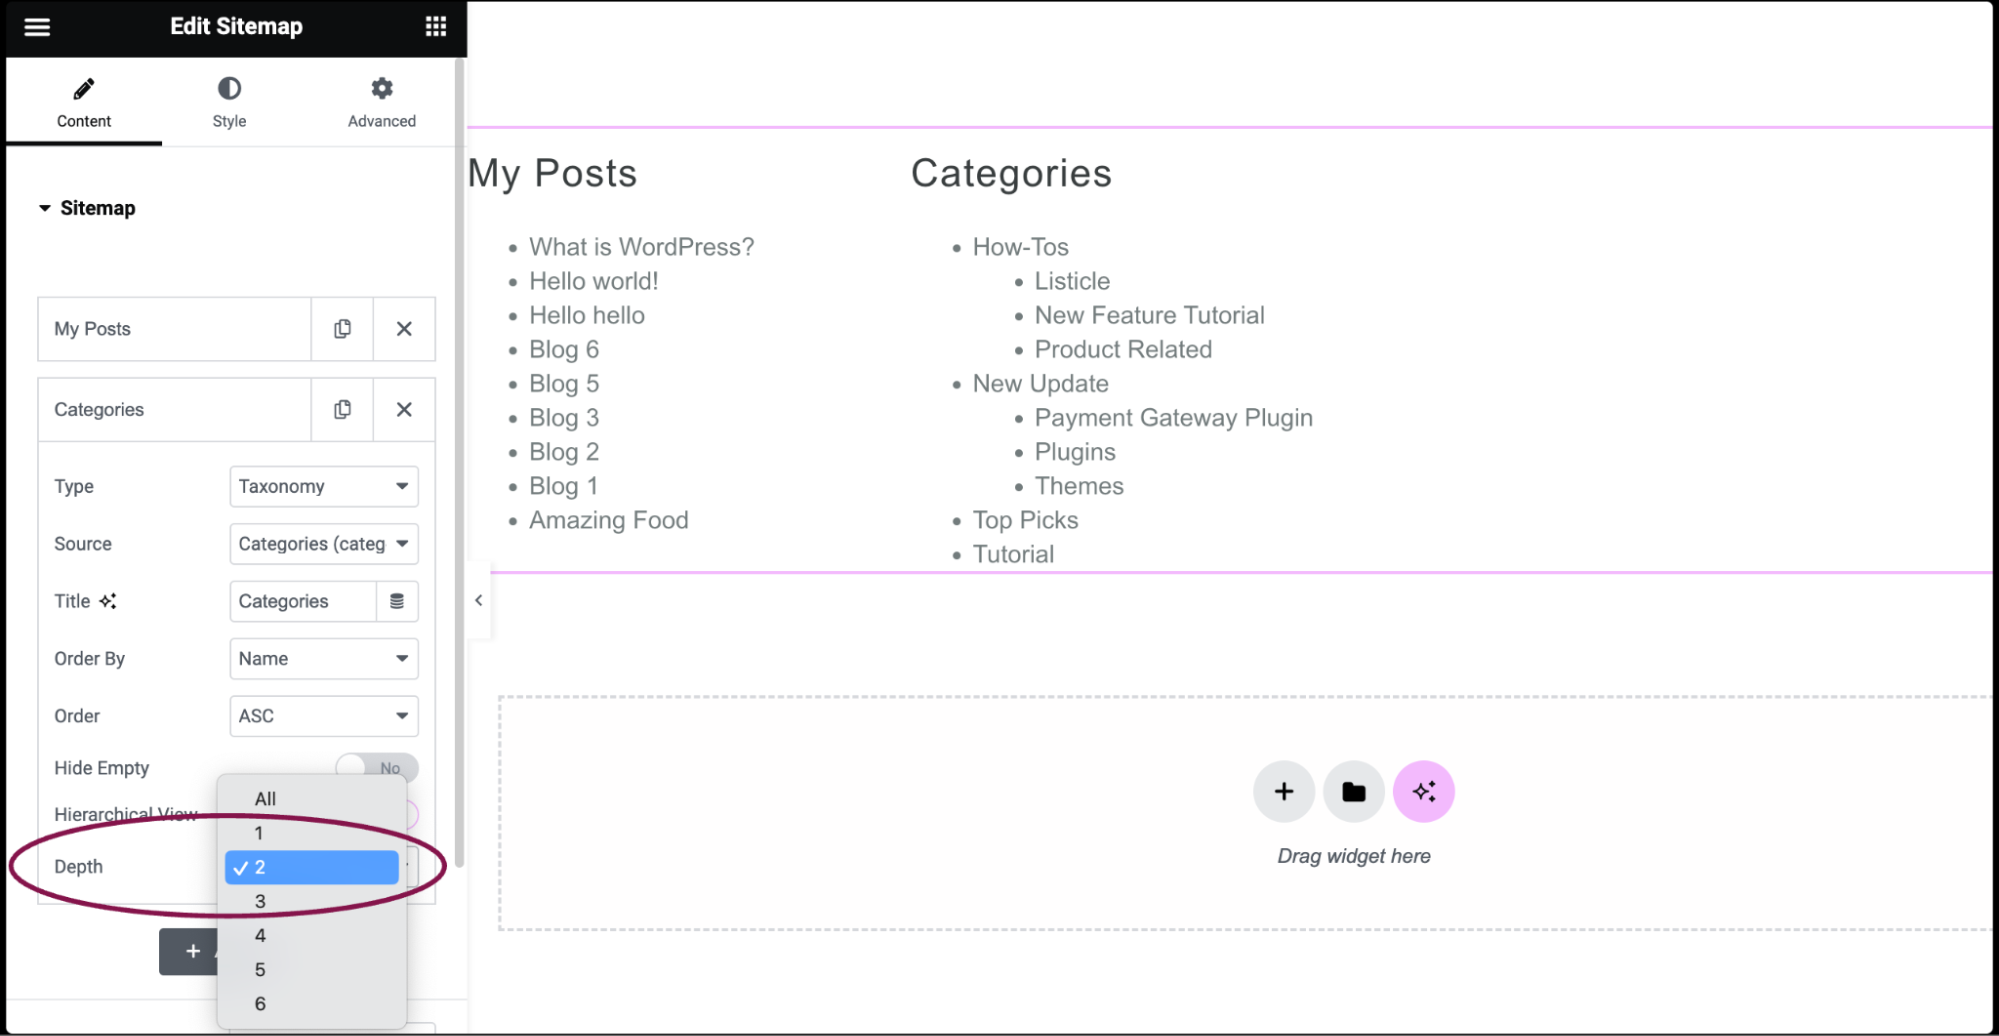
- Slide the Hierarchical View toggle to Yes to display a hierarchical view showing both parent and child items.
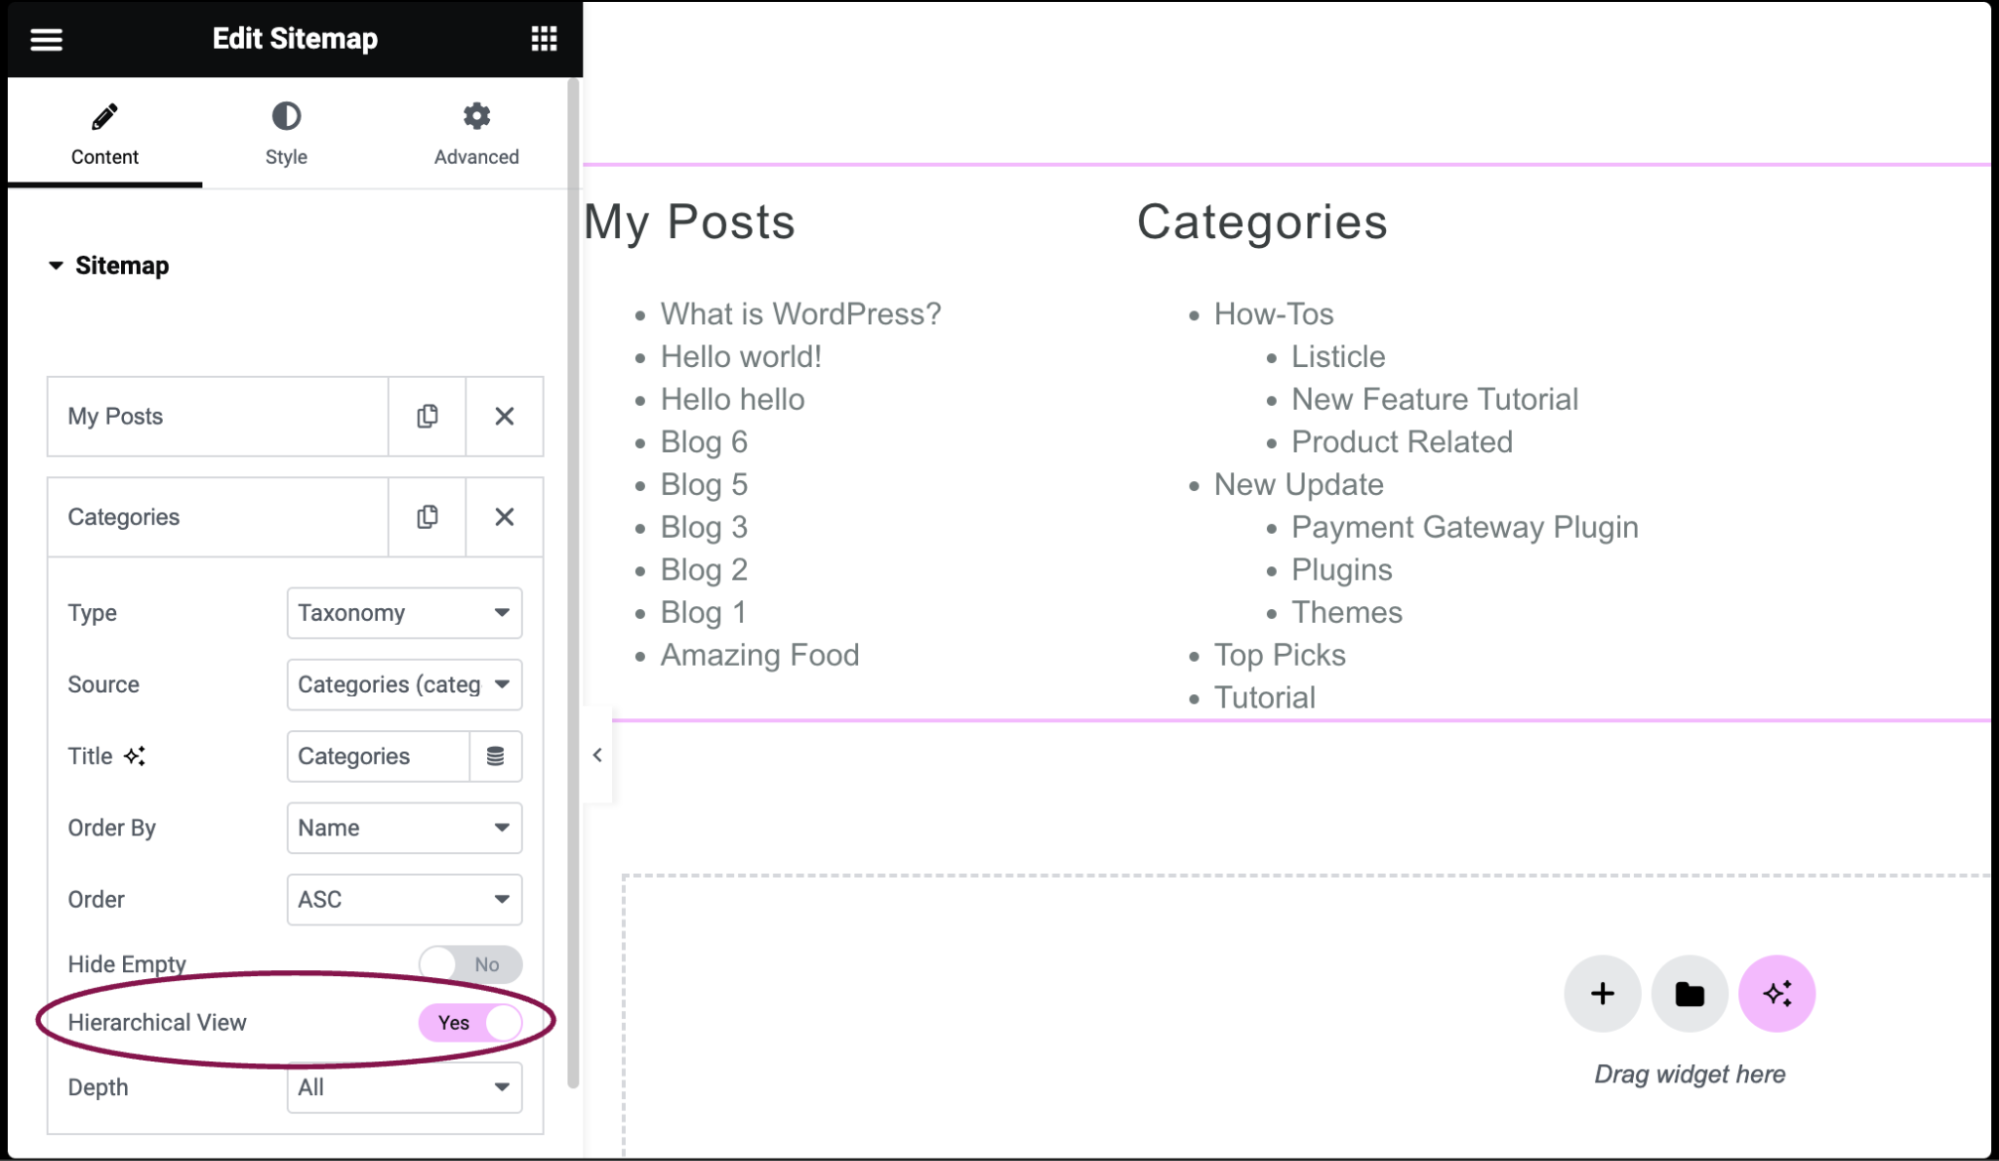
- If Hierarchical View is set to YES, the Max Depth option becomes available. Select depth of hierarchy to show, from 1 to 6, or ALL.
- If Hierarchical View is set to YES, the Max Depth option becomes available. Select depth of hierarchy to show, from 1 to 6, or ALL.
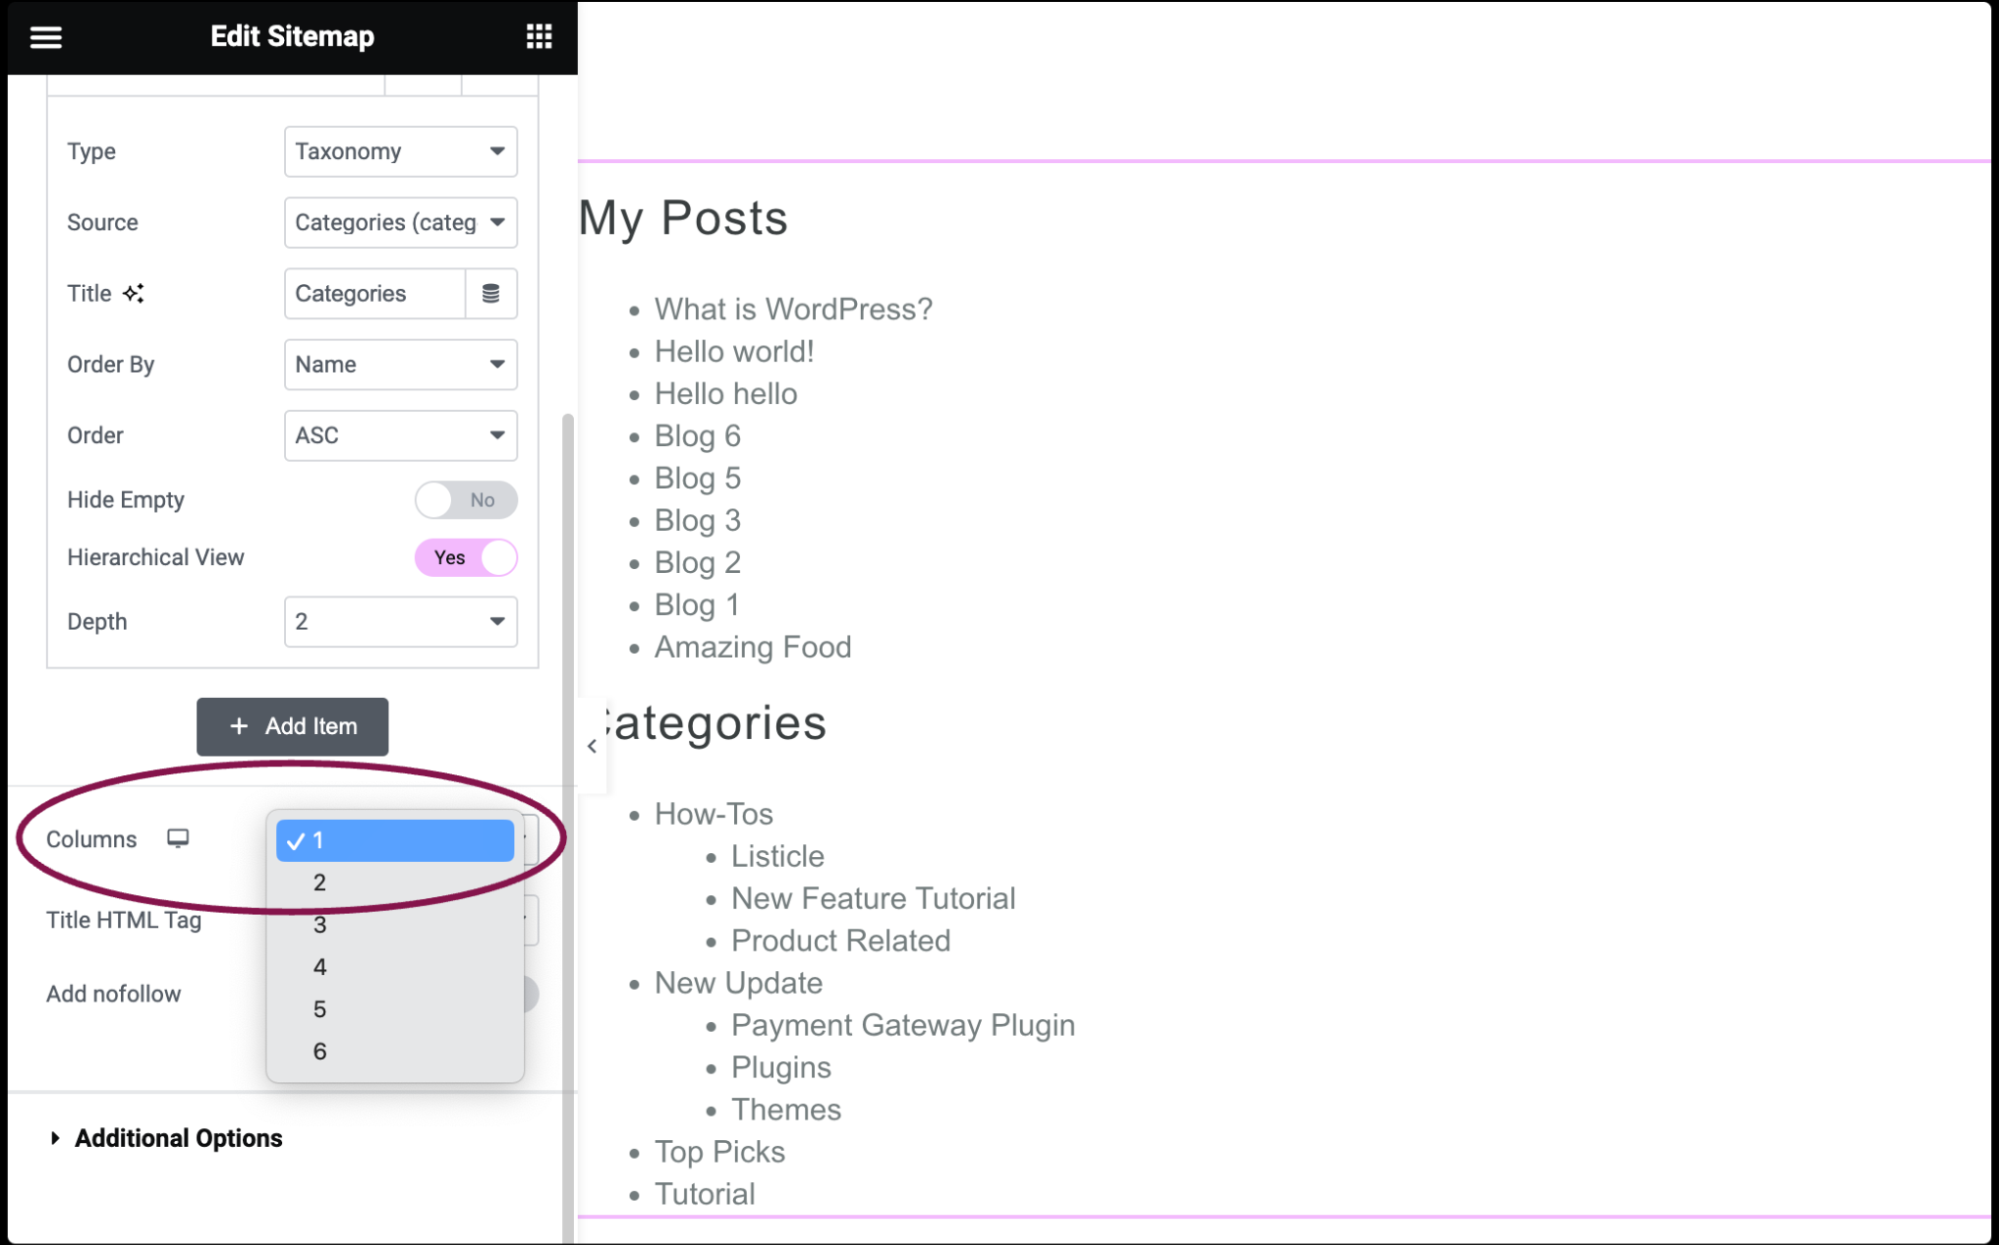
- In the Columns field, adjust the number of columns to display the sitemap links.
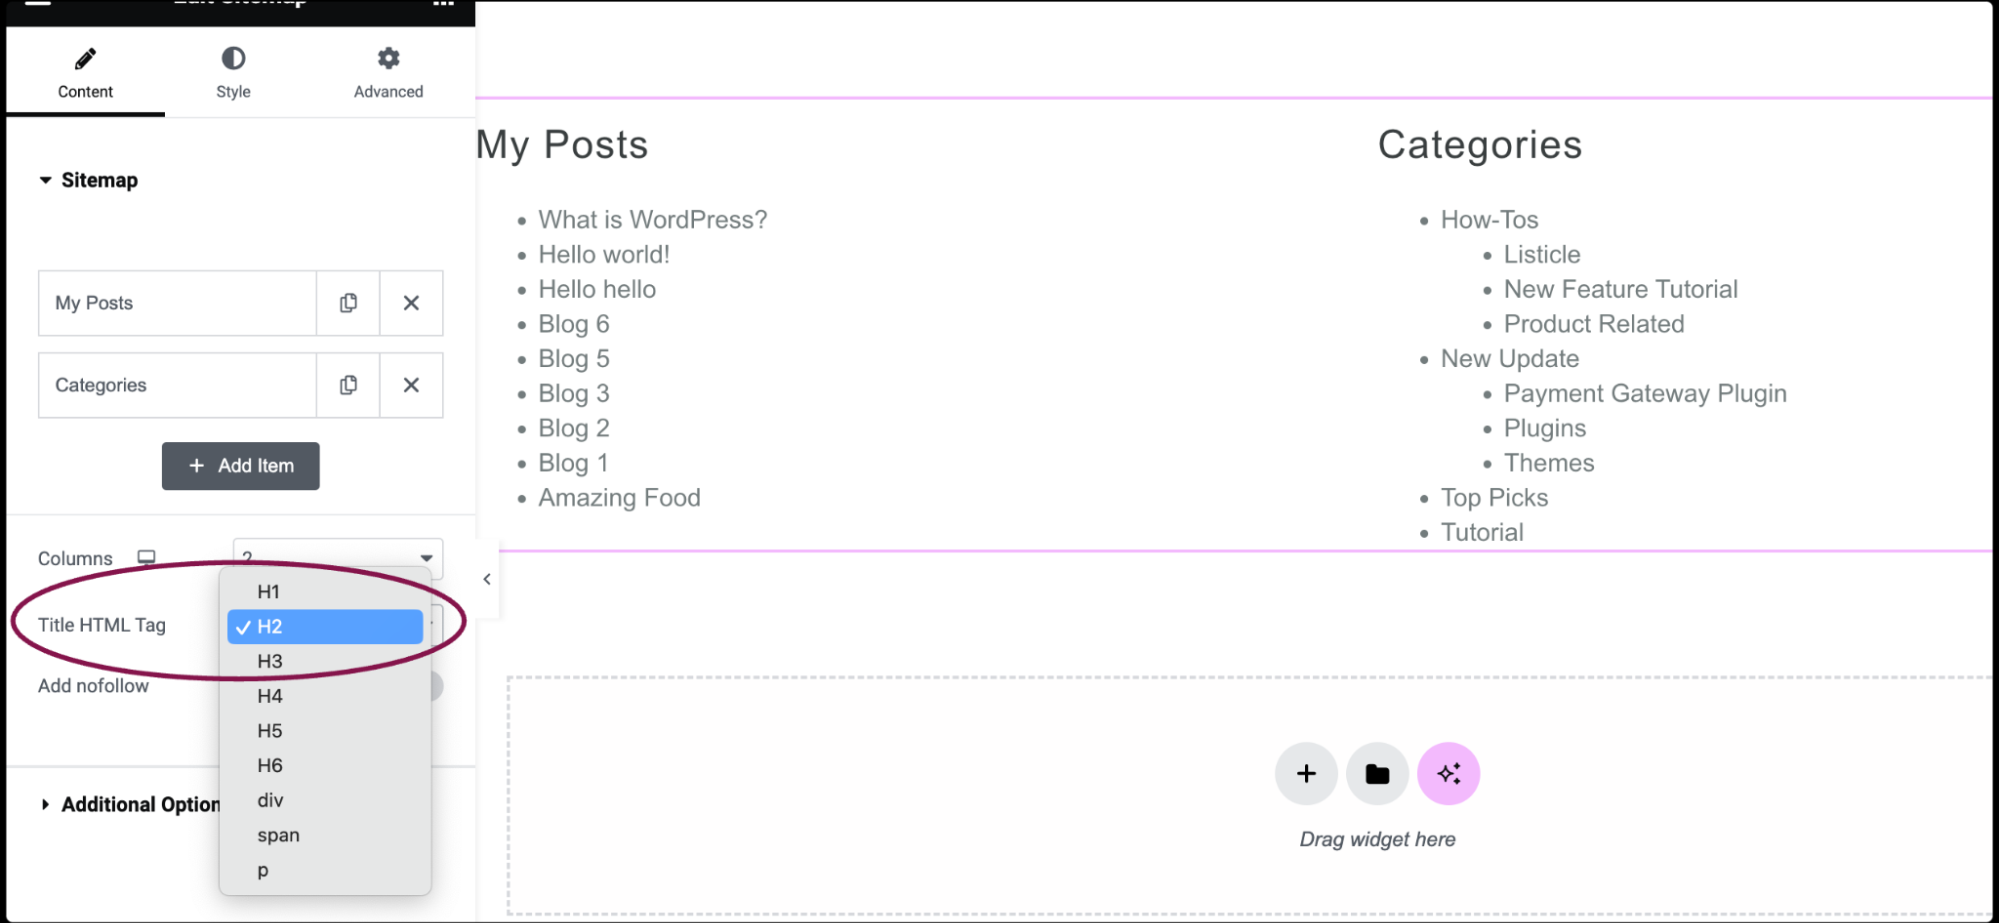
- In the Title HTML Tag field, set the Title tag to H1-H6, Div, Span or Paragraph.
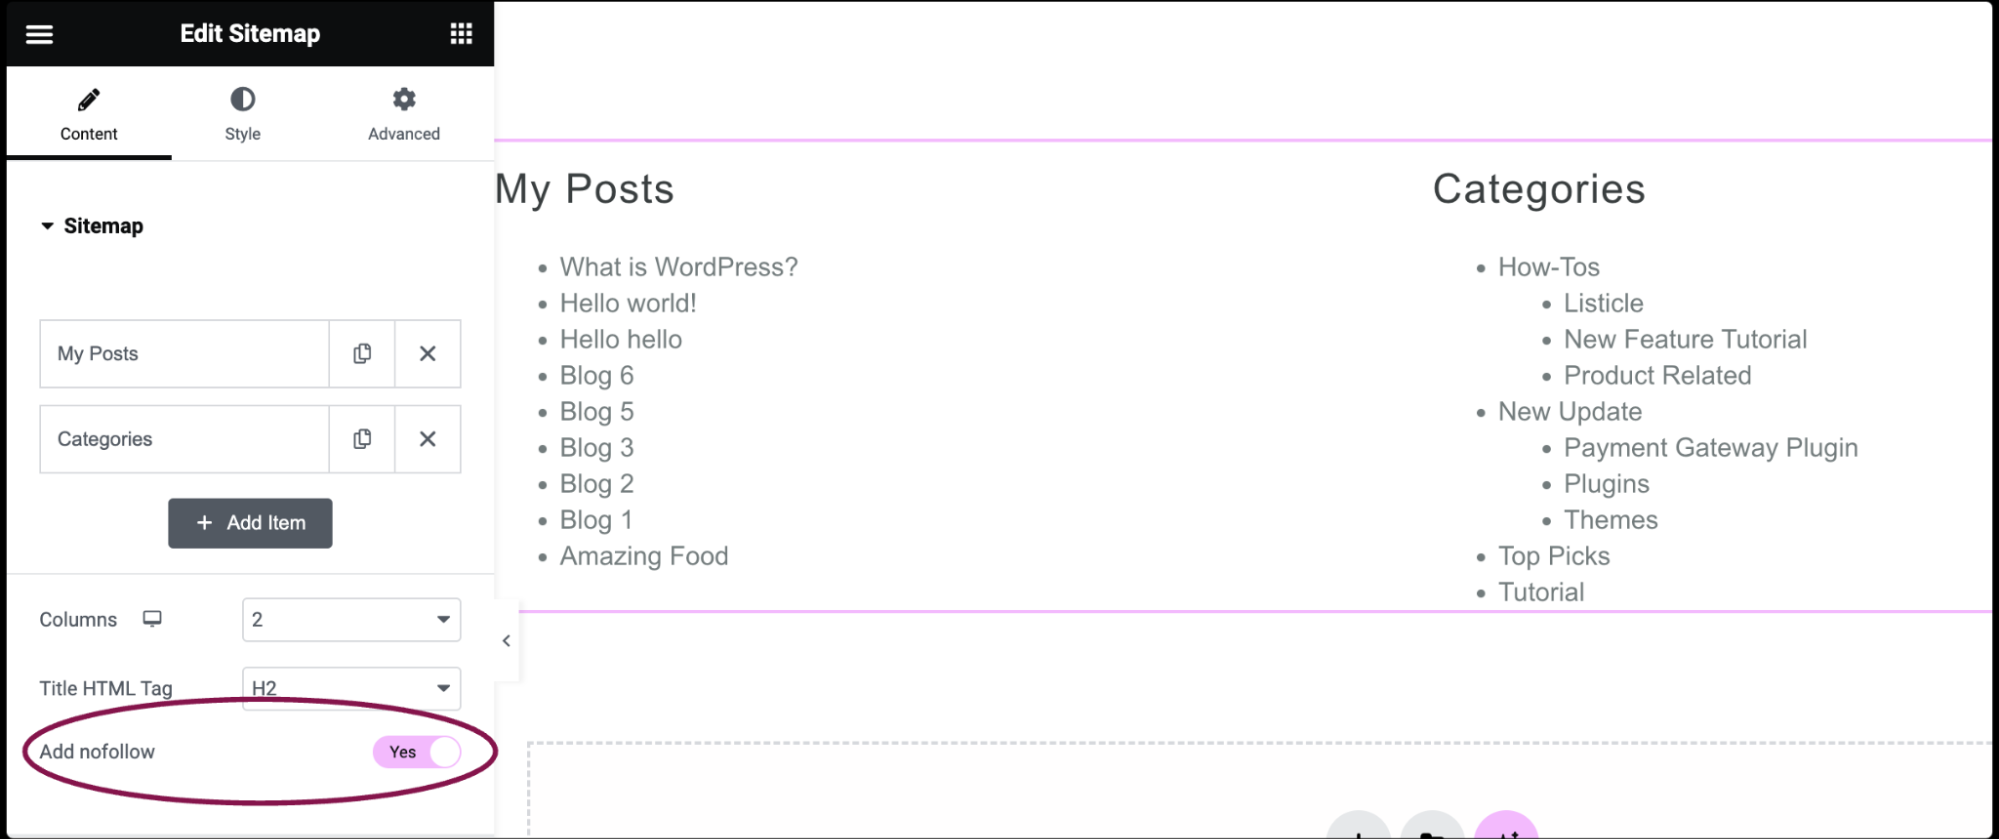
- Slide the Add nofollow toggle to Yes to add rel=”nofollow” attribute to all sitemap links.
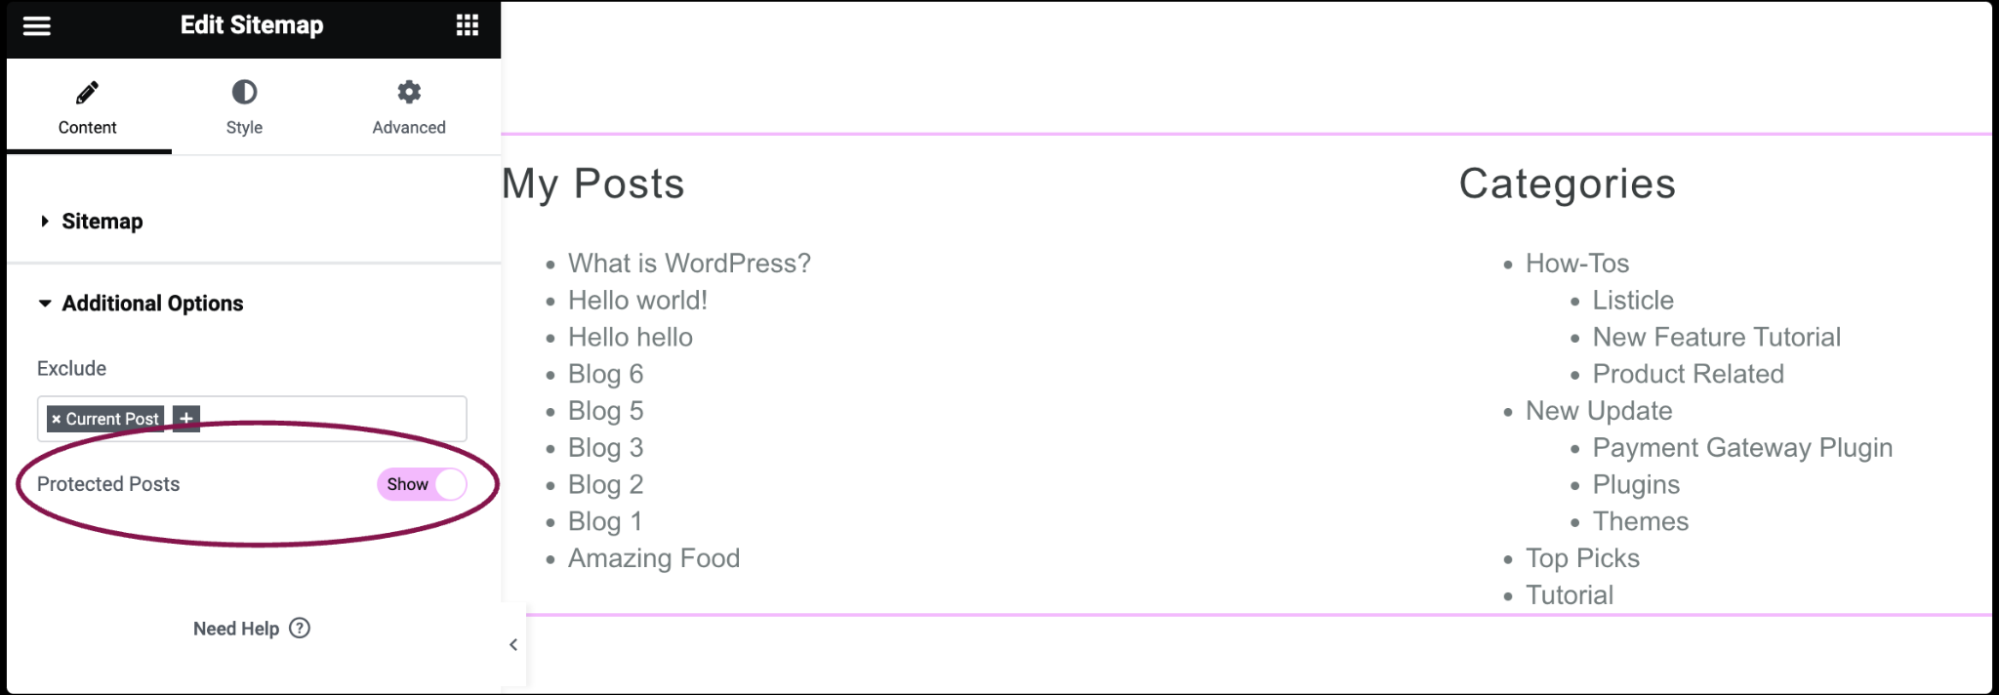
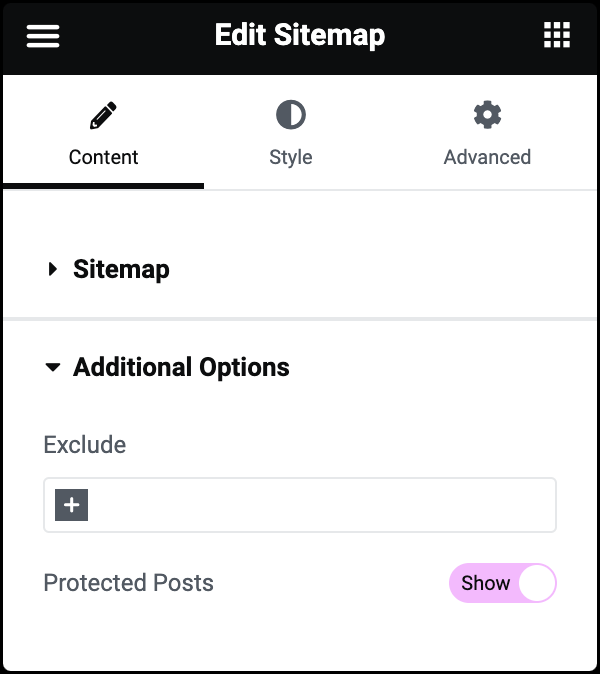
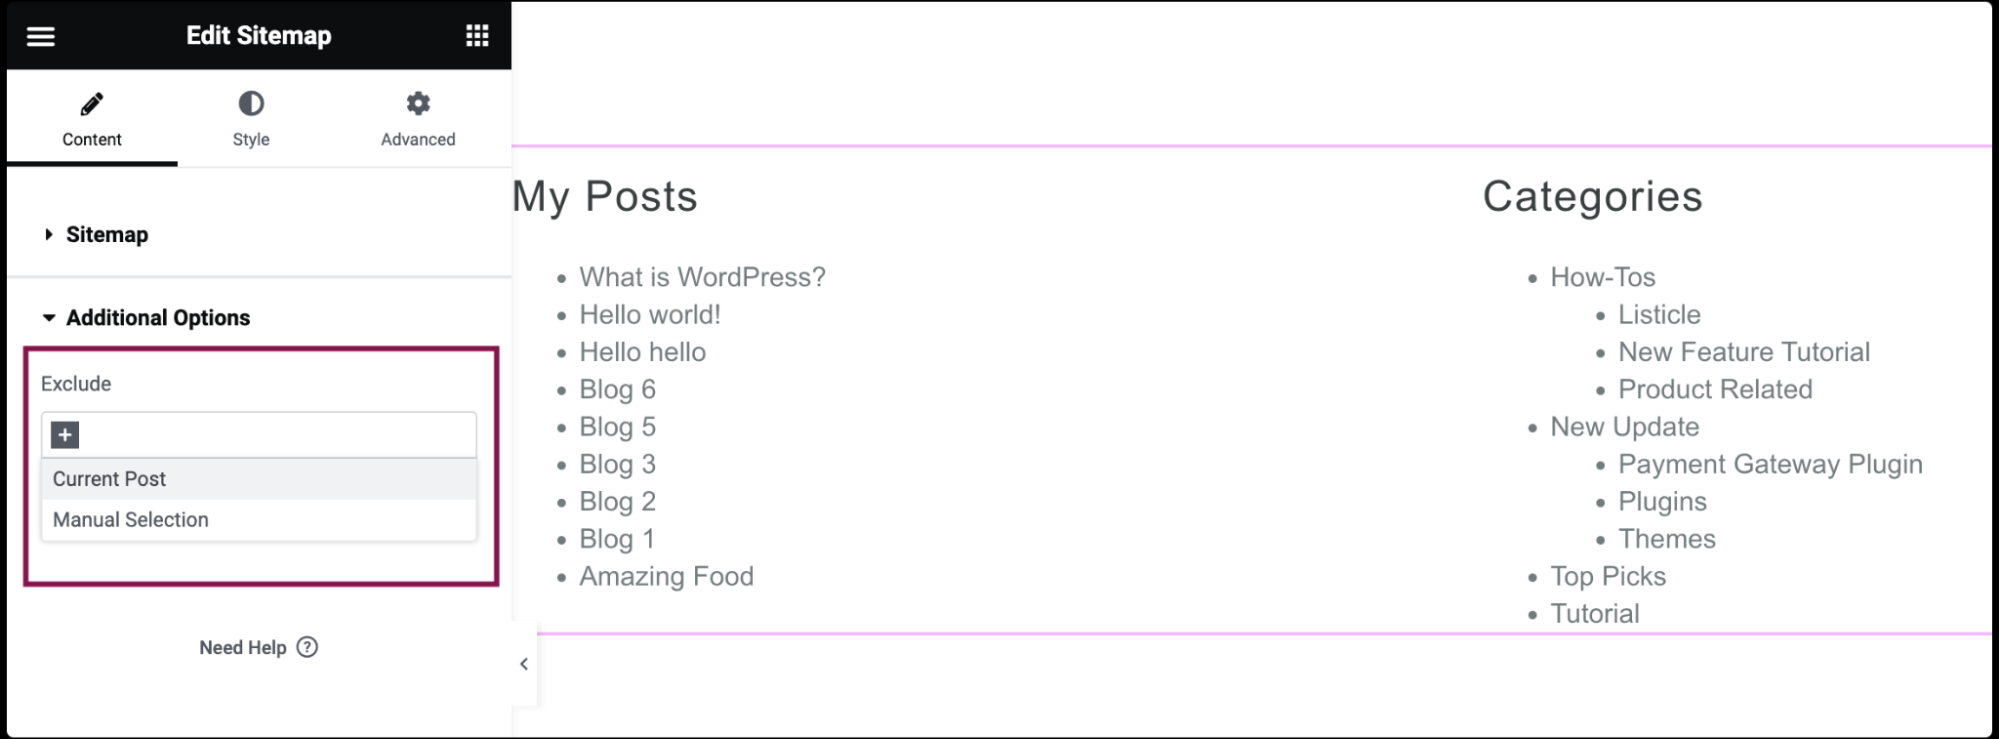
- Under the Additional Options section, in the Exclude field, choose to exclude the current post/page or manually select specific items to exclude.
- Use the Protected Posts field to Hide or Show protected posts (posts that require a password to access).