Loop Grid allows you to build highly customized lists of posts, helping give your site a unique look.
After building a Loop Grid, you can customize how the entries will appear.
Determine the Loop Grid layout
- Select the Loop Grid. It is probably easiest to access the Loop Grid using the Structure window.
- Go to the Content tab
- Open the Layout section.
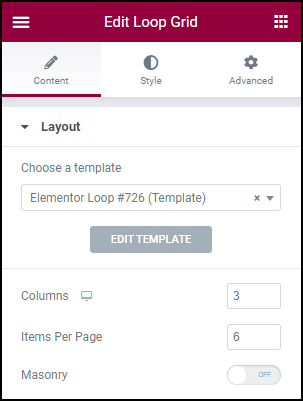
- Under Layout you can:
- Switch to an existing different loop template.

- Using the Choose a template textbox, type in the name of the loop you want to use and then select if from the dropdown menu.
- Change the number of columns on the page.
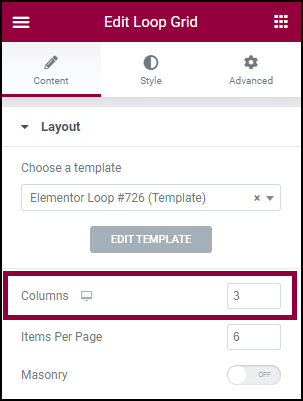
- This will affect the number of posts\listings your users will see in each row. You can use this in conjunction with limiting the number of items per page (see below) to adjust the design. We recommend trying a few different combinations to see which is best for you.
- Set how many items will appear on a page.
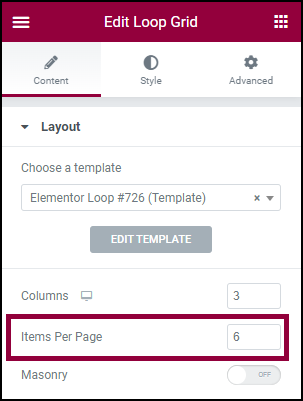
- From this field you can control the number of posts that will be presented on the page. Combined with the number of columns you’ll have on the page, this will affect how many rows should be seen. For example, if you choose to display a total of six posts in a three column layout each page will contain two rows of three items.
- Turn Masonry on and off. The Masonry setting will automatically arrange items to make the best use of the available screen space.
- Switch to an existing different loop template.