The Facebook Pixel allows you to track, measure, and analyze user actions on your site and then be able to use this information to reach customers again in future Facebook ads. To make use of it, you’ll need to first create the Pixel in your Facebook Events Manager by following the official Facebook instructions to manually add pixel code. Once you have the code, you are ready to paste it into your site.
There are two basic ways to add this code.
Method 1 (easiest): Use Elementor’s Custom Code Feature To Manage The Code
You can easily insert tracking codes to your website by using the Custom Code feature in Elementor.
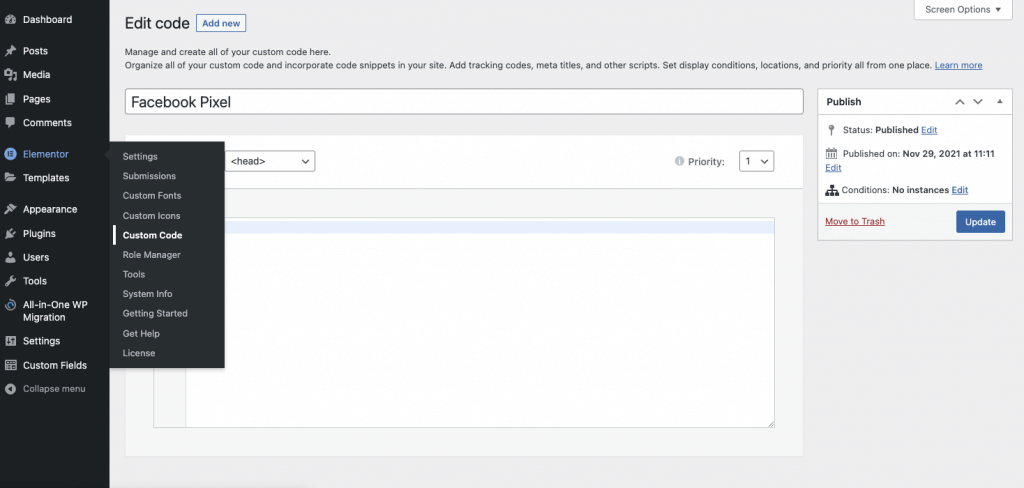
- Navigate To Dashboard > Elementor Custom Code
- Create A New Custom Code, and name it Facebook Pixel (or as desired)
- Paste the code that you obtain from Facebook into the main content region of the Custom Code editor
- Select the location of the code to load at the header
- Set the display conditions to Entire Site, or a selected landing page if needed.
For more info click here.
Method 2 (more technical): Edit Your Child Theme’s header.php Code
Simply paste the code that you obtain from Facebook into the header.php of your child theme.
Warning: Never update your core / parent theme code, as anything you change will be deleted during the next theme update. Always use a child theme if you plan to edit any of the code.
Note: You can also choose to use one of Facebook’s Pixel Partner Integrations such as its WooCommerce integration if you prefer. This document does not address that method since there are many integrations to choose from, and Facebook has documented each of them. The following directions are only for the manual method of adding the code.