With Elementor, you can add custom HTML attributes to the <a> element of every link. This enables the addition of data-* attributes, ARIA (accessibility) attributes and values, header, footer, sidebar, rel=*, and other attributes that can be found here
Add Custom Attributes to Link Elements of A Widget
If a widget has a Link element, you can add any custom attributes to the link’s HTML. For a list of custom link attributes, click here.
In this example, we’ll add the attribute of downloading a PDF file when the user clicks a button.
To add the custom attribute:
- Select the widget by clicking it.
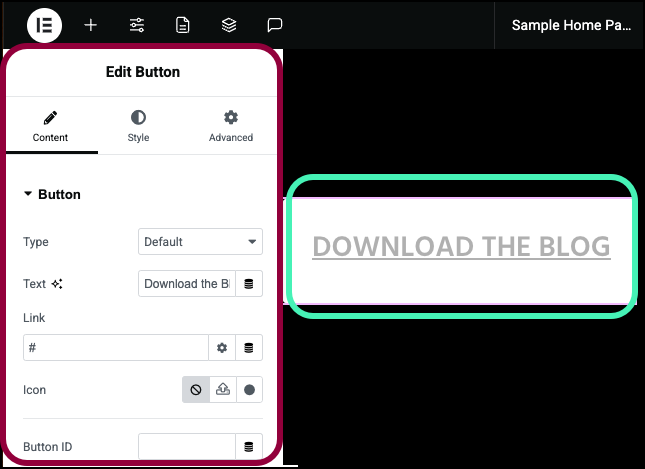
The widget options appear in the panel.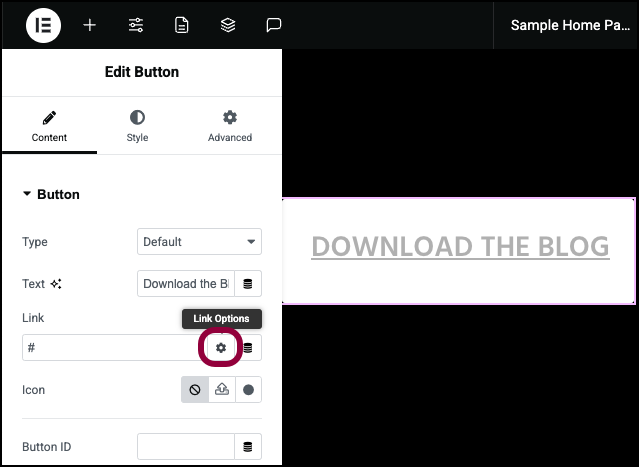
- In the panel, in the Link field, click the gear icon.
The Link field contains a hashtag, leave it there.
We’ll now add code to the Custom Attributes field, using the format key|value. For example, to add rel=”sponsored” to the element’s HTML, enter rel|sponsored here. To add rel=”ugc” to the element’s HTML instead, enter rel|ugc here. To add a title to the link element, enter title|Your title text goes here.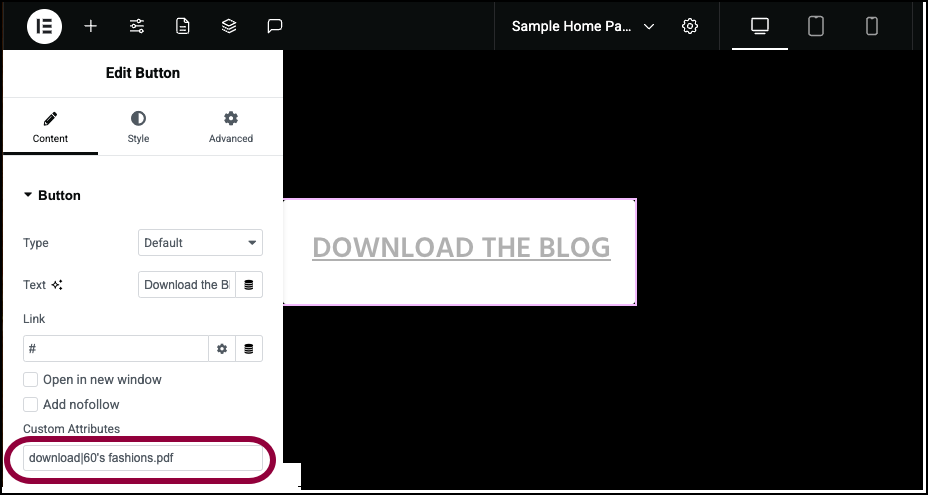
- In Custom Attributes text field, add download|60’s fashions.
Visitors who click the button will download a pdf file called 60′ fashions.
Now let’s create a tooltip for the button.TipYou can add multiple Link Attributes separated with a comma (,)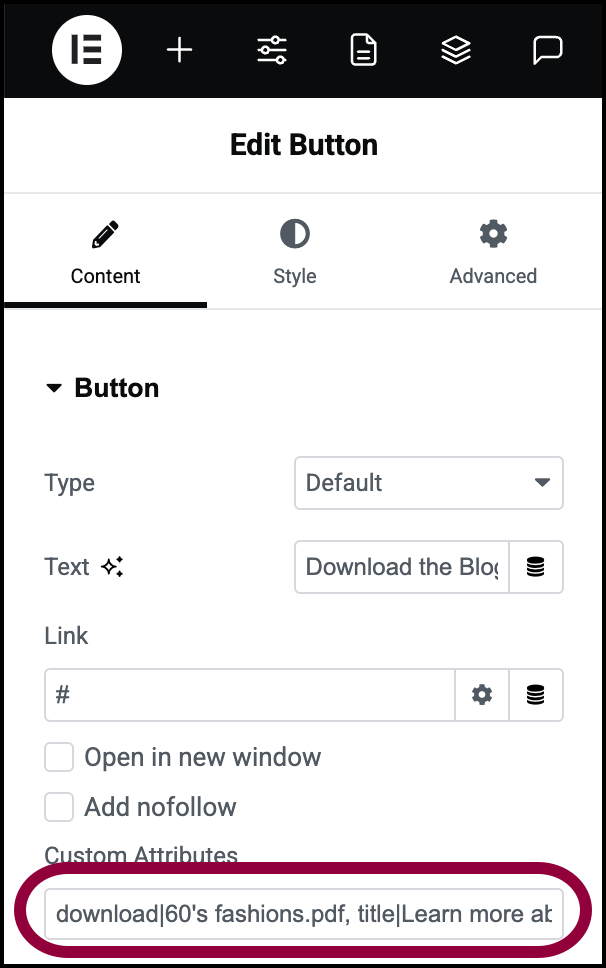
- In the Custom Attributes field, add ,title|Learn more about cool 60’s fashions.
Visitors who hover over the button will see a tooltip saying Learn more about cool 60’s fashions.
Tip
Note
Warning
Common Link Attributes use cases
- Allow your visitors to download PDF files with a single button click by using the download=”yourfilename” custom attribute.
- Implement relations SEO properties such as rel=”noopener”, rel=”noreferrer”, rel=”ugc”, and “rel=sponsored”. To add multiple properties to one attribute, simply list them with a space between them, e.g. rel=”noopener noreferrer”.
- Add a title attribute to link elements, such as title=”Learn More About Us”.