Introduction
In this example, you will learn to use the Container to design a Single Page Template. This design uses a traditional WordPress layout which includes a Page Title (H1) and a Sidebar.
While some modern designs do not use not use sidebars, many designers still prefer to utilize them as advertising space or to display content that is visible on all pages. On mobile devices, these sidebars should be stacked at the bottom of your page.
Build a perfect page with expert help.
What is the Single Page Template
The Single Page template takes the place of the single.php or singular.php in your WordPress theme. You may learn more about it in this document.
Hello Theme users
While many WordPress themes may use one or more Sidebar widget options in their Customizer, the Hello theme does not use the traditional WordPress Sidebar template by default. Using the method in this example is simpler as it does not require adding code to the theme.
Create a new Single Page template
To add a new template:
- From WP Admin, navigate to Templates>Theme Builder.
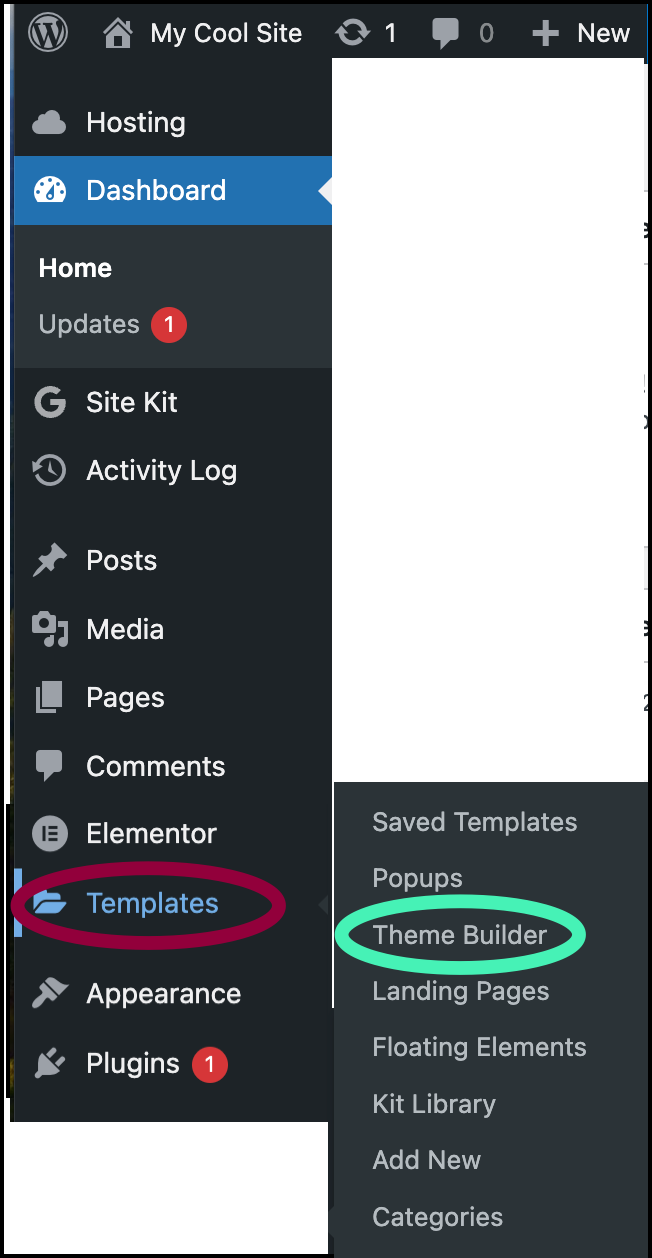
This opens the Theme Builder.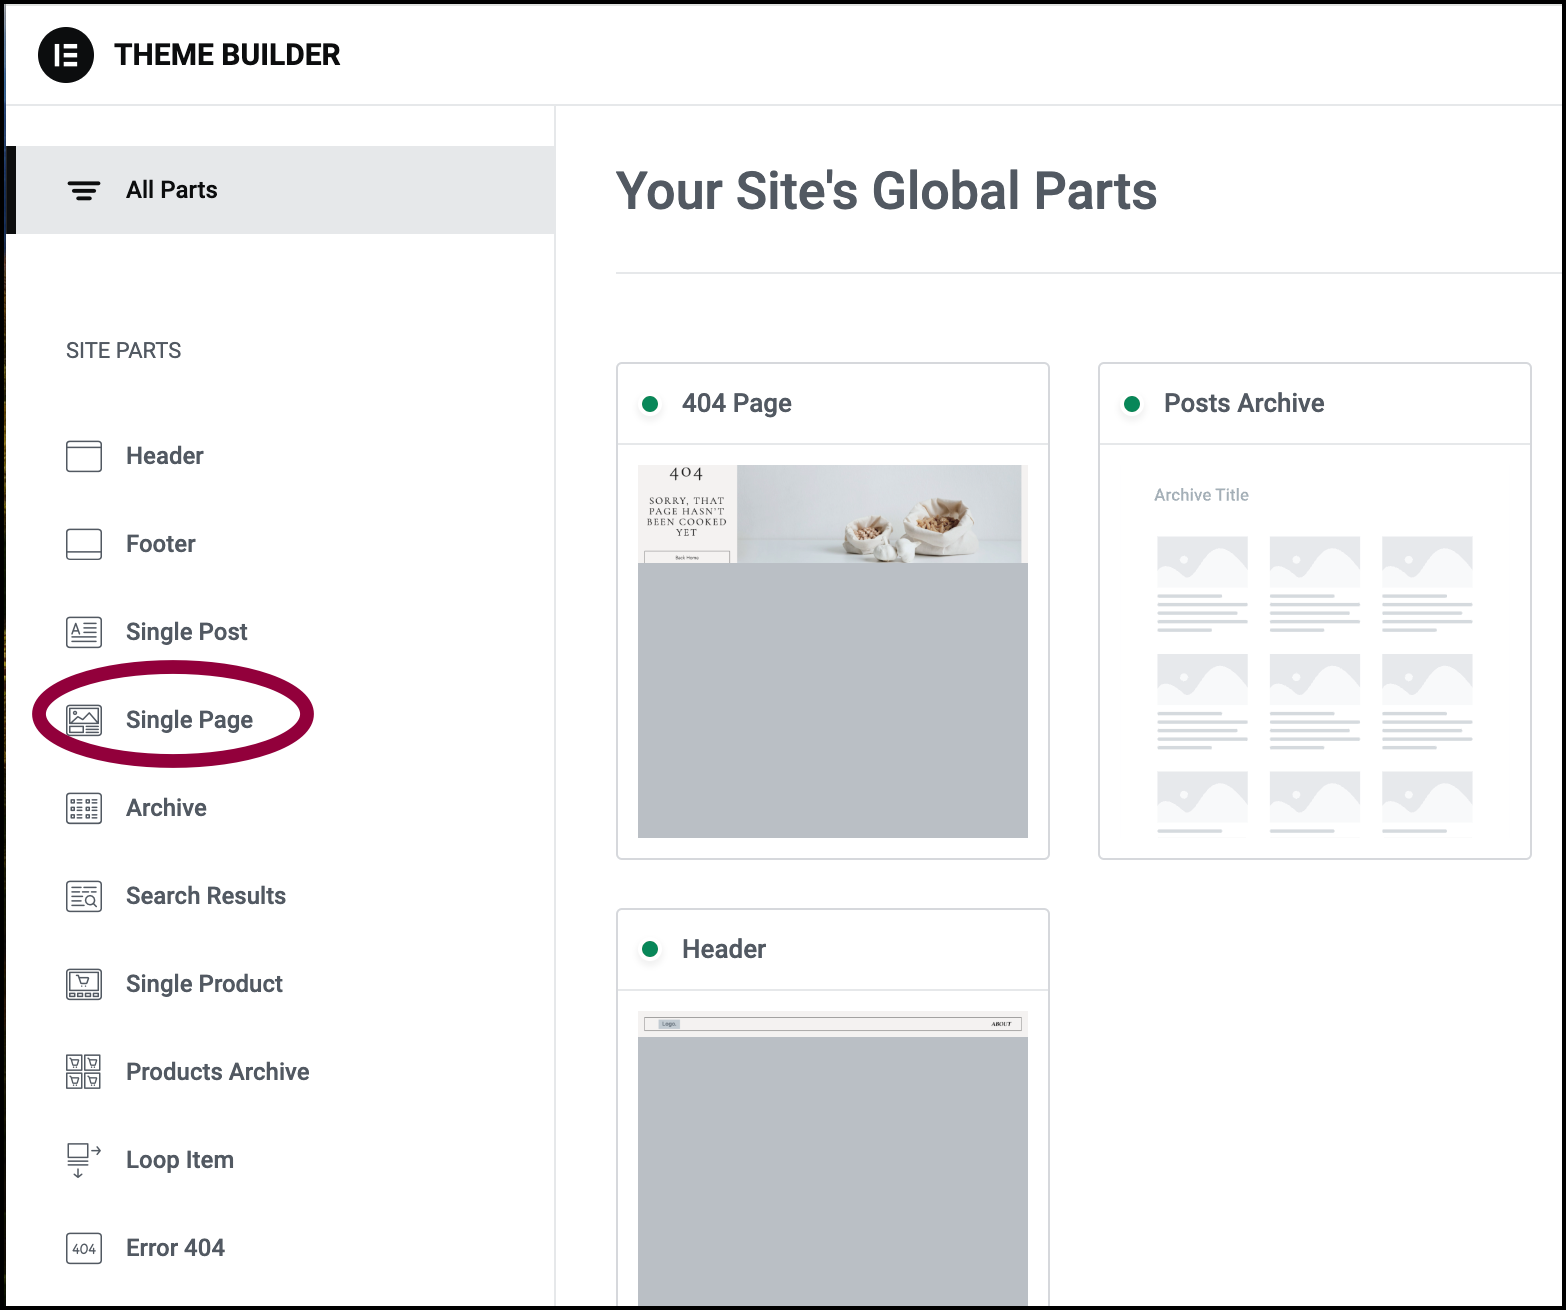
- In the panel, click Single Page.
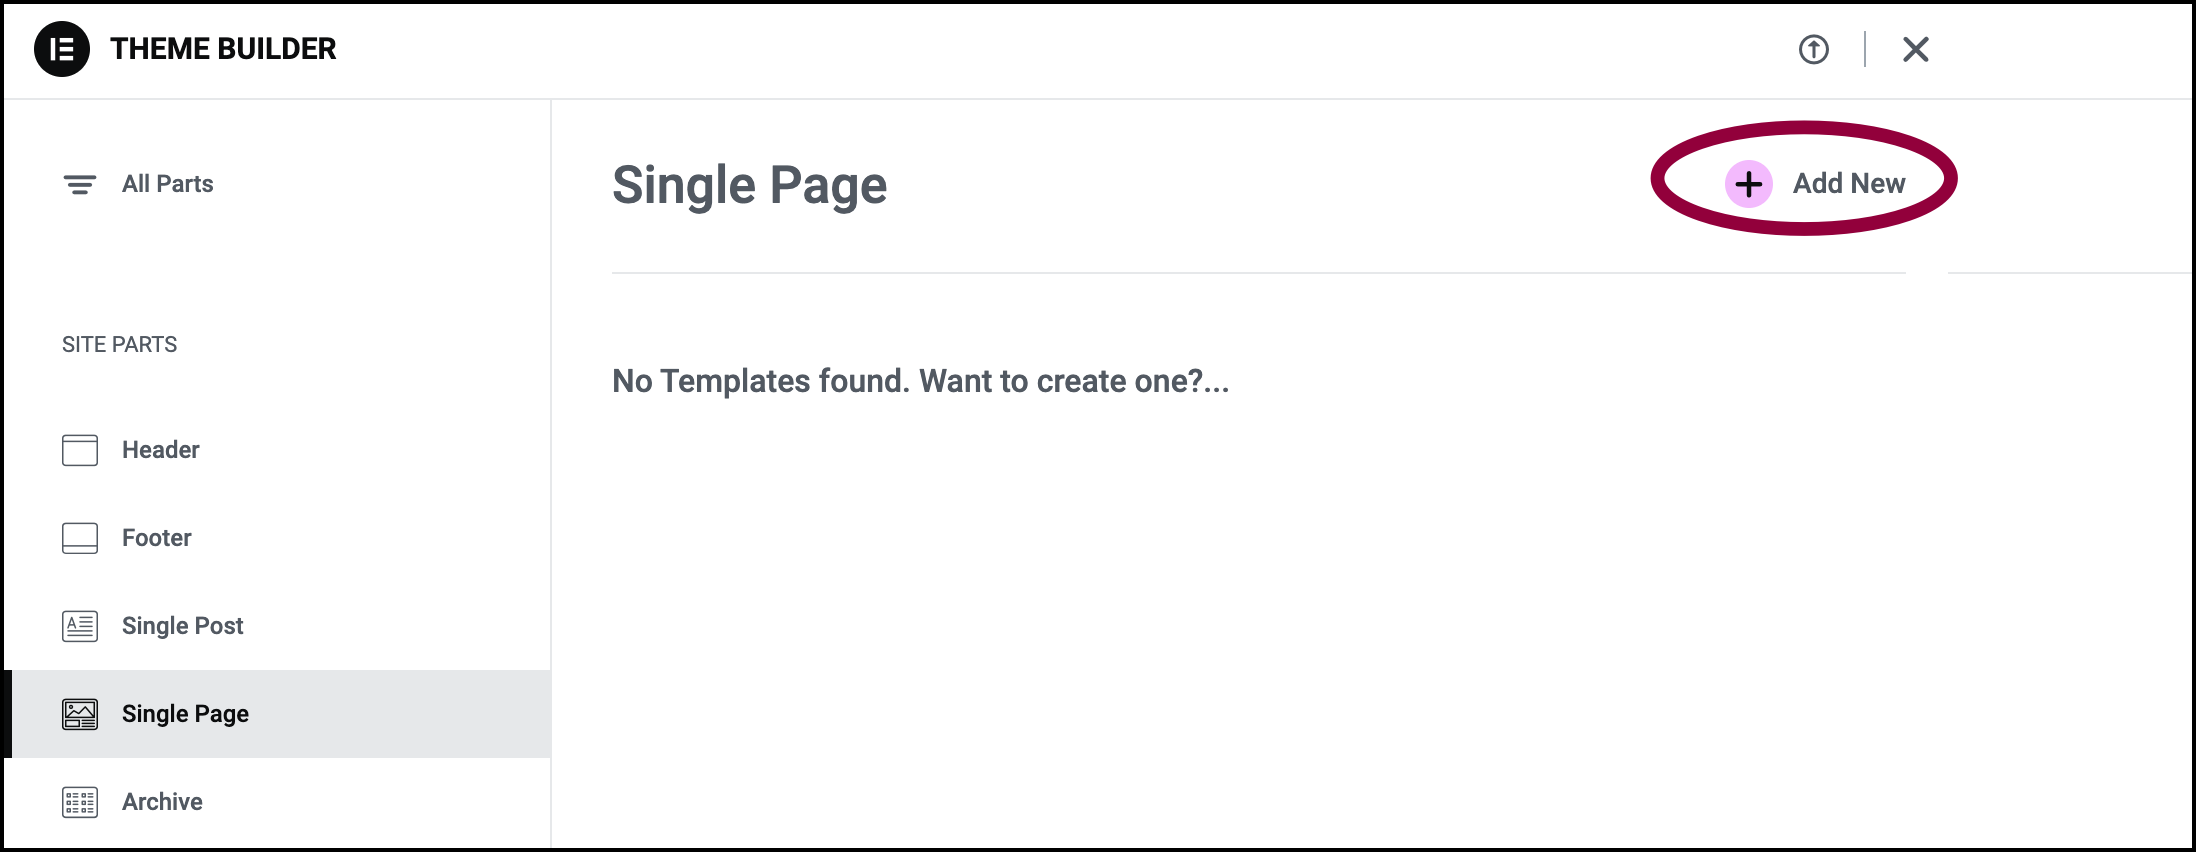
- Click Add New in the upper right to create a new template.
The Template Library opens.
- We won’t be using the Template Library so click the X in the upper right corner to close it.
The Elementor Editor opens.
Add a Page Title Container
- In the canvas, click the + icon.
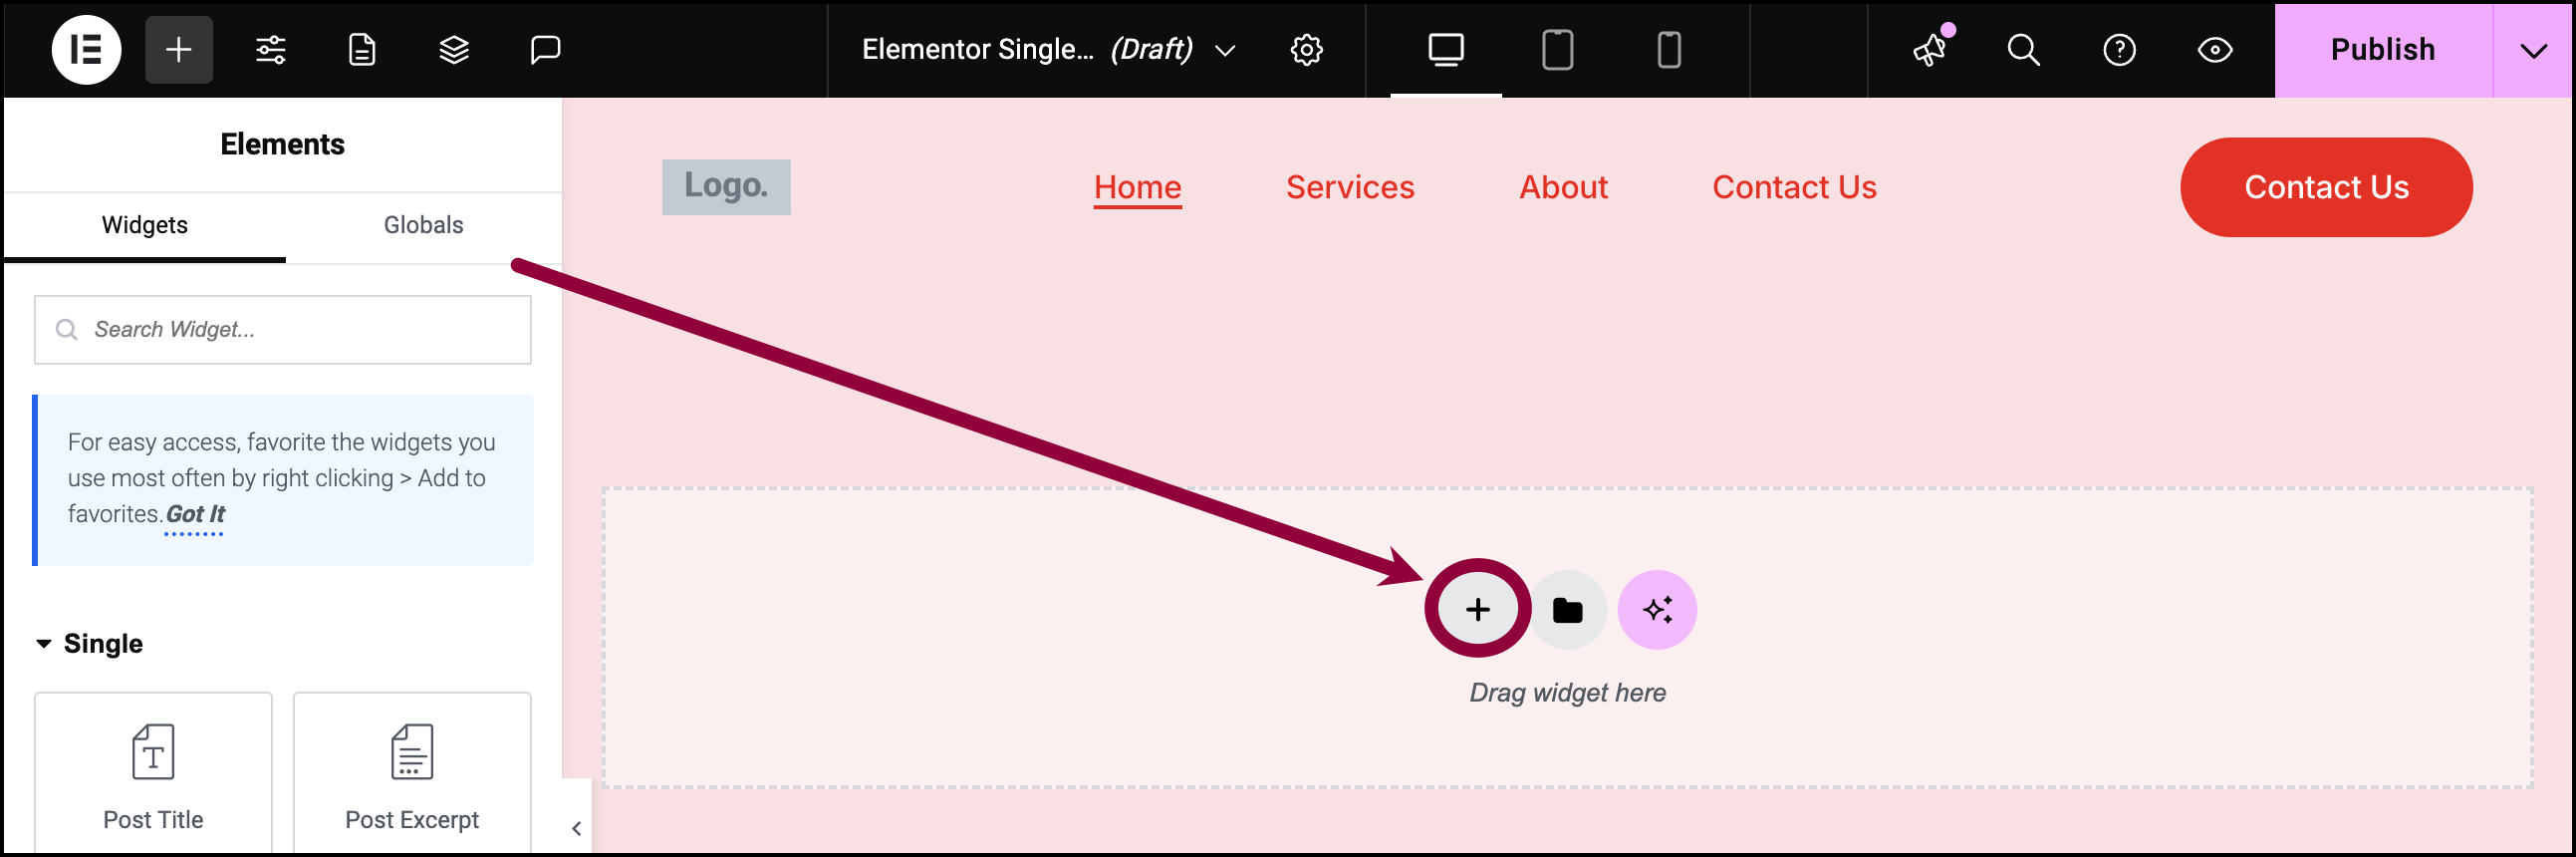
You can now create a container.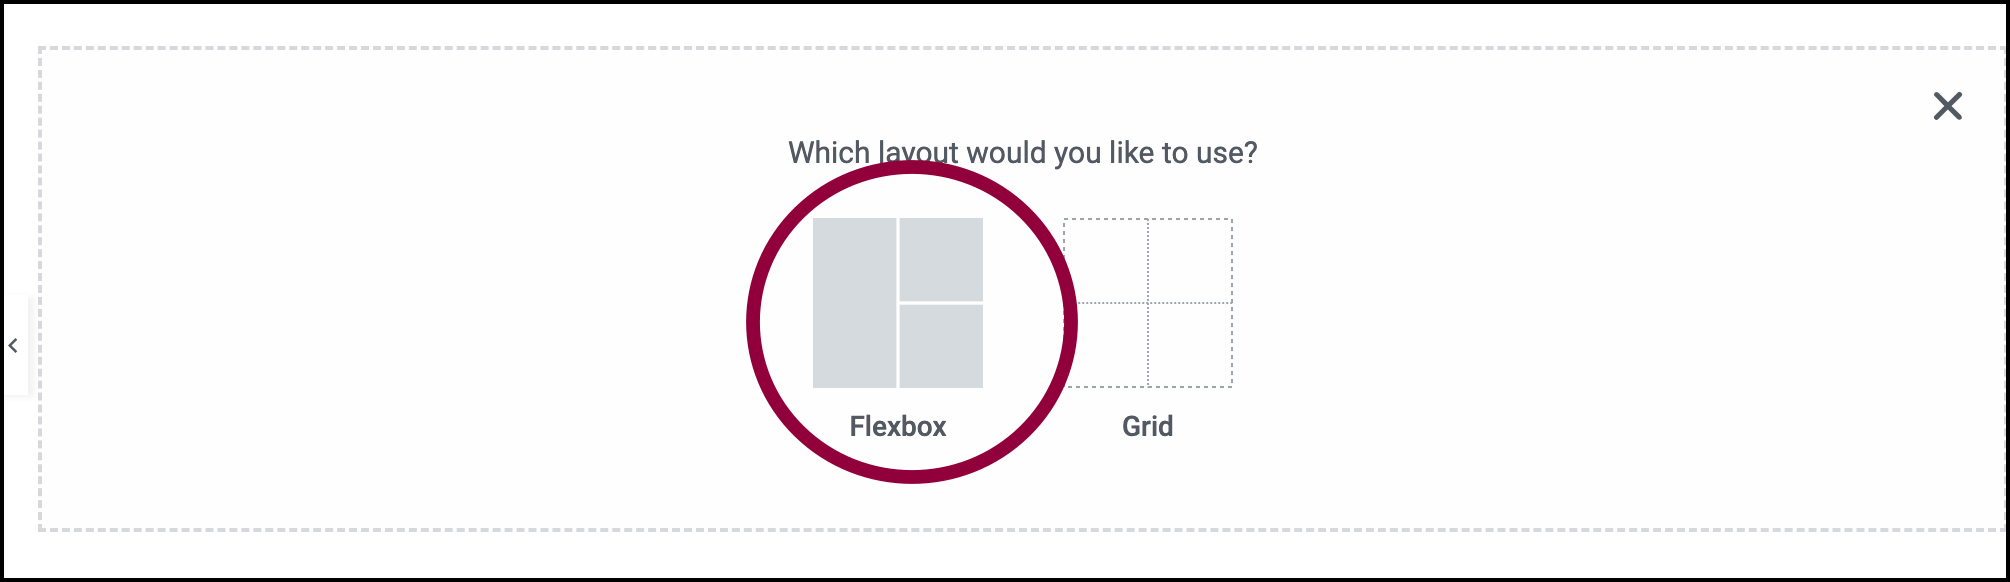
- Select Flexbox container.
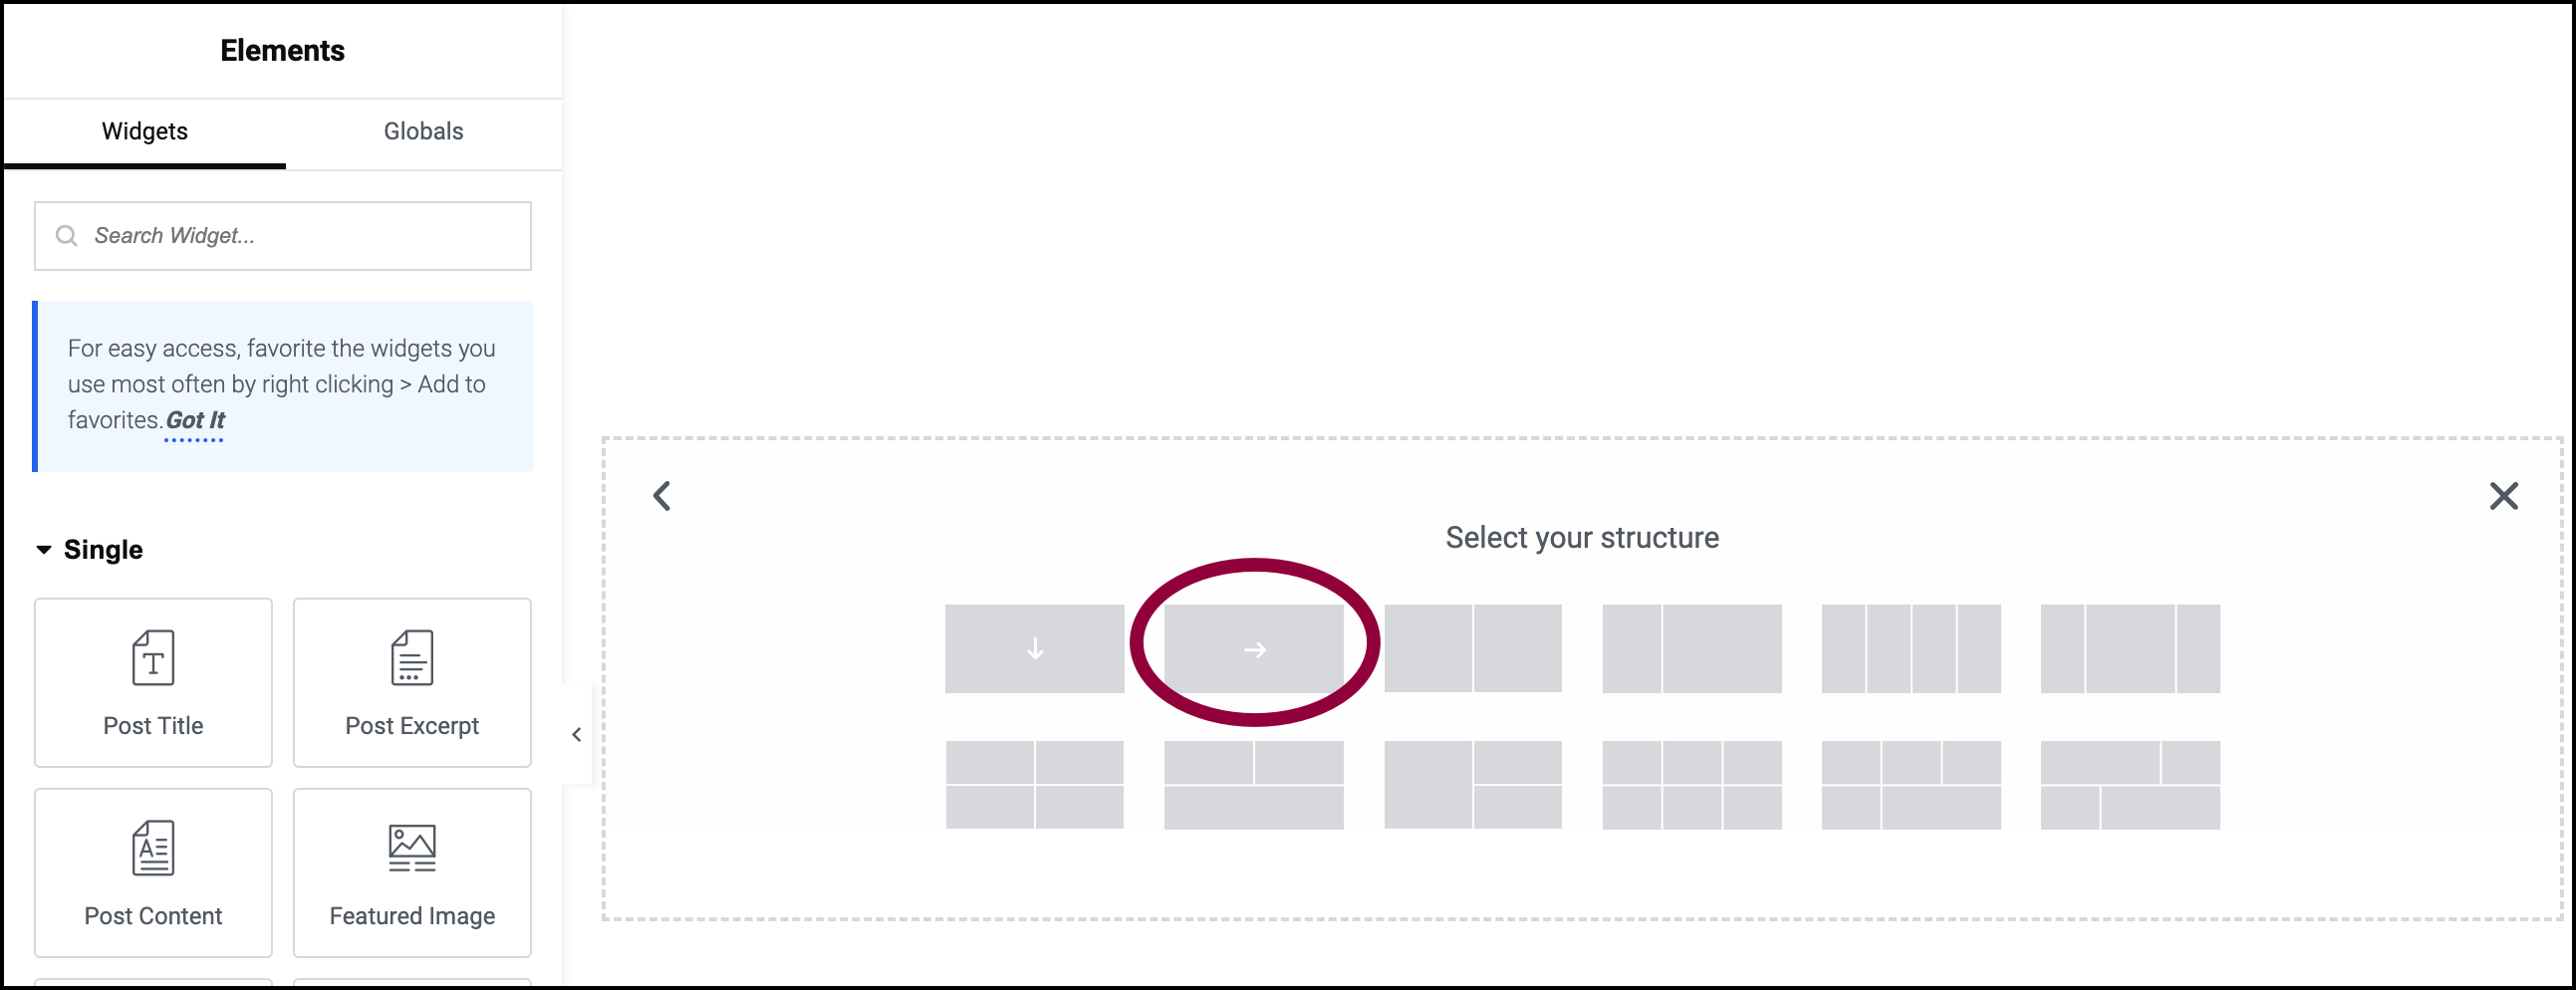
- Choose a single container layout using rows.
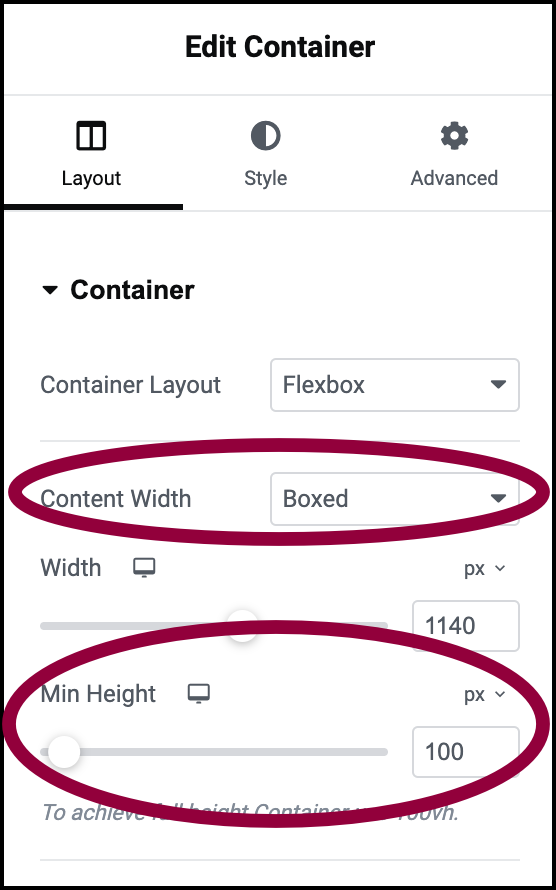
- In the container properties, we’ll use Boxed Width with a Minimum Height of 100 pixels.
Setting the minimum height to 100 pixels will allow for some padding.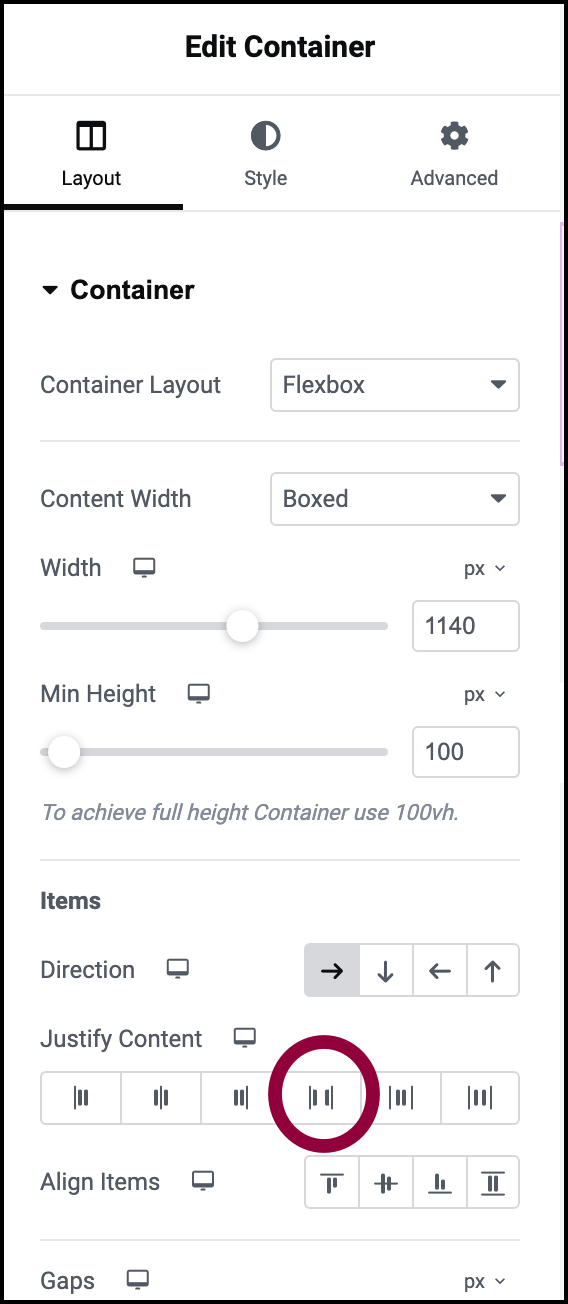
- Set the Justify Content property to Space Between. This will position the content to the edges of the container
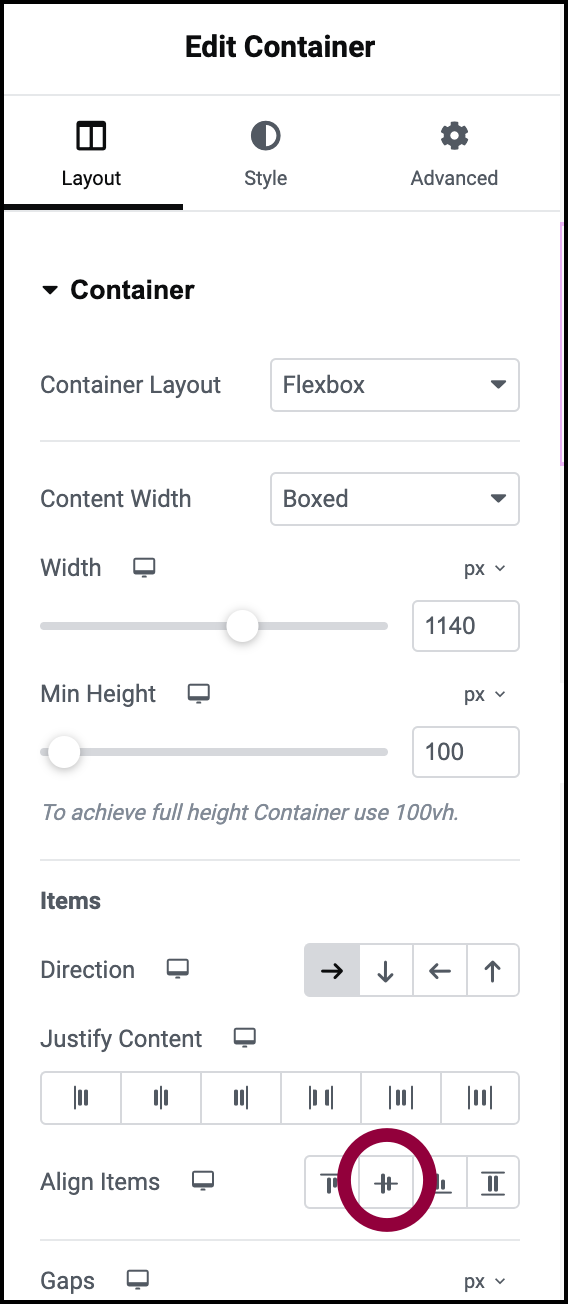
- In the Items section, set Align items to center.
Now we’ll set a background color for the container. For more information about adding a background color, see Create a background.
Add widgets to the page title container
- From the Panel, drag the Post Title widget to your container.
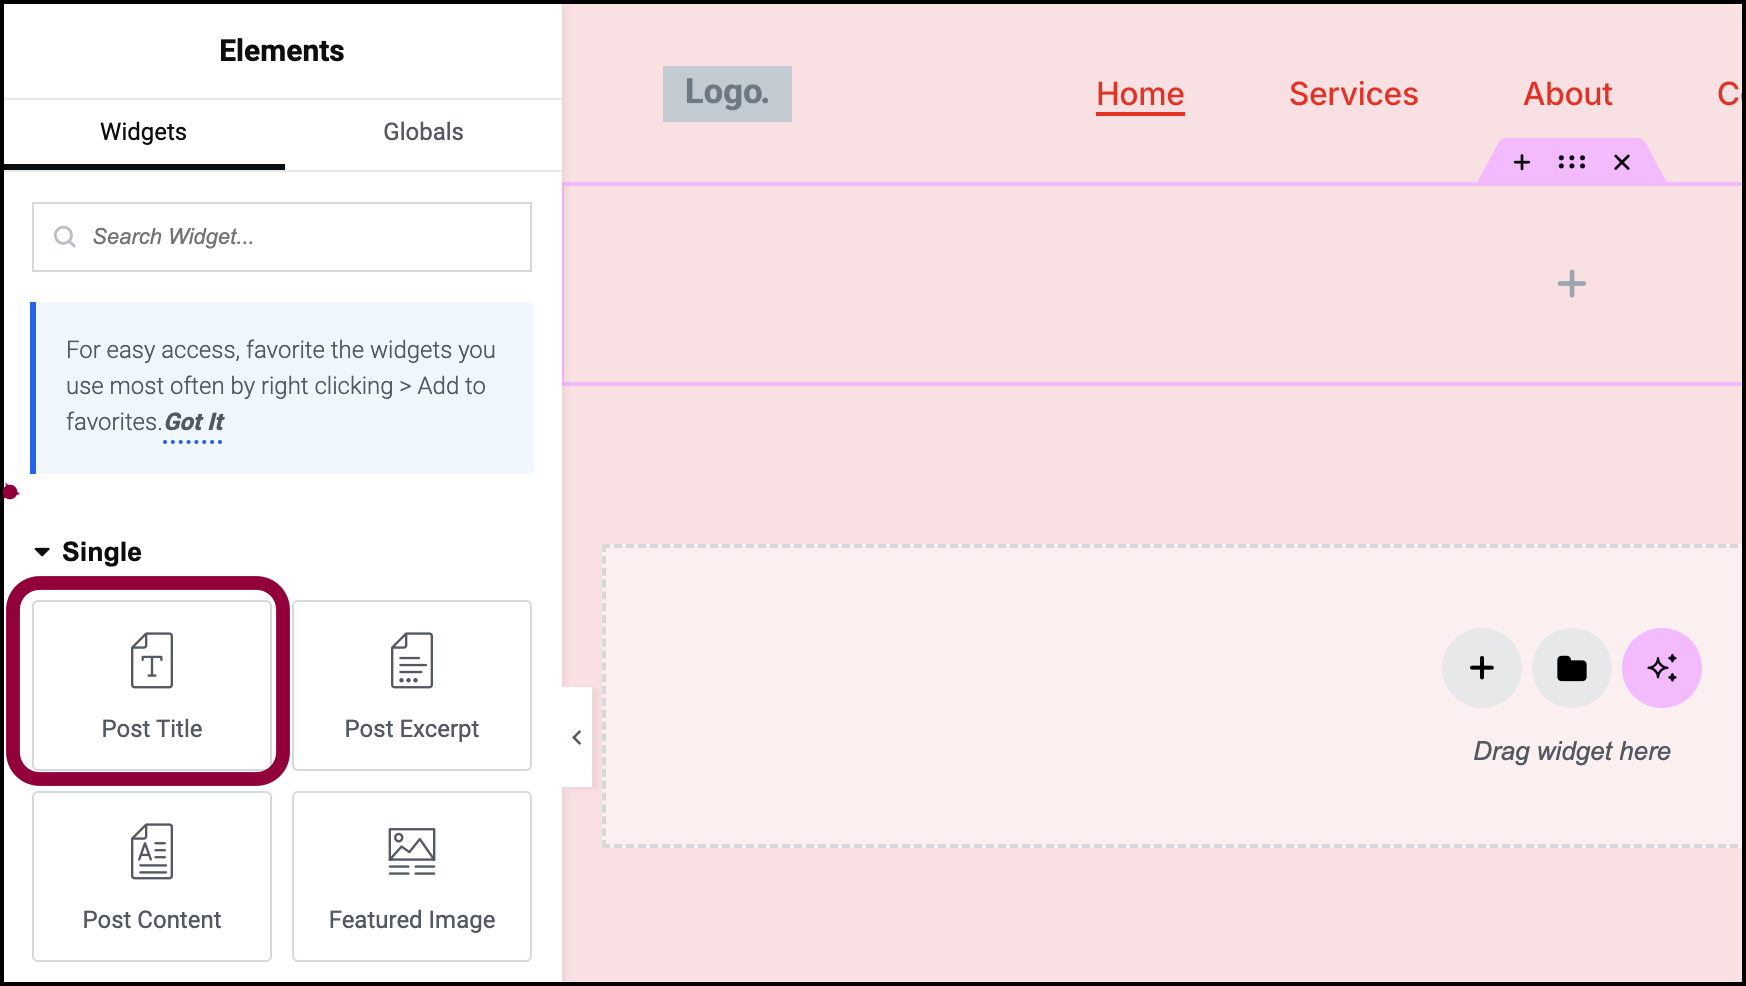
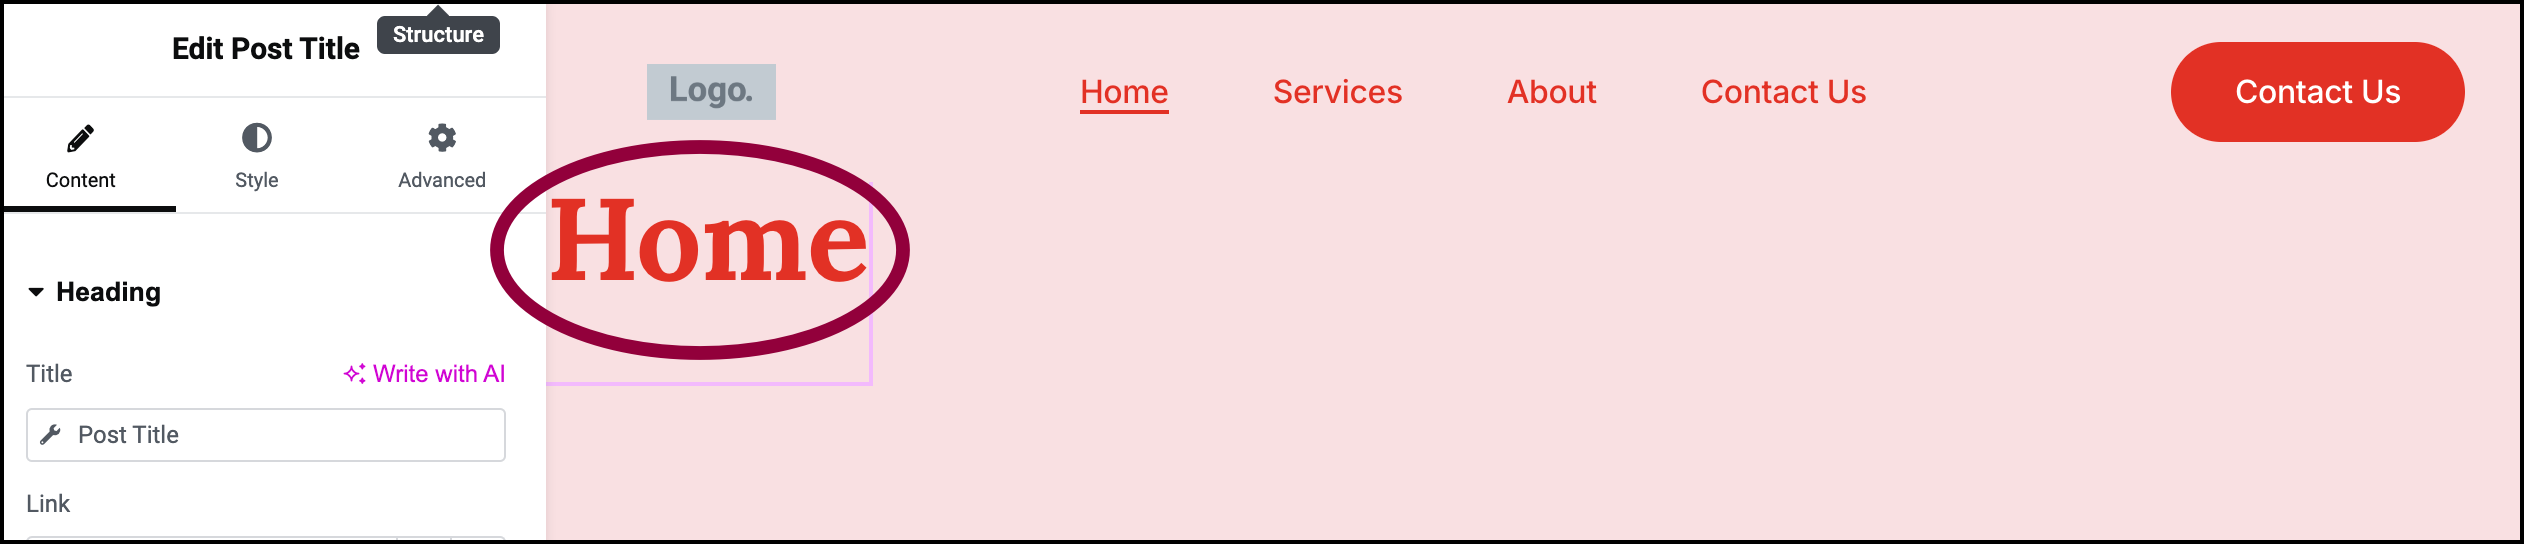
This will dynamically pull a random page title from your recently added pages (we will change this soon).
You can add additional widgets to the container. For this example, we’ll add the Share Buttons widget.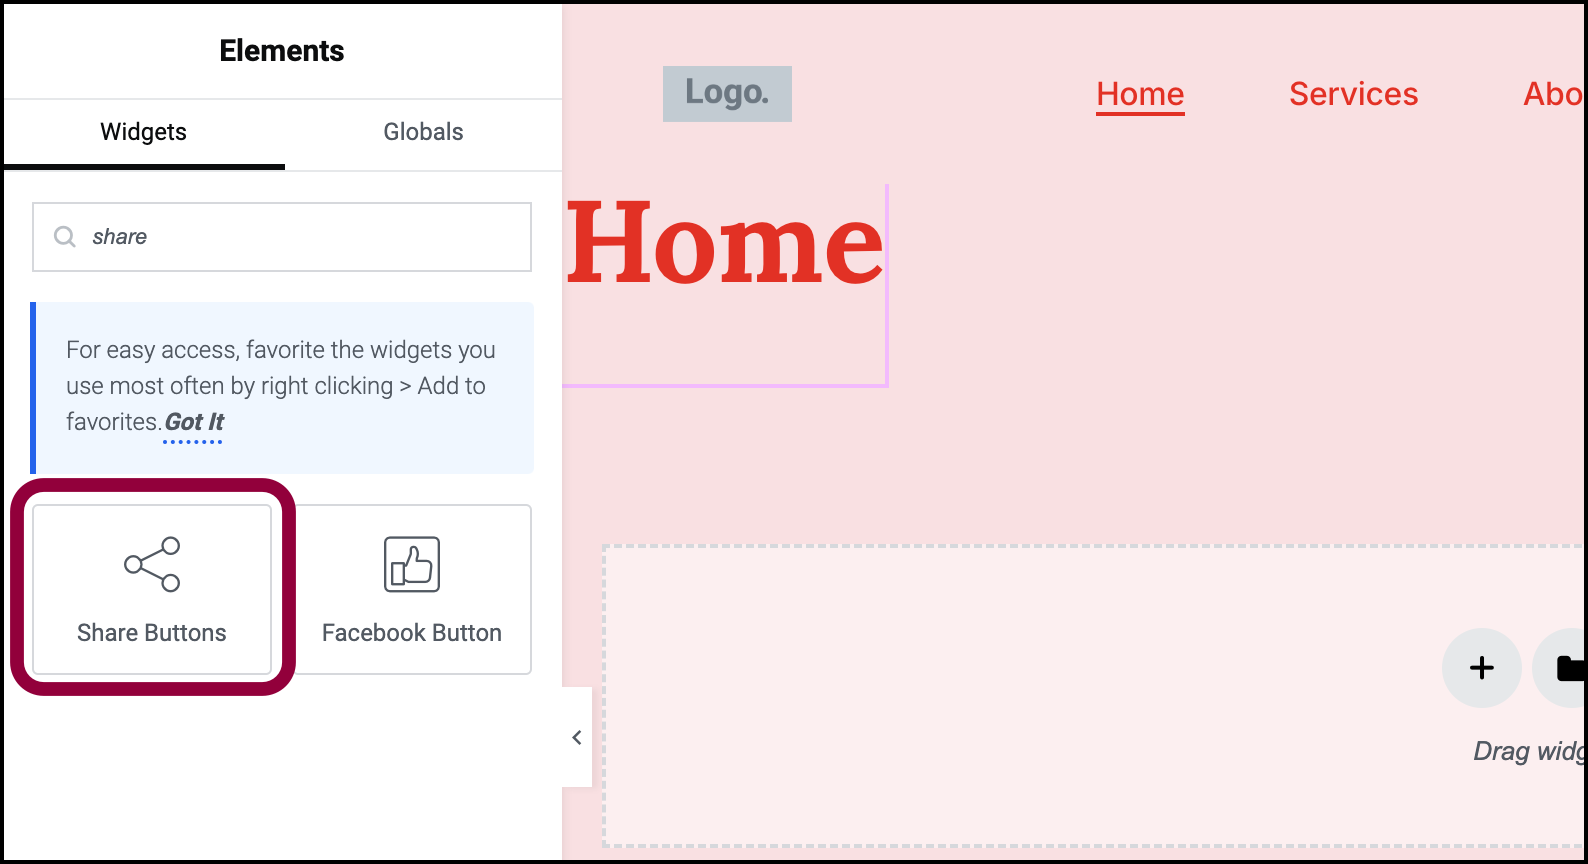

- Drag the Share Buttons widget to the container.
Add the body layout container
- In the main Editor window, click the + icon, select Flexbox and a container layout.
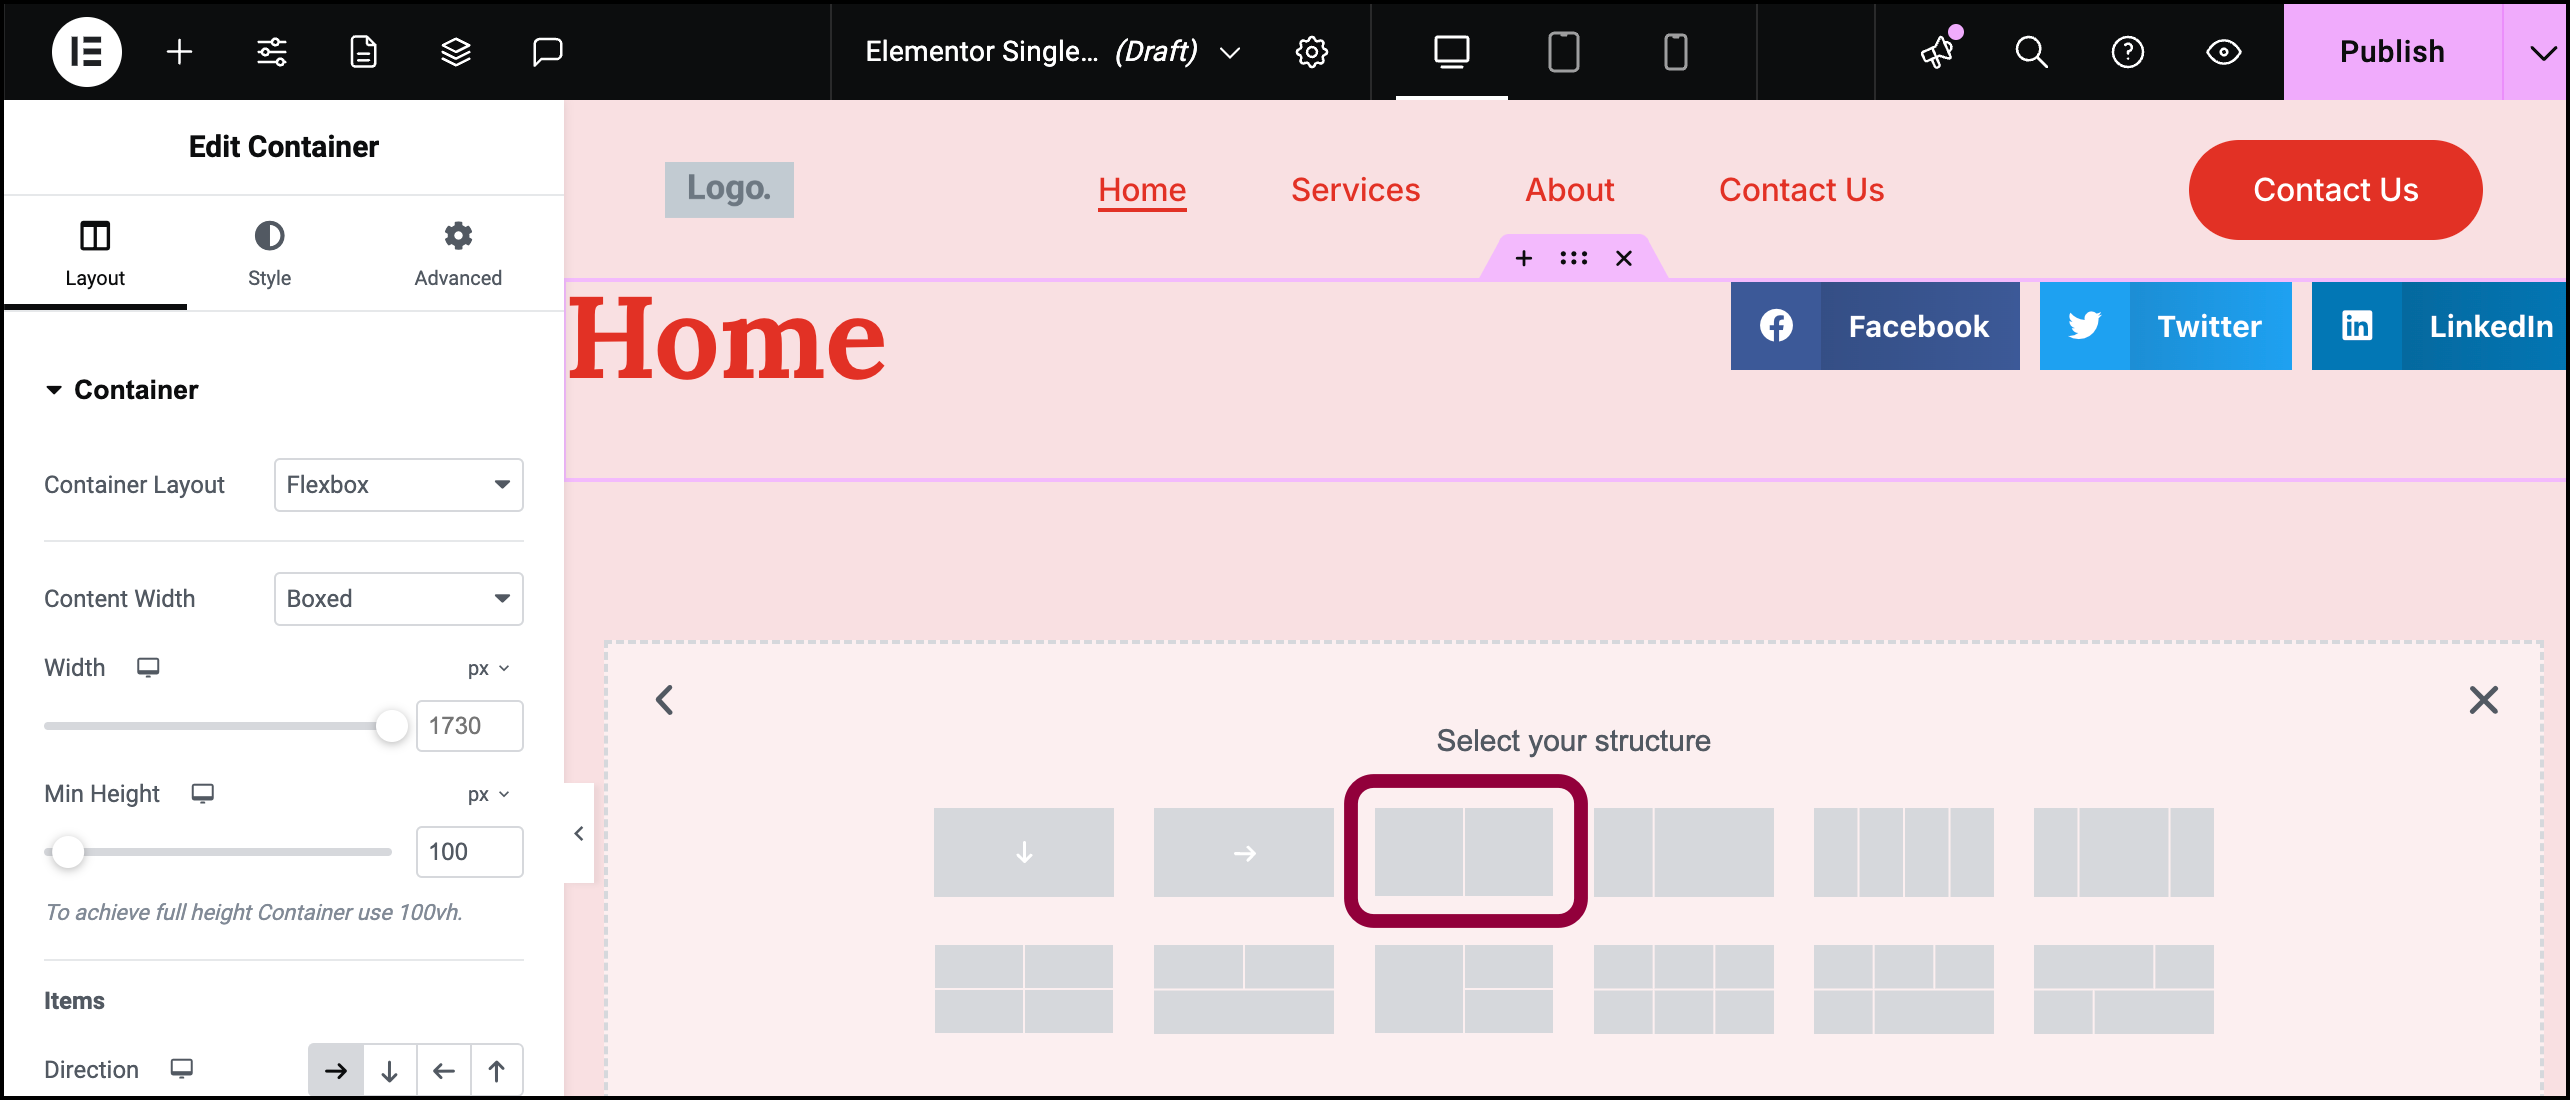
For this tutorial a two container layout is selected to create the “Sidebar”
This actually creates three containers, a parent container and two child containers.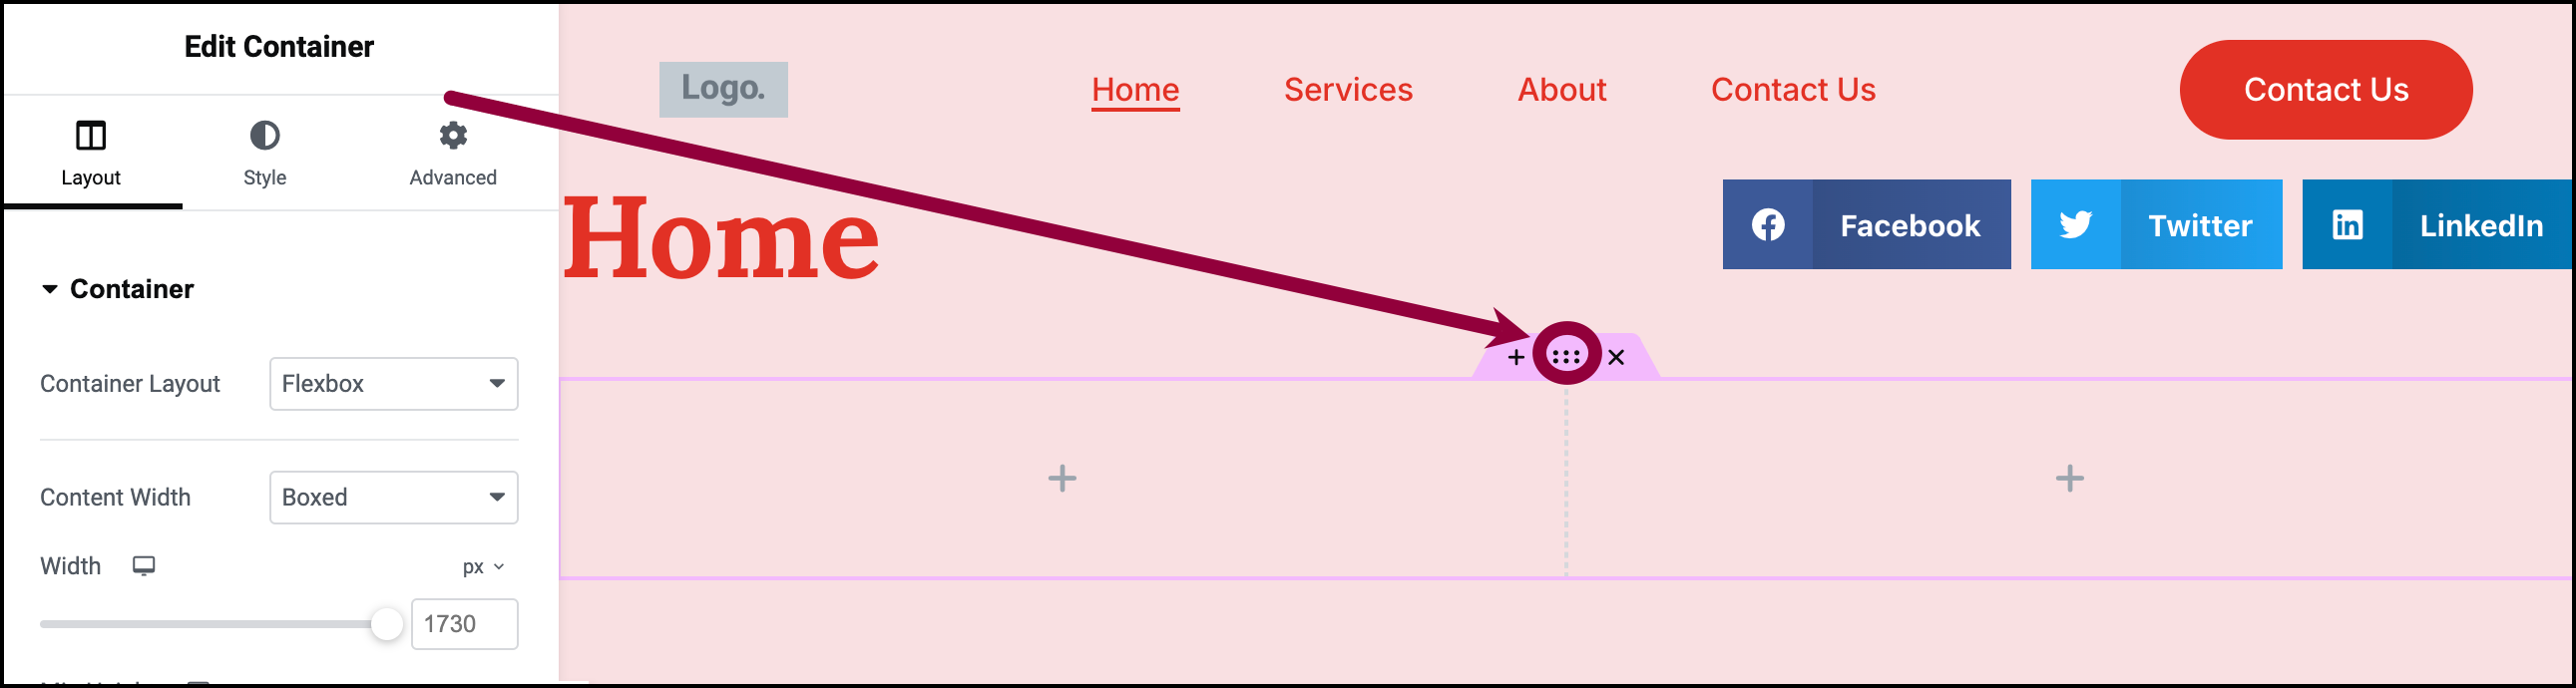
- Select the parent container.
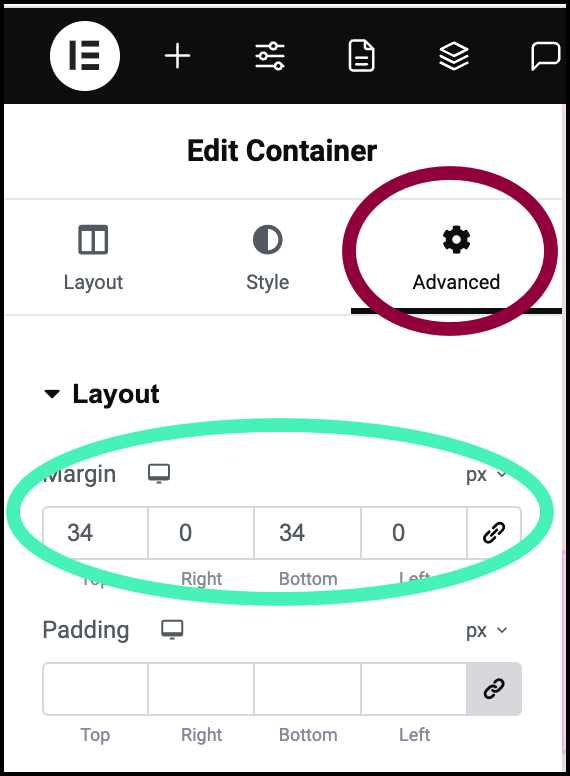
- Go to the Advanced tab and add a top and bottom margin of 34px.
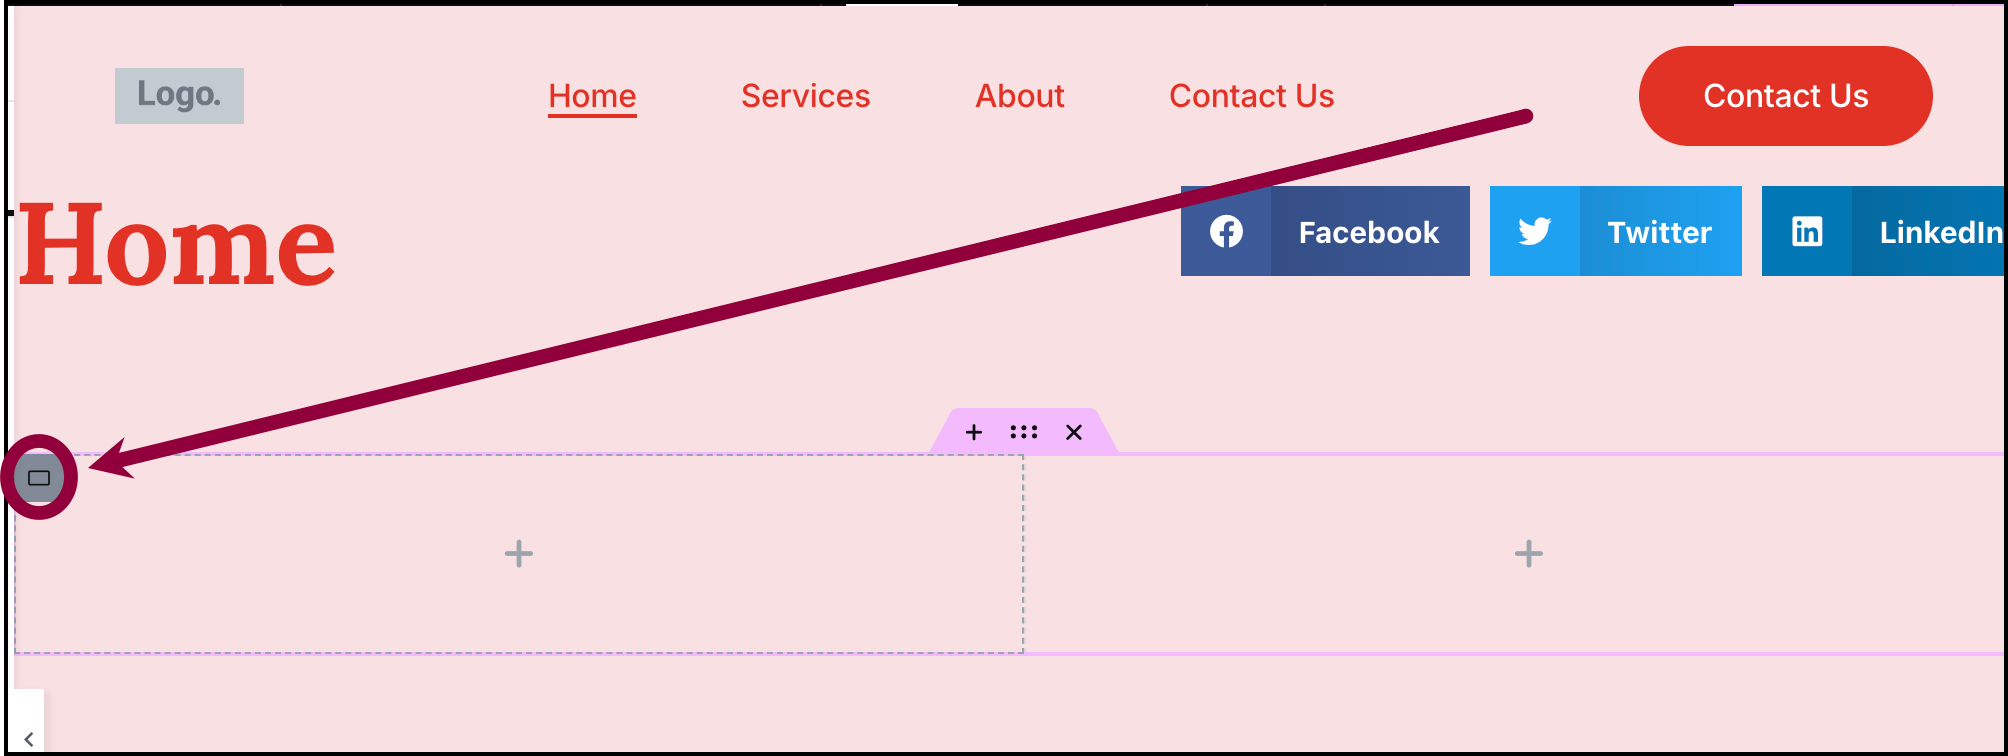
- Select the left-hand child container by clicking its handle.
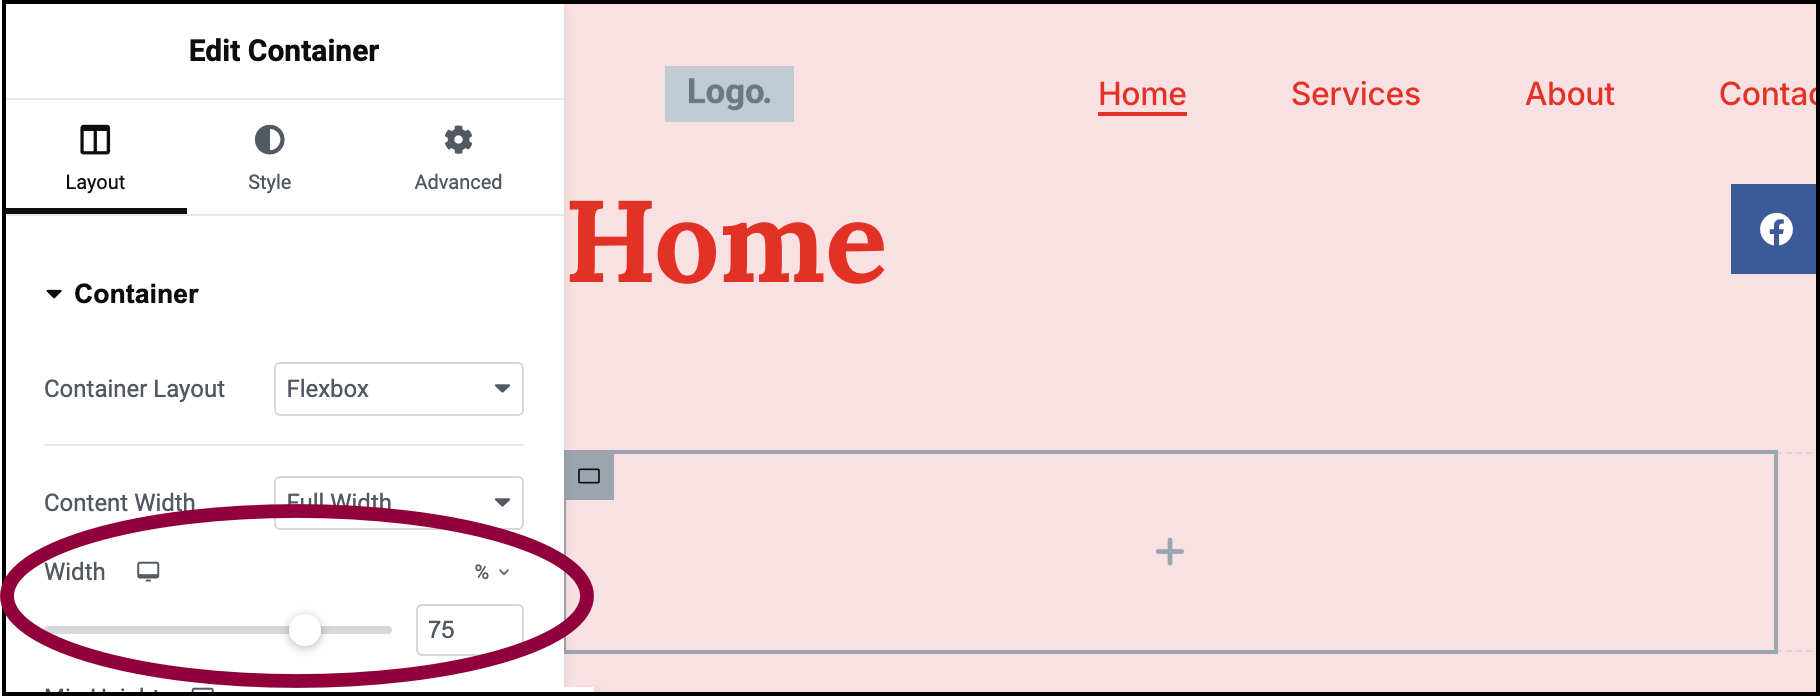
- In the Panel, set the width to 75%.
- Select the right-hand container and set the width to 25%. This container becomes the sidebar.
Add content to the template
Content in the template is dynamic, the information is pulled from individual pages. For example, when you add the page title, the title will change depending on what page is displayed.
- In the canvas, select the left-hand container.
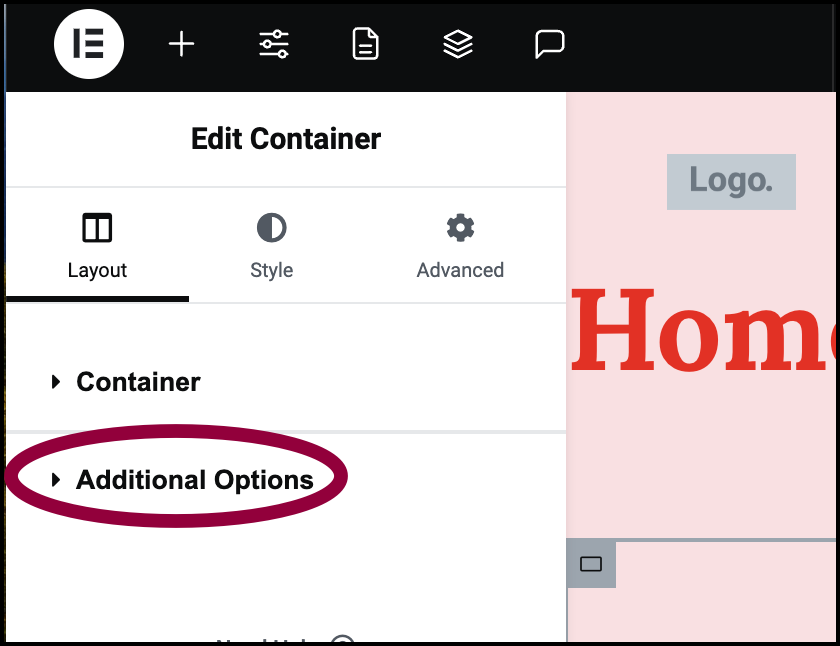
- In the Panel, open the Additional Options field.
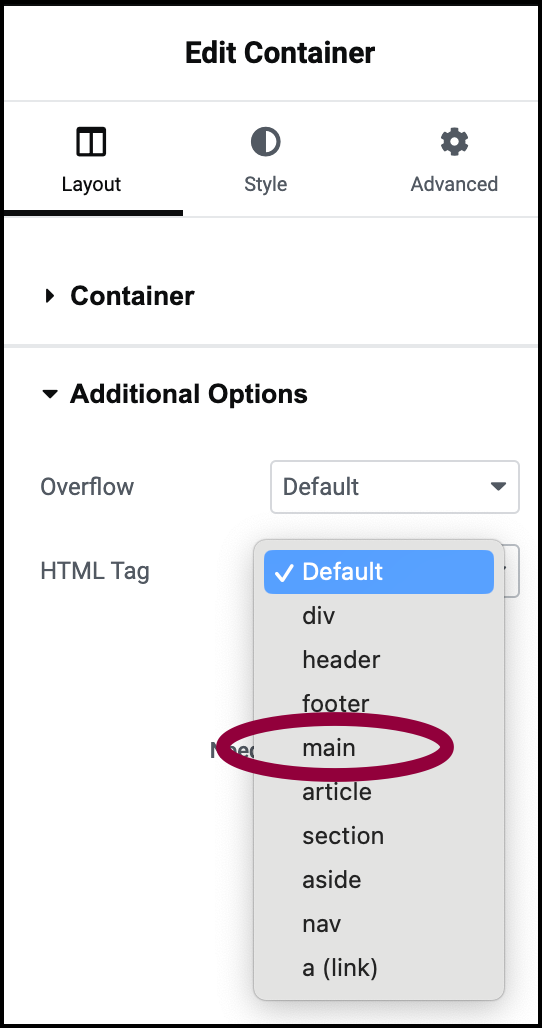
- Use the HTML tags dropdown to select Main. This will be used in the Table of Contents widget added later.
- From the Panel, drag and drop the Post Content widget into the left-hand container.
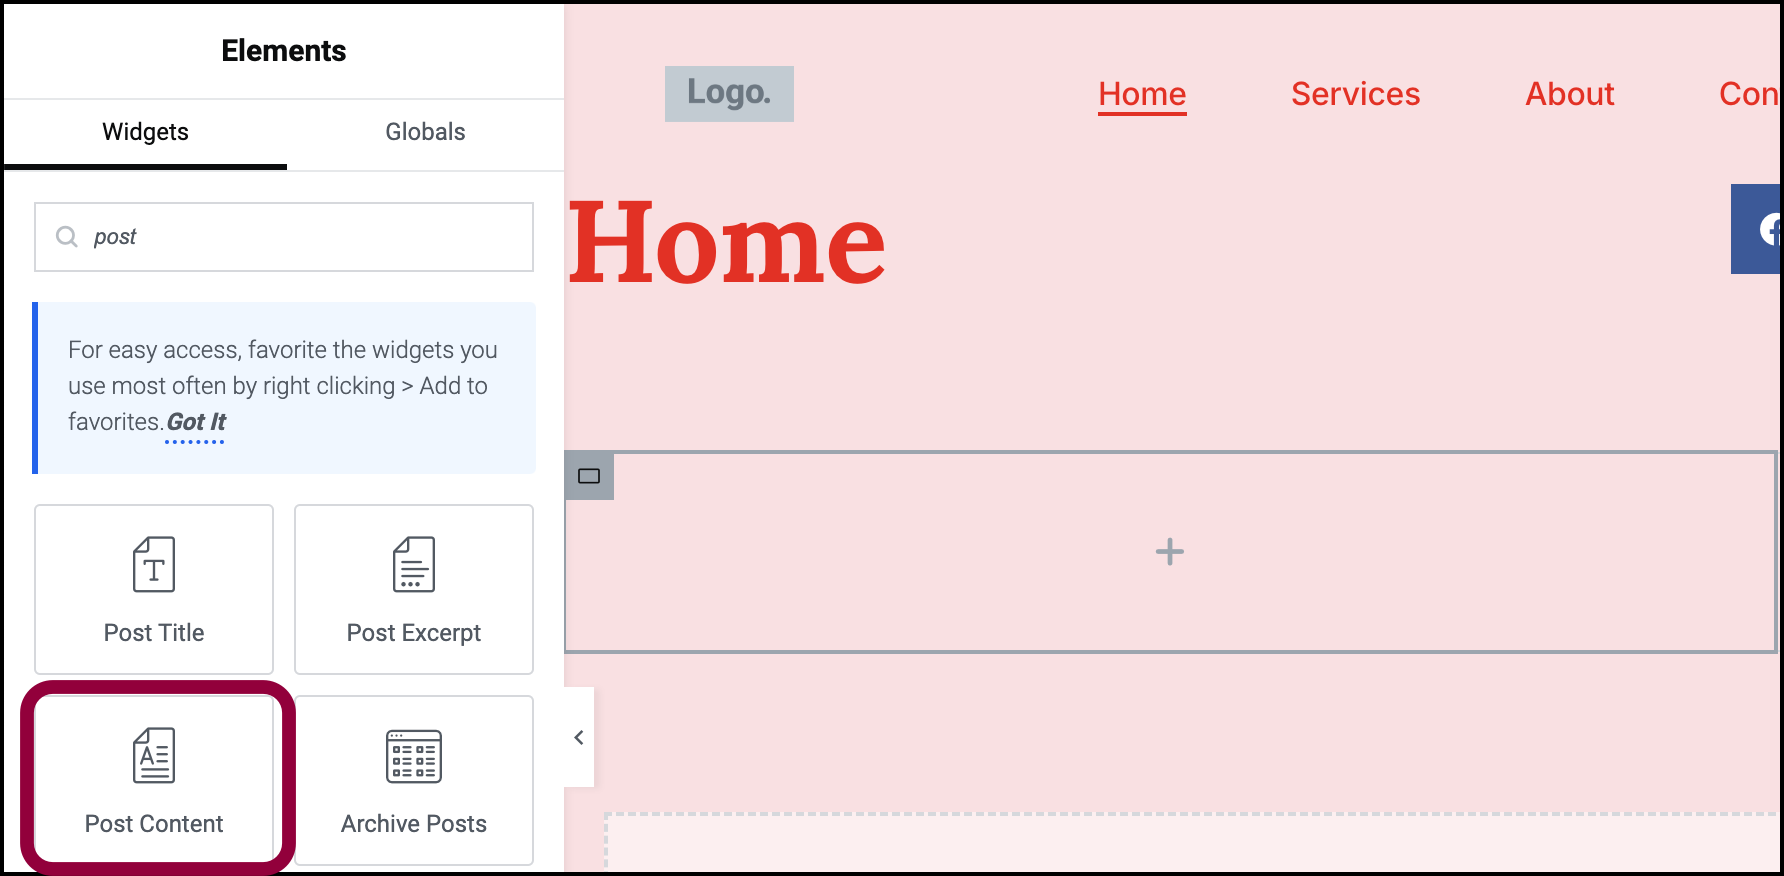
This automatically populates the content of the latest created page on your website.
(Optional) You can populate the content with a different page: - Click the page settings icon.
- Open the Preview Settings field.
- Use the text field to enter the name of the page you want to use.
- Click the Apply and Preview button.
The content of the selected page is displayed.
Adding Sidebar widgets
The Table of Contents Widget
- From the Panel, drag the Table of Contents widget to the right-hand container.

You can optionally include and exclude tags from the table of contents. For details, see Table of Contents widget.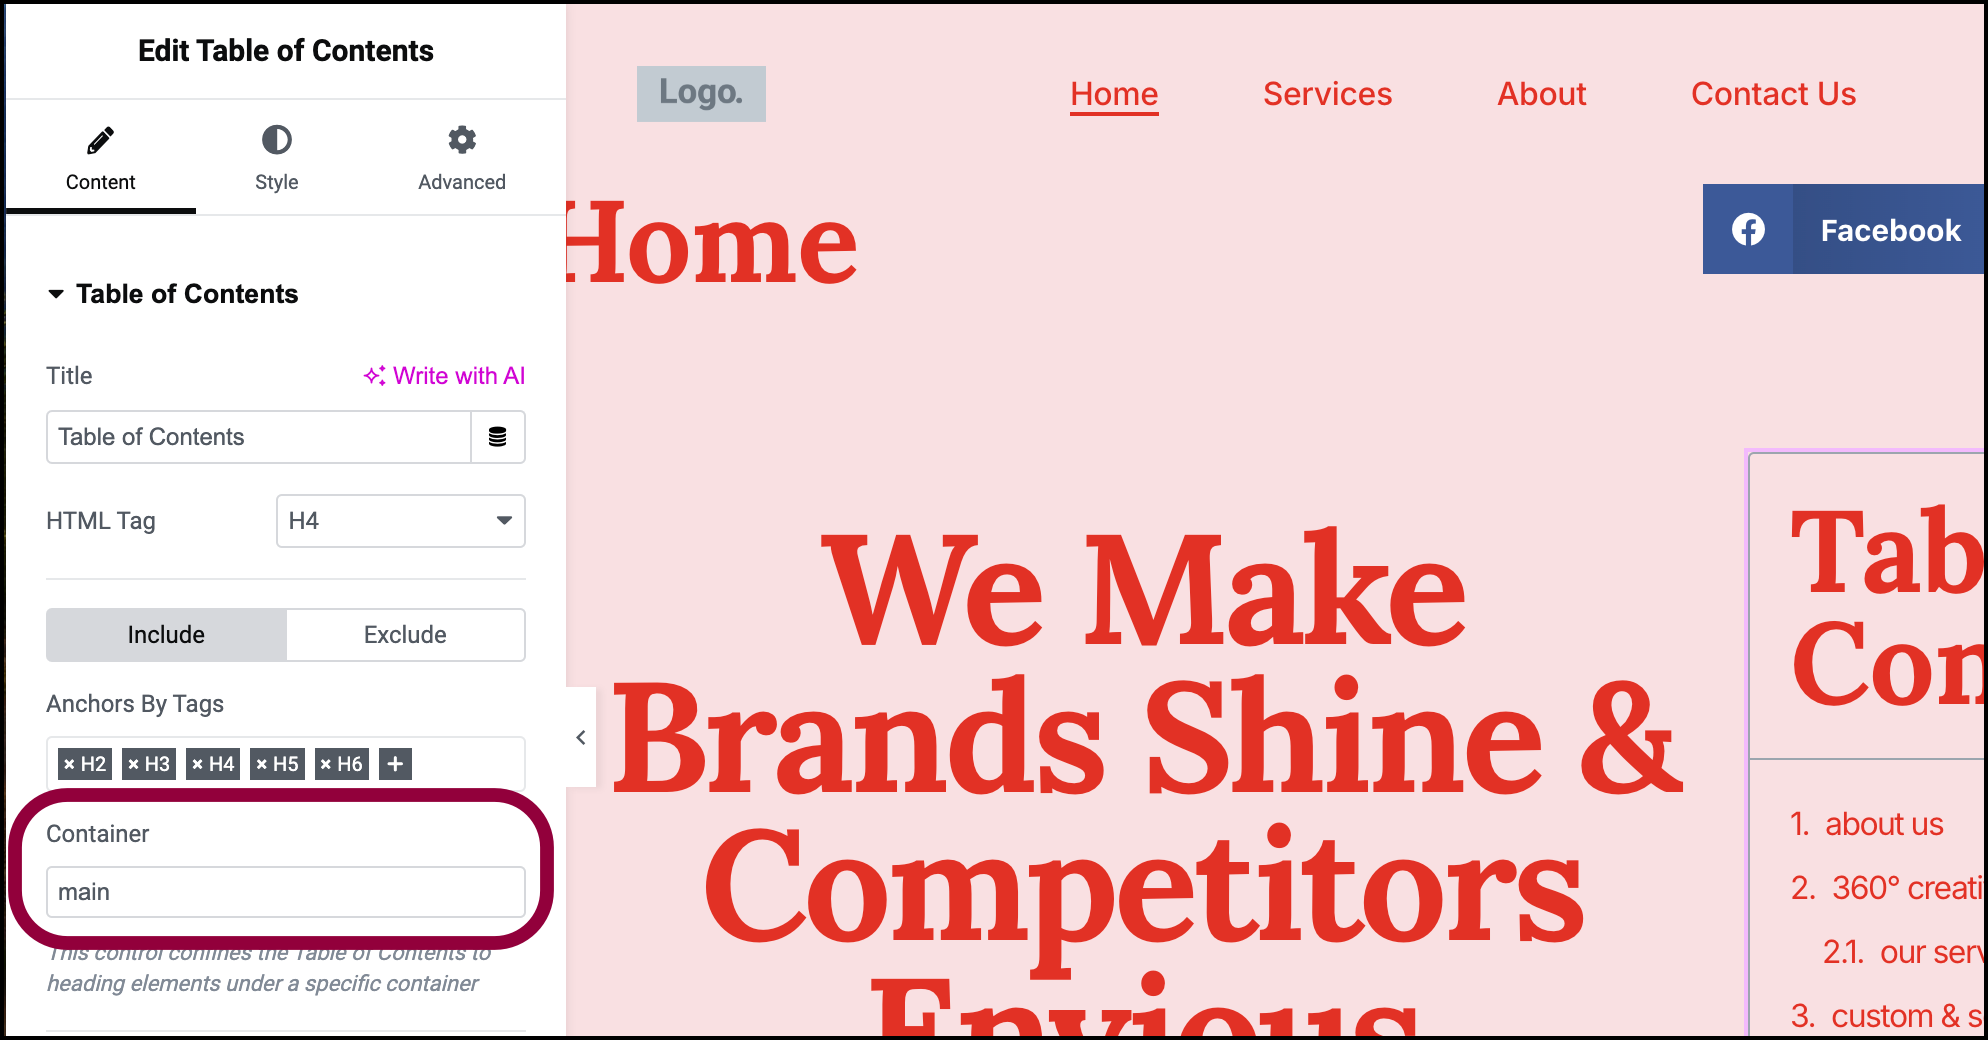
- In the Panel, in the Container text box, enter Main. This way, the Table of Contents will only use the headers in the main container.
Additional Widgets
You may now add additional widgets to your Sidebar. This is a good opportunity to use the Call to Action widget or a Form for collecting leads. For details about these widgets, see Call to Action widget and Form widget.
Responsive Settings
Since the Container widgets use Flexbox CSS to do much of the “heavy lifting,” you may only require minor edits to your design for responsive views. For details, see Responsive editing for mobile and tablets and Create responsive design with containers.
Setting the Display Conditions
Once you are satisfied with your template’s design, you’ll want to save it.
To save your template:
- Click Publish in the upper right of the Editor bar.
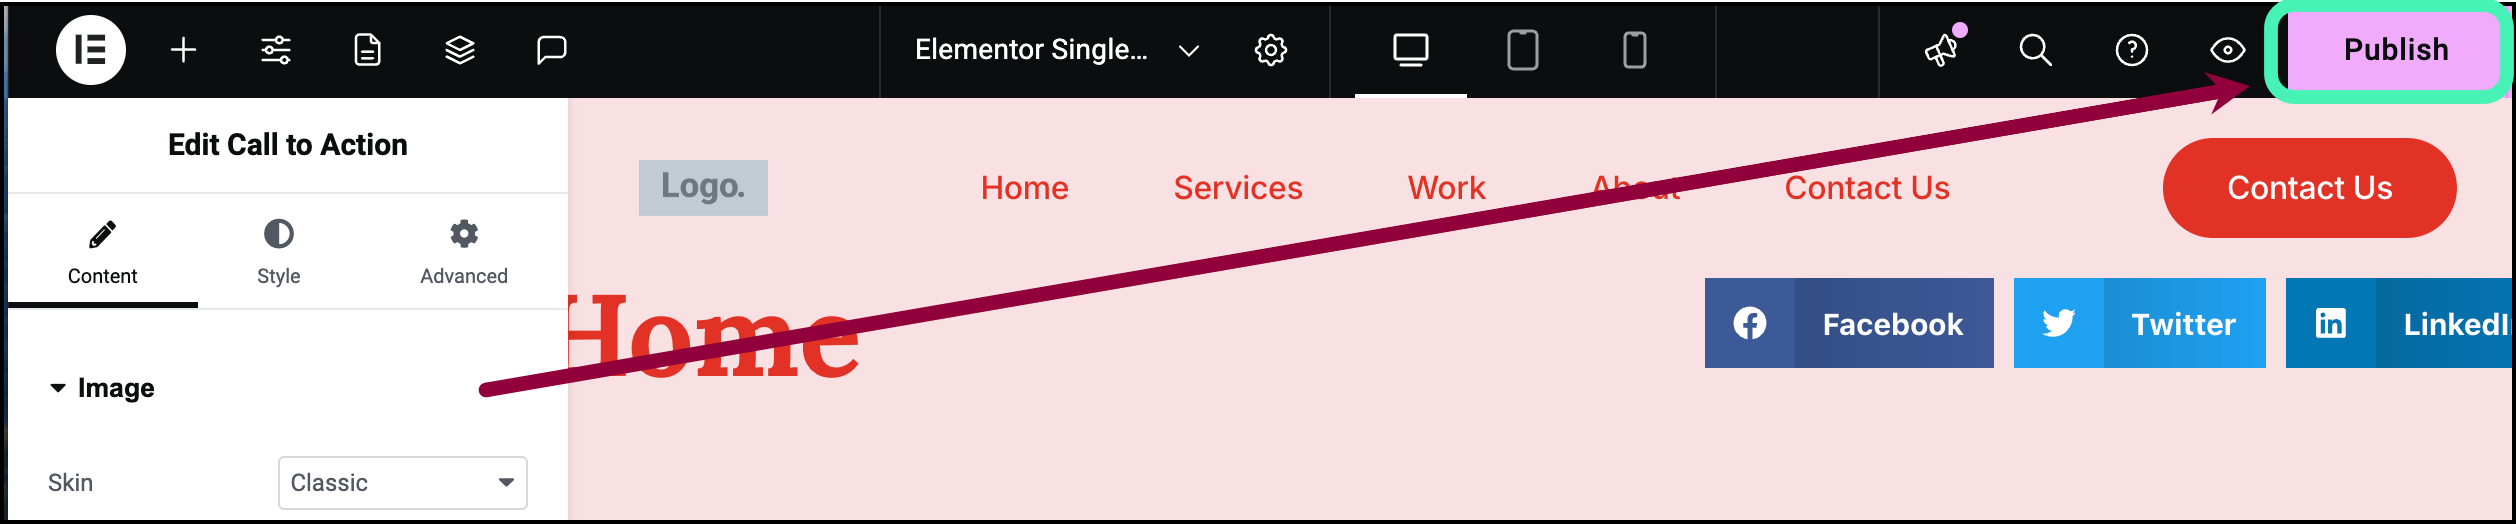
This brings up the display conditions window. With display conditions, you can determine when this template will be used. For example, you can set a display condition that this template will only be used only for the Front Page or only for pages marked with a specific category. For details, see Set conditions for site part templates.

Next steps
After you’ve learned how to create site part templates, let’s take a closer look at the advantage containers have over the traditional section and column design.
To get the most out of Elementor, check out the Knowledge hub for helpful learning resources.