help center

On this page

Testimonial widget

Last Update: March 20, 2024

Add the widget

Testimonial widget Testimonial widget 1
  1. In Elementor Editor, click +.
    All available widgets are displayed.
  2. Click or drag the widget to the canvas. For more information, see Add elements to a page.

What is the Testimonial widget?

The Testimonial widget lets you easily add testimonial sections to your website. You can use these sections to showcase feedback, reviews, or quotes from clients, customers, or users. 

Additionally, the testimonial widget includes plenty of options to customize the appearance of the testimonial section, including the layout, style, and content, to match your website’s design and branding.

Common use case

Lisa is the head graphic designer in a branding and logo design company. On their official website, Lisa integrates a testimonial widget to showcase feedback from satisfied clients. 

By featuring testimonials spotlighting creativity, professionalism, and attention to detail, Lisa effectively demonstrates their expertise to potential clients, helping to attract new projects and grow the company’s business.

Testimonial widget 8 Testimonial widget 3

Additional use cases

  • Showcase testimonials from satisfied home buyers on the property listing website.
  • Feature testimonials from students who have achieved success after taking the online courses.
  • Display glowing reviews from diners on the website to attract new customers.
  • Highlight positive feedback from users to encourage more downloads or subscriptions.

Add a Testimonial widget: Step-by-step

  1. Add the Testimonial widget to the canvas. For details, see Add elements to a page.
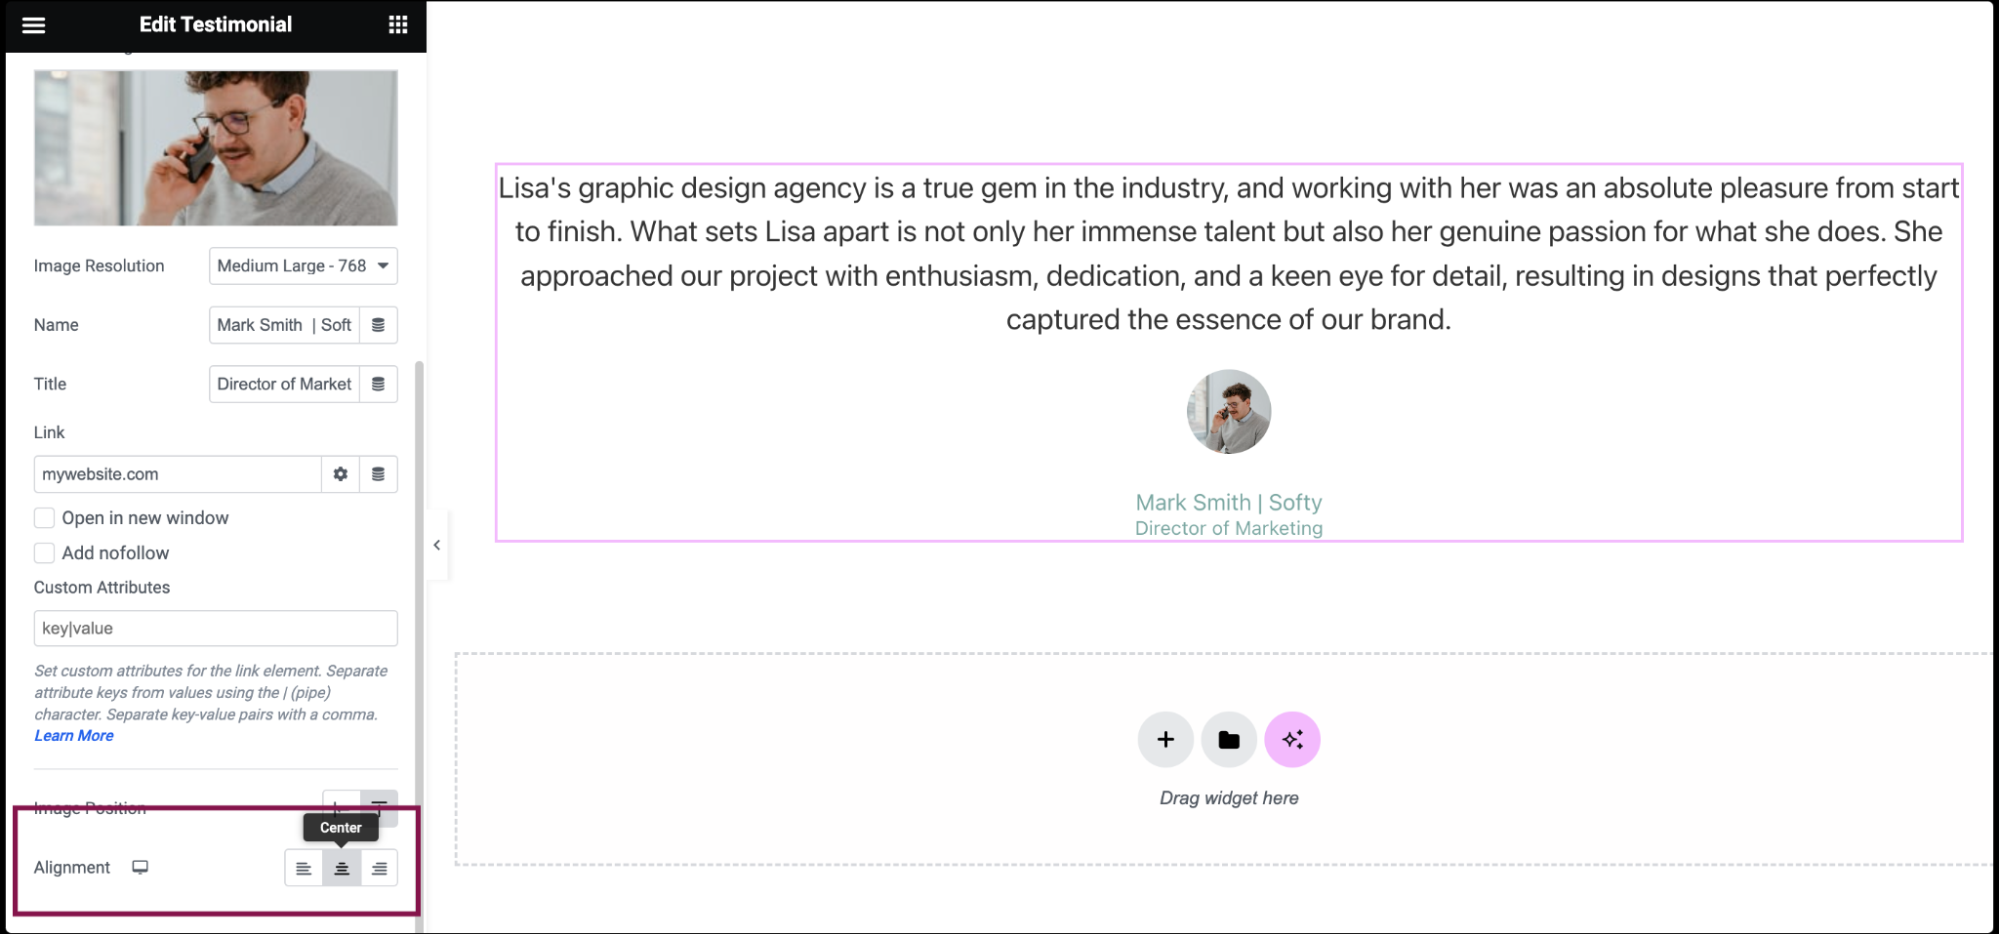
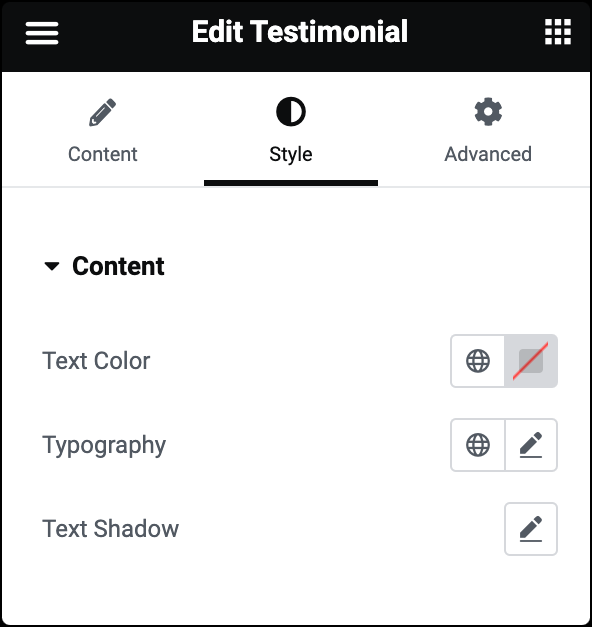
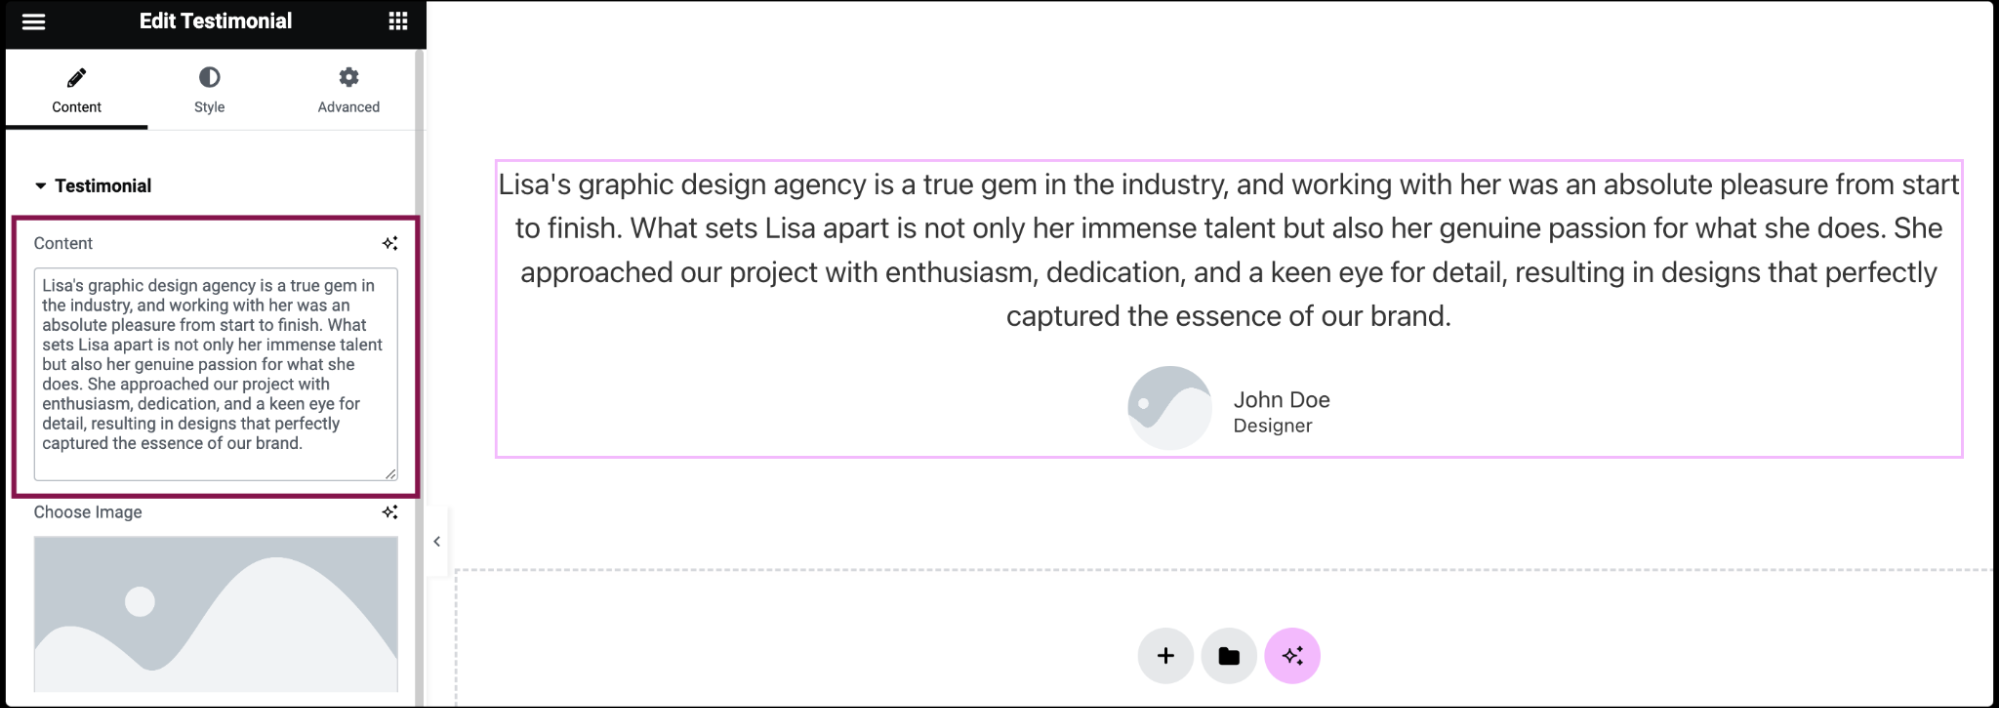
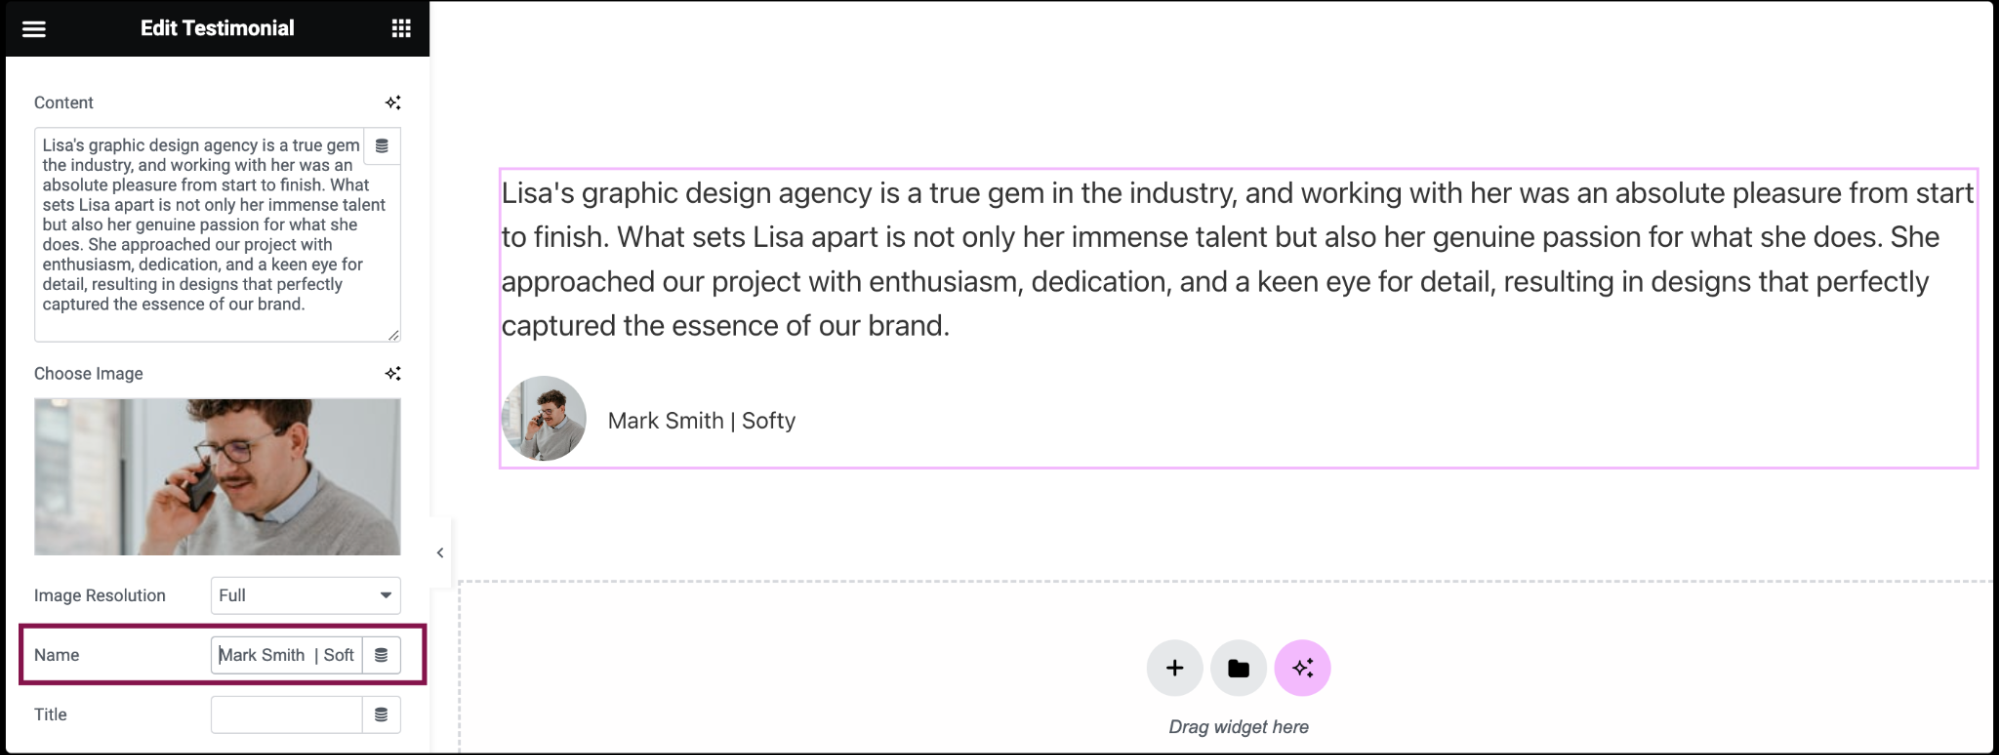
  2. In the Content tab, under the Testimonial section, in the Content field, type or paste the text of the testimonial provided by your client.
    Testimonial widget 12
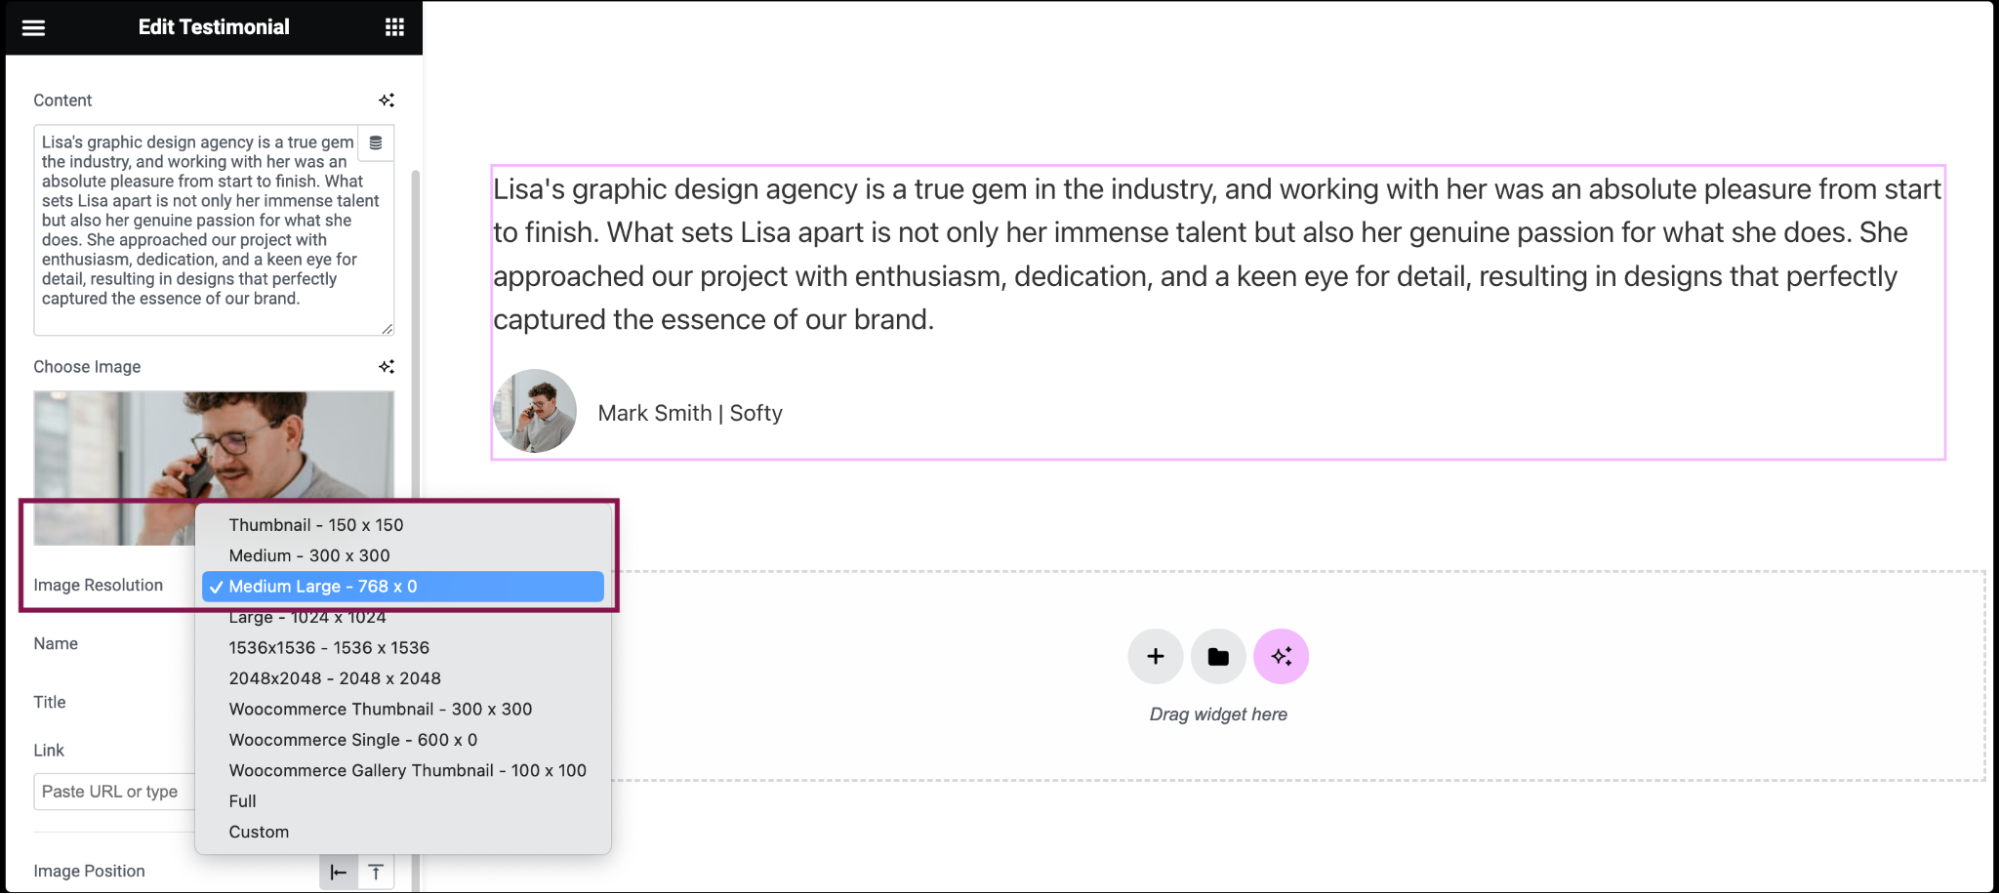
  3. In the Image field, upload a picture of the client or choose an image from your media library.
    Testimonial widget 9
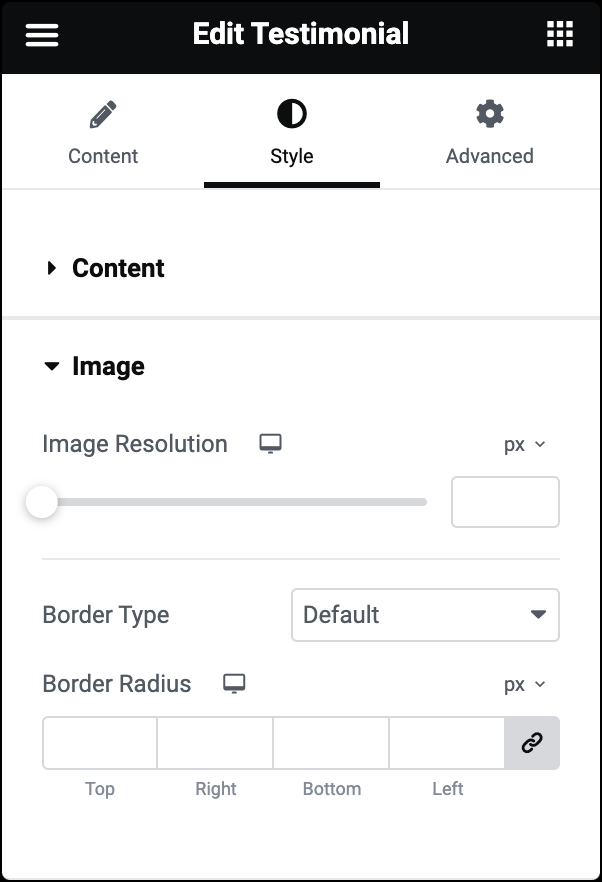
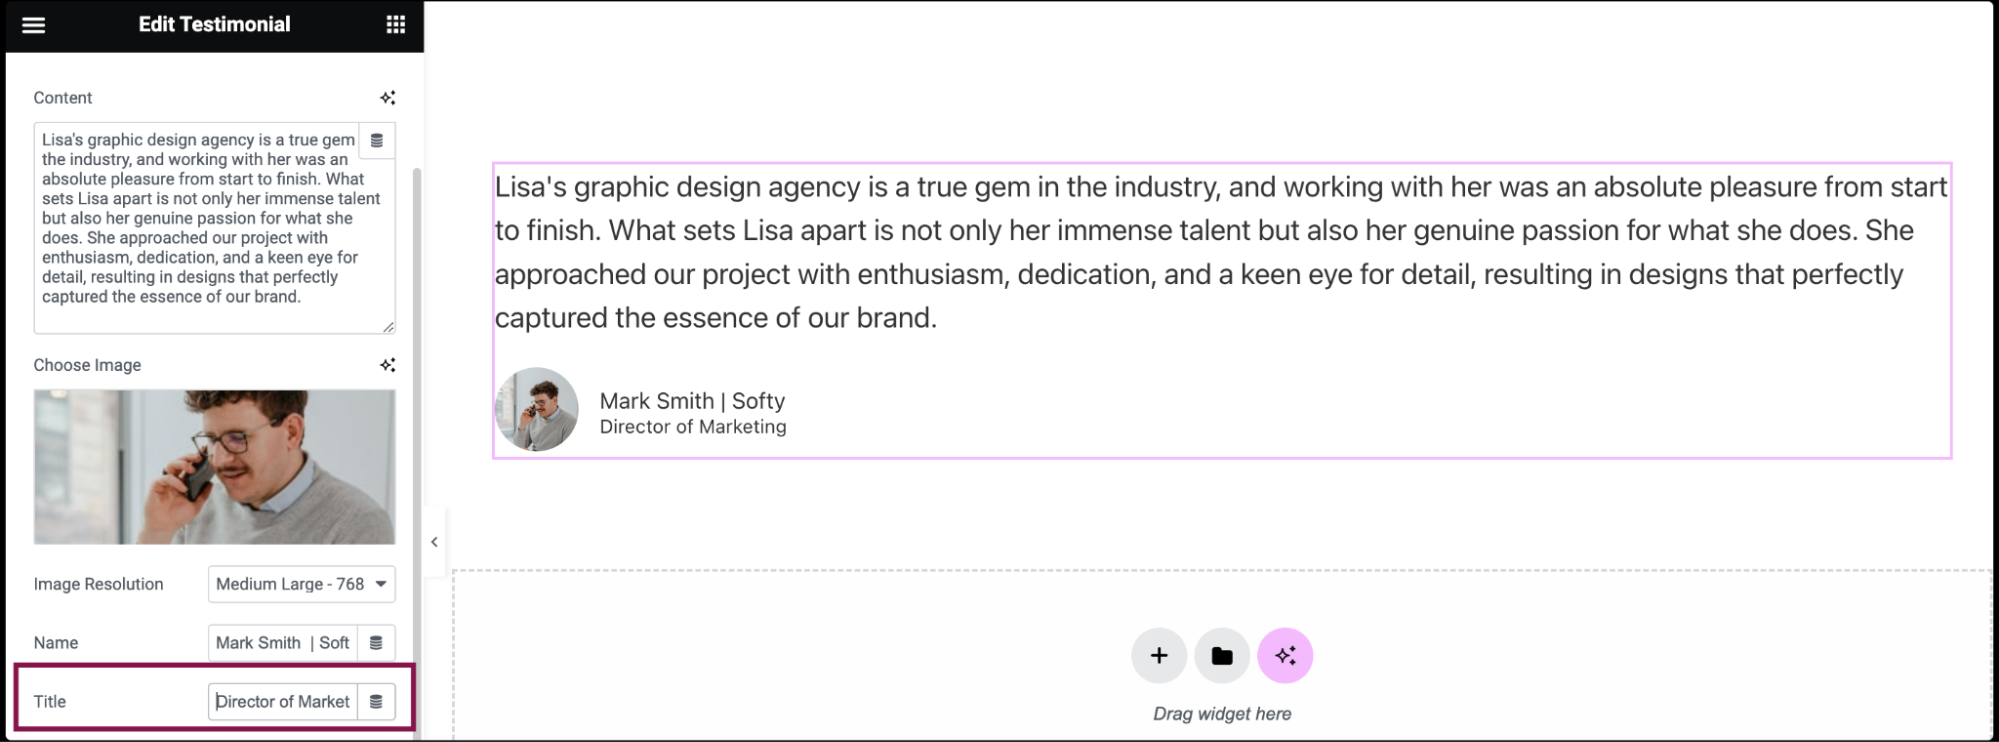
  4. In the Image Resolution field, set the image size from thumbnail to full or enter a custom size.
    Testimonial widget 15
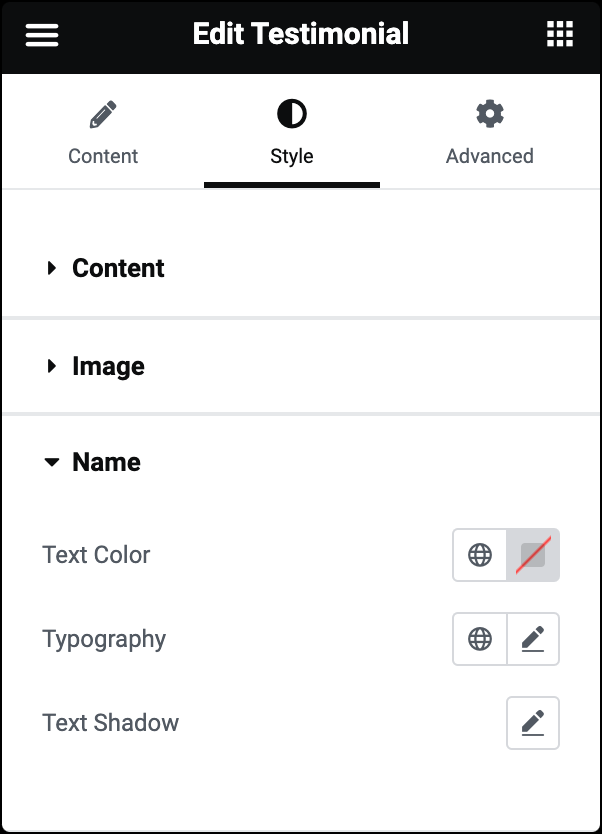
  5. In the Name field, enter the client’s name.
    Testimonial widget 14
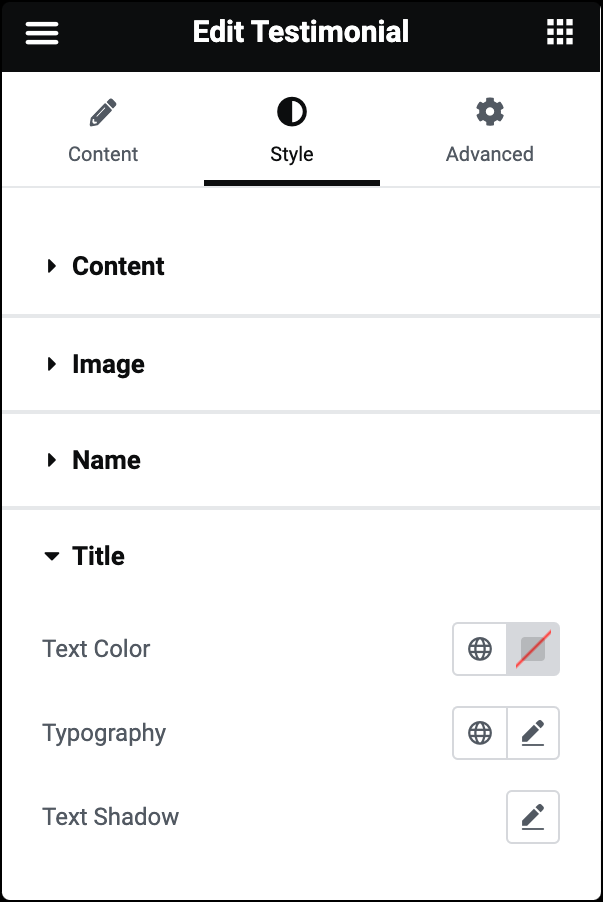
  6. In the Title field, add the client’s job title, role, or any other relevant information.
    Testimonial widget 10
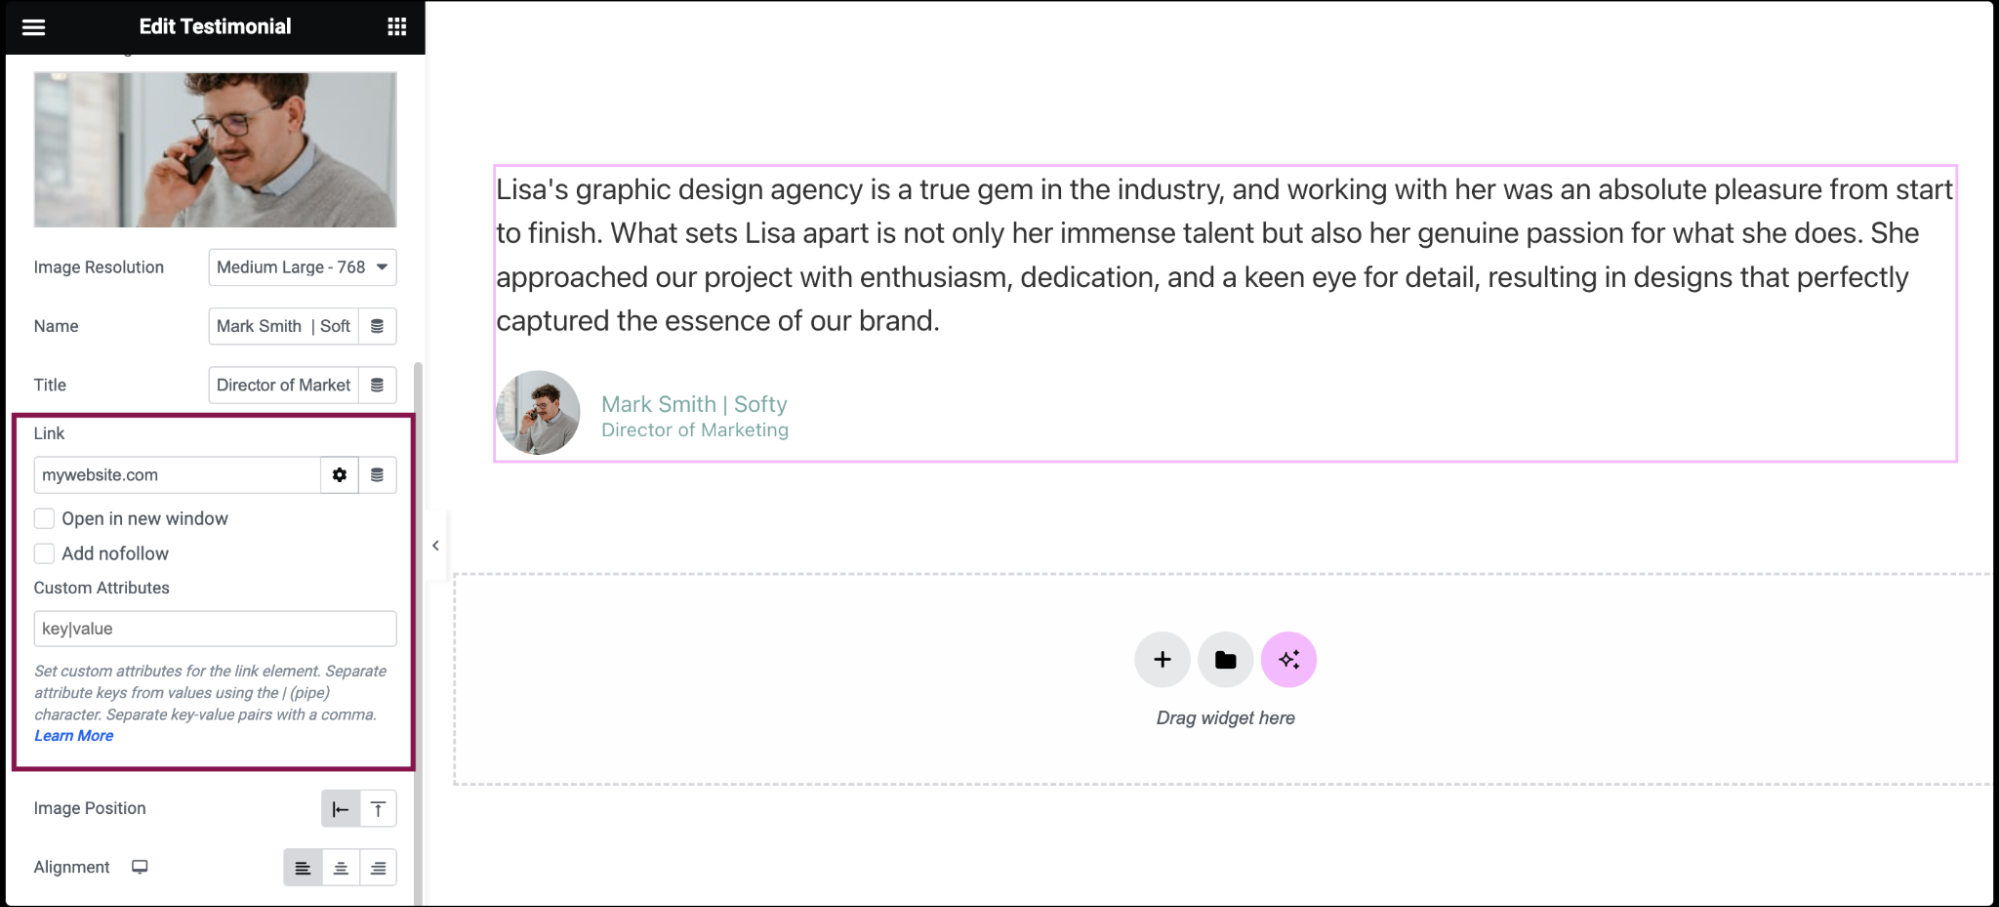
  7. In the Link field, paste or type the URL. Click the ⚙️ to set the link to either open in a new window or to add rel=nofollow to the link, and use the Custom Attributes option to assign custom attributes to the link element. Use the | (pipe) for key-value separation and commas to separate pairs.
    Testimonial widget 4
  8. Use the options in the Image Position field to set the placement of the testimonial author’s image relative to the testimonial text. Place the image above the text or place the image either to the right or left of the text. Right/left placement depends on whether you’re using a right-to-left or left-to-right language.
    Testimonial widget 1
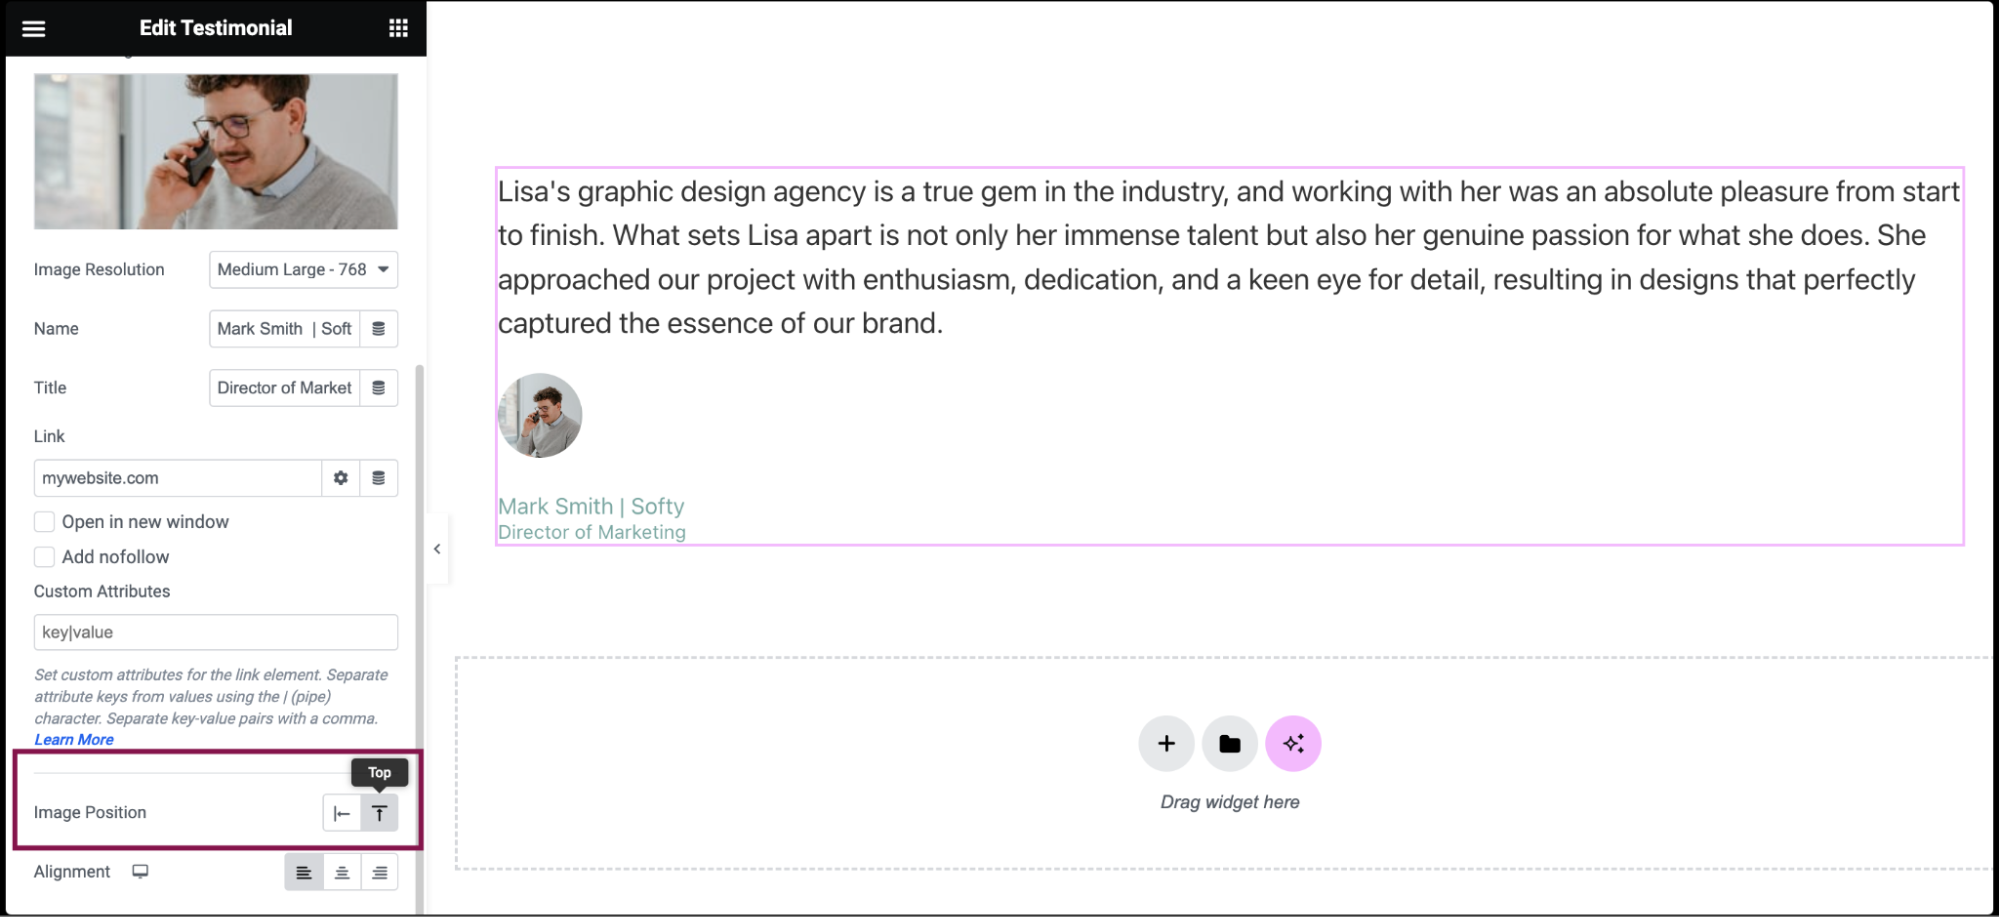
  9. Use the options in the Alignment field to set the alignment of the testimonial to the left, right, or center.
    Testimonial widget 3

Settings for the Testimonial widget

You can customize your widgets using content, style, and other advanced parameters, offering you great flexibility in tailoring them to your needs. Click the tabs below to see all the settings available for this widget.

Content tab

Testimonial widget 11

Add the text of the testimonial.

Upload or choose an image from the media library.

Set the image size from thumbnail to full, or enter a custom size.

Add the client’s name.

Add the client’s job title, role, or any other relevant information.

Paste or type URL. Click the ⚙️ to set the link to either open in a new window or to add rel=nofollow to the link, and use the Custom Attributes option to assign custom attributes to the link element. Use the | (pipe) for key-value separation and commas to separate pairs.

Set the placement of the testimonial author’s image relative to the testimonial text.

Define the alignment of the testimonial to the left, right, or center.

Style tab

Testimonial widget 7

Choose the color of the testimonial text.

Customize the font style, size, and other typography settings. For more details, see Typography.

Click the 🖋️ icon to add a shadow to the content. Learn more about shadows.

Testimonial widget 5 Testimonial widget 15

Use a slider to scale the image resolution up or down.

Choose the border type to use around the image. For more details, see Border type.

If border type is set, define the thickness of the border around the image.

If border type is set, choose the color of the border.

To create rounded corners, increase the border radius. For more details, see Border radius tools.

Testimonial widget 2 Testimonial widget 17

Select the color of the name.

Choose the font and adjust the size of the title. For more details, see Typography.

Click the 🖋️ icon to add a shadow to the name. Learn more about shadows.

Testimonial widget 13 Testimonial widget 19

Set the color of the title.

Choose the font and adjust the size of the title. For more details, see Typography.

Click the 🖋️ icon to add a shadow to the title. Learn more about shadows.

Advanced tab

The Advanced tab provides options to control widget position, adjust spacing, add custom code, and more.

Testimonial widget 6 Testimonial widget 21

Learn more about the Advanced tab settings.

Have more questions? We’re more than happy to assist.

Link is copied to clipboard!
On this page

Is this article helpful?

Share this article