A WooCommerce Archive page is any page that displays a catalog of your products. This includes your main Shop page, as well as specific Product Category pages (e.g., “Shoes”), Product Tags, or search result pages.
With Elementor Pro’s Theme Builder, you can replace the default, rigid WooCommerce archive designs with your own custom layouts.
Elementor and Elementor Pro (version 2.1 or higher)
WooCommerce (version 3.4 or higher)
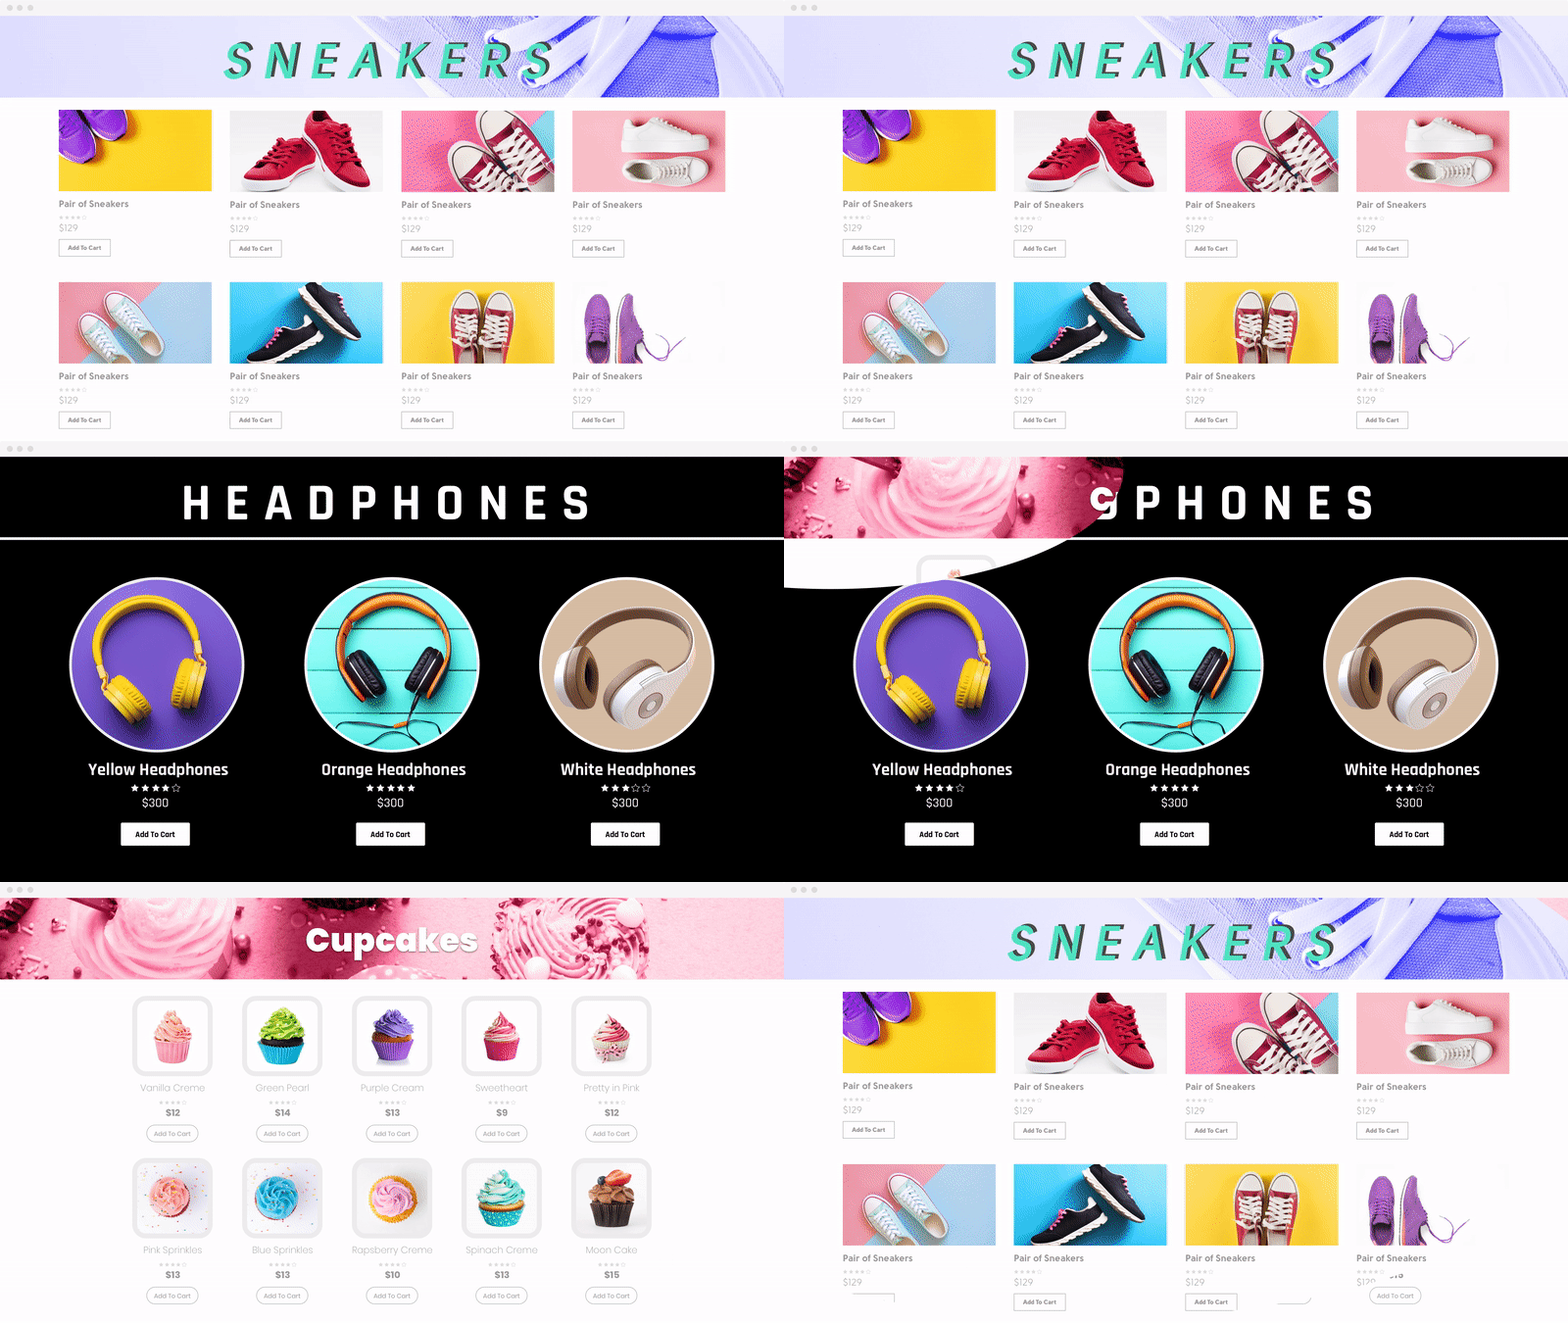
Step 1: Create a New Product Archive Template
From your WordPress dashboard, navigate to Elementor > Theme Builder.
On the left sidebar of the Theme Builder, click on Product Archive.
Click the Add New button (the plus icon) in the top right corner.
Name your template (e.g., “Main Shop Archive”) and click Create Template.

Step 2: Choose a Block or Design from Scratch
Once the Elementor editor loads, the Library modal will appear.
To use a pre-designed layout: Hover over a Product Archive Block you like and click Insert.
To build from scratch: Close the library modal. Drag and drop WooCommerce widgets from the left panel onto your canvas.
Note: If you are building from scratch, you must include the Archive Products widget. This is the dynamic widget that actually pulls your WooCommerce inventory onto the page.

Step 3: Publish and Set Display Conditions
When you are happy with your design, it’s time to tell Elementor where this template should appear on your live site.
Click the green Publish button in the bottom left corner.
The Publish Settings window will pop up. Click Add Condition.
From the dropdown, choose where you want this design to apply.
Example: To apply this design to your main store page, select Include > Shop page.
Example: To apply it only to a specific category, select Include > Product Categories > and type your category name (e.g., “Shirts”).
Click Save & Close.

Your new custom WooCommerce Archive is now live! Visit your shop page on the front end to see your new design in action.