Display Conditions allow you to show elements to specific visitors, thus hiding them from others, depending on various criteria . Some examples of this might be:
- A blog where you want different images to appear depending on the author of the post.
- A homepage where you want the Header content to change depending on the season.
Apply display conditions
To apply display conditions:
- Select the element you want to apply display conditions to.
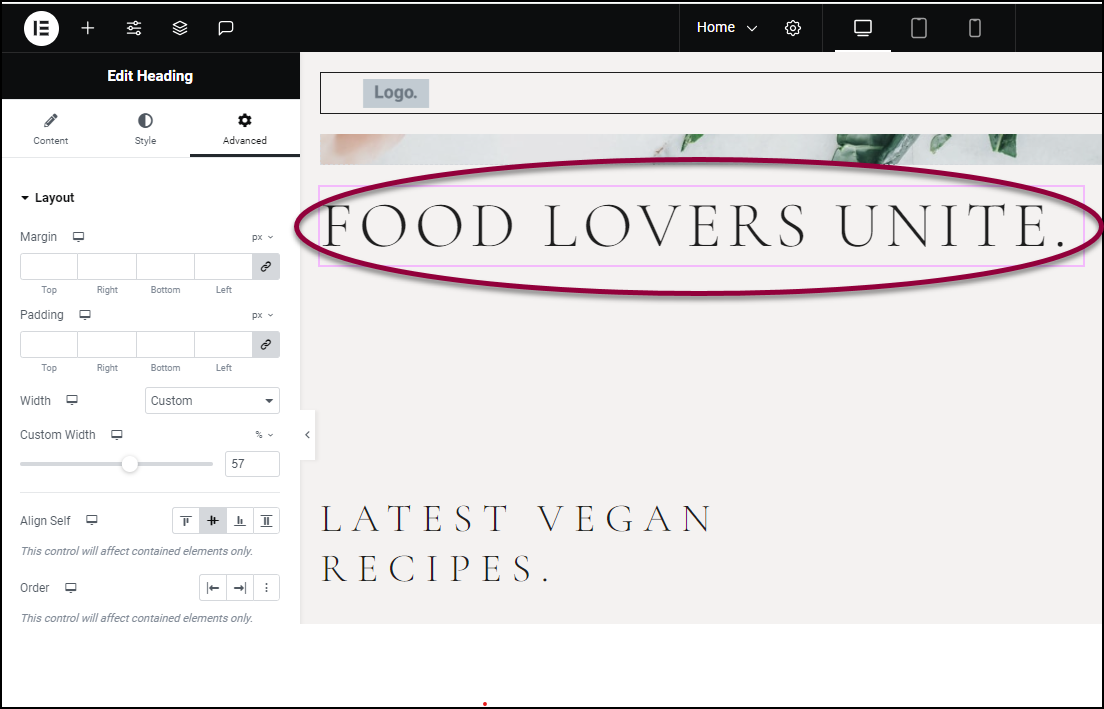
The element options will appear in the panel.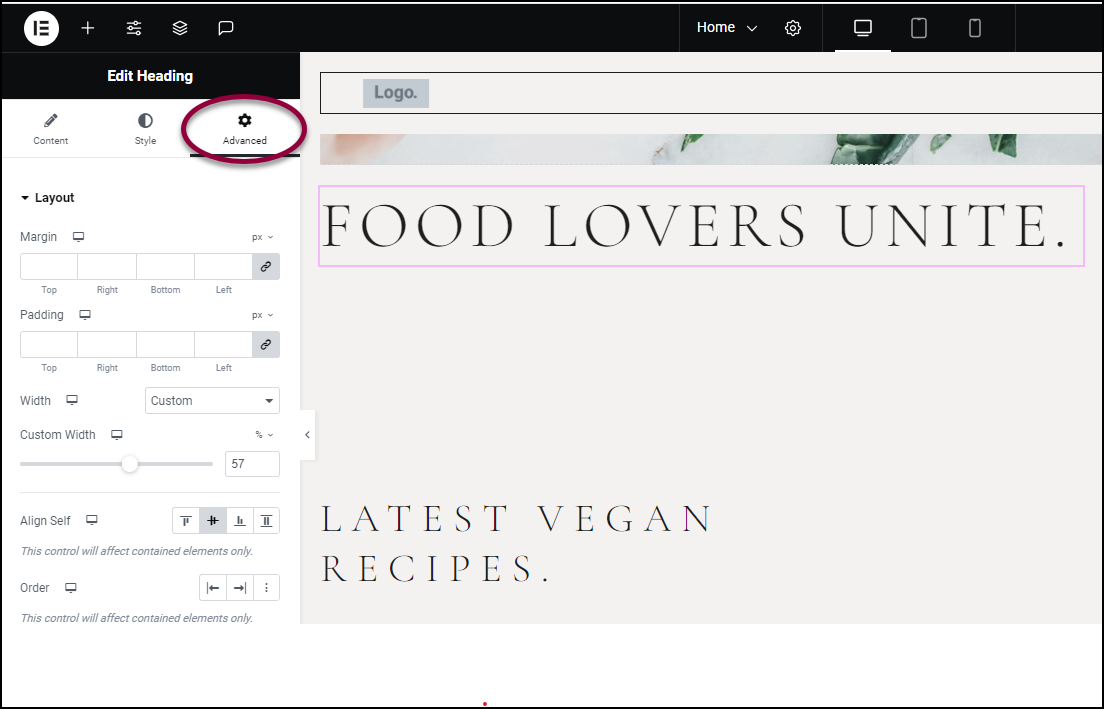
- In the panel, click the Advanced tab.

- In the Layout section, click the Display Conditions icon.
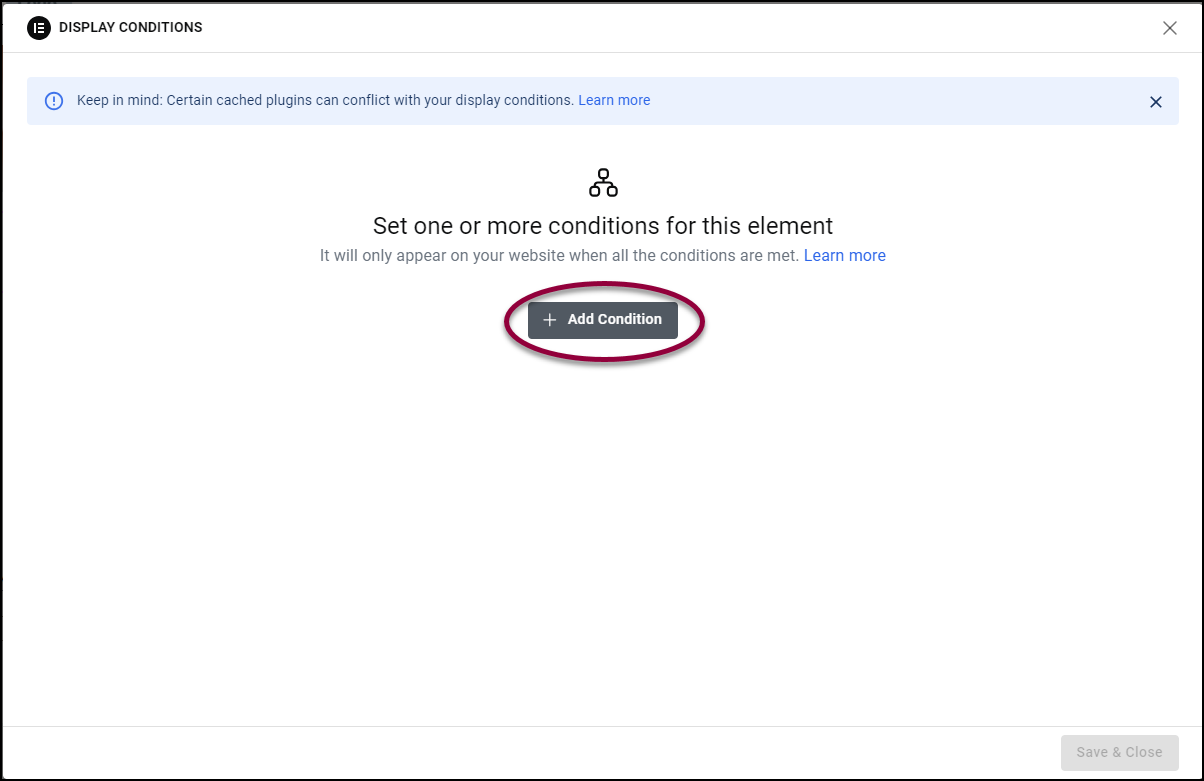
- Click Add Condition. Three dropdown menus appear, allowing you to create a display condition.
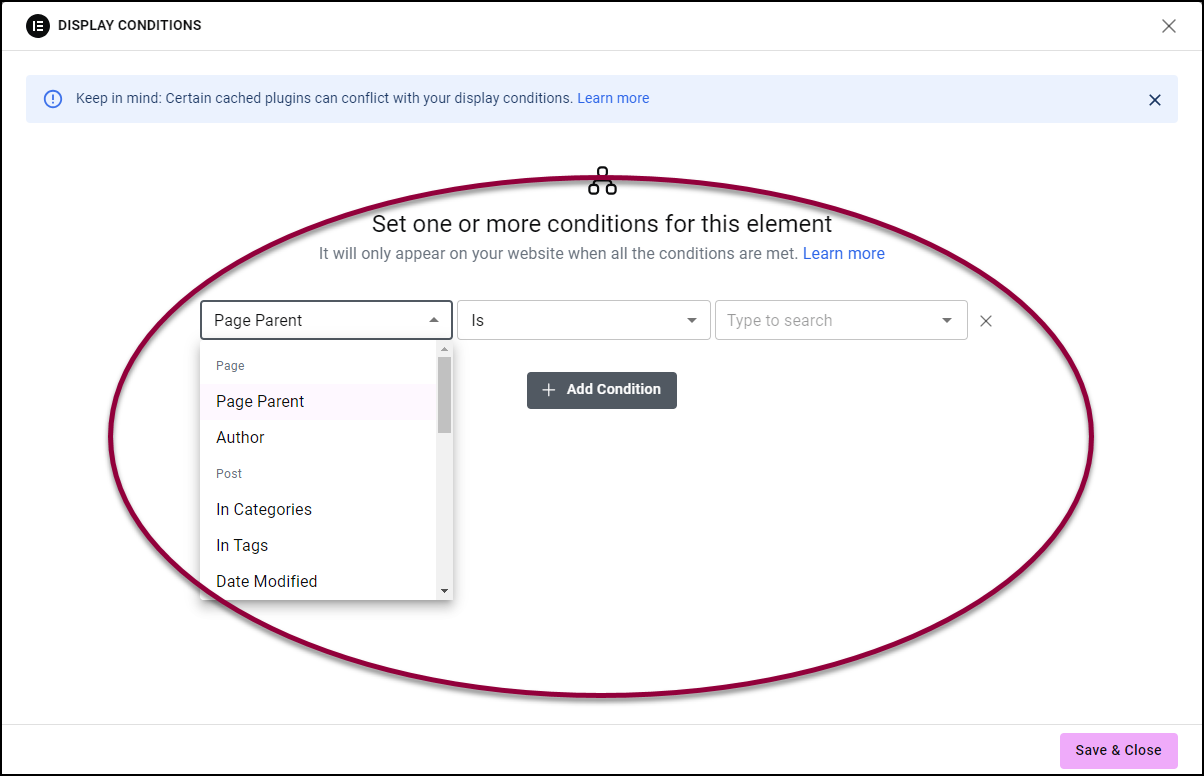
- From the dropdown menus, select the desired display conditions.
Depending on the chosen condition, the content of the dropdown menus will change. Fill out the condition’s additional dropdowns. For a detailed explanation of the display conditions, see Available display conditions below.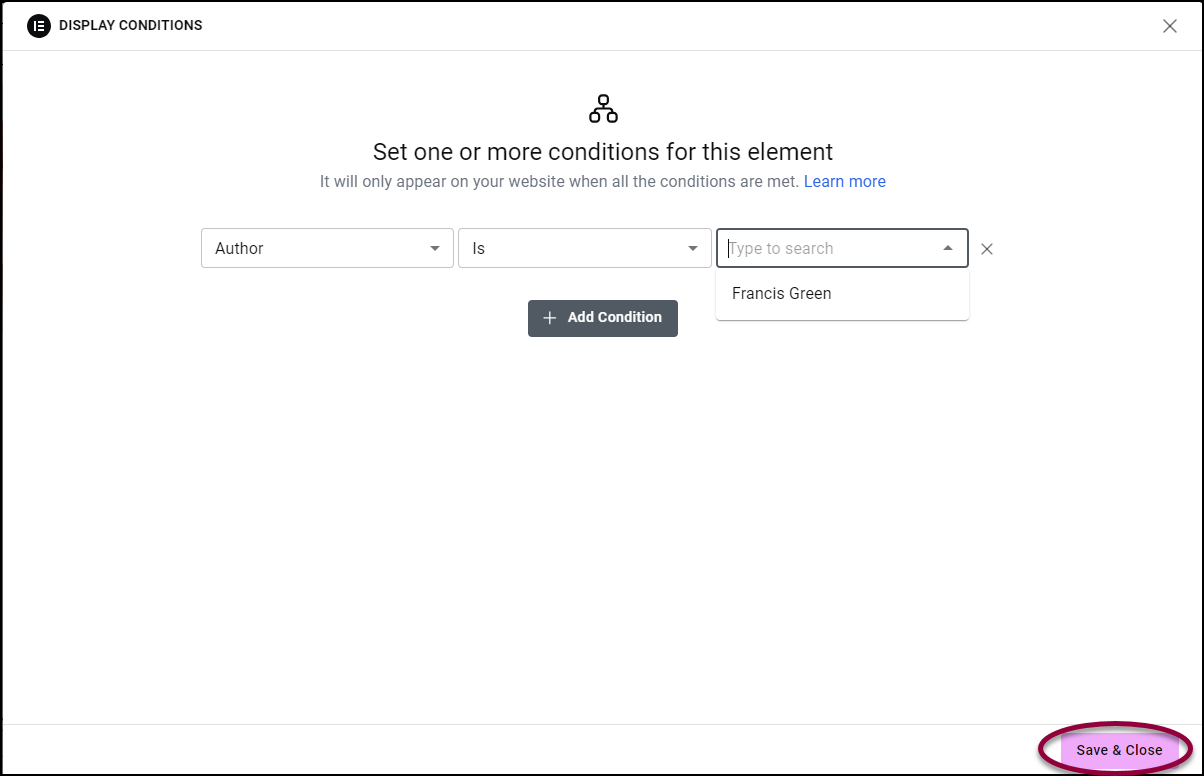
- Click Save & Close.NoteYour display conditions will not take effect until you either Save or Publish the page in the Editor. If you exit the page without saving the display conditions you chose will not be implemented.
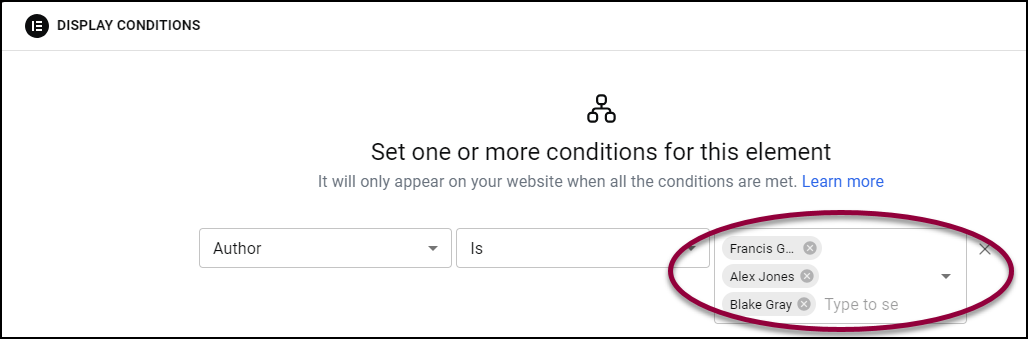
For most conditions, you can set more than one value. For example, you can create an Author condition that an element will appear only when the Author is either Alex, Francis or Jaime.
Add additional display conditions
You may want to add more than one display condition. For example, you may want a post to appear if it is categorized as both Vegan and Top Pick. When setting up display conditions, you have two choices: AND or OR. If you select AND, Elementor will only show the element if all conditions are met. If you choose OR, the element will be displayed if it meets any one of the conditions.
To add an AND display condition:
- Create a display condition as described above.

- To the right of the condition, click the AND button.
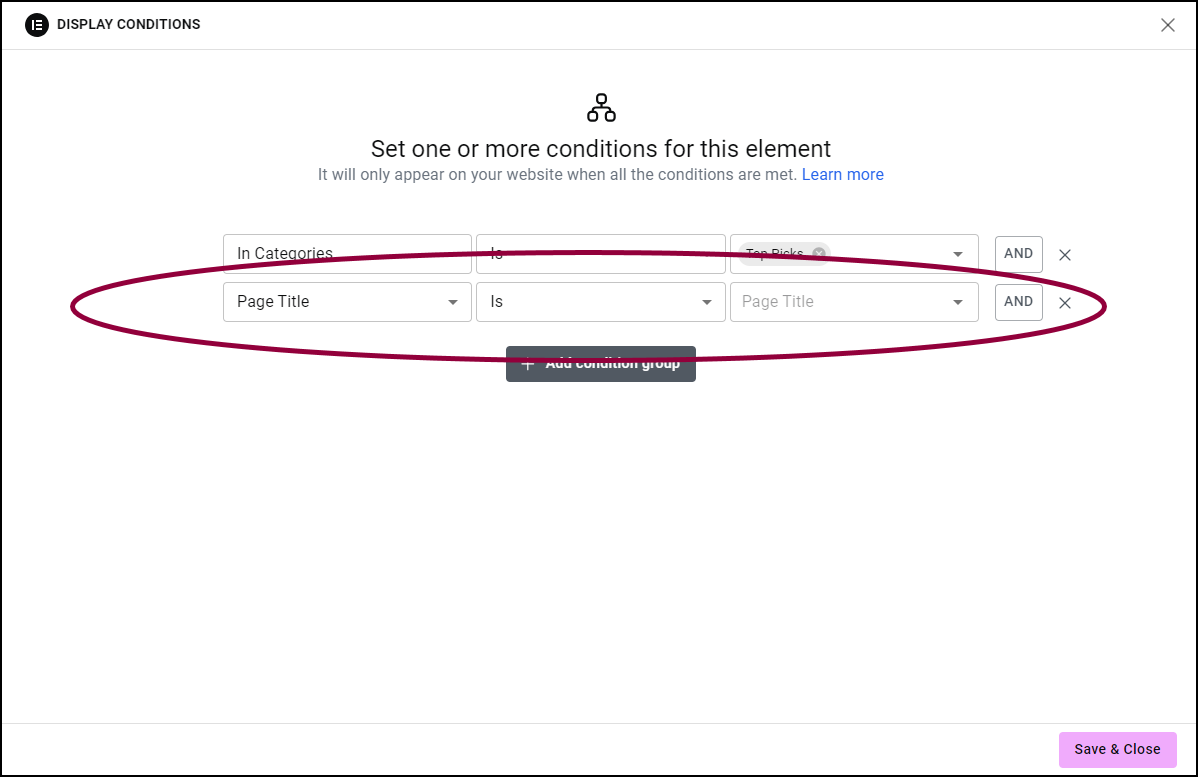
Another display condition field appears.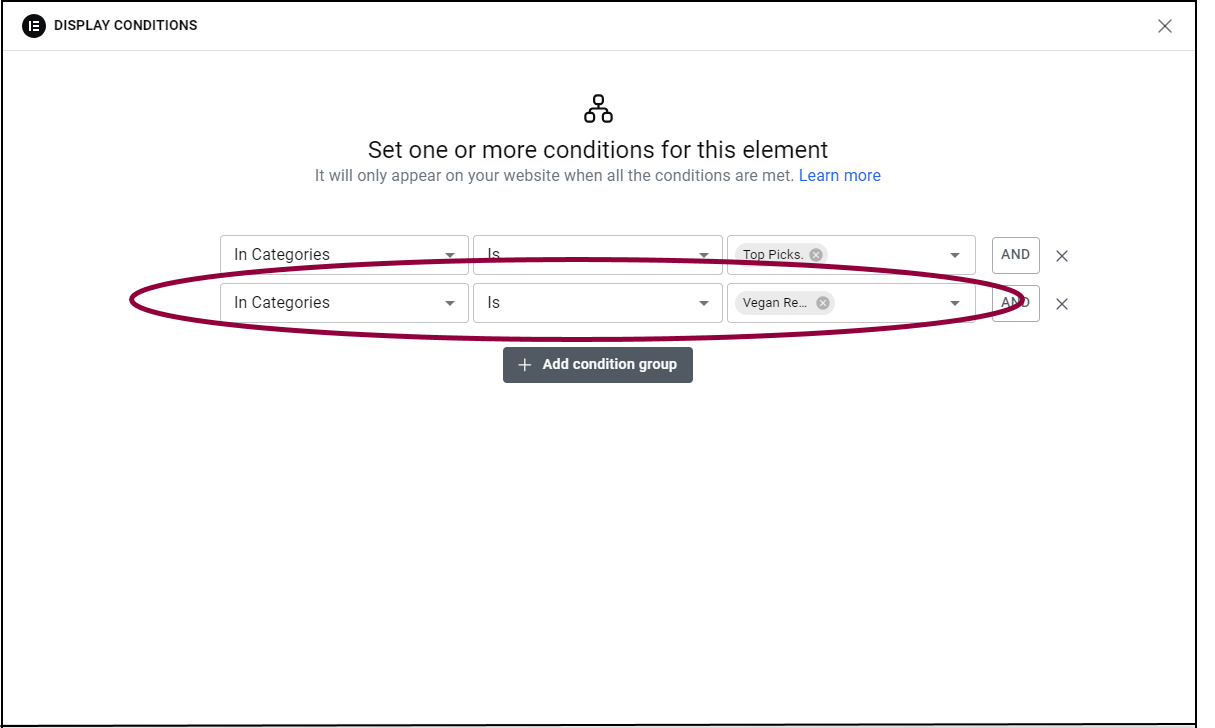
- Use the fields to add a new display condition.
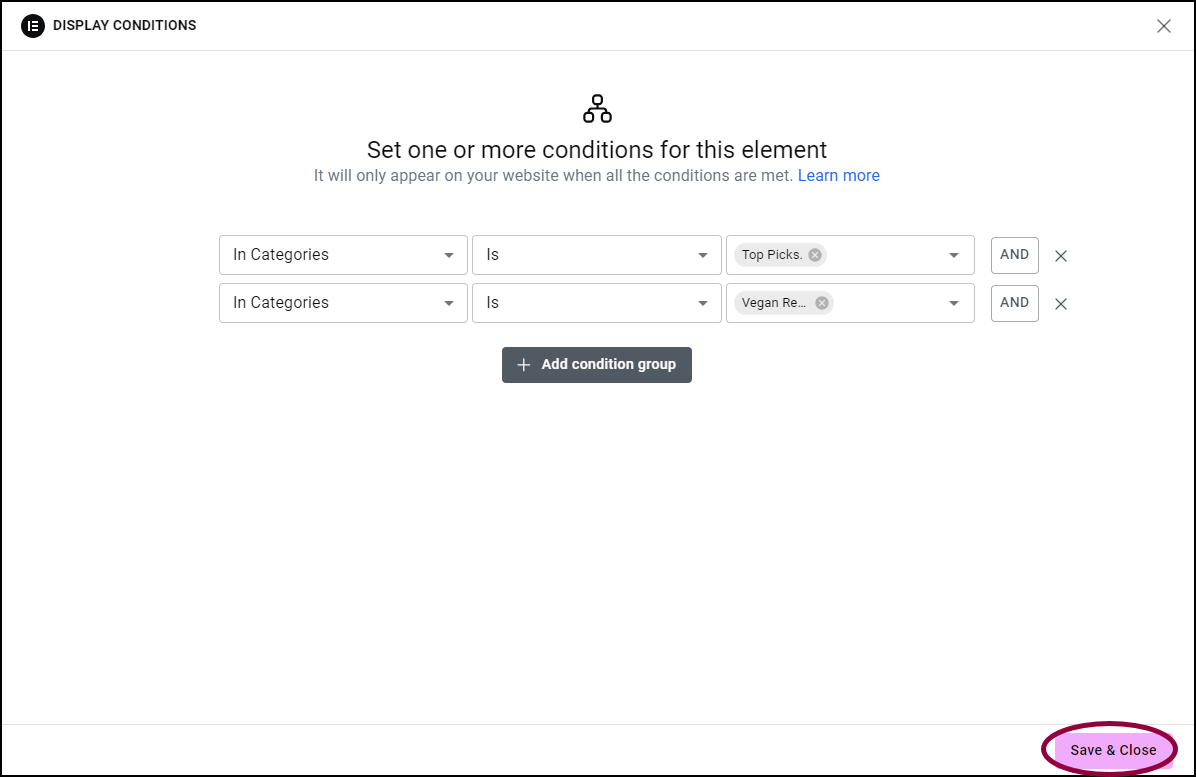
- Click Save & Close.
The element will only display if both conditions are met.
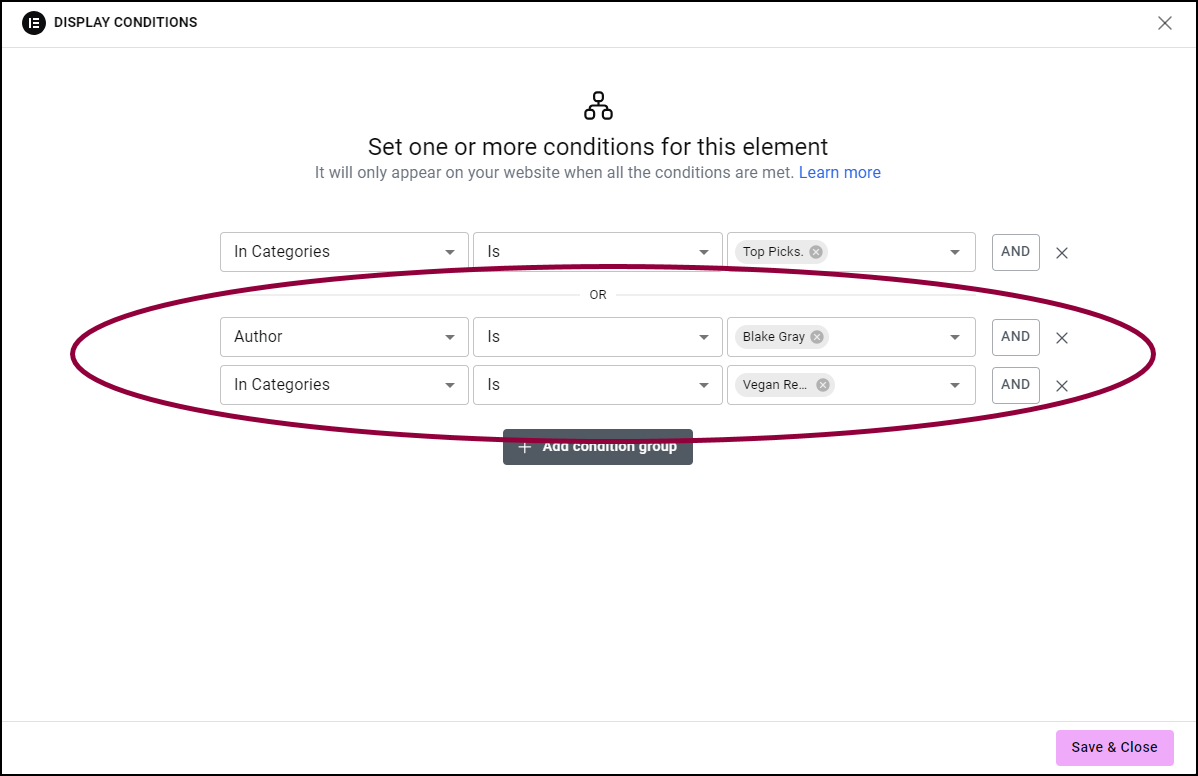
To add an OR condition:
- Create a display condition as described above.
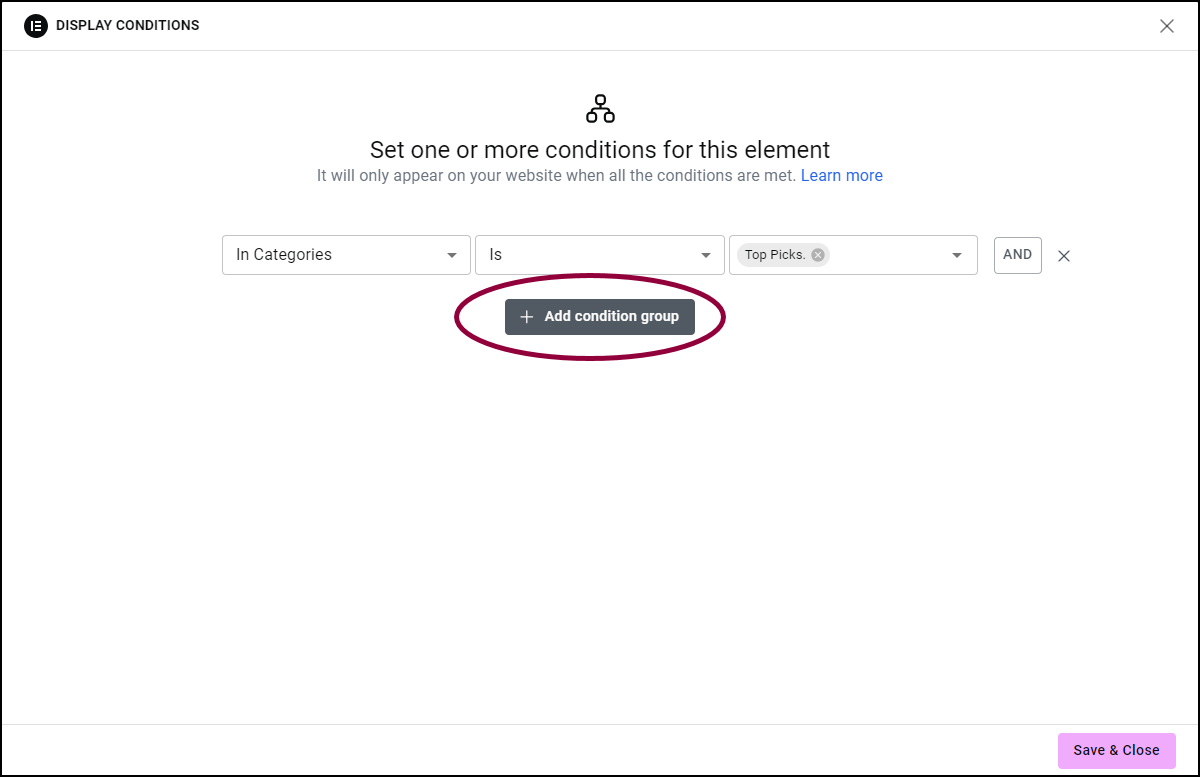
- Under the condition, click Add Condition group.
A new condition field appears with an OR connector.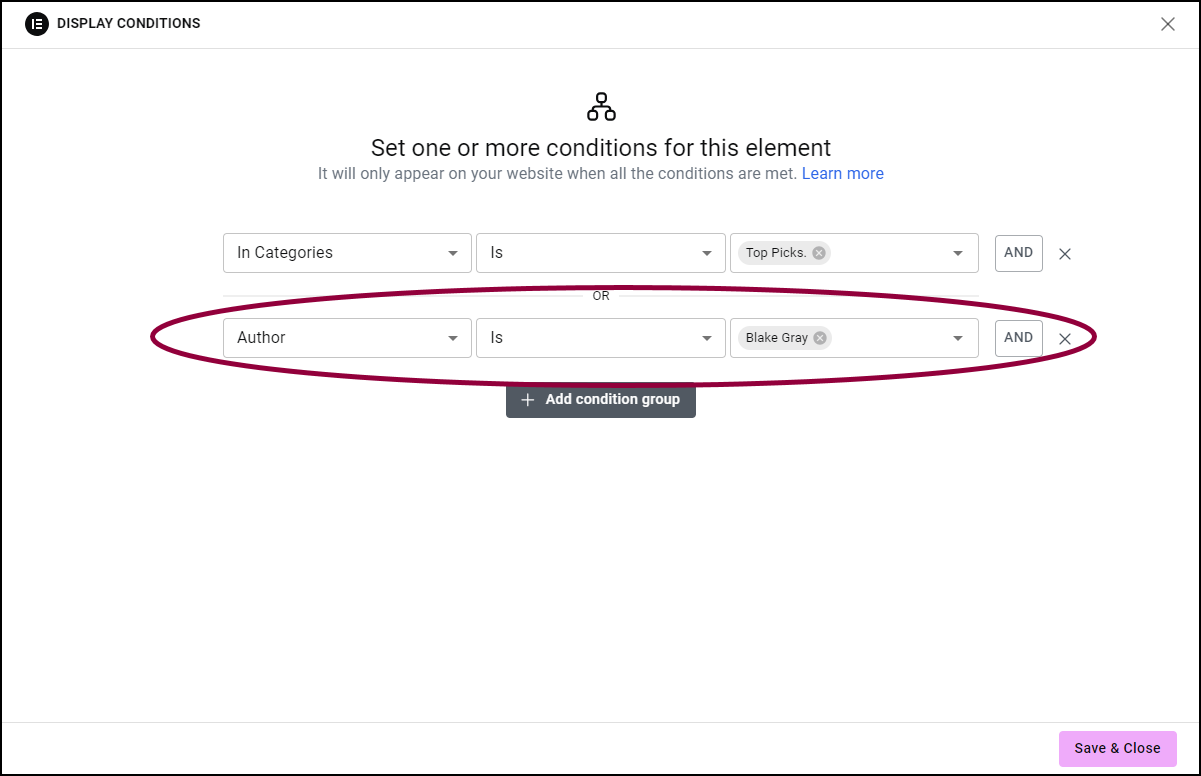
- Use the fields to add a new display condition.
- When you finish adding conditions, click Save & Close.
The element will display if either condition is true.
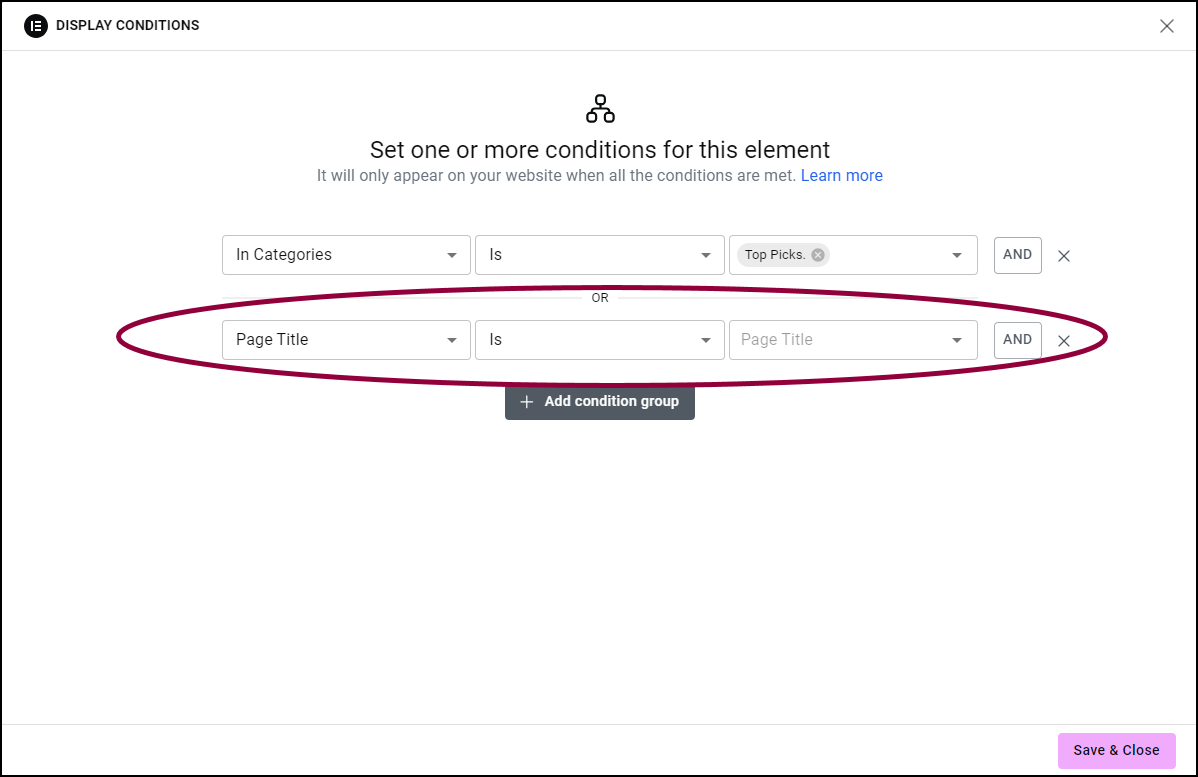
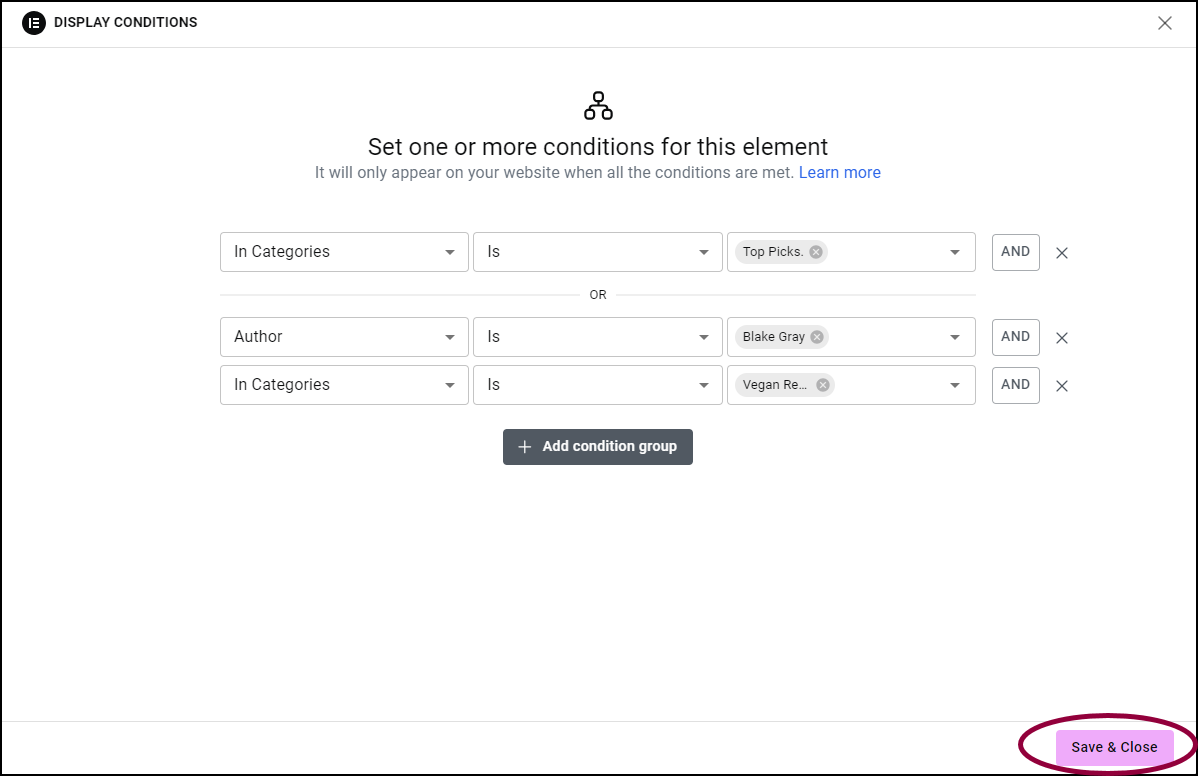
You can combine the two types of conditions (AND and OR). For example, you may want to display either a Top Pick post or a vegan recipe written by Blake Gray.
To do this:
- Define the category as Top Pick.
- Click Add condition group.
- Define author as Blake Grey.
- Click AND.
- Define Category as Vegan.
Available display conditions
For pages
Display or hide elements according to who wrote the page or where it’s located in the website hierarchy.
| Page parent | If you create a website with a hierarchical structure of parent and child pages, you have the option of displaying elements based on their parent page. For example, all pages that are children of the About Us page, can display a company logo. |
| Author | Every page in a WordPress website has an author. You can display elements depending on the author. For example, when creating a single page template, you can create a condition that only pages written by Alex or Jake will display their photos. |
Conditions for posts
Display or hide elements according to who wrote the post, when it was written or how it’s classified.
| In Categories | In WordPress sites, posts are generally divided by categories. You can display elements depending upon their categorization. For example, when using this condition in a single post template for all of your posts, you can set that all posts in the category of France, can display an image of the Eiffel Tower while all posts in the category of England can display an image of Big Ben. |
| In Tags | In WordPress sites, posts are often given tags to help visitors understand the subject matter. In a travel site, for instance, all posts tagged as Summer can have a countdown widget showing how much longer until the start of summer. |
| Date Modified | Display elements according to when they were last changed. For example, all posts changed in the last week can be marked, Updated. |
| Date of Publish | Display elements in a post according to when the post was published. For example, hide the comments section in posts that were published before a certain date |
| Author | Every post in WordPress has an author. You can display elements depending on the author. For instance, in a review site, posts written by the movie reviewer can show the video widget while reviews by the restaurant critic can show images. |
Conditions according to user status
Display or hide elements according to the status of the person viewing the page.
| Login Status | Display elements depending on whether or not the user (someone who has a role in building and/or maintaining the website) or visitor is logged in. For example, showing a discount coupon only to logged in visitors. |
| Role | Display elements according to the role a user (someone who has a role in building and/or maintaining the website) has when working on the site. |
| Registration Date | The registration date marks the day a user (someone who has a role in building and/or maintaining the website) was assigned their particular role. For example, if Alex is assigned a role of admin on September 1, 2024, their registration date is September 1, 2024. |
Conditions according to date and time
Display or hide elements according to when the page is viewed.
| Day of the week | Display elements depending on what day of the week it is. For example, you could display a We’re Closed sign on your site over the weekend. |
| Time of day | Display elements depending on what time it is. For example, you could have an image of a sun during the day and the moon at night. |
| Current date | Display elements according to the date. For example, you can show animations of snow during the winter and sunshine during the summer. |
Conditions according to archive
Display or hide elements on archive pages according to the classification of the post.
| Of Tags | For use in templates. Allows you to display elements of posts in a template in accordance with their tags. For example, in an archive page of a clothing store, you can show a Discount Price banner for everything tagged as Hat while showing a video of the beach for everything tagged Swimwear. |
| Of Categories | For use in templates. Allows you to display elements of posts in a template in accordance with their categories. For example, in an archive page of a toy store, you can show a cartoon image for all toys categorized as Kids 3-6, and a clip from a videogame for toys categorized as Kids 12-16. |
Conditions according to other statuses
Display or hide elements according to which page the viewer is coming from.
| From URL | Display an element according to where the visitor arrived from. For example, you can add a custom logo to a page that only visitors from an affiliated page will see. |
Multiple display conditions
You can choose multiple display conditions for an element. These will always be connected by an AND logical operator. For example, if you set display conditions as: Author is Alex Smith, Current Date is July 3, Day of the Week is Tuesday, all these conditions must be met in order for the element to display. It will only display on posts by Alex Smith when the date is July 3 and that date falls on a Tuesday.