A single page template creates a default design for your site’s new pages. This helps you maintain a consistent look and feel. You can use one template for your entire site or create different templates for different areas of your site. For instance, you can use one page template for your About Us section and different template for your Staff Directory.
Single page templates are site parts and can be found by navigating to Templates>Theme Builder.
Want to learn faster? Book a 1-on-1 expert session today.
Create a single page template
To create a Single Page template:
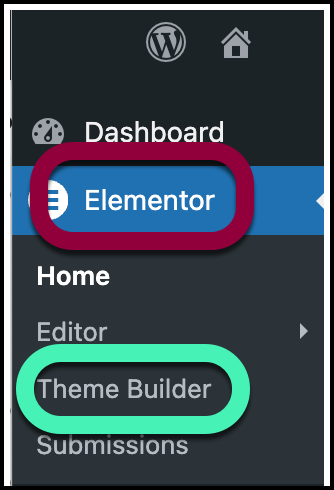
- Go to WP Admin and navigate to Elementor>Theme Builder.
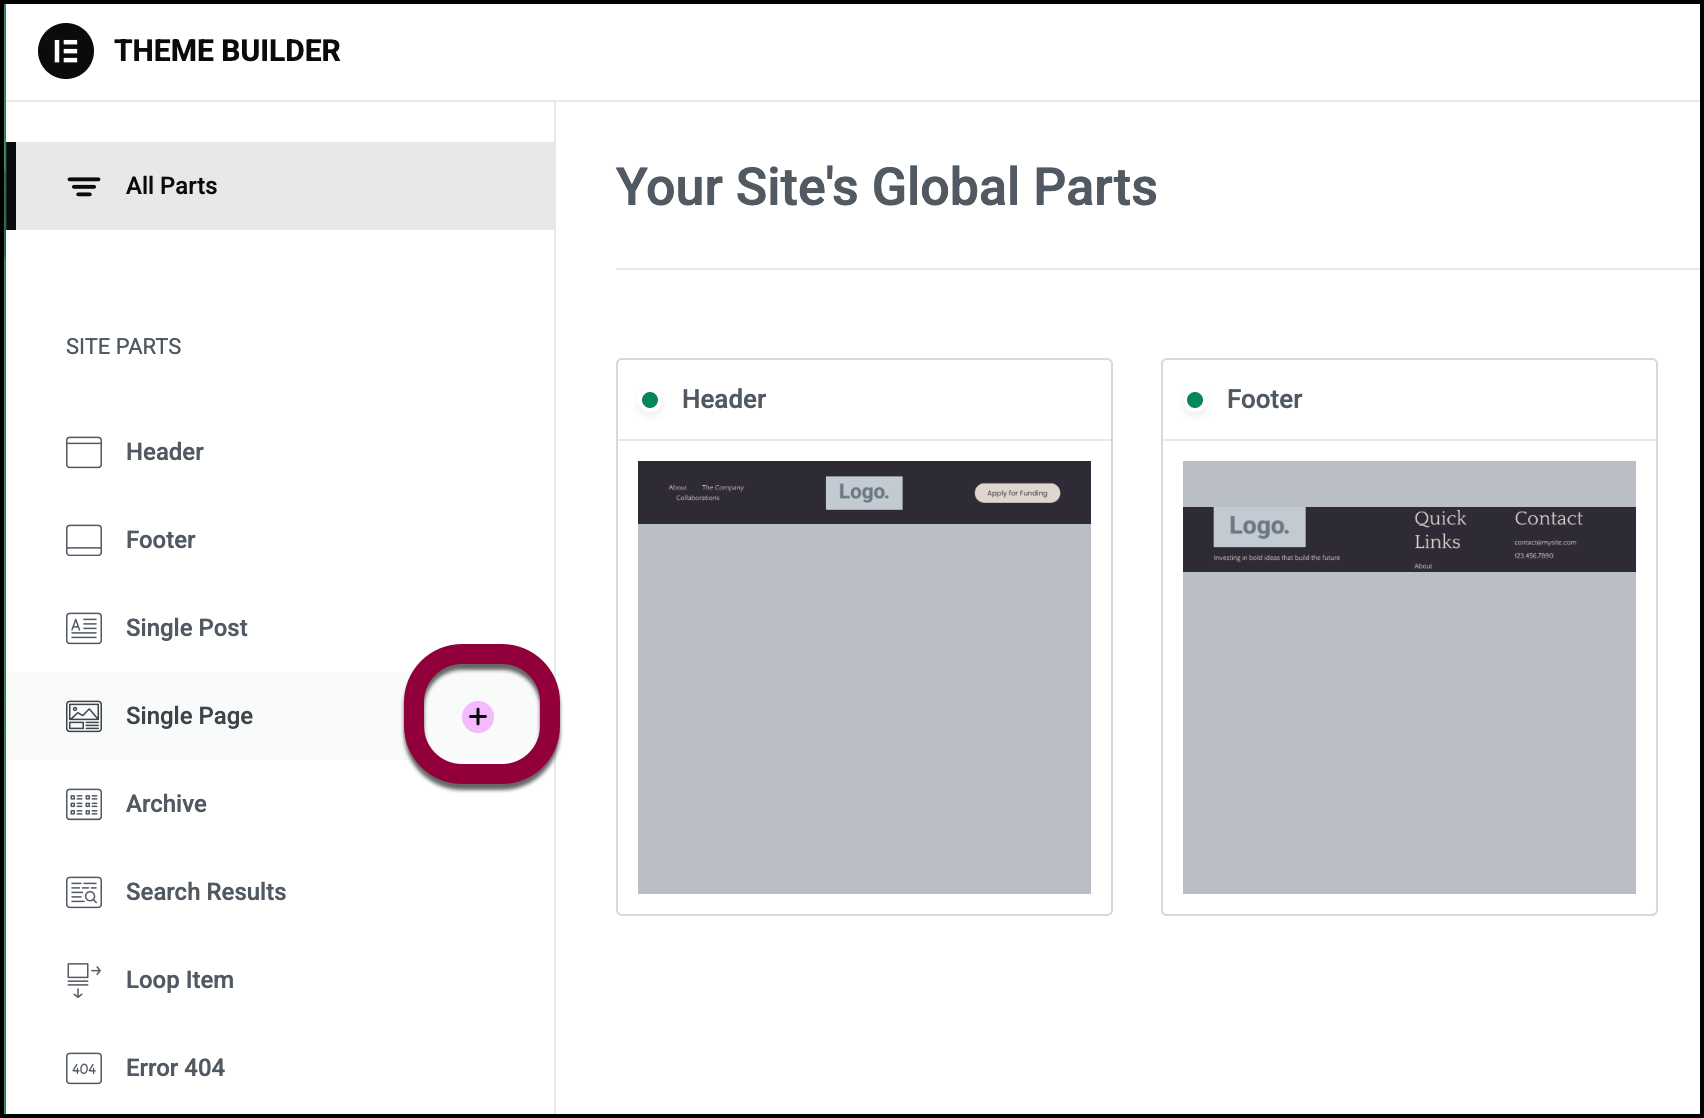
- In the panel, click the plus sign by Single Page.
The Template Library automatically opens. - Click Pages to access the page templates.
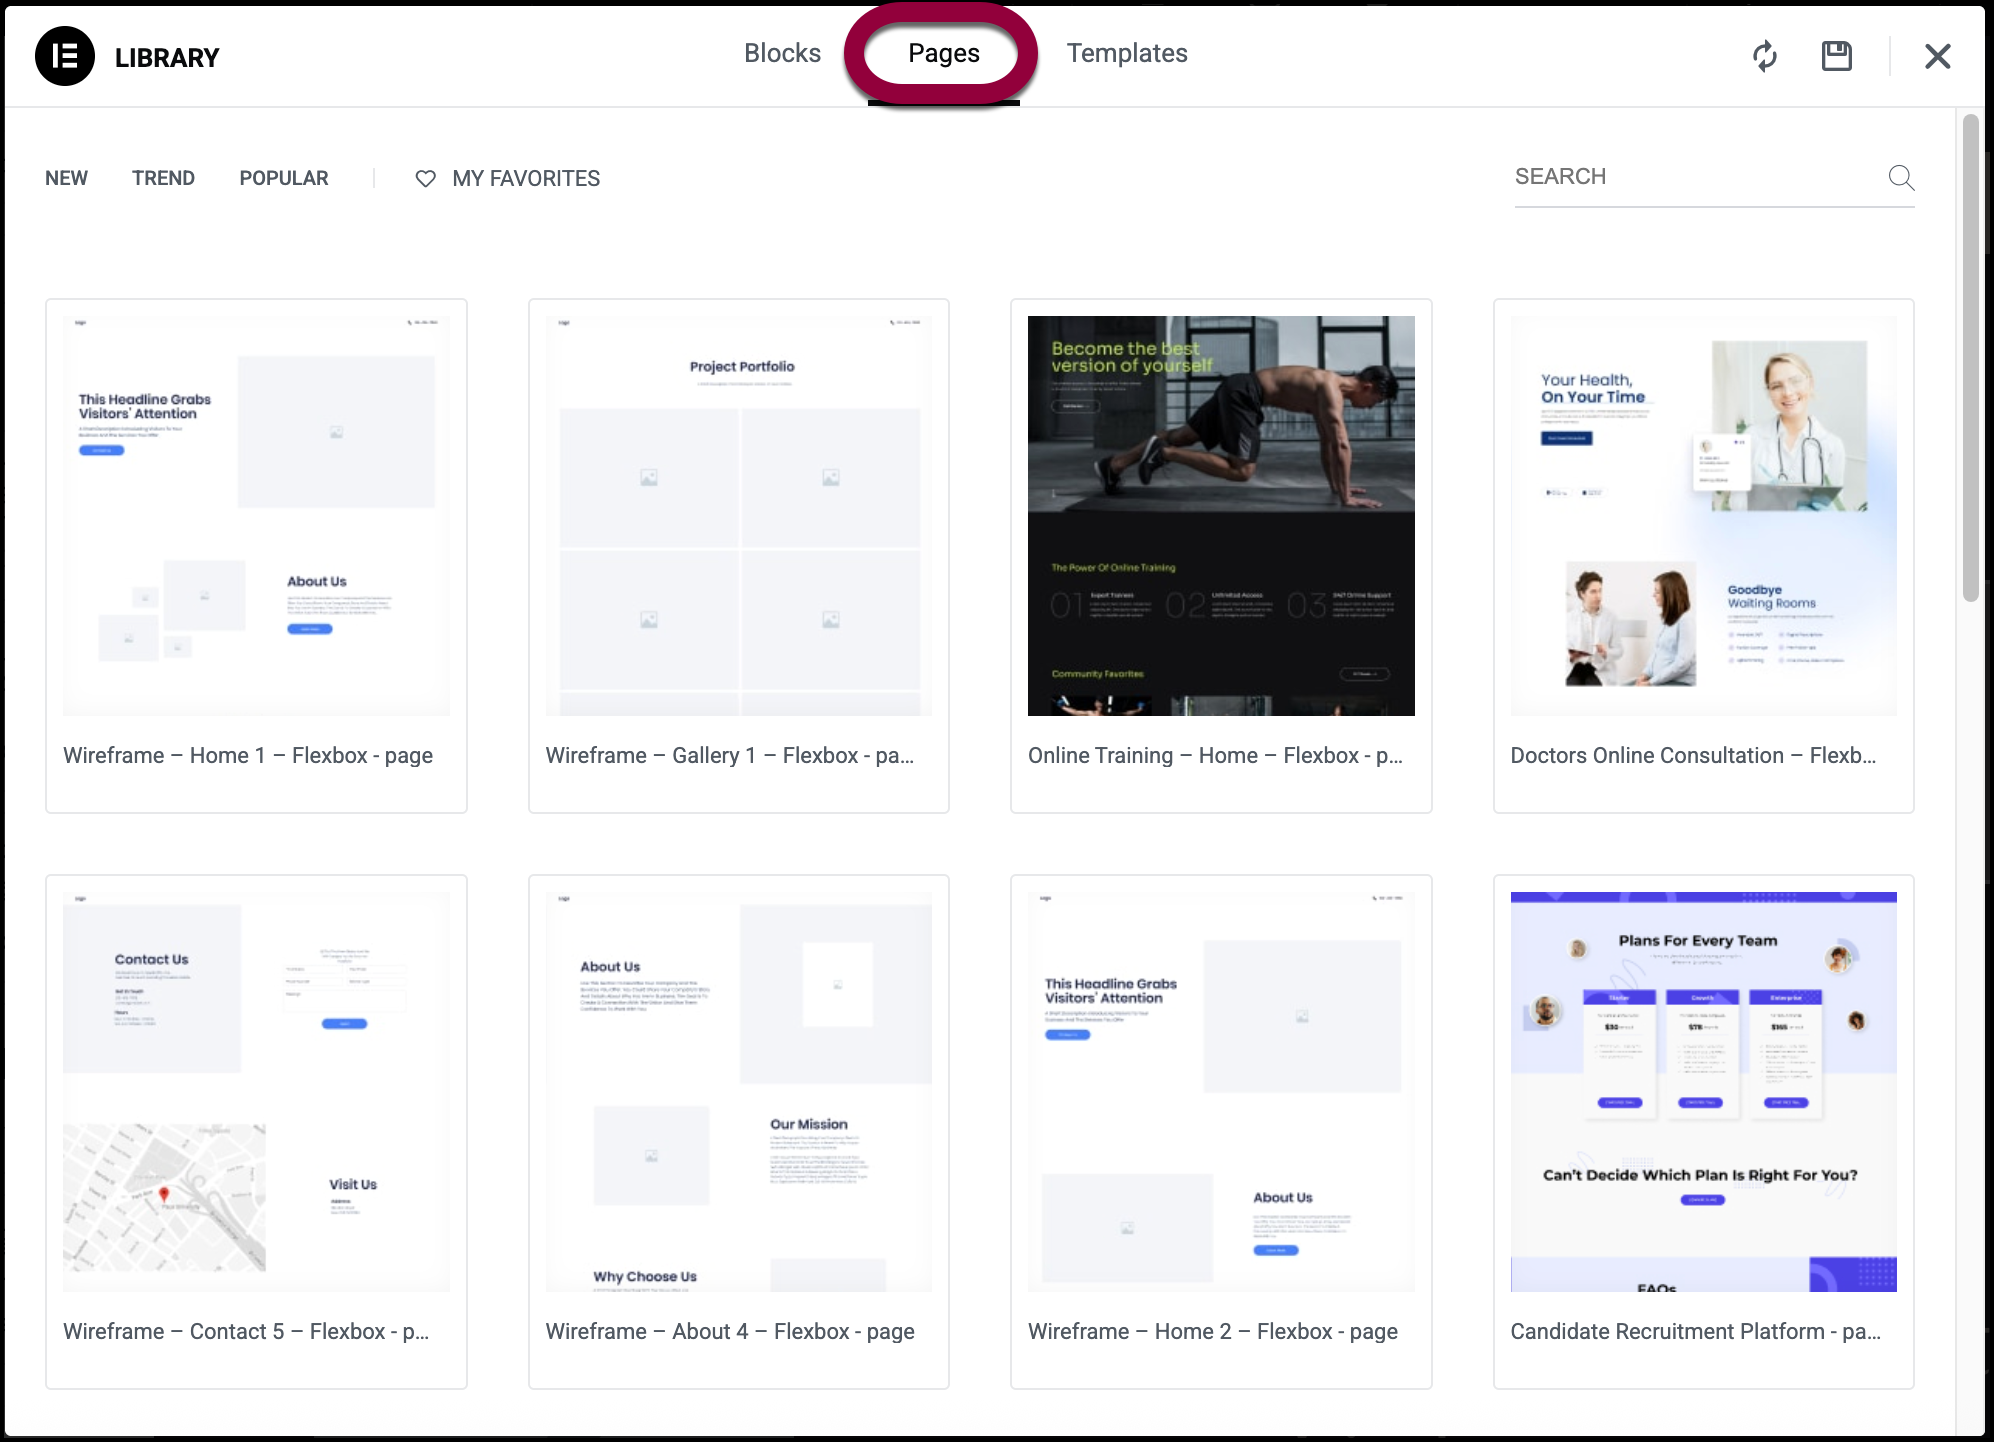
- If the Template Library contains a Single Page template you want to use, select it to open the Elementor Editor and begin the design process.
- If you want to design the template from scratch, close the Template Library.
The Elementor Editor opens.
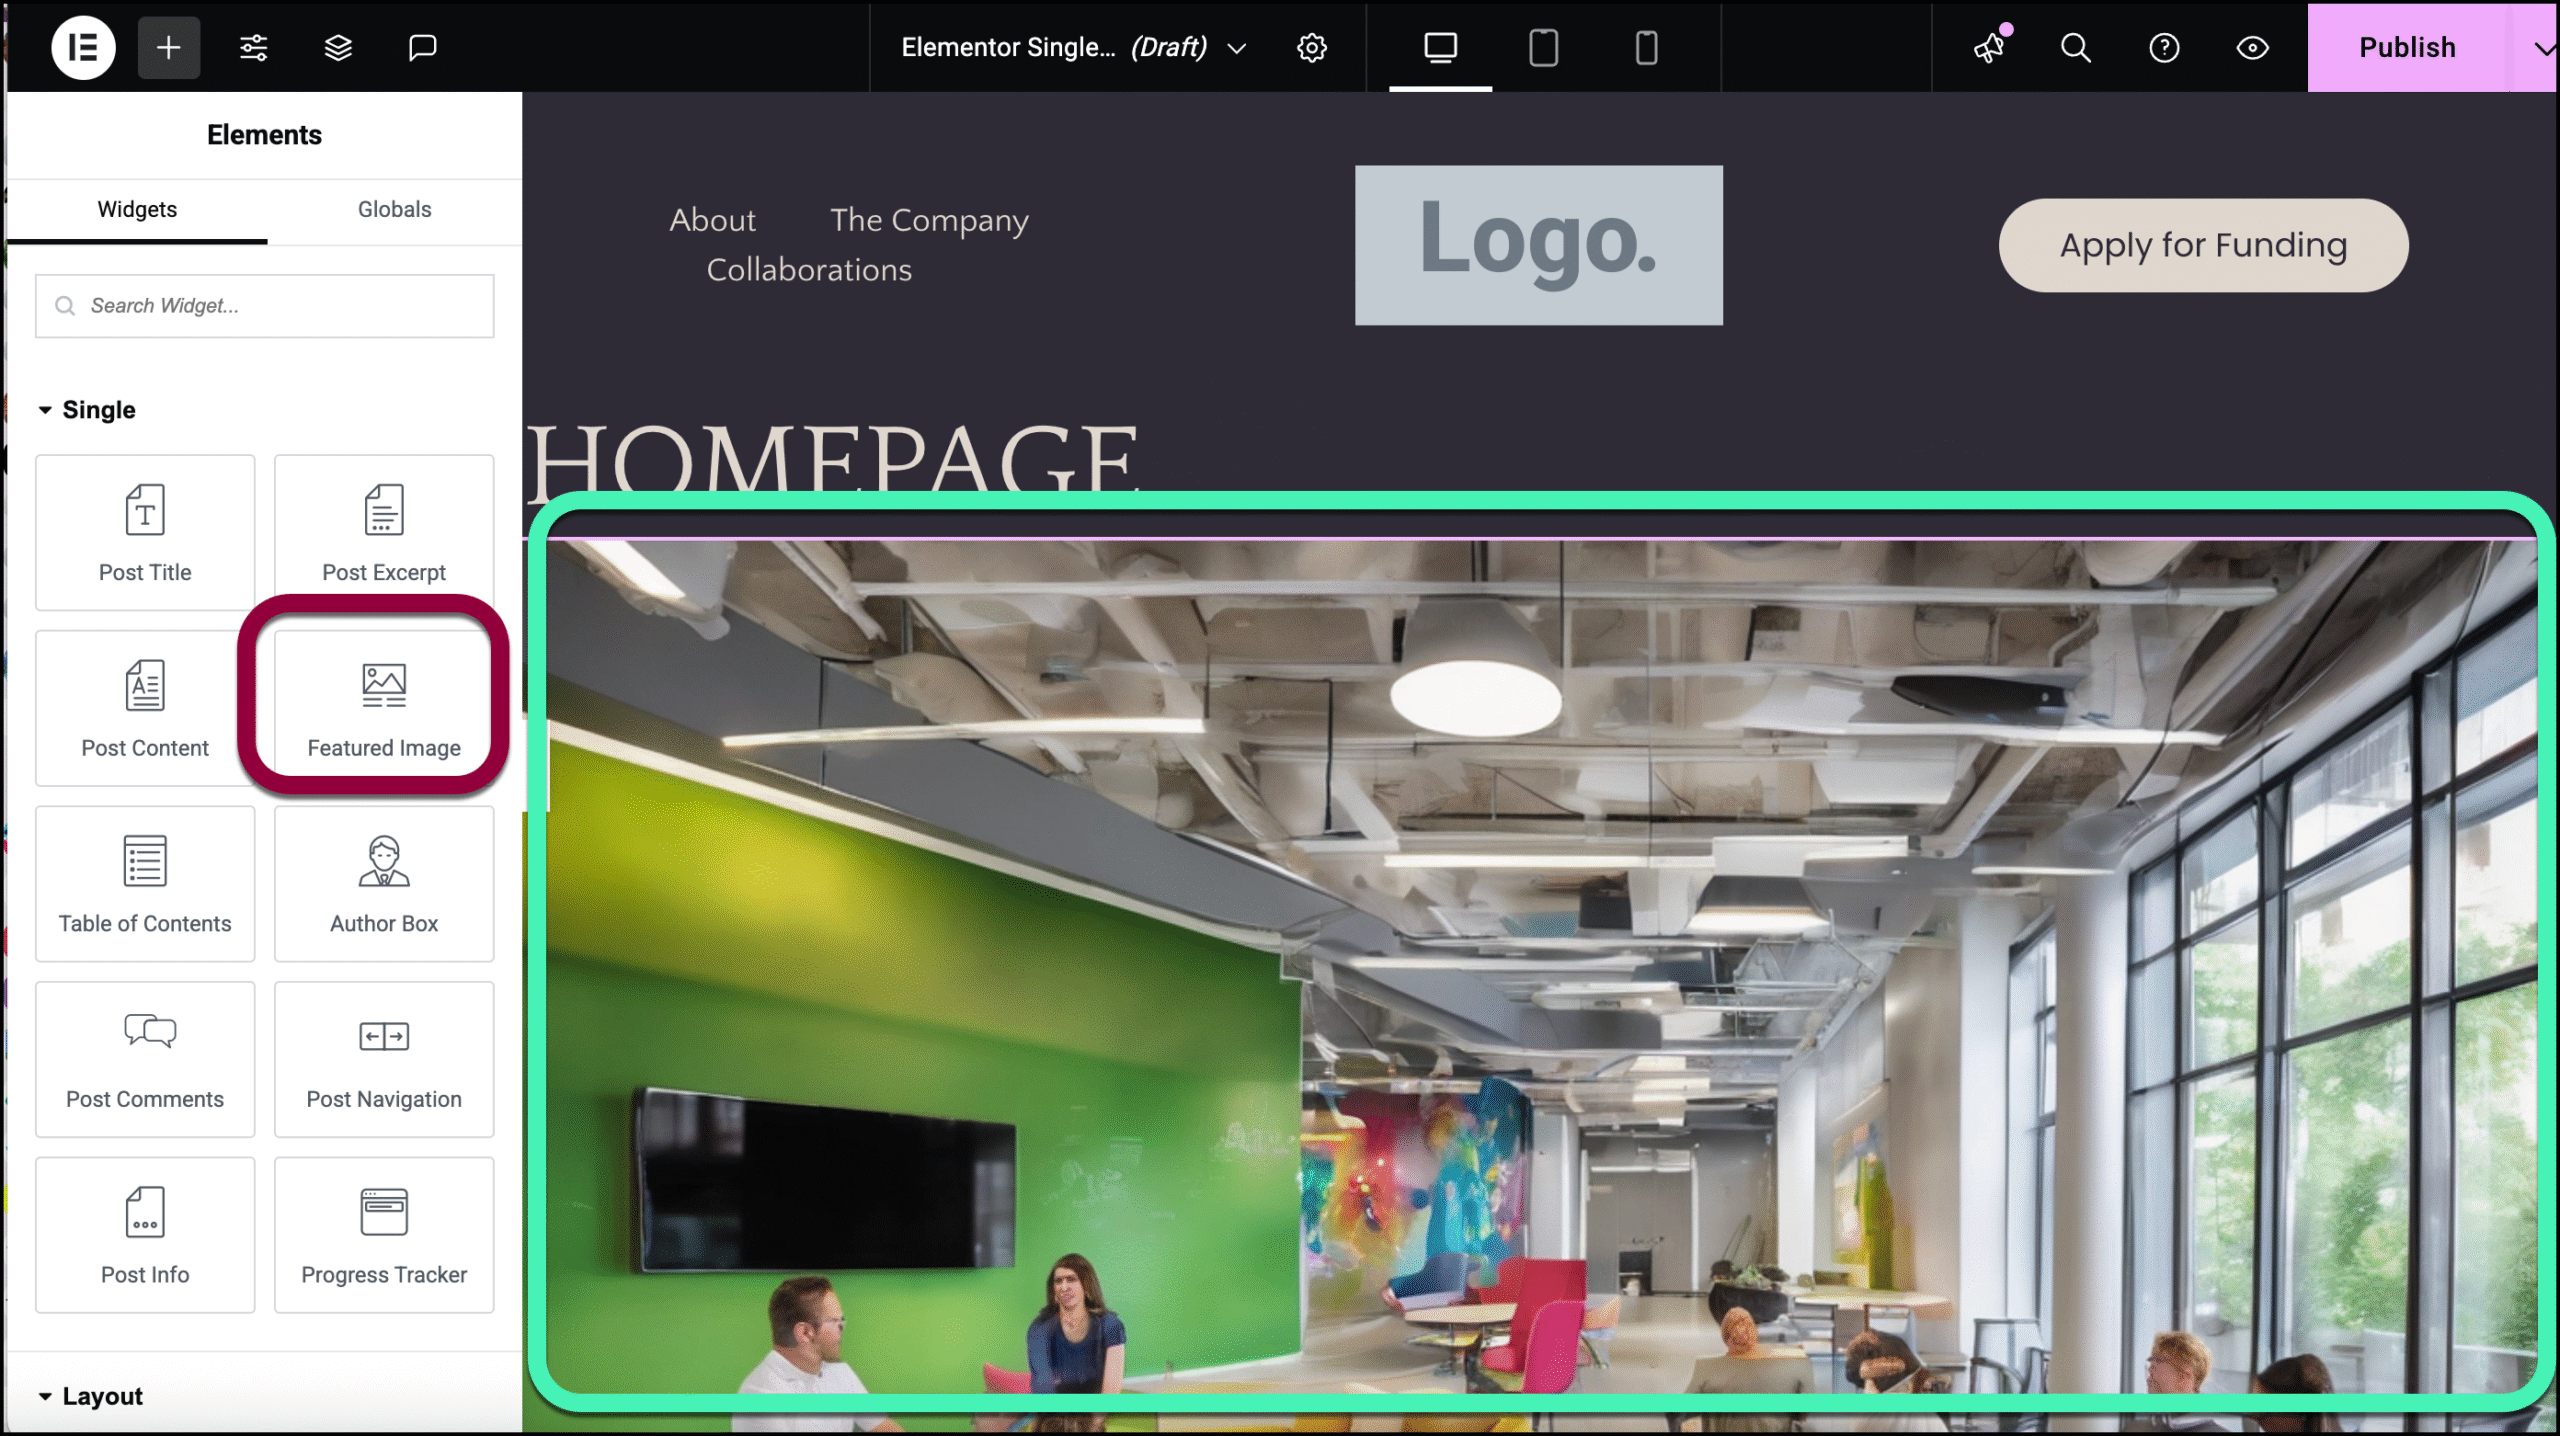
Remember, Single Page templates are used for designing your pages and so will pull dynamic information. Therefore, the panel contains widgets meant to display dynamic information.
For this example, our page design will contain the page’s title and featured image. - Drag the Post Title widget to the canvas.
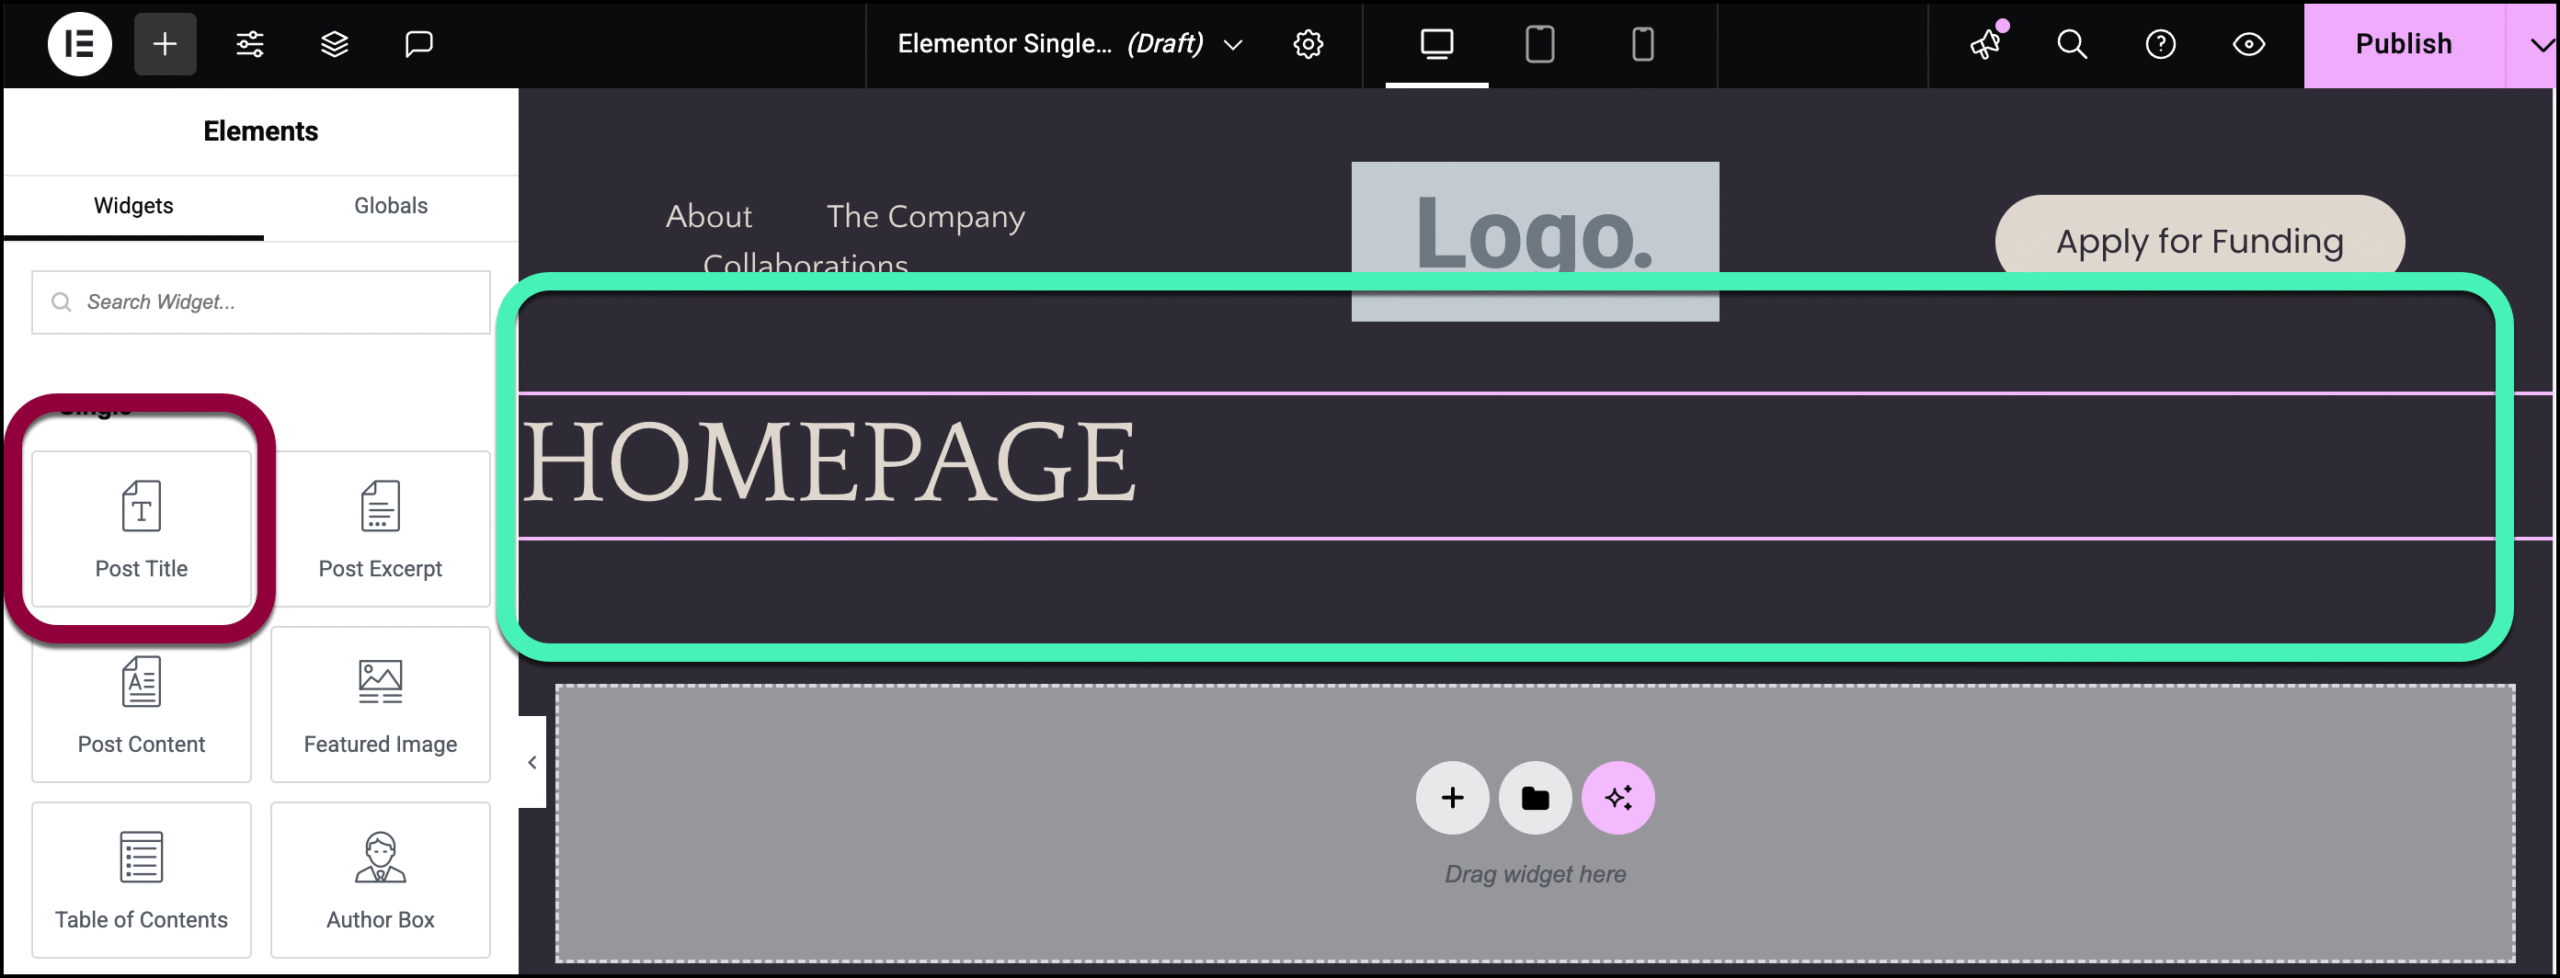
- Drag the Featured Image widget underneath the title.
- In the upper right, click Publish.
- The Conditions window opens.
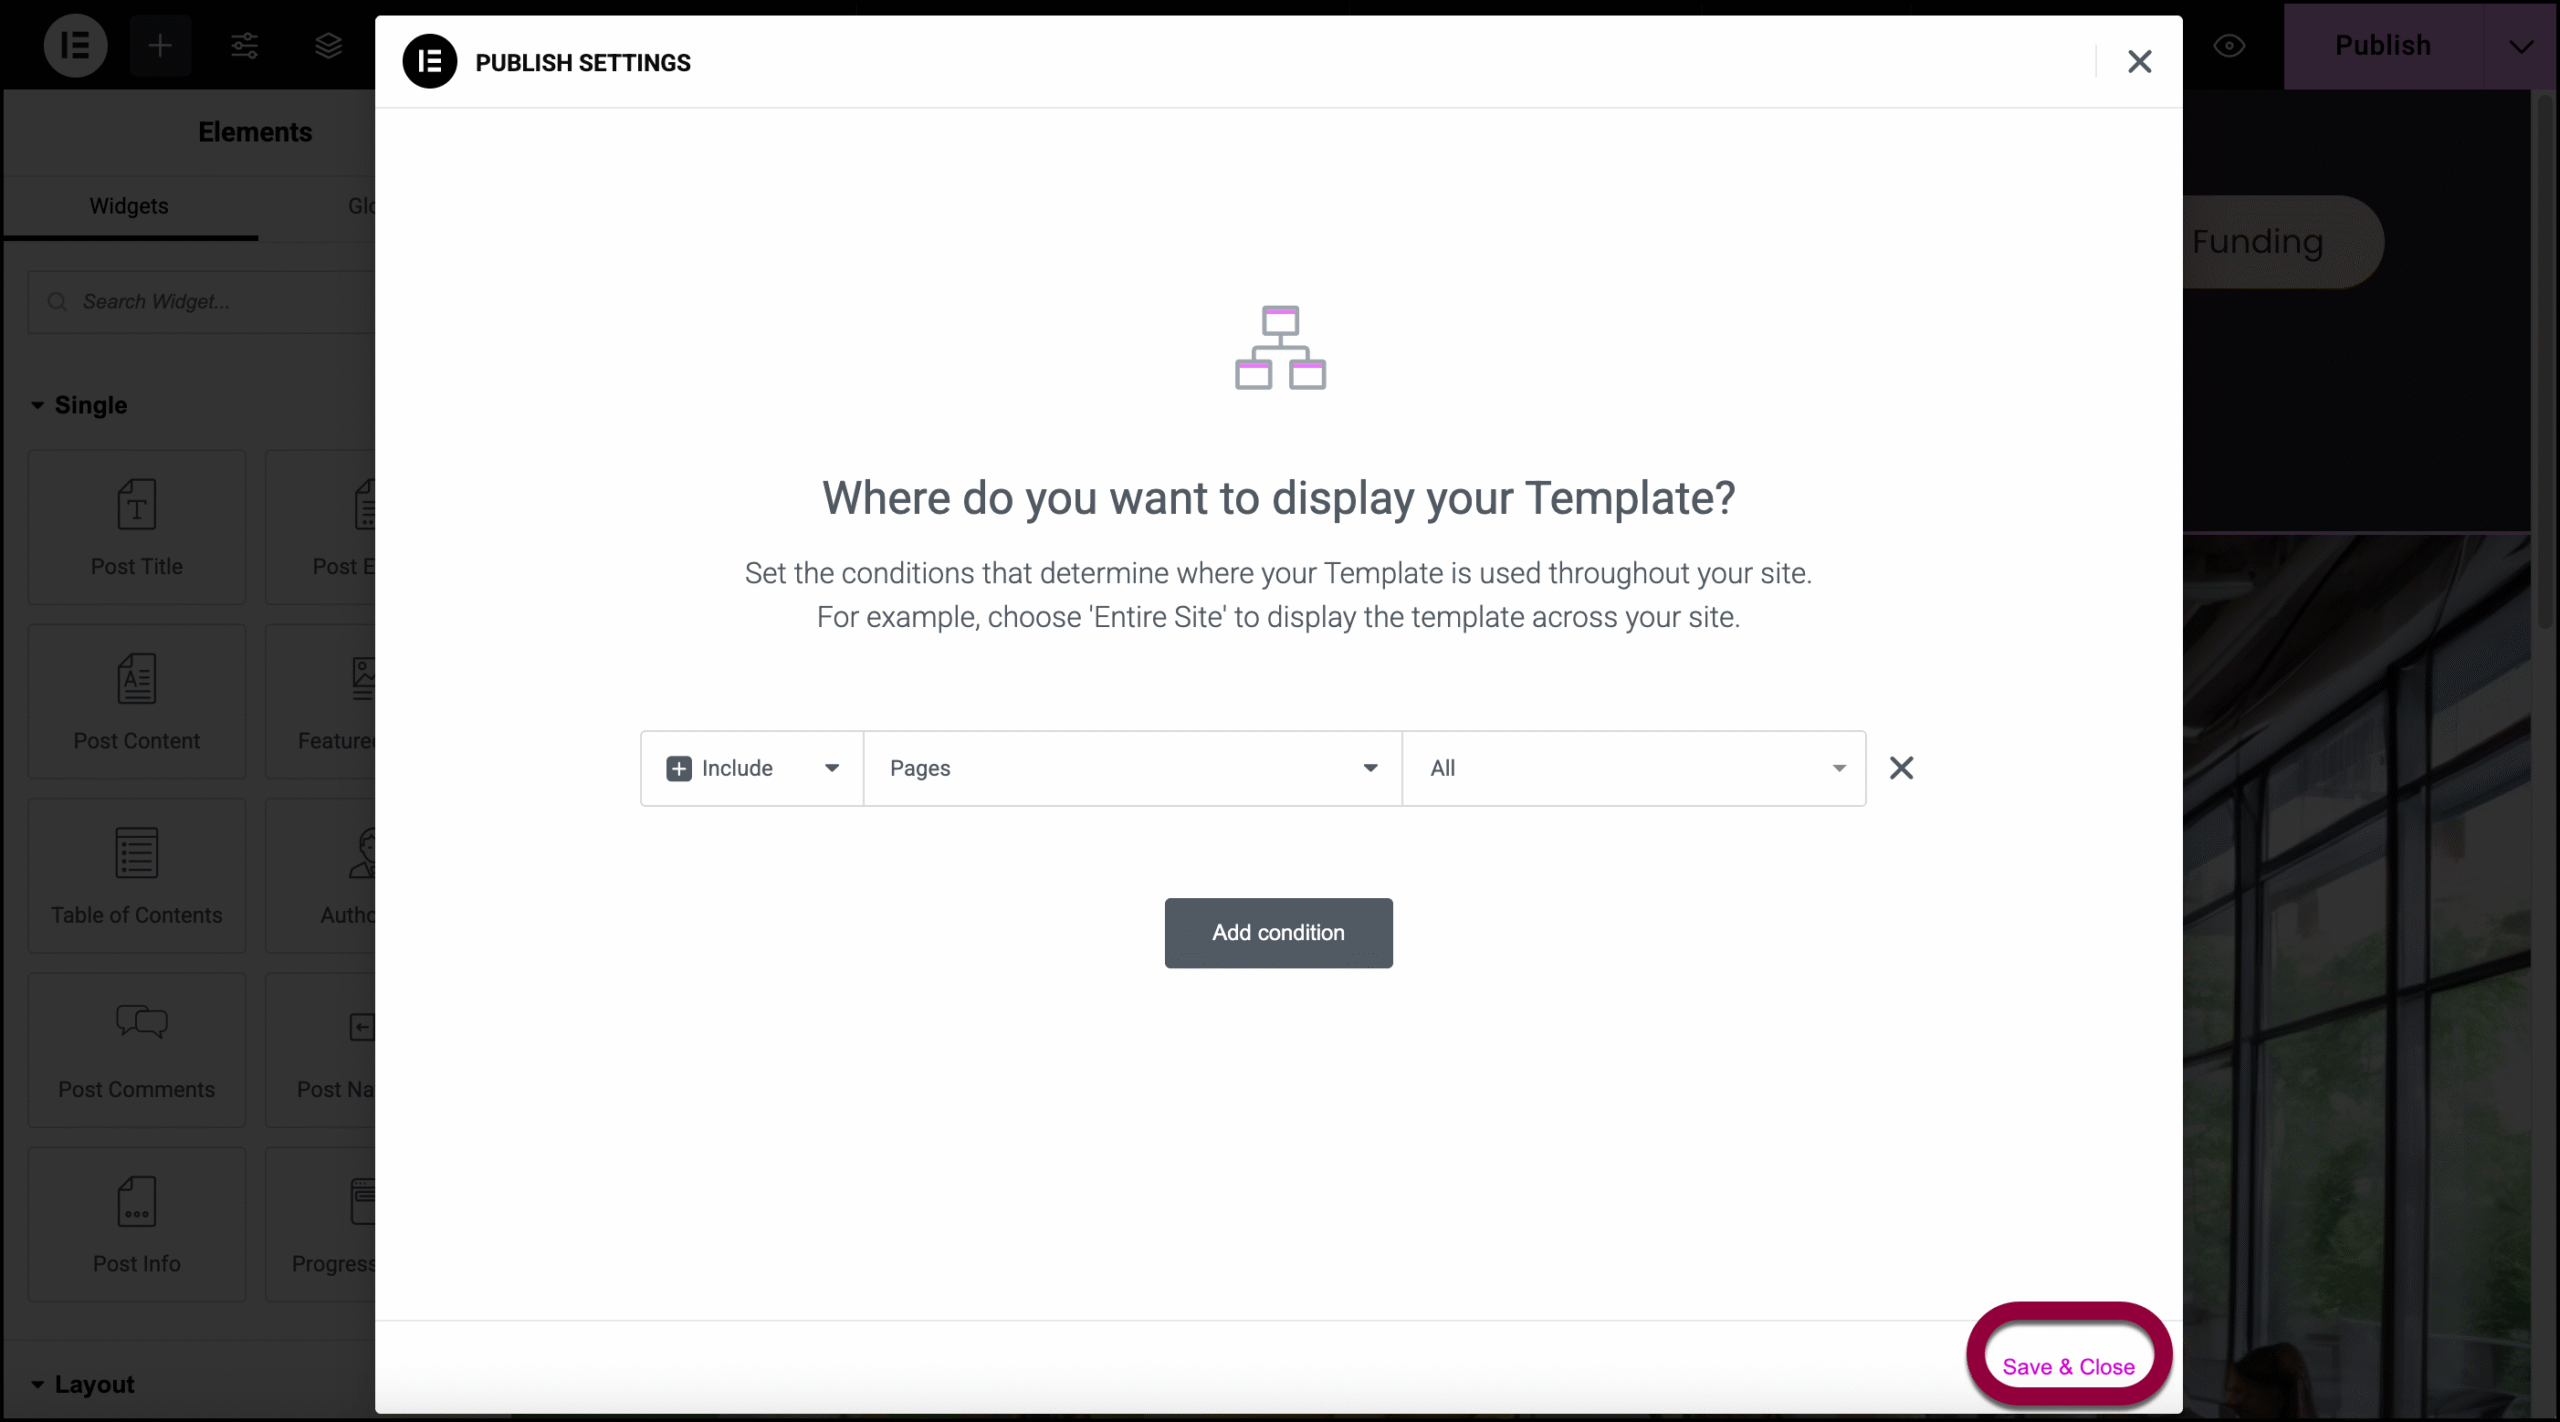
You need to decide when this Single Page will be used. For details, see Set conditions for site part templates. In this case, we’ll use this template on all the site’s pages.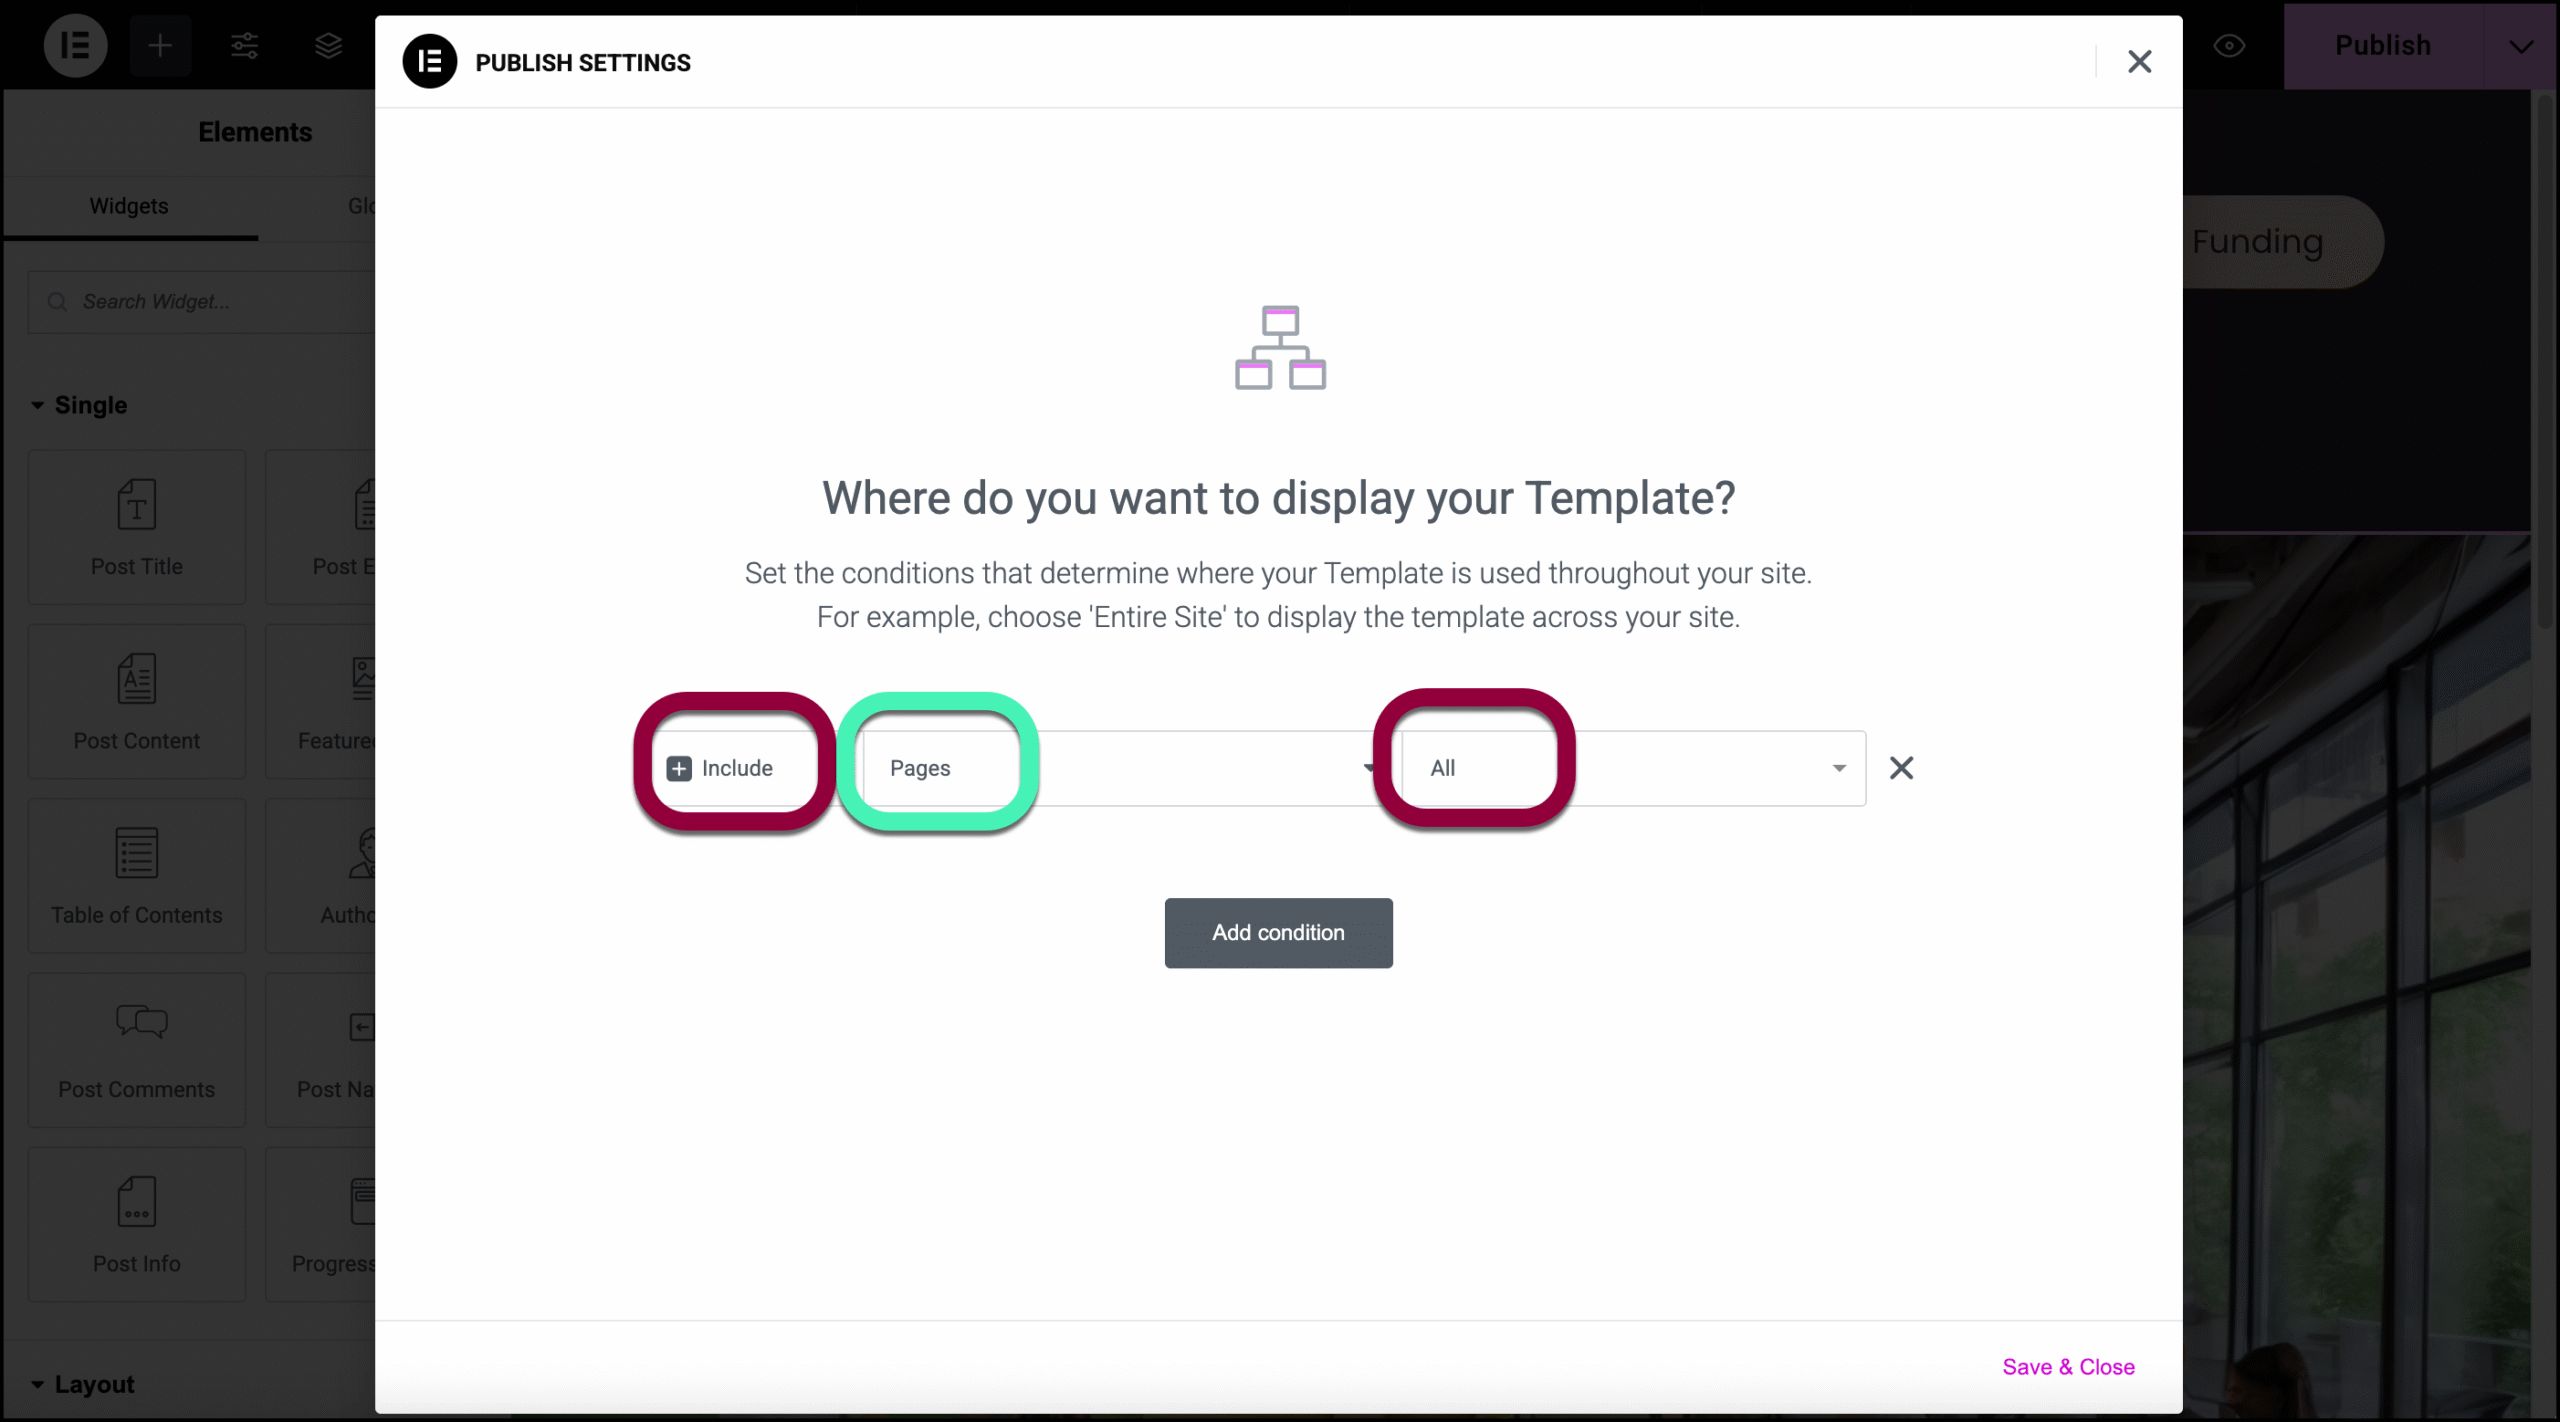
- Click Save & Close.
Edit a Single Page template
To edit or delete a Single Page template:
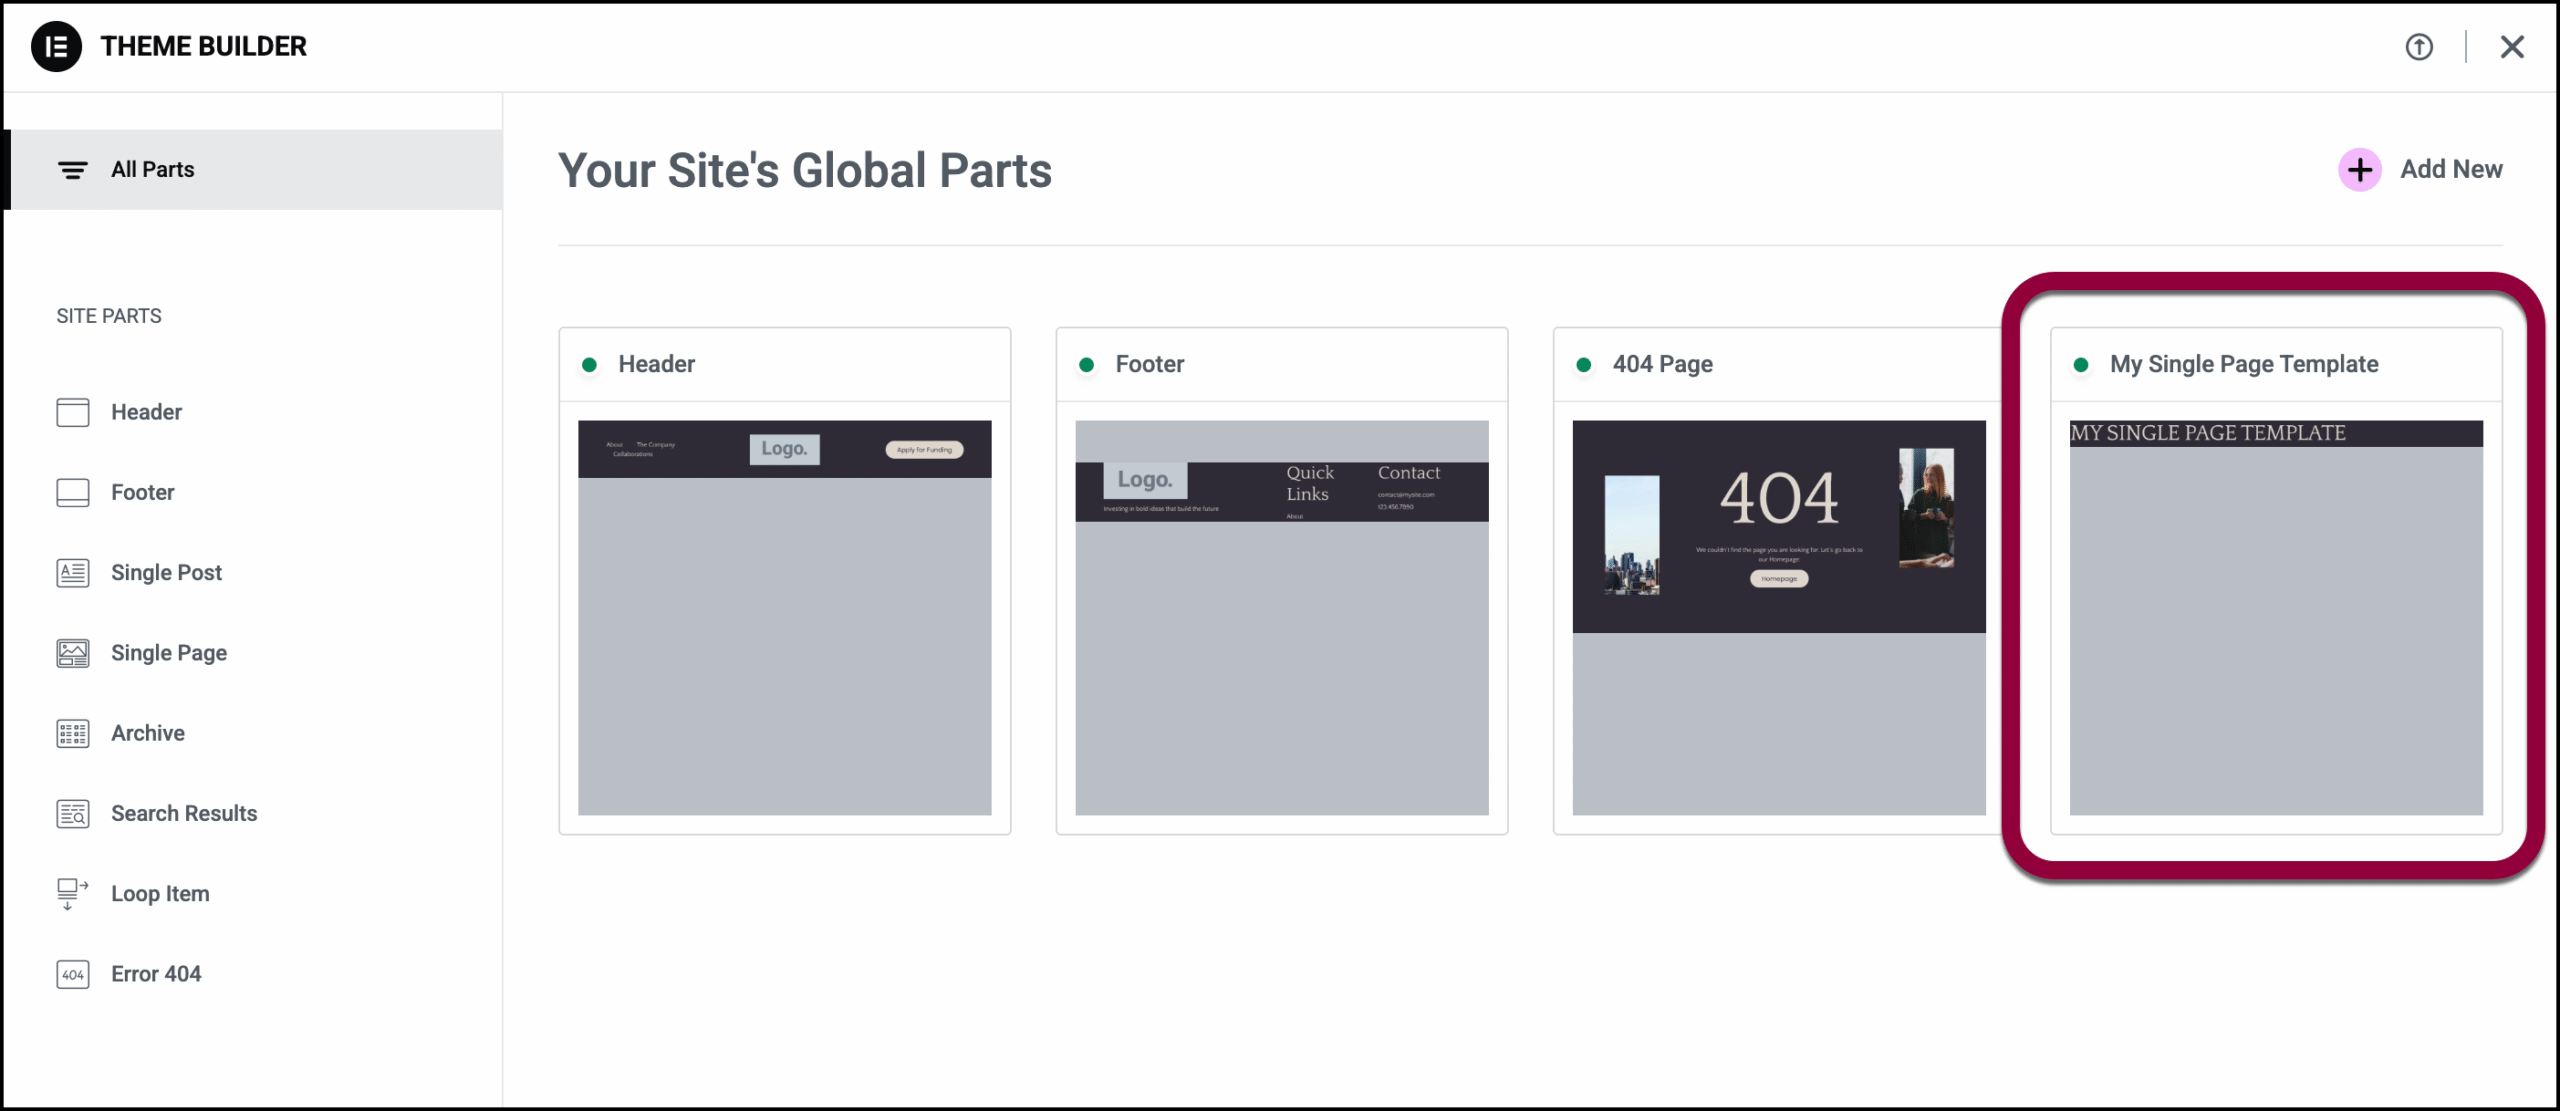
- Go to WP Admin and navigate to Elementor>Theme Builder.
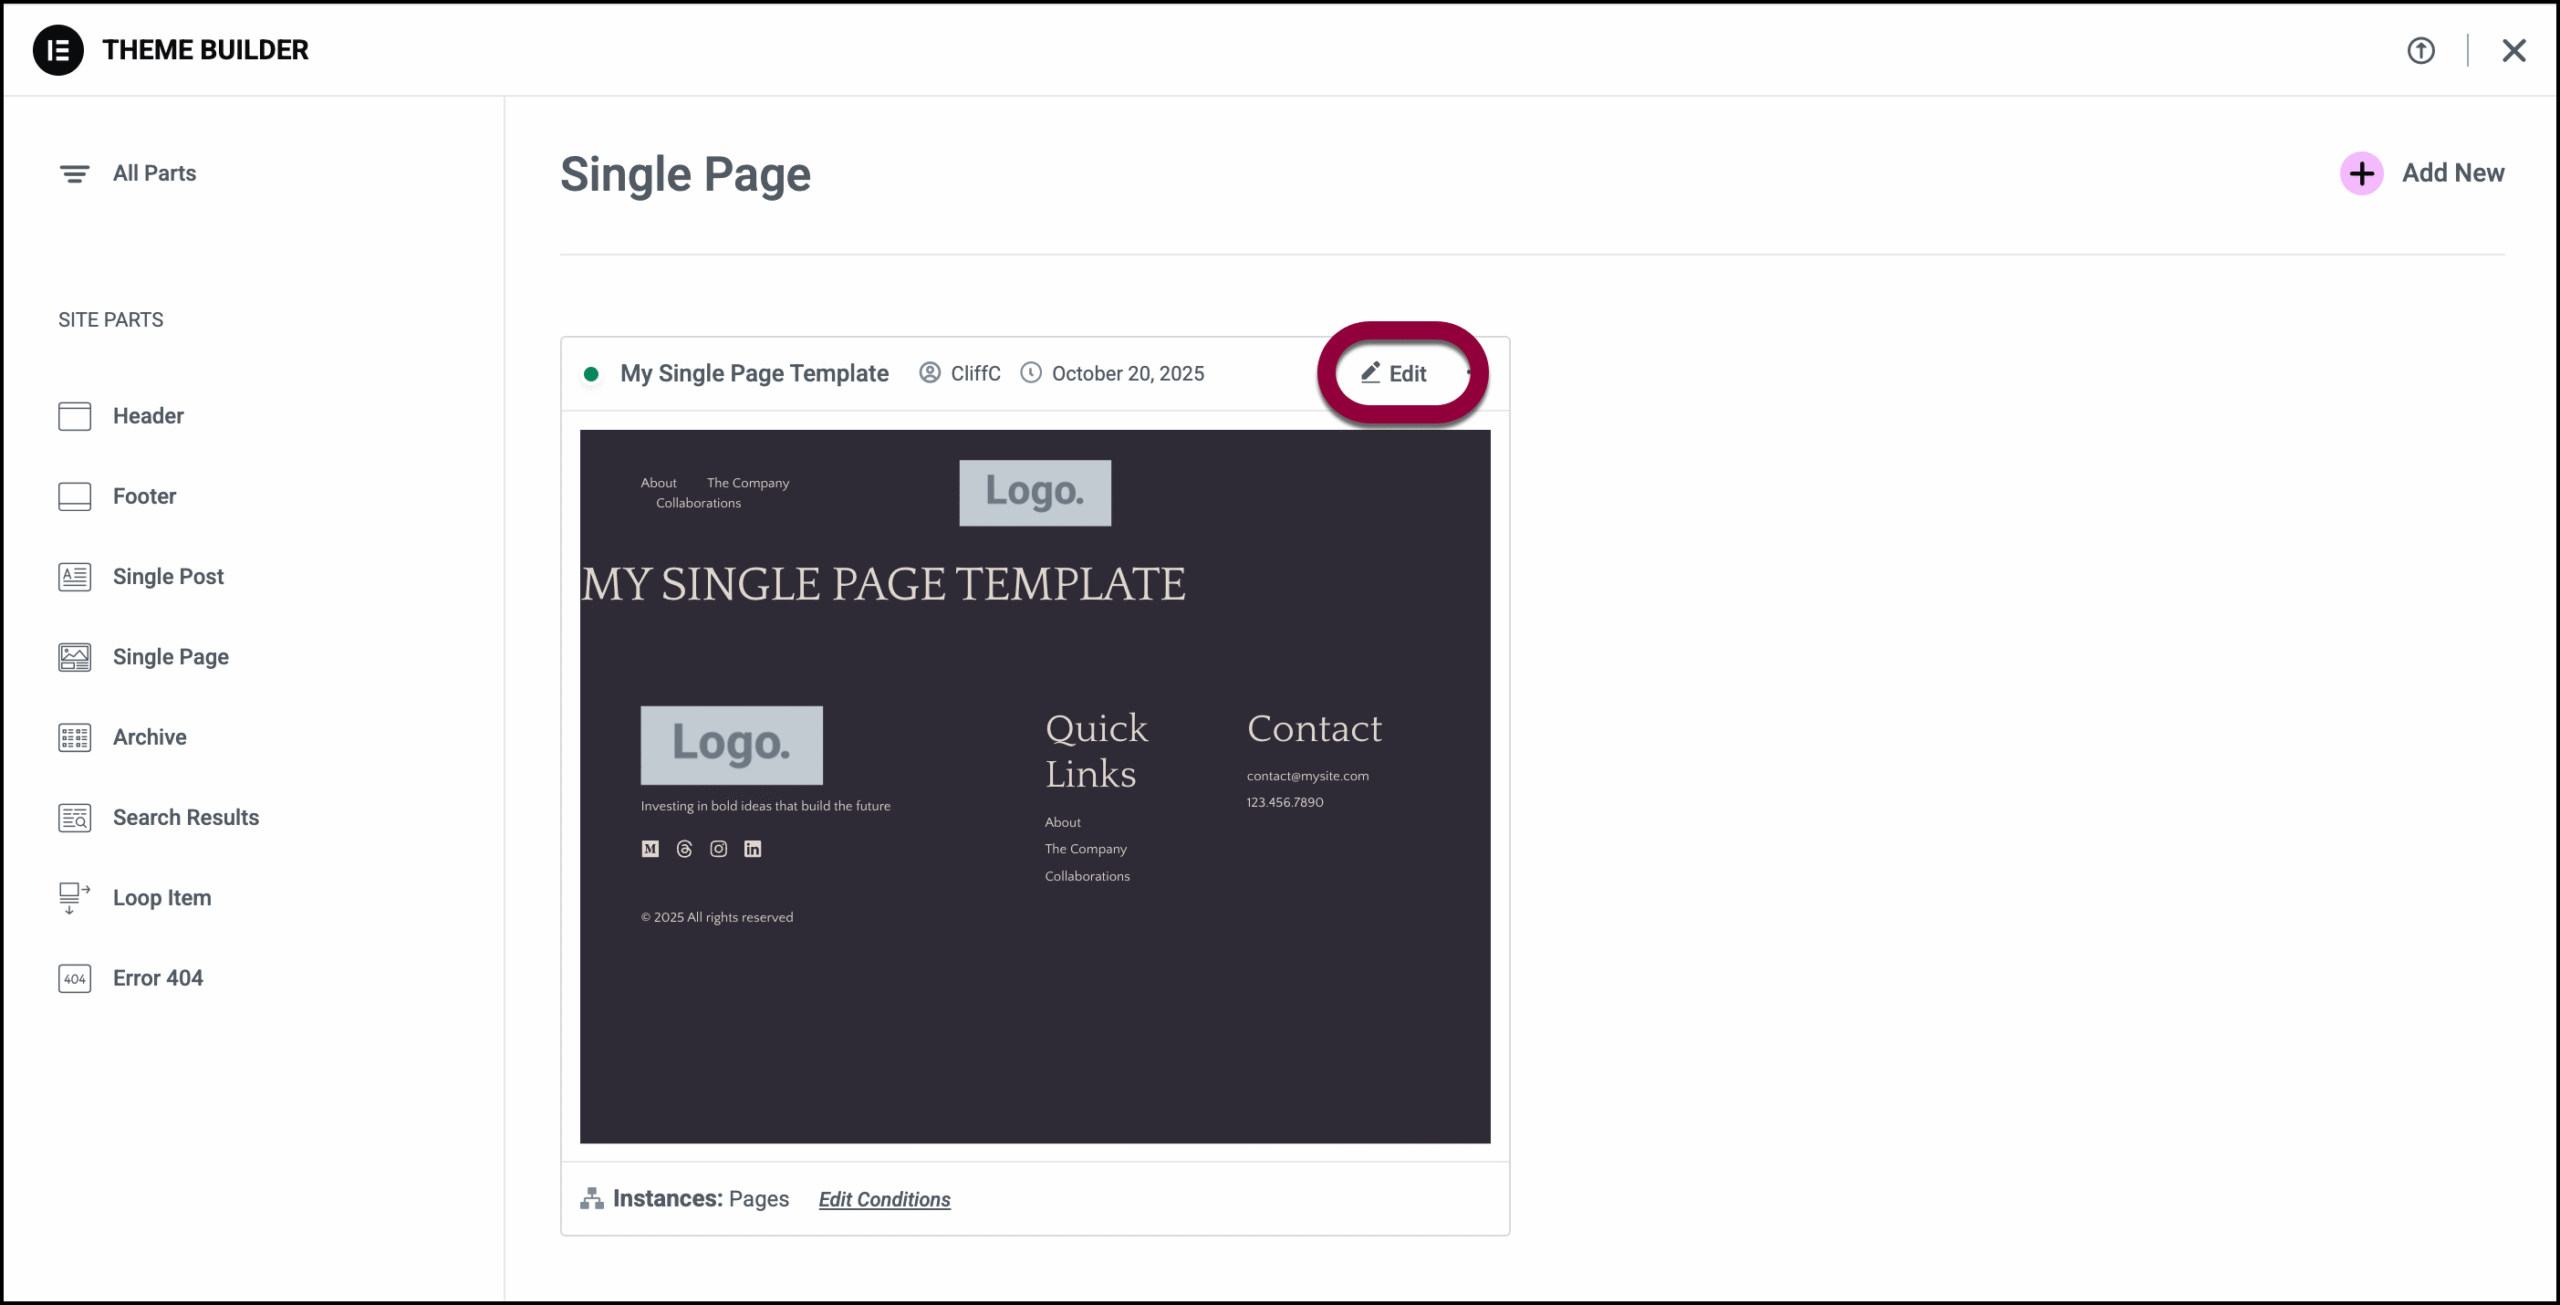
- Click the template you want to edit.
- Click Edit and the template will open in the Elementor Editor, ready for you to edit.
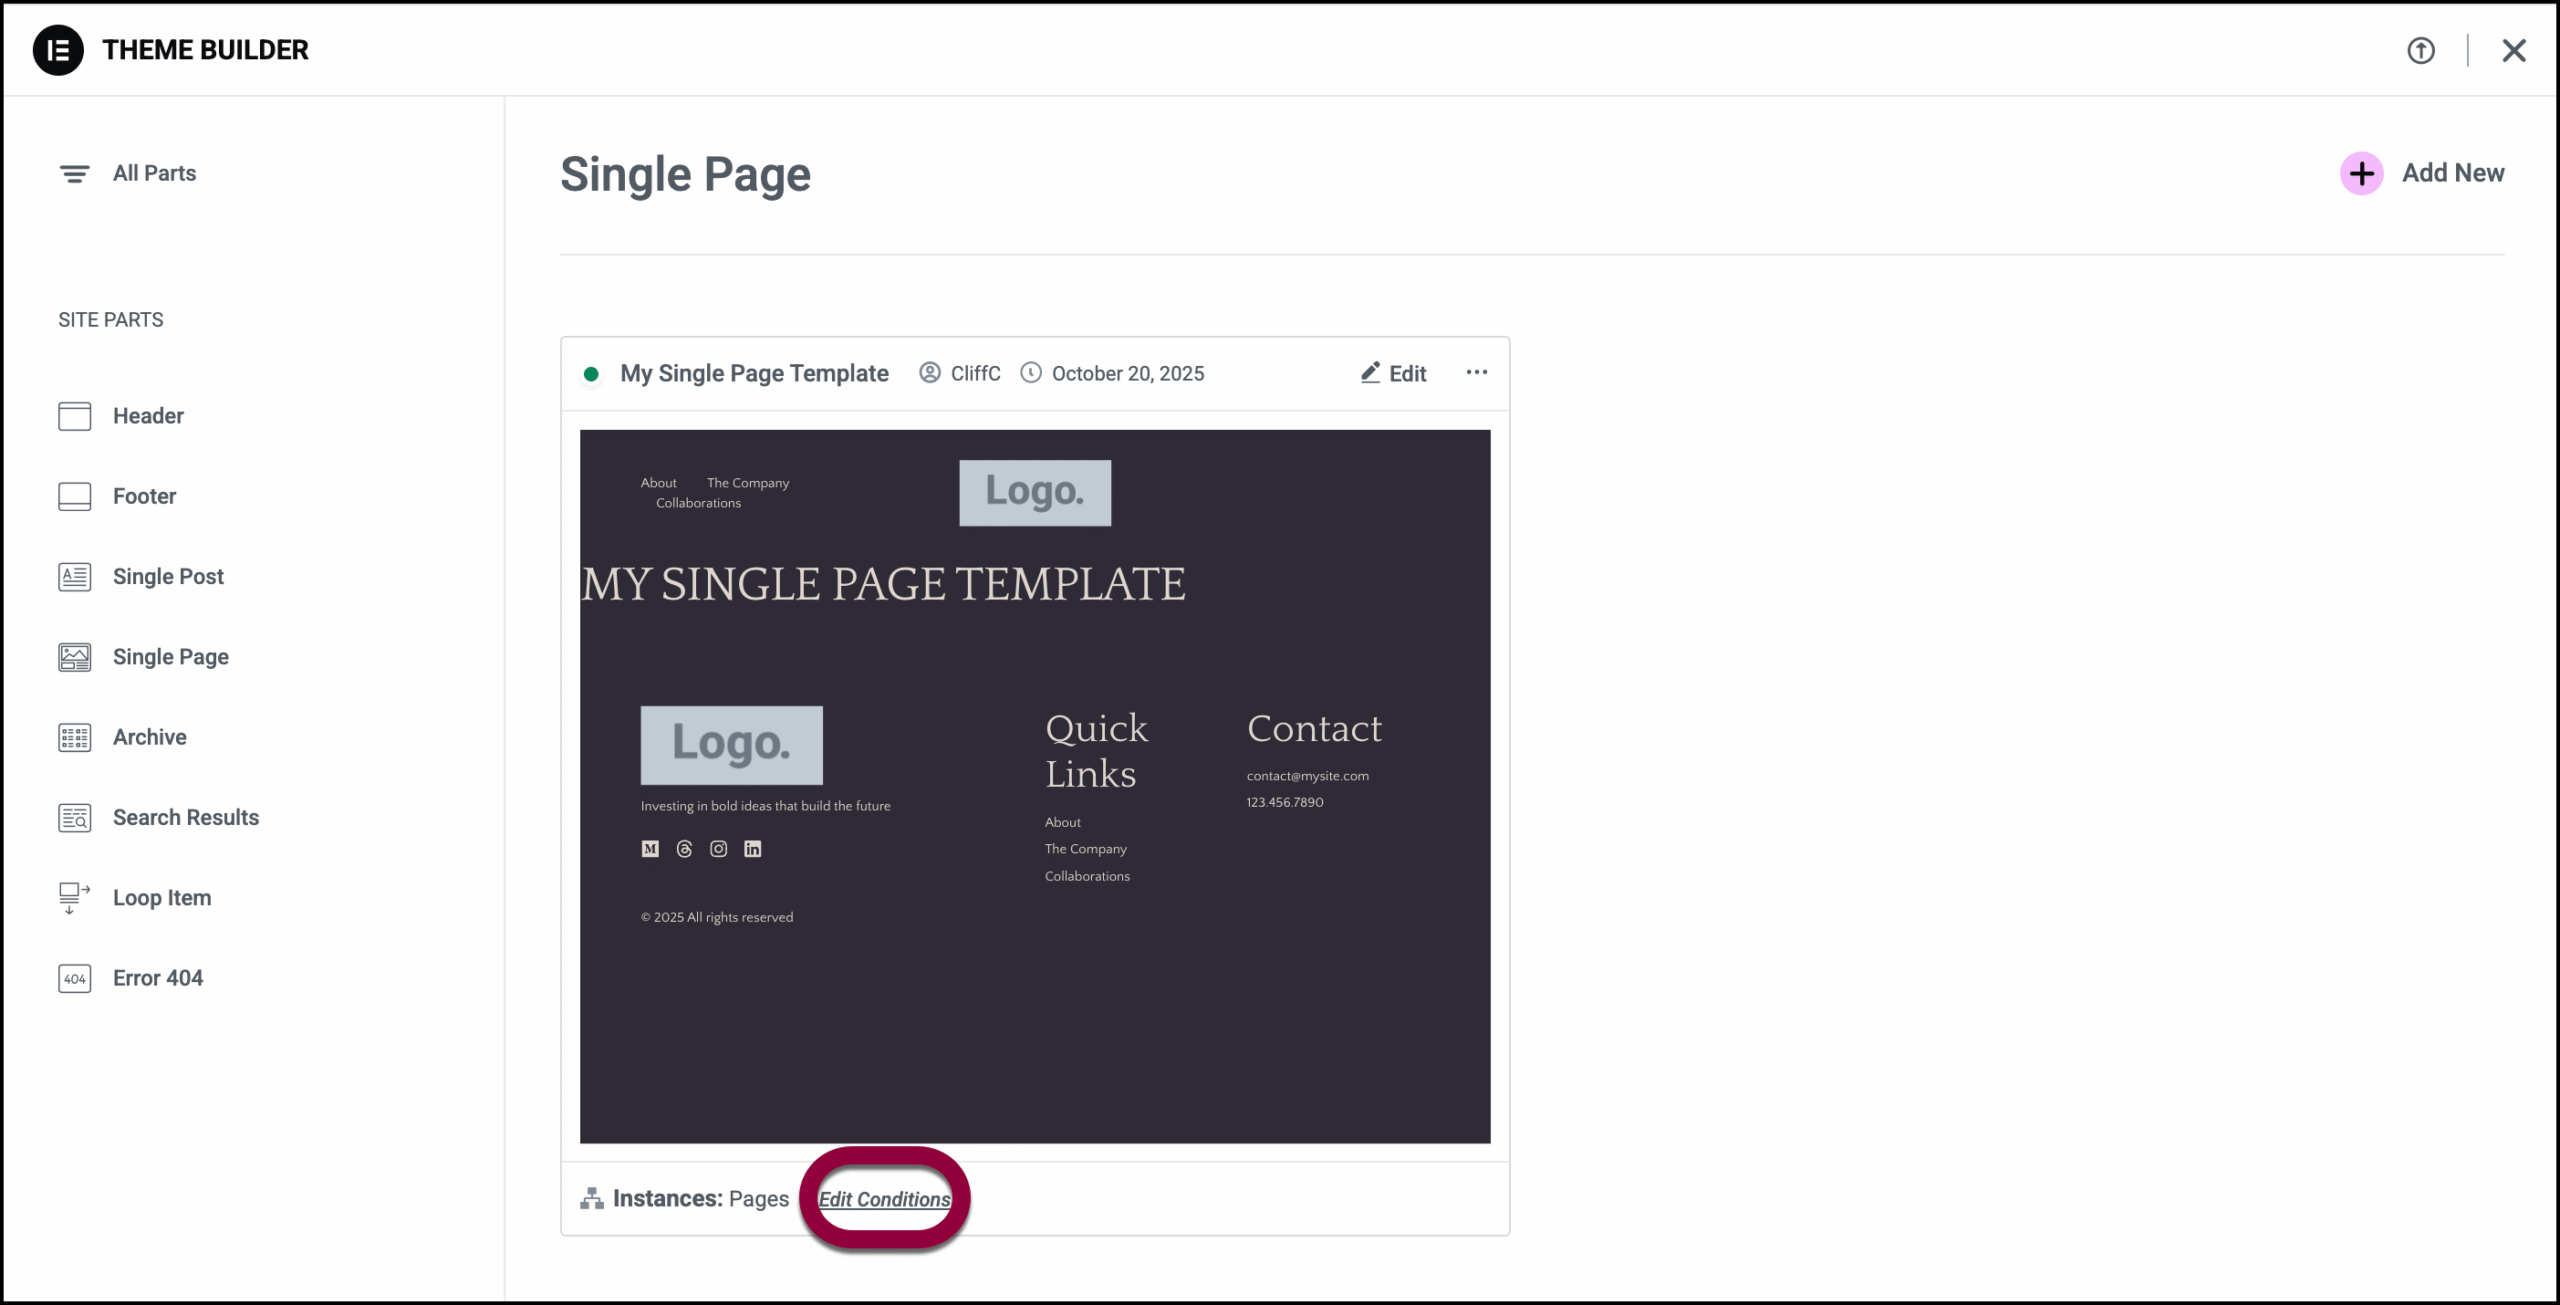
- If you only want to change where the template is used, click Edit Conditions.
Export, delete or rename a Single Page template
To edit or delete a Single Page template:
- Go to WP Admin and navigate to Elementor>Theme Builder.
- Click the template you want to delete.
- Click the ellipses and select an action from the dropdown menu.
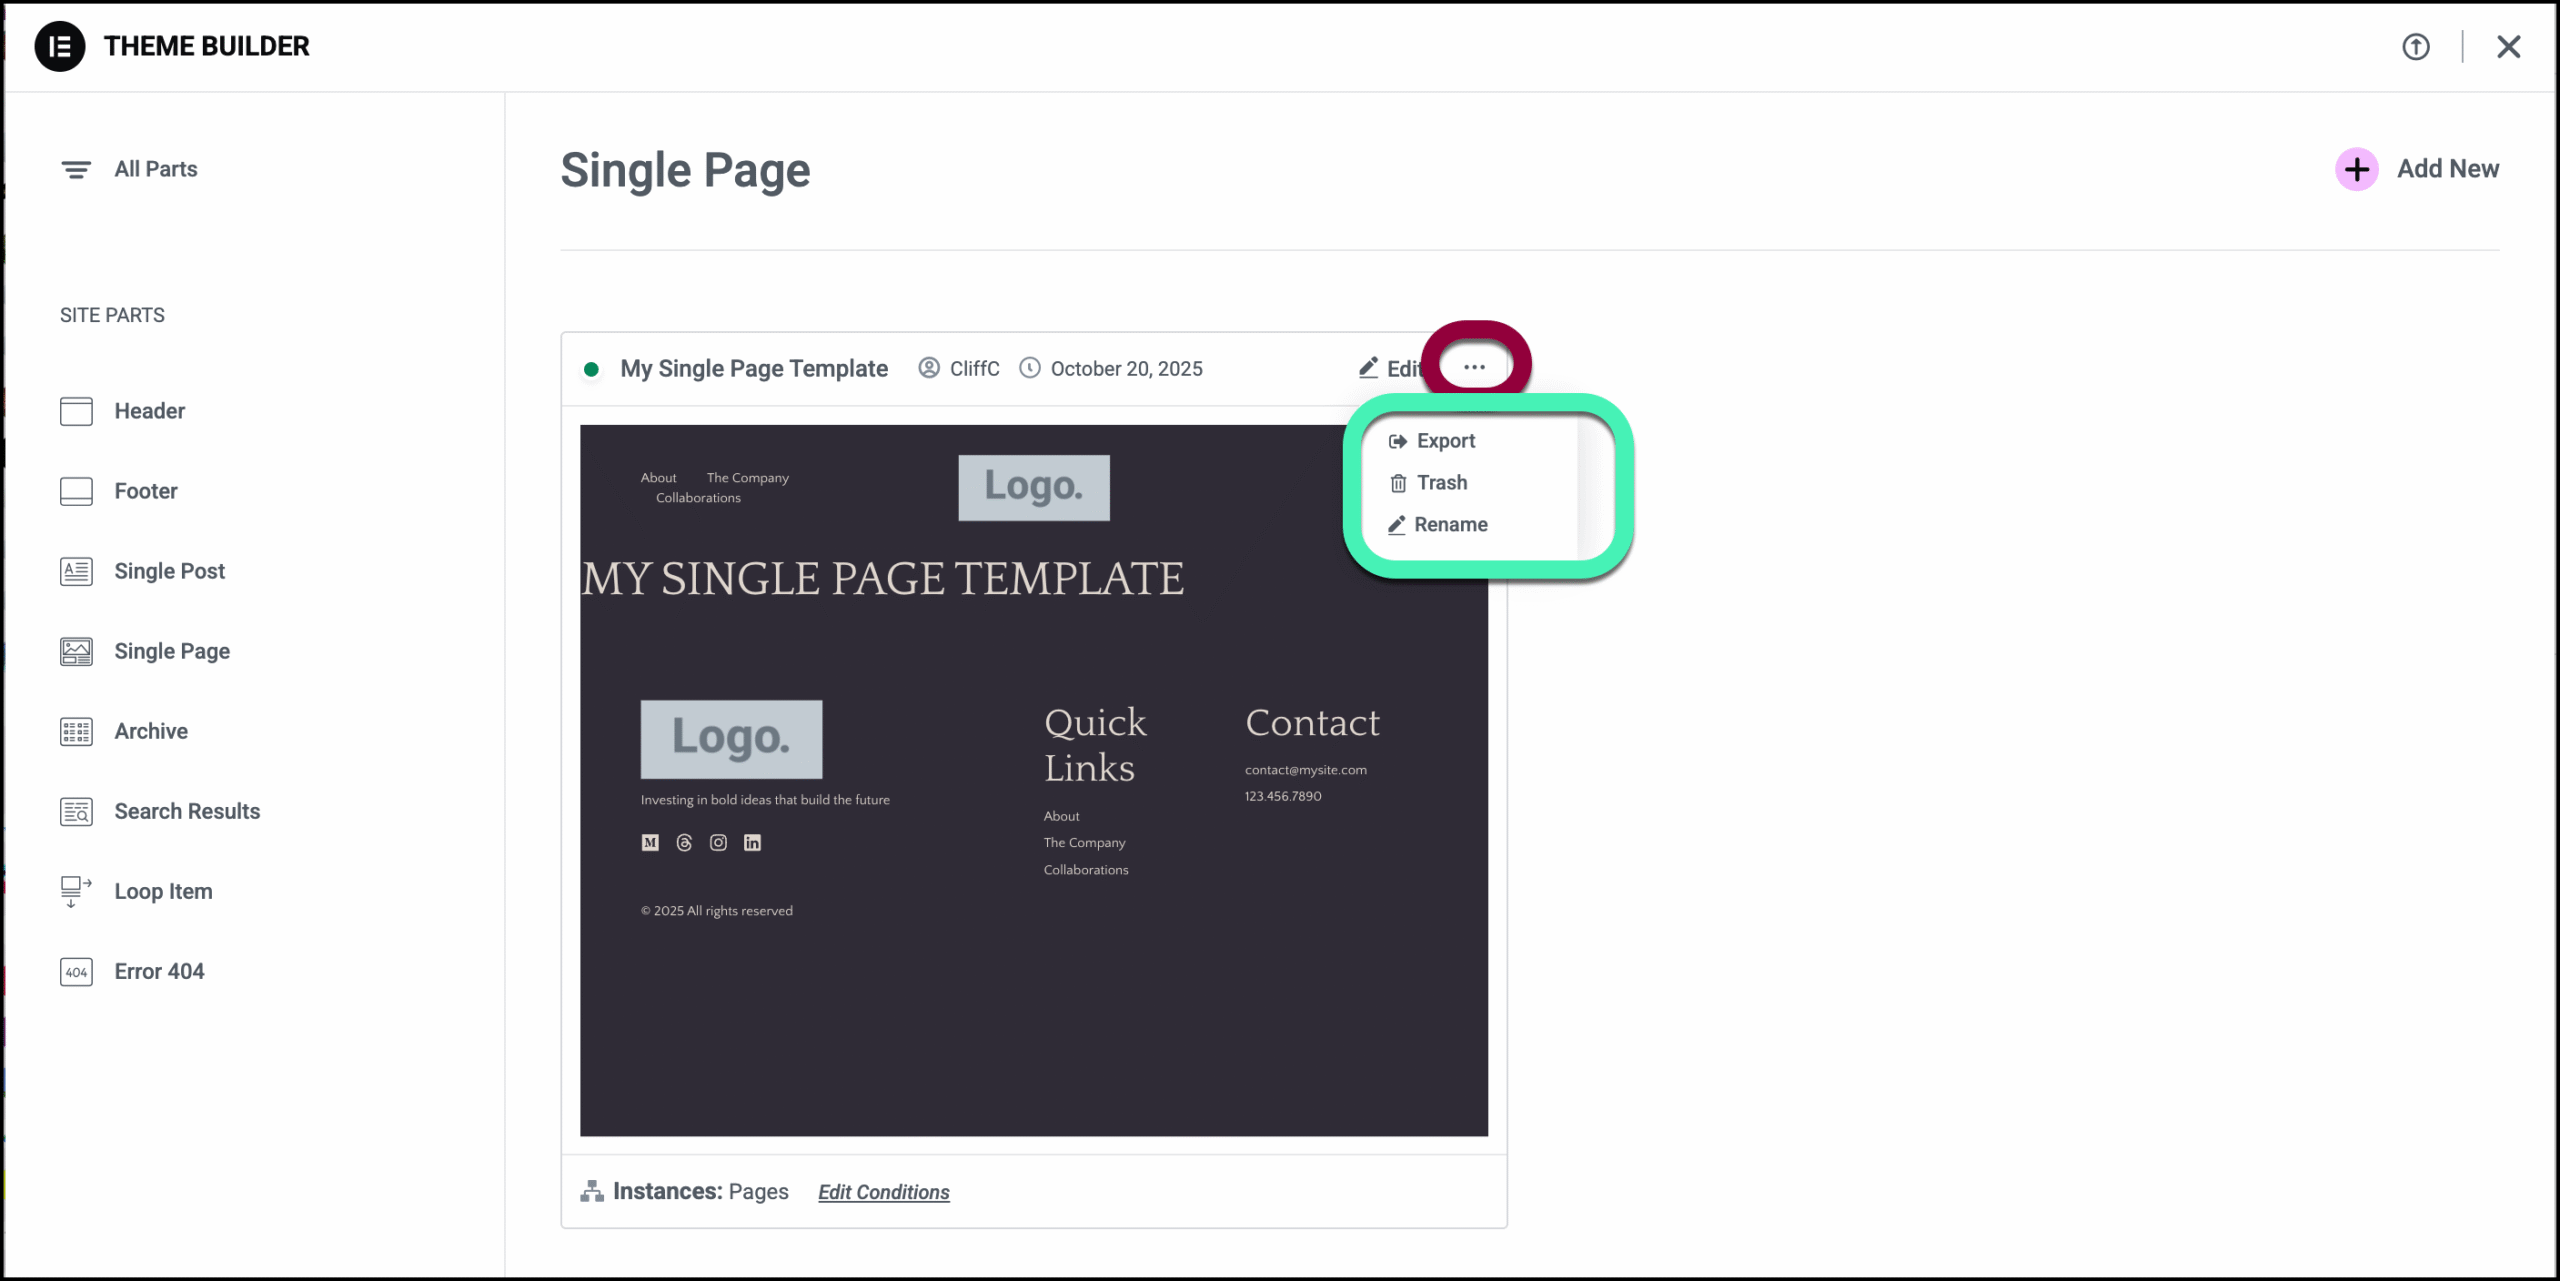
- Export: Creates and downloads a json file to your PC.
- Trash: Deletes your template. You’ll need to confirm your decision.
- Rename: Change the template name.
If no Single Page Templates have been created yet, you need to create one. Click Add New in the upper right corner of the Single Page Site Part screen.