Turn your design vision into an actual website
When you think about making a website, you often have ideas about how it should look and work. That said, converting a web design into a functioning website requires you consider a lot of technical detail. You also have to ensure your design follows user experience (UX) best practices.
In this article, we’ll show you how to plan your design and quickly turn your ideas into a fully functioning website. You’ll also learn how Elementor’s flexibility can help you reduce the time it takes to create a website. To demonstrate how you can do this, we’ll build a page for a dog adoption business.
Let’s get started!
Analyzing the page
The best way to start is to design your page using any design software. Visual design software allows you to use special tools and features to help you with measurements, colors, and grids for the overall layout. You’ll want to identify the divisions, the sections, and how you want your content to be laid out. You can then take that design and start dividing it into a grid.
Sectioning the page for a clean layout
Sectioning is an important step because sections can highlight the elements you want to emphasize and give your page personality. You want to add a certain number of sections to your design or layout based on the number of topics you want to include on your page. Just be careful not to make your page too narrow or crowded!
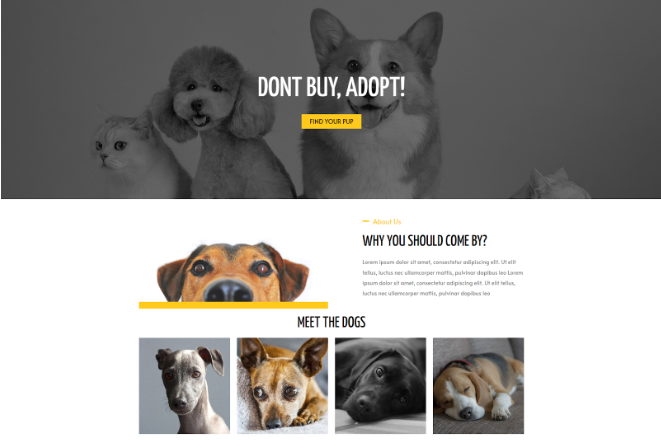
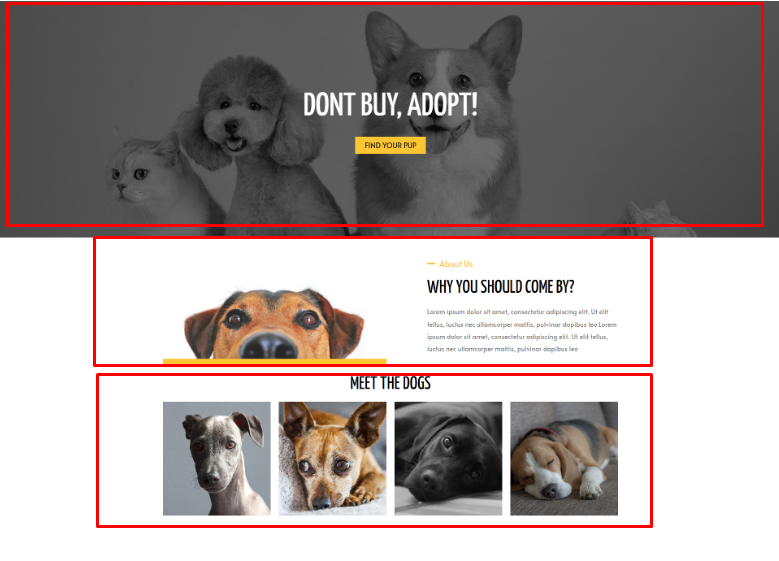
On our example page, you see it’s neatly divided into three horizontal parts. These will become our sections.
Analyzing sections
After successfully identifying our page’s sections, we need to decide how we want each section to be laid out. Planning the layout of each section is crucial. A great layout will allow you to thoughtfully incorporate texts, images, and other elements in a way that makes sense and inline with defined aesthetics.
As you can see in our design, the top section doesn’t need any vertical division. It only needs one column, which we’ll use as a call-to-action (CTA).

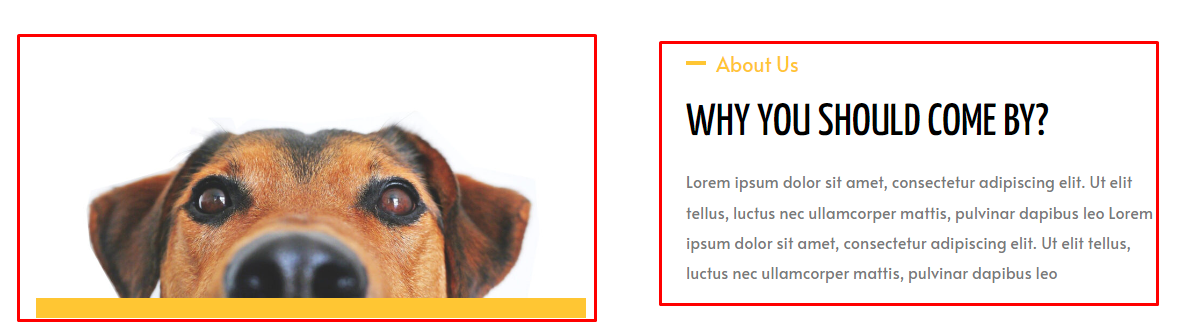
The middle section has two distinct parts: an image and a text block. We’ll put two columns in this section to separate and manage the position of these parts.
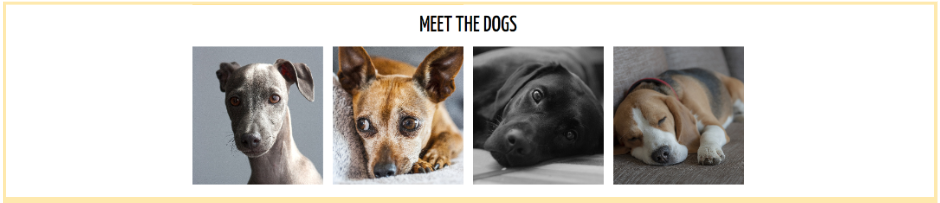
Last, we want to display four dogs in the bottom section of our design. To achieve this, we’ll have to make it a four-column section.
We know how to lay out and position our web page contents; it’s now time to use Elementor widgets to build the page.
Converting the design using Elementor widgets
Now that we have the basic layout for our design, it’s time to decide what widgets and styling to use. The first thing we want visitors to see is something impressive. This is where the hero section comes in.
Creating the hero section

A hero section is an area below your website logo and menu. It’s the first thing visitors see when they access your website. You’ll wan to include some important points, including what you offer, why people should choose you, and a distinct CTA in this section.
In this case, we want a large, impressive image that spans the entire hero section, so we’ll use the image as a background image. We’ll also want to add some short text so users can send contact information. For that, we’ll need to use a heading and a button widget.
Creating the middle section
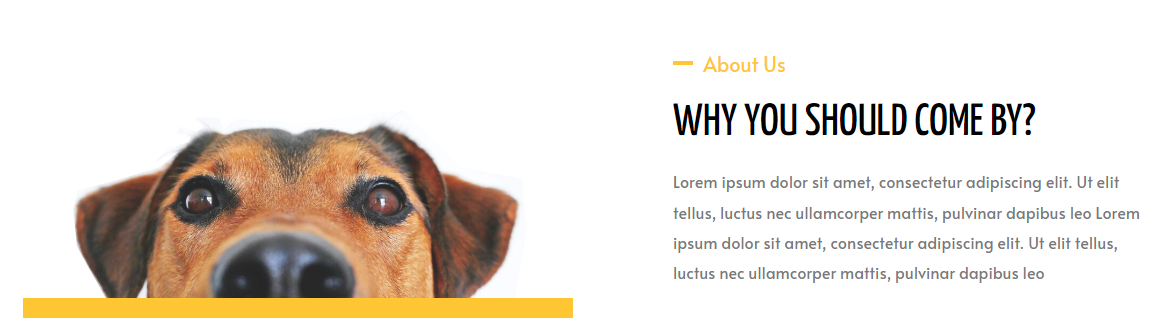
The middle section here has an image and some text, so we’ll use an image and a text editor widget.
Creating the bottom section
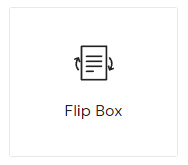
Lastly, we’ll add some amazing dog pictures at the bottom of our page, along with some heartwarming text to drive home the message. Instead of using images and text that don’t change, let’s use flip box widgets to make the page more interesting.
The flip box widget is a two-sided widget that flips when users hover over them. With the flip widget, you can have the pic of the dog on the front and the biographical information on the back. That way, visitors will see the beautiful photos of the dogs, and when they hover over them, they’ll get the biographical information. This helps keep the page layout clean and uncluttered.
Final words
Proper planning is key to creating web pages efficiently. When you look at a design, your first thought should be, “How do I need to divide up this page to represent the design best?” Of course, you can’t divide every web page easily on a grid. That said, Elementor is flexible enough to work with a wide range of creative designs.
Now that you’ve learned a little about designing a page, maybe try your hand at building a page in Elementor.
To get the most out of Elementor, check out the Knowledge hub for helpful learning resources.