At times you may need to take your website offline to make updates, fixes or modifications. Putting your site into maintenance mode presents visitors with a message notifying them of why your site is offline and prevents them from encountering broken links, corrupted data or other apparent bugs.
With Elementor’s Maintenance Mode, you can display a custom maintenance mode page to visitors, and notify search engines that your site is undergoing maintenance to avoid hurting your SEO.
Create a maintenance mode template
Create a maintenance mode page template set up the maintenance site.
Follow these steps:
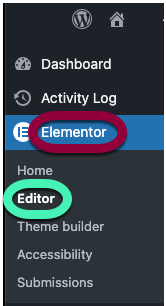
- From WP Admin navigate to Elementor>Editor.
- Click Create a Page.
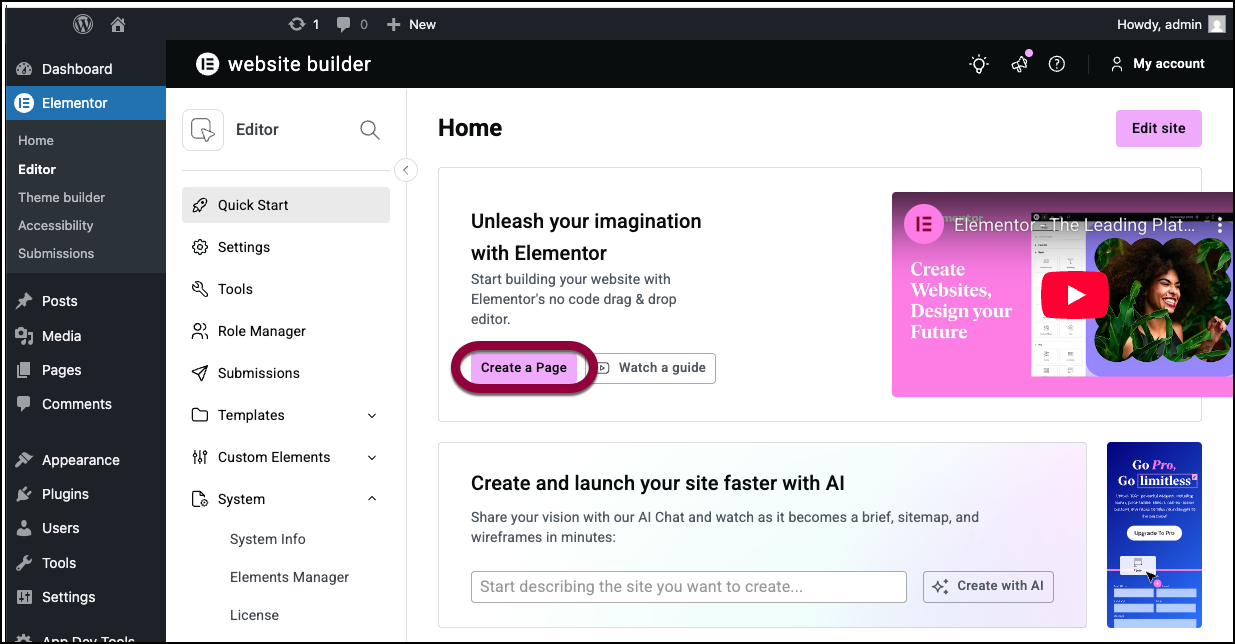
The page opens in an editable form with a header and footer.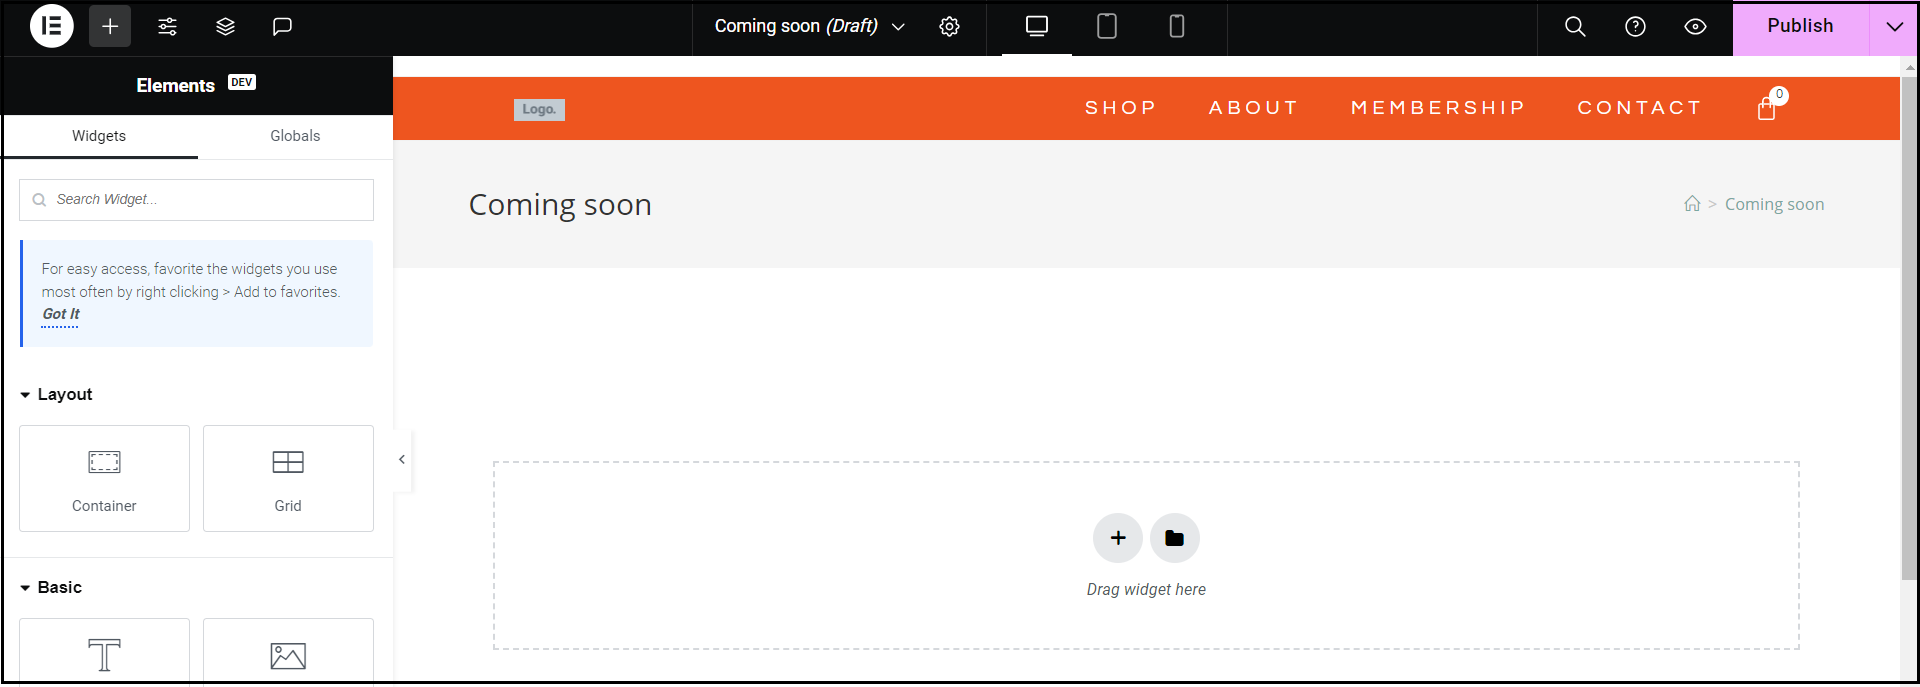
- Click Cre
- Click the Page Settings icon.
The Page Settings panel shows.
- From Page Layout, choose Elementor Canvas. The page displays as a plain canvas without a header and footer.
 NoteThis is to prevent the users from accessing any link while the website is under construction or under maintenance mode.
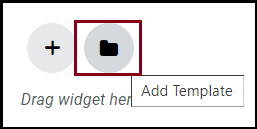
 - Click the add template icon. The LIBRARY window shows.
- Search for ‘coming soon’. The search result displays ‘coming soon’ pages.
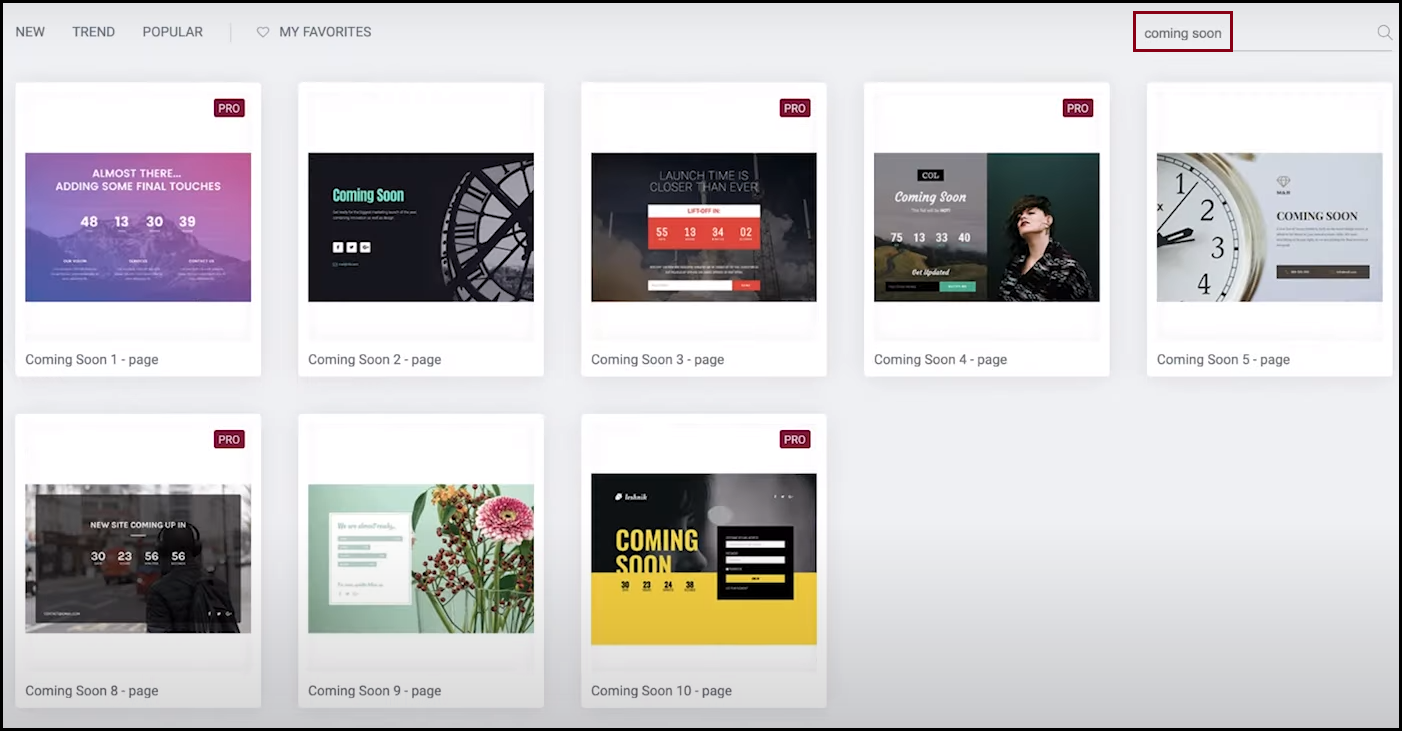
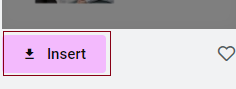
- For the desired design, click Insert.
 NoteYou can create your own design on the canvas or use an already available design from My Templates.
 - Customize the template.
- Click Save as Template.

You can now use this page while setting up a maintenance site.
For details on templates, see How To Use Elementor Template Library and Set conditions for site part templates.
Setup maintenance site
Follow these steps:
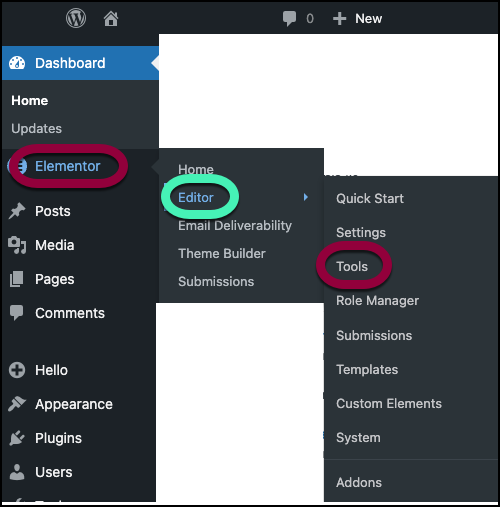
- From WP Admin, navigate to Elementor>Editor>Tools.
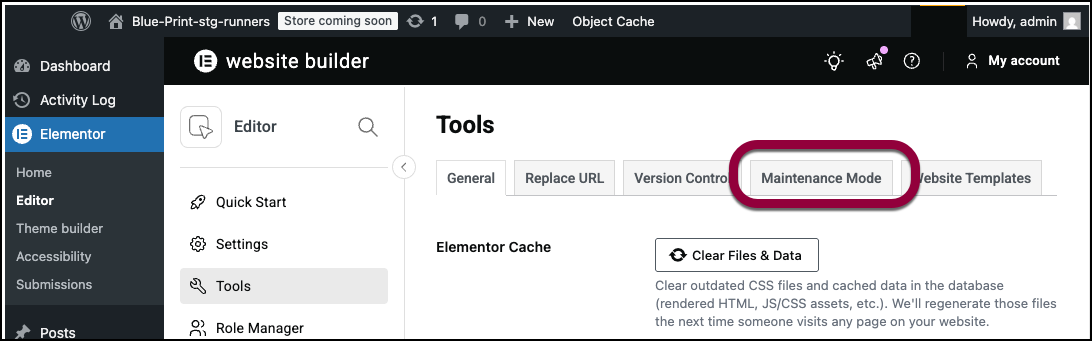
- Click the Maintenance Mode tab.
- Use the dropdown menu to set the following:
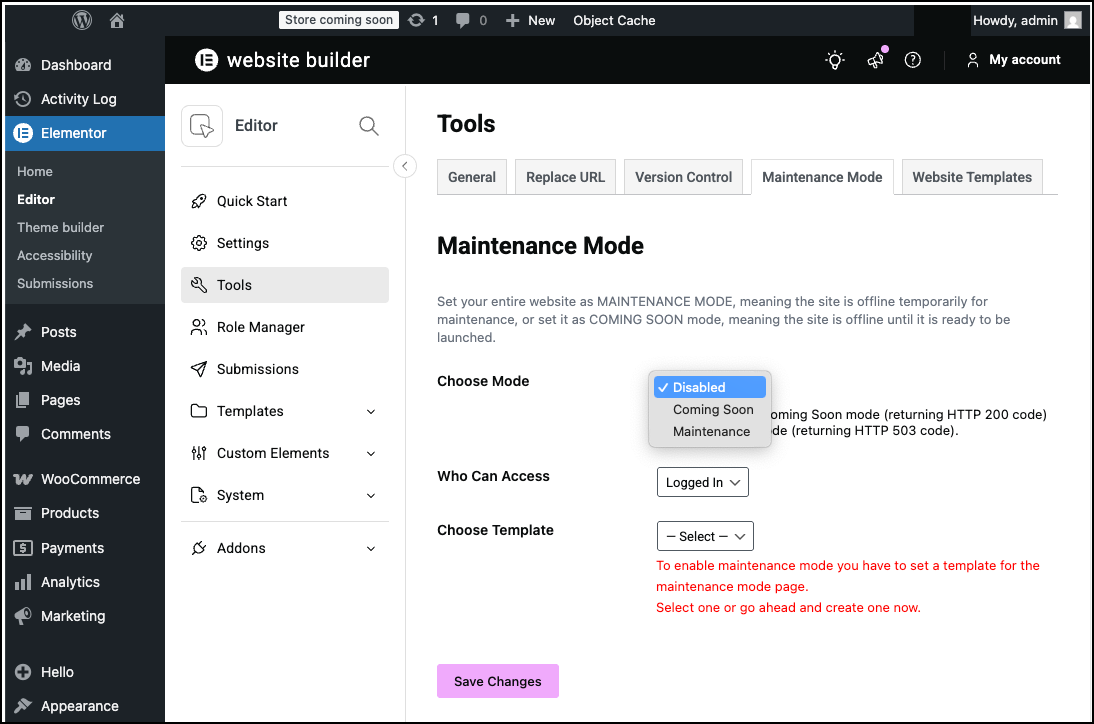
- Choose Mode
- Choose Coming Soon if your website is under construction and still not launched.
- Choose Maintenance if your live website is taken down for update and maintenance.
- Who Can Access – Select the user role from the following:
- Logged In – All the sites users who are logged in to WordPress using their credentials.
- Custom – Allows admins to select which user roles will have access to the site under maintenance mode.
- Choose Template – Choose the template that you created.NoteYou may use any other template too!
- Choose Mode
- Click Save Changes.
You will see a red button on your top WordPress bar with the text: Maintenance Mode ON.

Maintenance mode response code
While in maintenance mode, search engine crawlers know the website is in maintenance. The site sends the temporary maintenance response (HTTP 503). This way, search engines know that they needs to come back a short time later to check again if the site is already online. This ensures that the website SEO listing is not affected.
The following 3rd party cache plugins are automatically cleared on every change in Maintenance Mode:
- WP Rocket (premium)
- W3 Total Cache (free)
- WP Super Cache (free)
- WP Fastest Cache (free + premium)