In some cases, you may need to differentiate a field’s label – what the user sees- and its value – the information submitted by the visitors. For instance, a form may let users select either a Blue shirt, Red shirt or Yellow shirt. However when the user actually chooses the color of shirt they want, its SKU code is sent to the warehouse for processing. In this case, blue, red and yellow shirts are the label and the SKU code is the value.
In Select, Radio button and Checkbox fields, you can use the pipe character to separate between labels and values. On most keyboards the pipe character is on the same key as the backslash.
Add the label and value
To add a custom label and value to a field:
- Create a form with either a Select, Radio button or Checkbox field.
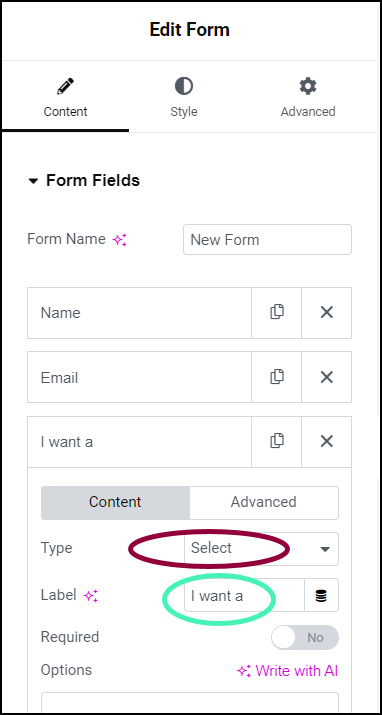
In this example we created a Select field with the label I want a. This field will let visitors select either a Blue Shirt, Red Shirt or Yellow shirt. For more information about creating forms, see Form widget.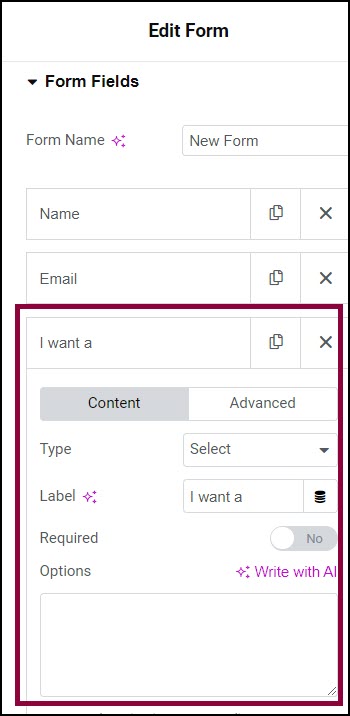
- In the panel, click the Select field to open it if it’s not open.
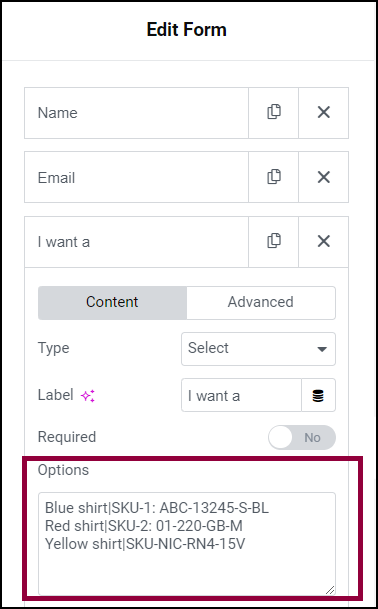
- For this example, in the Options box enter:
- Blue shirt|SKU-1: ABC-13245-S-BL
- Red shirt|SKU-2: 01-220-GB-M
- Yellow shirt|SKU-NIC-RN4-15V
When visitors open this field they will see the following items in the dropdown menu: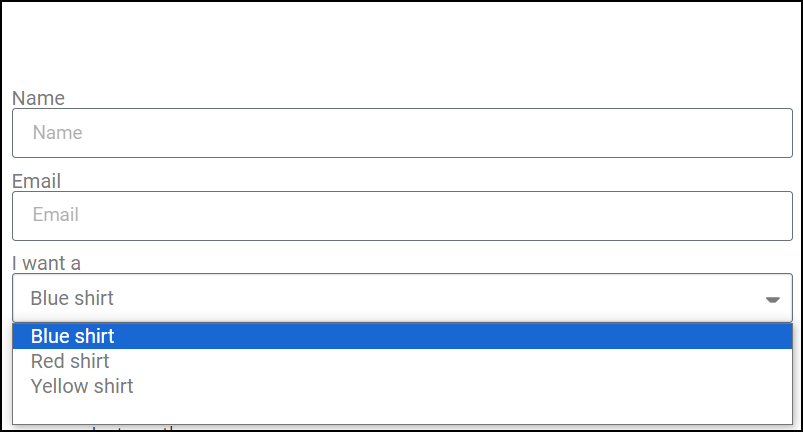
However, when they make a selection, the SKU is sent to the ecommerce system.