Want to learn faster? Book a 1-on-1 expert session today.
After you have changed and tested your edited staging site, you will need to push the staging site live.
Note
This will overwrite the files on your live site and replace them with the files on your staging server.
To push your files to the live site, follow these steps:
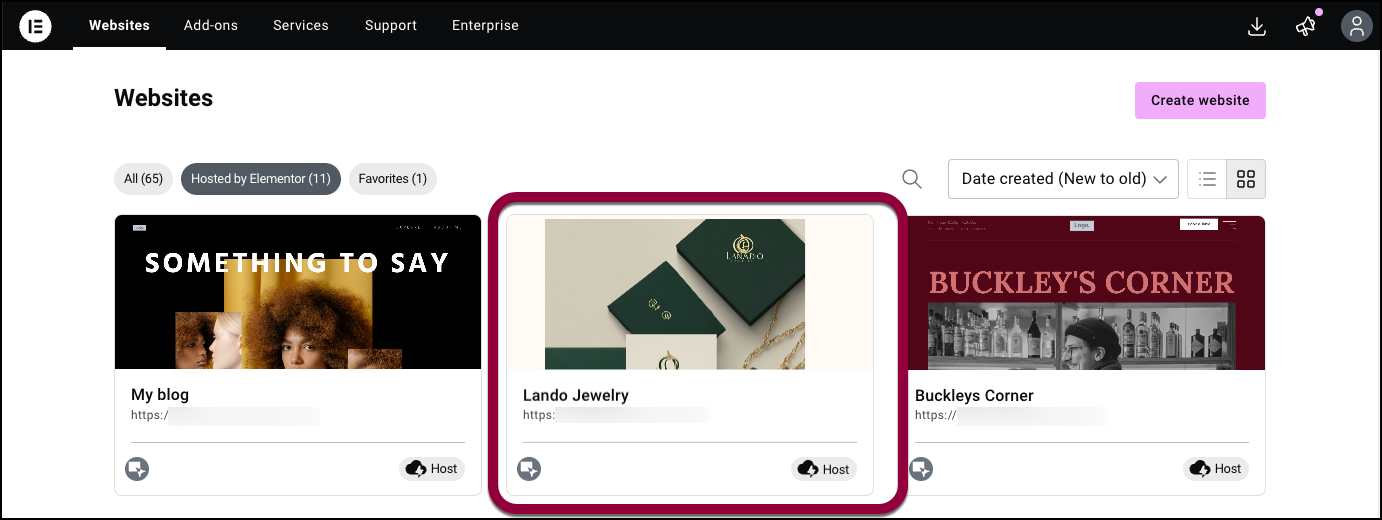
- Go to your My Elementor dashboard.
- Hover over the website card of the site you want to move.
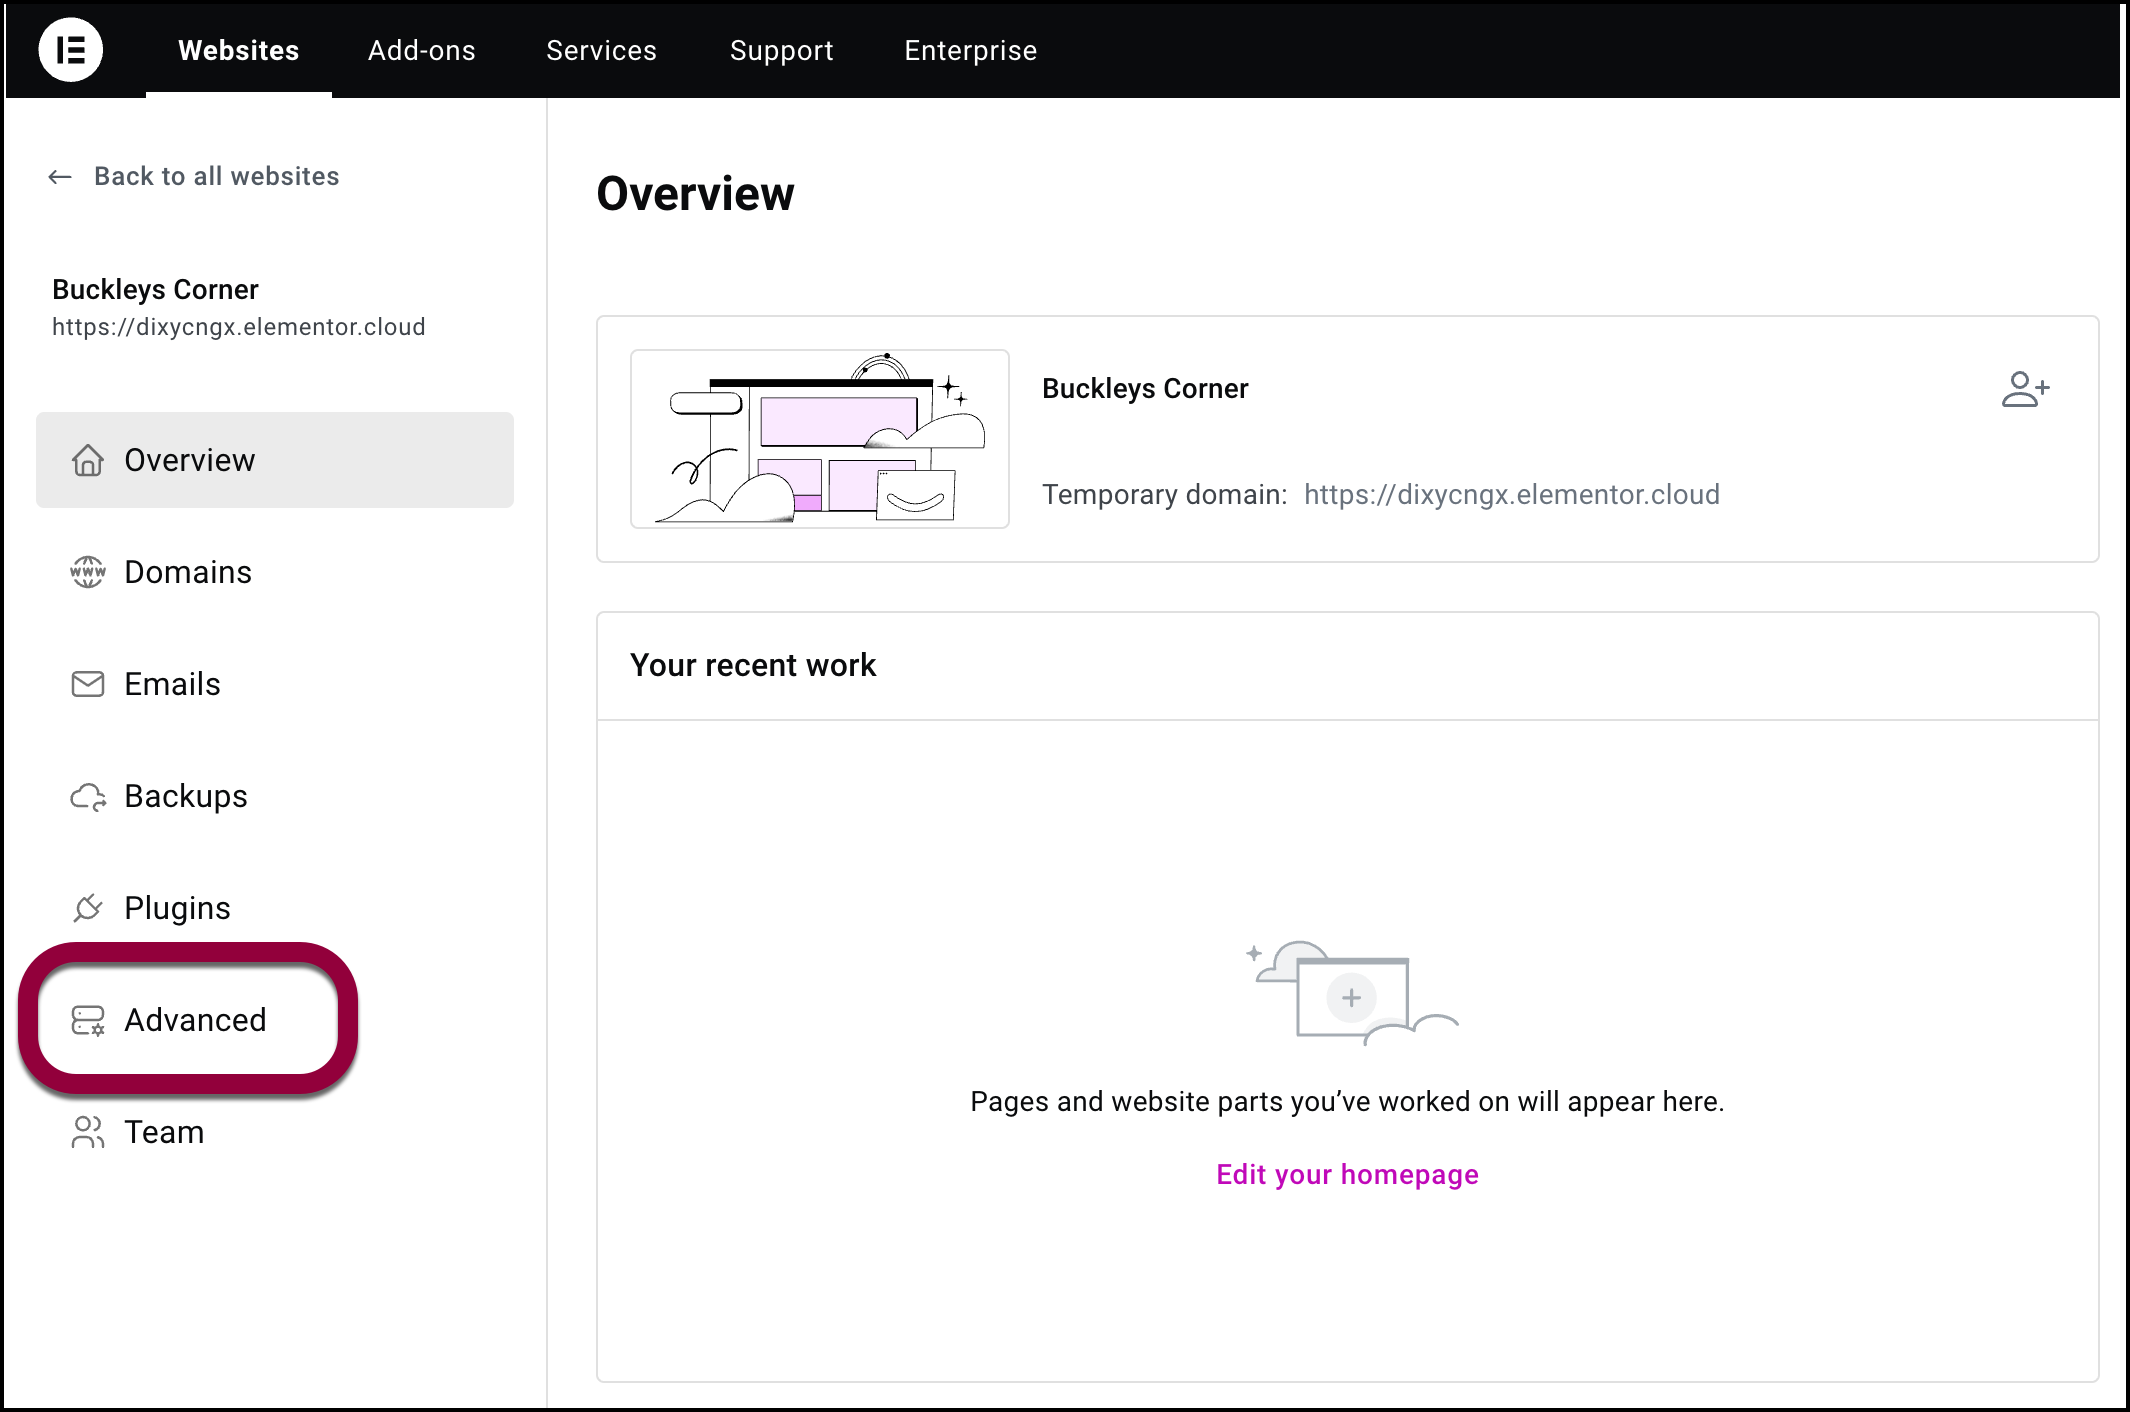
- In the panel, click Advanced.
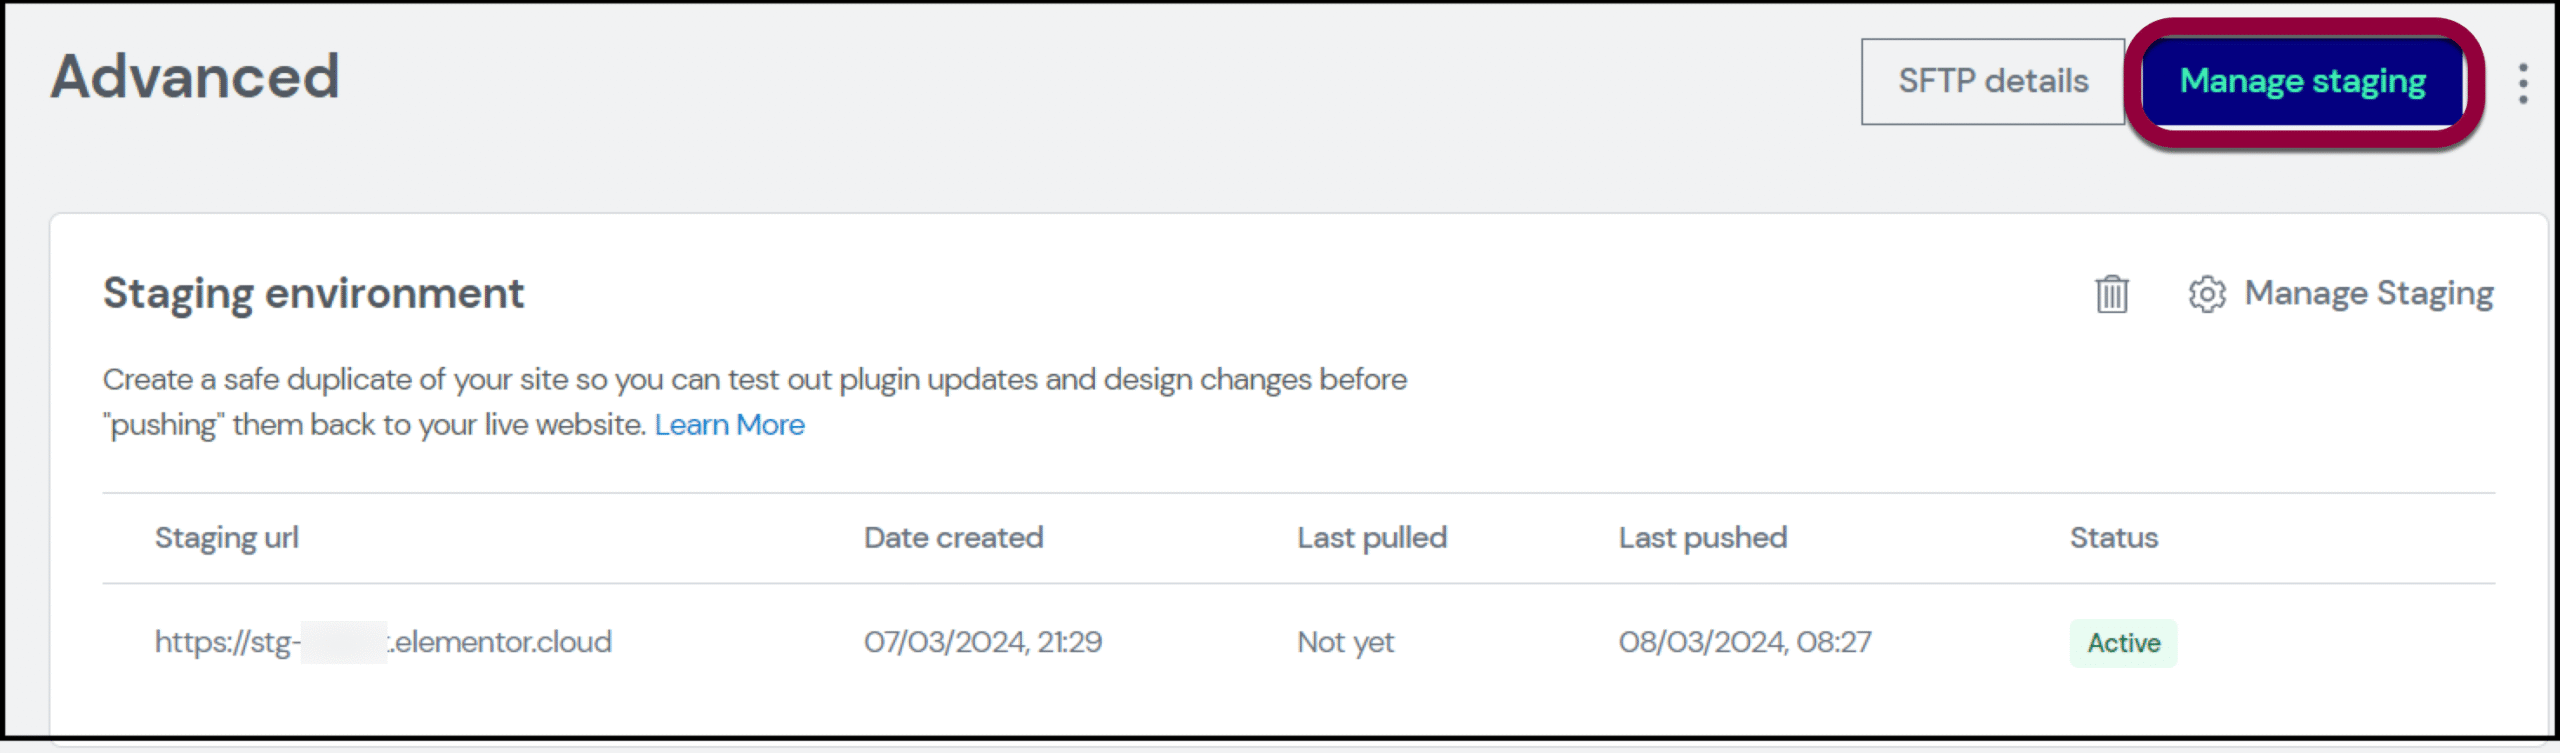
- Click Manage Staging from the Staging environment section.
A yellow banner displays with the message that you are accessing staging site.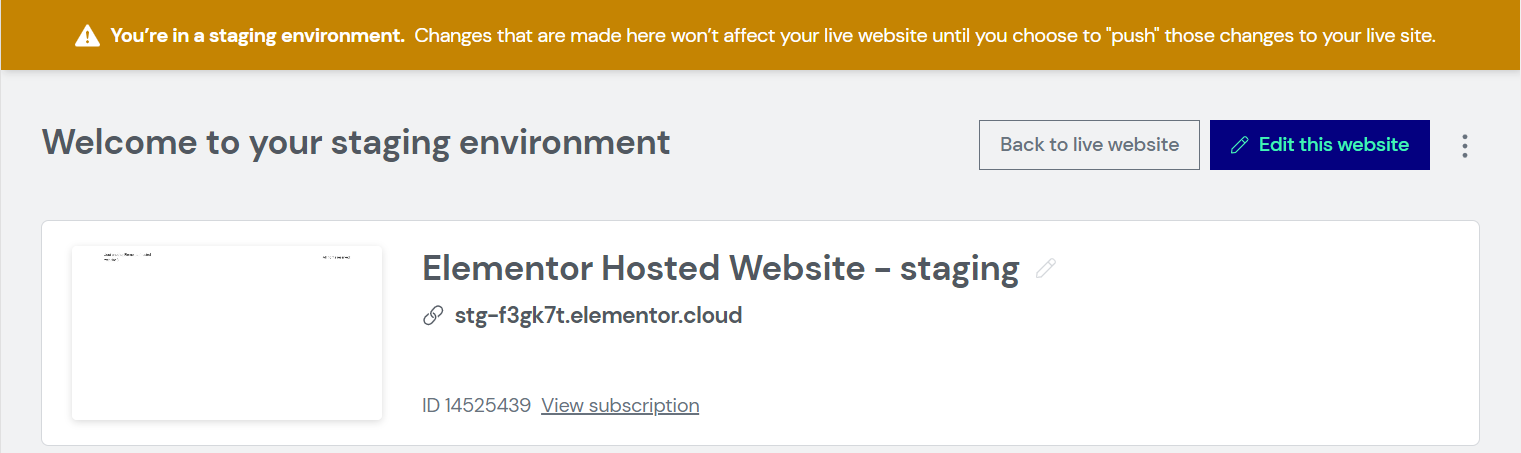
- Scroll down to the Staging Actions section click Push to live. A confirmation message shows.

- Click Push changes to live to confirm.
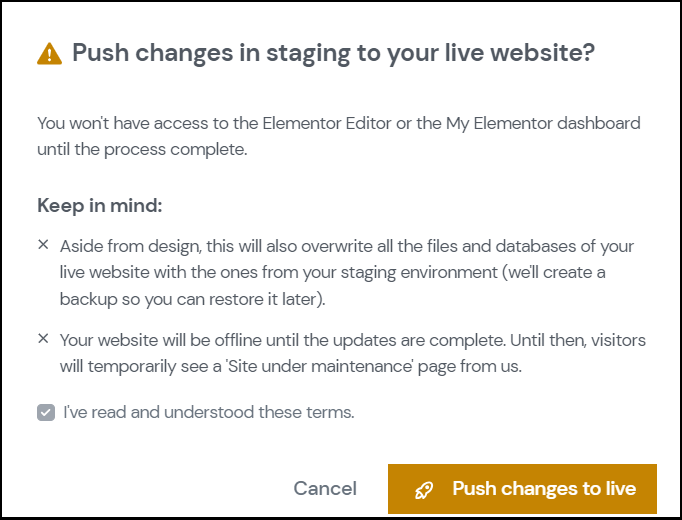
The process of pushing staging to live starts. This may take some time according to the size.

Note
While the files are being pushed to your live site, the site will not be accessible. We suggest pushing files at non-business hours.
Related articles
Create A Staging Site
Move A Staging Site To A Live Site
Delete A Staging Site » Elementor