Staging site is a copy of your website where you can test and evaluate changes you want to make to your live website. For details, see What Is A Staging Site?
You can create staging sites by copying a live site. Follow these steps:
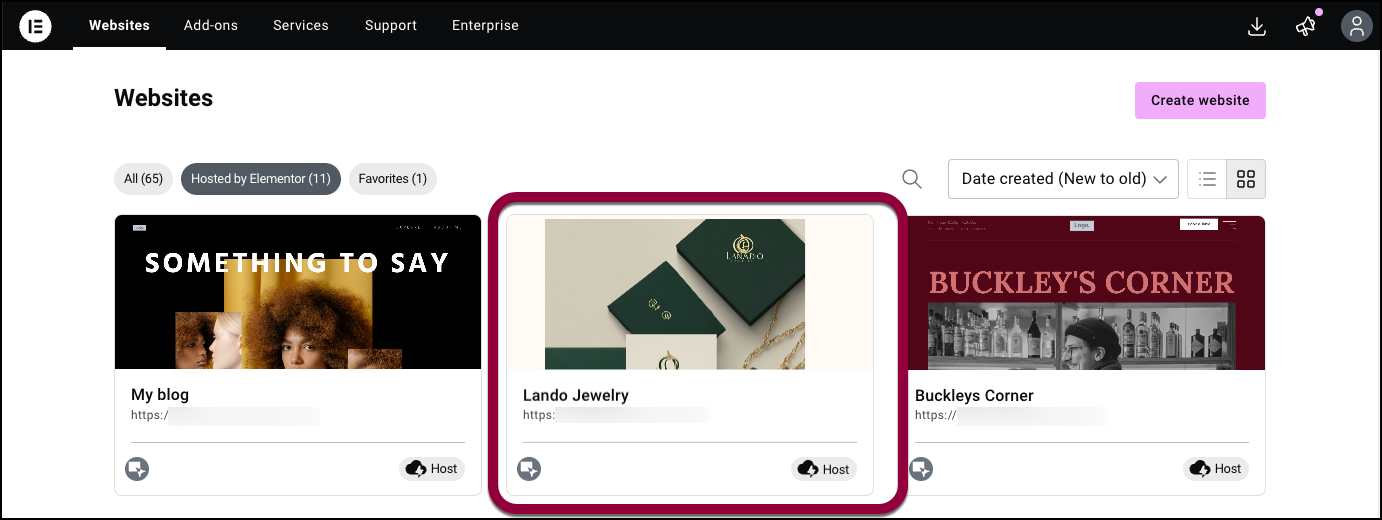
- Go to your My Elementor dashboard.
- Click the website card of the site that you want to copy to create a staging site.
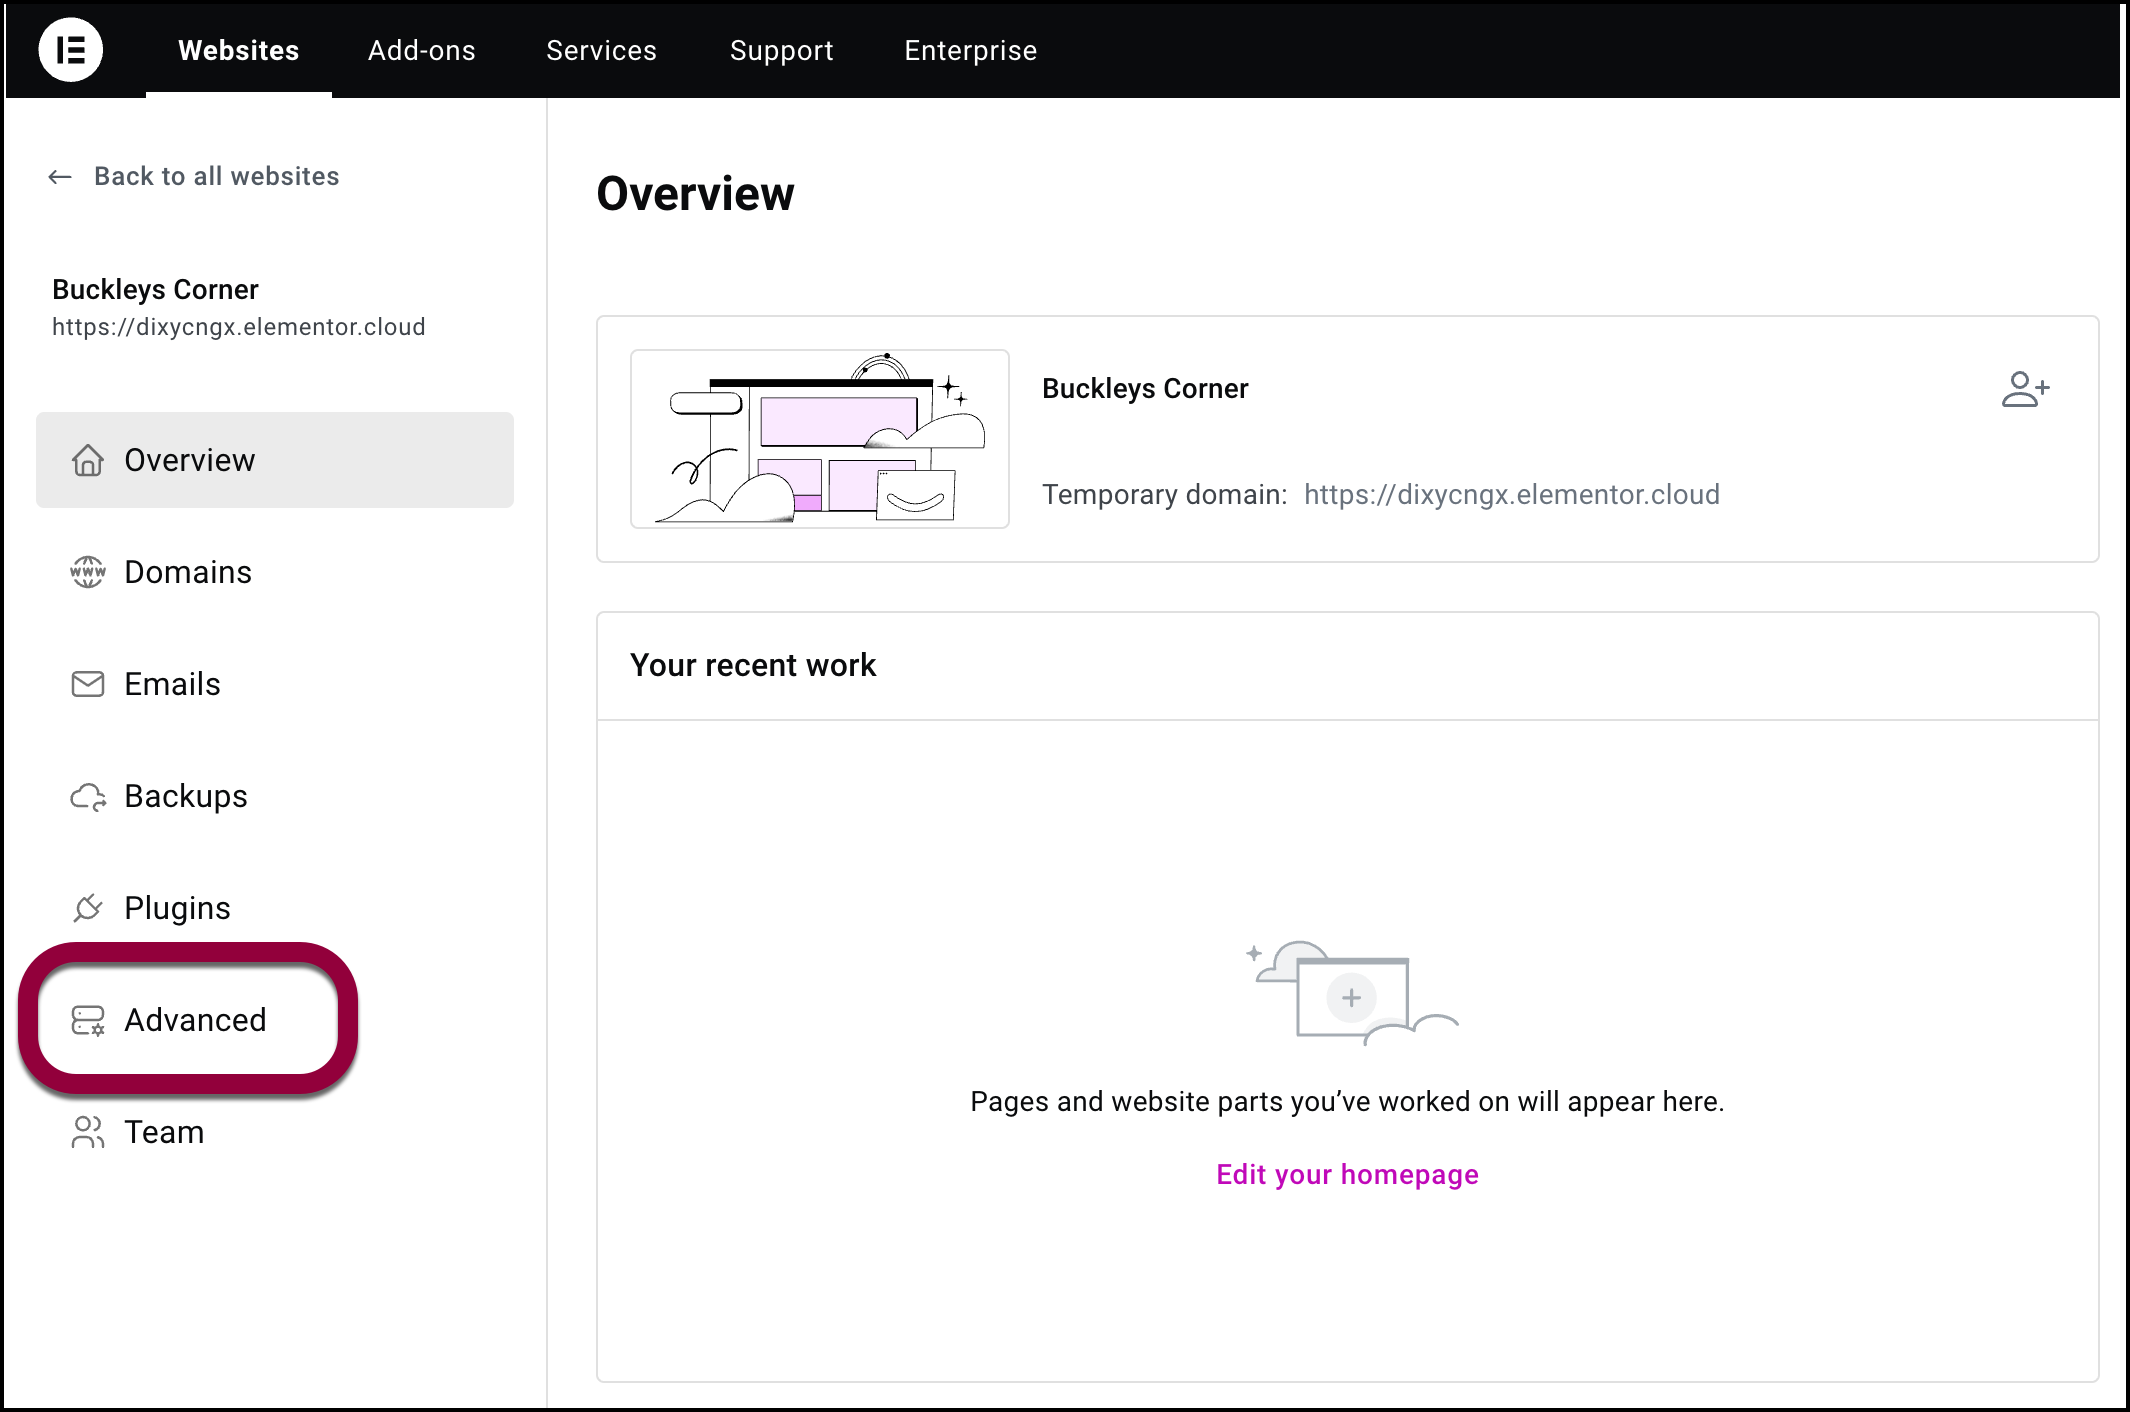
- In the panel, click Advanced.
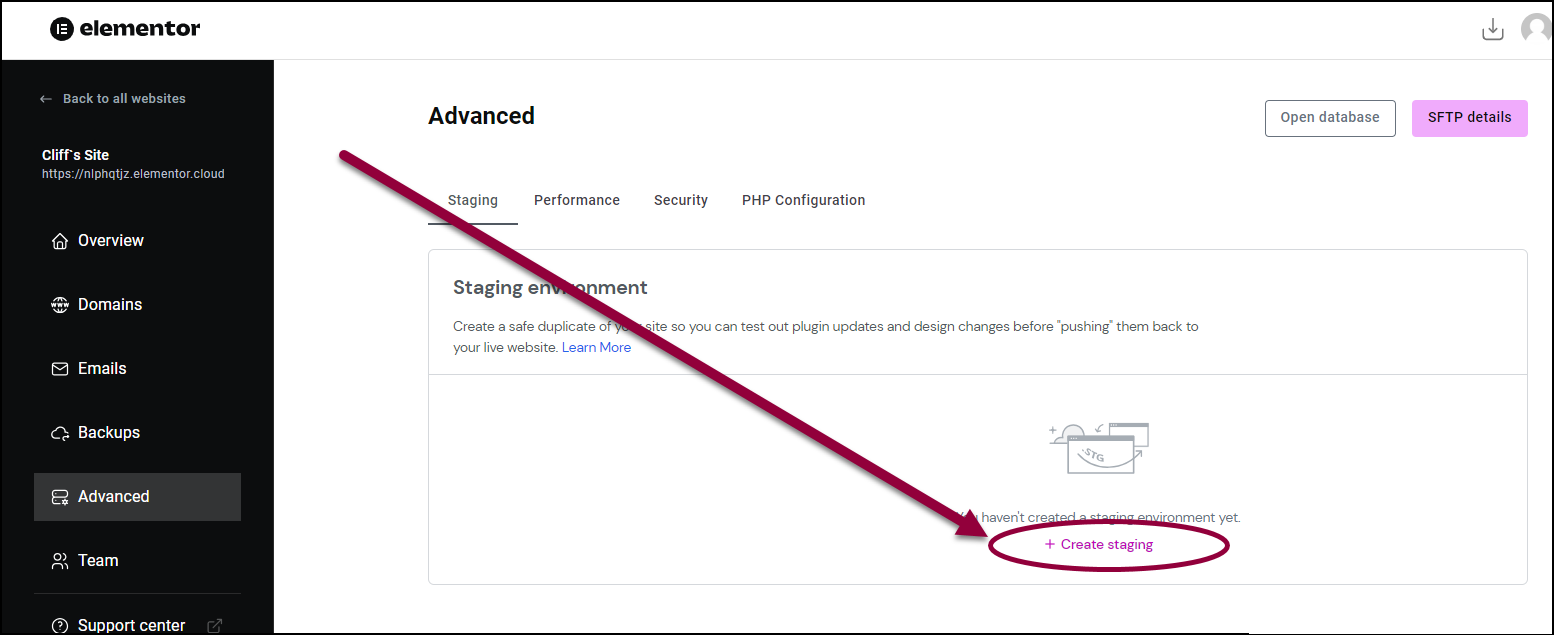
- Click Create Staging. A confirmation dialog box shows.
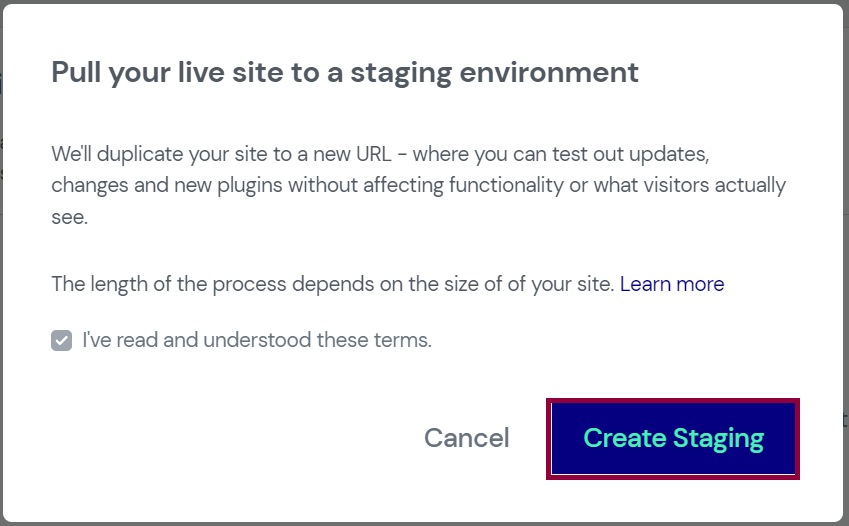
- Check the checkbox and click Create Staging to confirm.
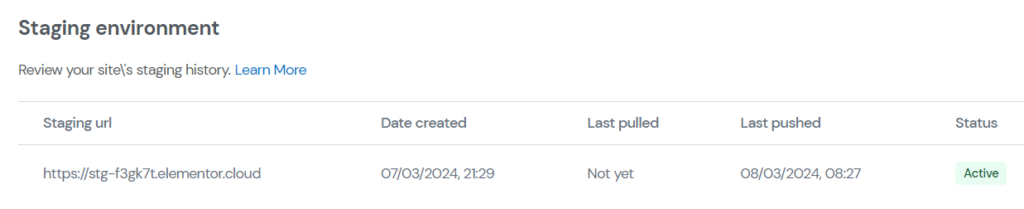
Your live site will be copied to your staging site. The details of your staging site appears on the Staging environment section.
Update staging site
If your live site has changed, you may need to copy the live site to your staging site again.
Follow these steps:
- Go to your My Elementor dashboard.
- Click the website card of the site that you want to use to update the staging site.
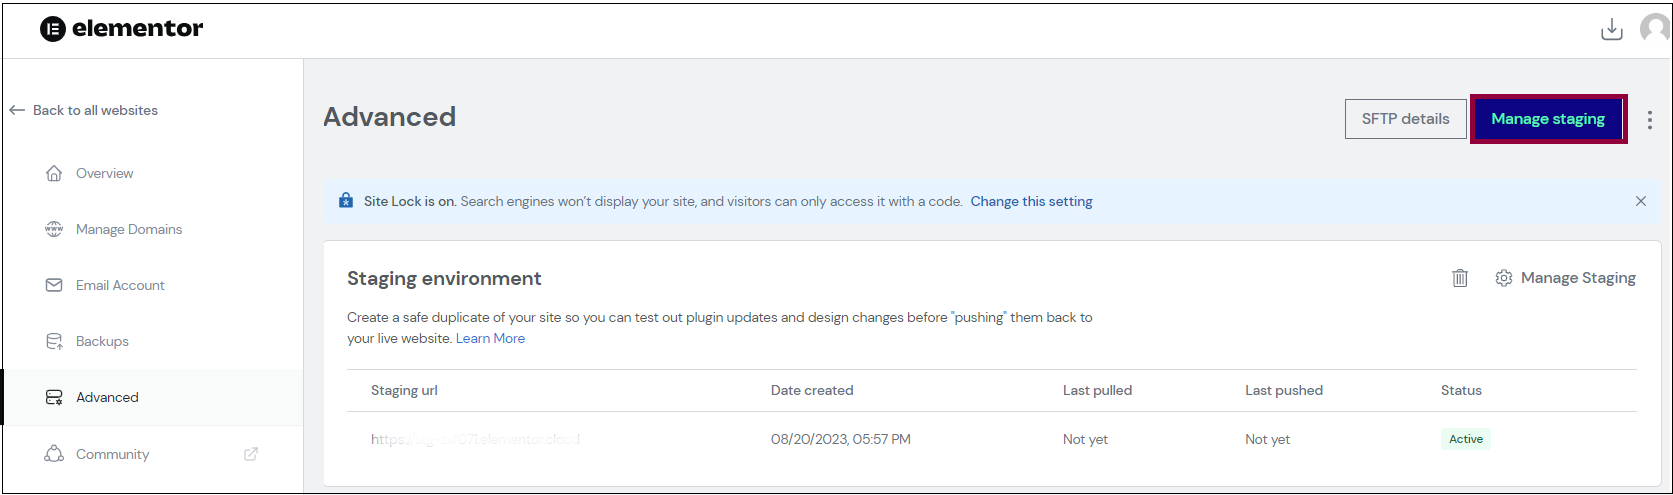
- In the panel, click Advanced.
- Click Manage Staging.
A yellow banner displays with the message that you are accessing staging site.
- Under Staging actions, click Pull to staging. A confirmation message shows.
- Confirm by clicking Pull changes to staging.
Your current staging site is overwritten and replaced by the data from your live site.
For details on editing your staging site, testing out new features and plugins, see Access/edit A Staging Site.
Related articles
Access/edit A Staging Site
Move A Staging Site To A Live Site
Delete A Staging Site » Elementor