If you need more than the over 800 Google fonts that come with Elementor, you can add custom fonts to your website.
Note
You can also variable fonts in Elementor. For details about adding variable fonts, see Use variable fonts.
Add custom fonts
Adding custom fonts to your website is done through the WordPress dashboard.
Tip
You must first copy or download the font files to your PC.
To add custom fonts:
- Go to WP Admin.

- Navigate to Elementor>Editor>Custom Elements>.
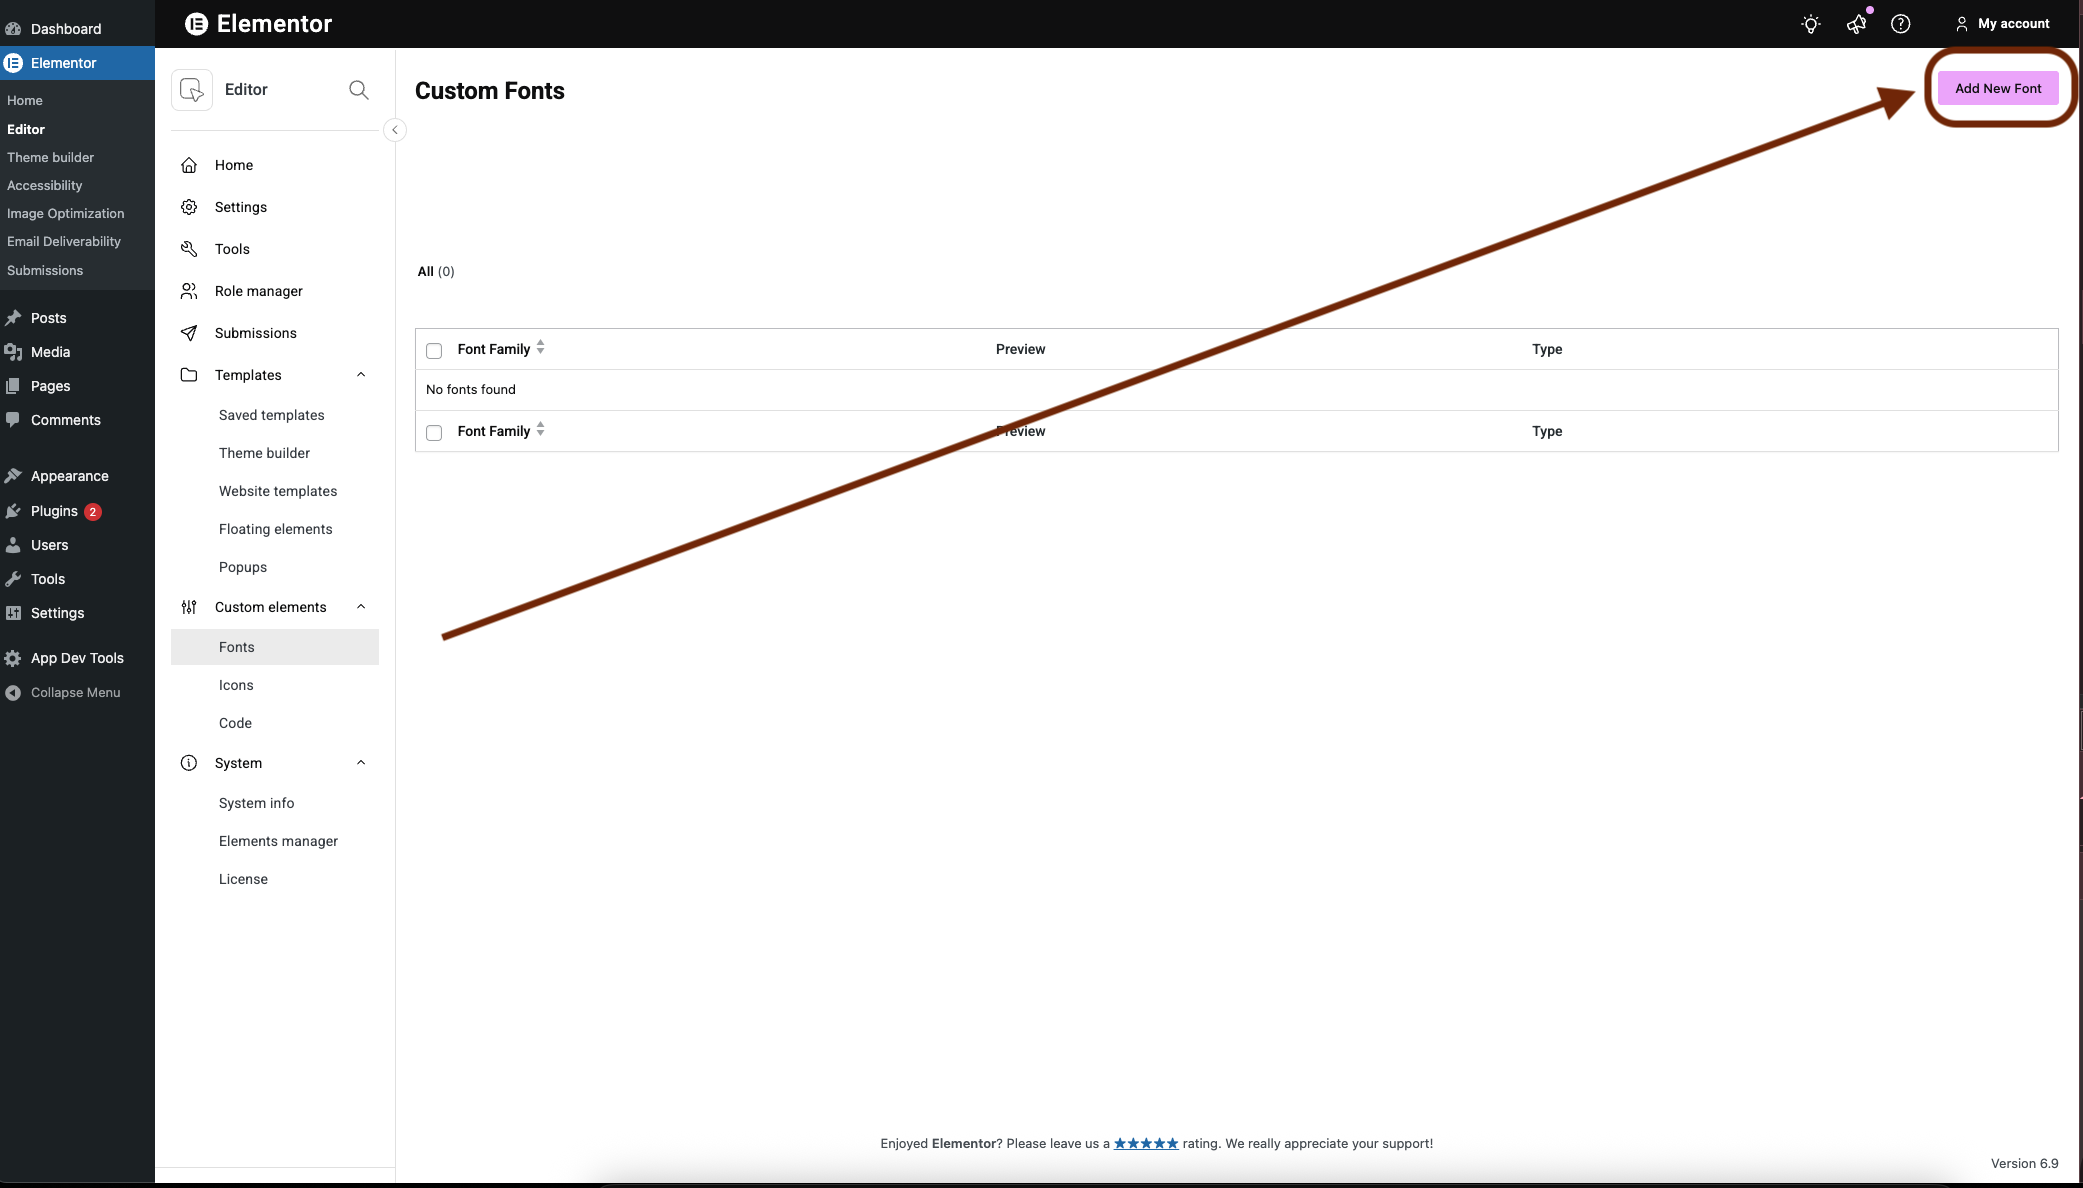
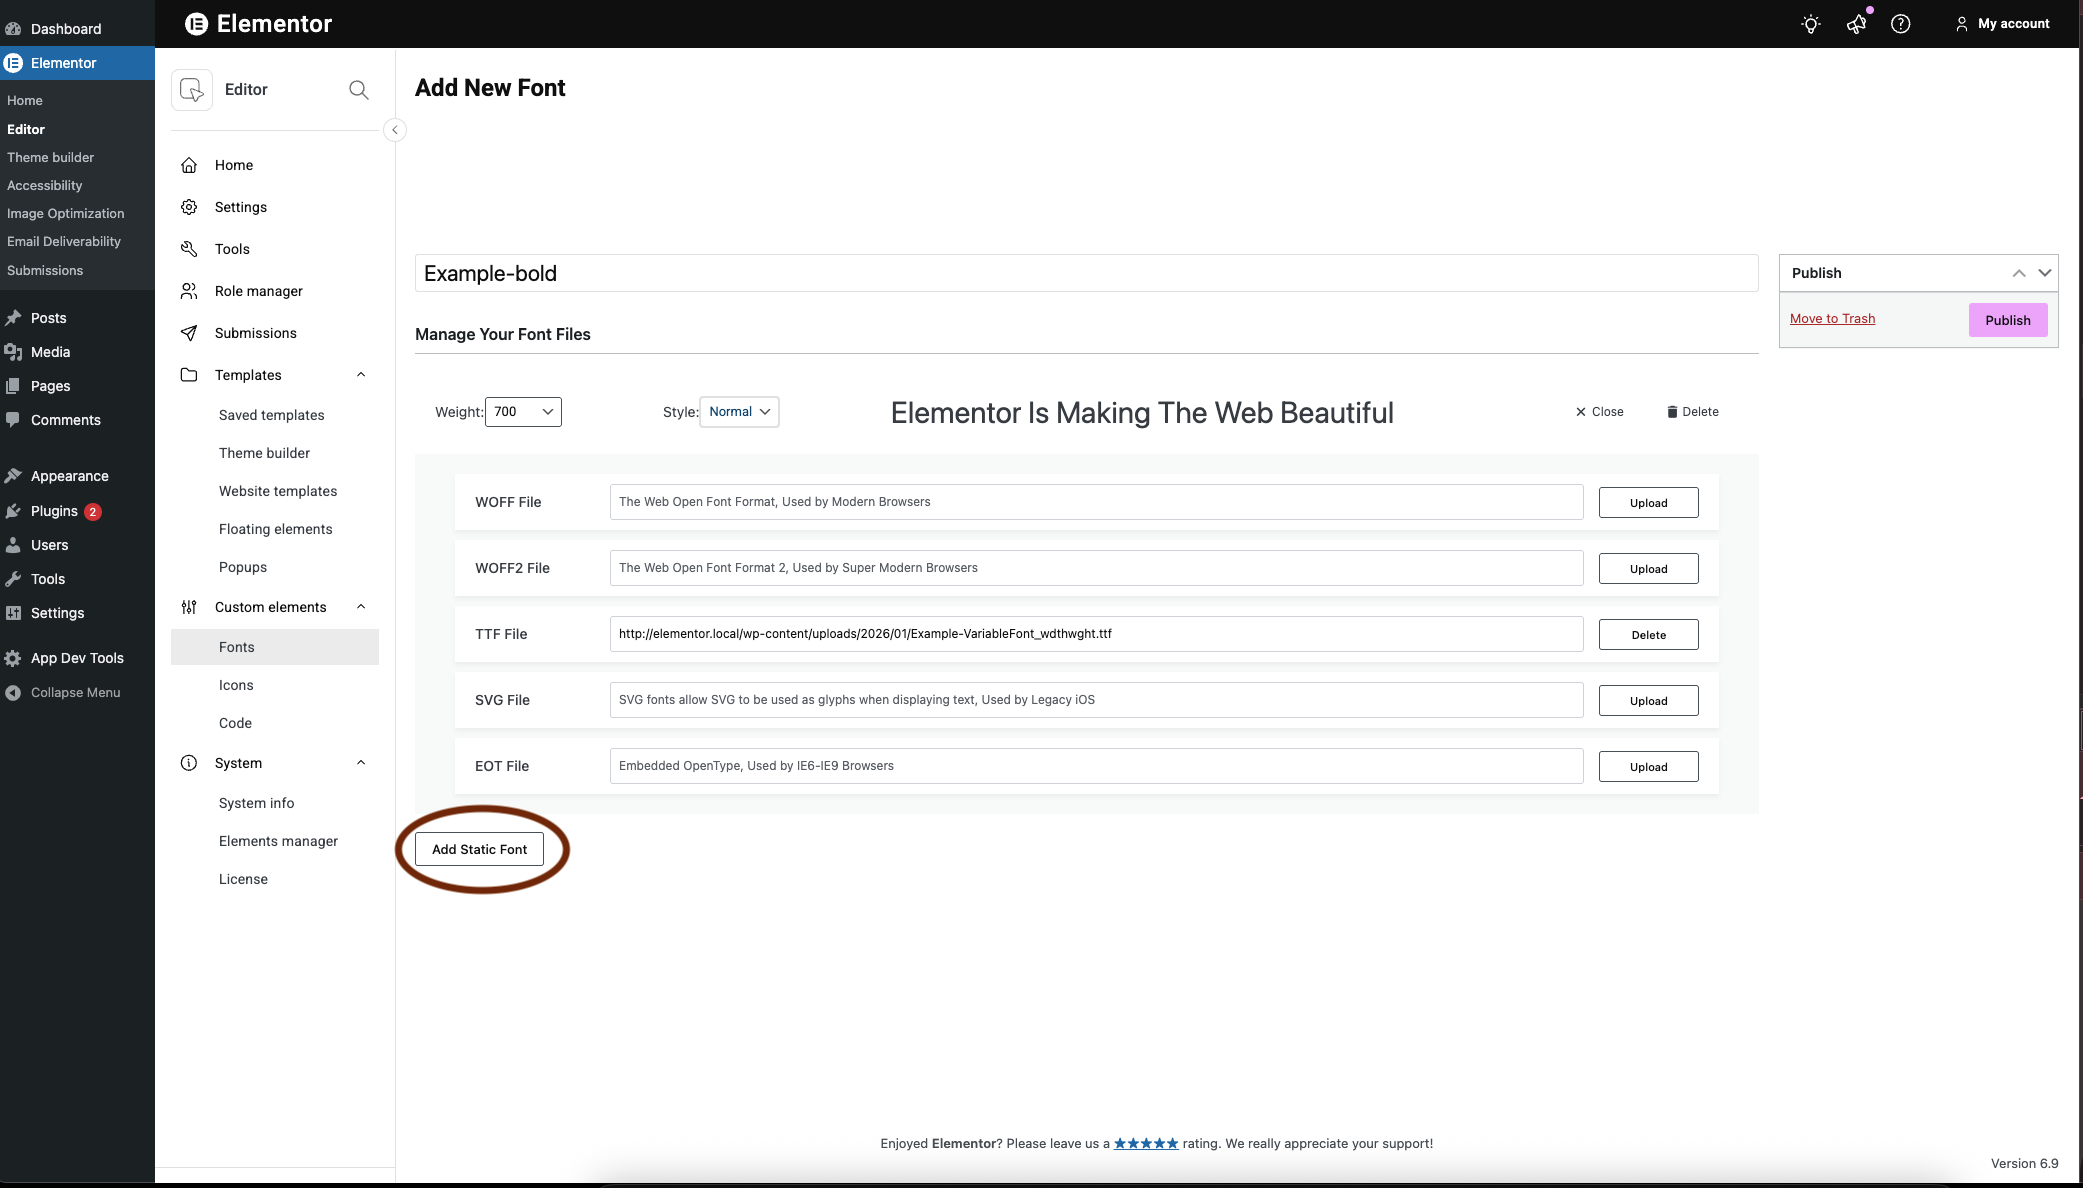
- Click Add New Font.
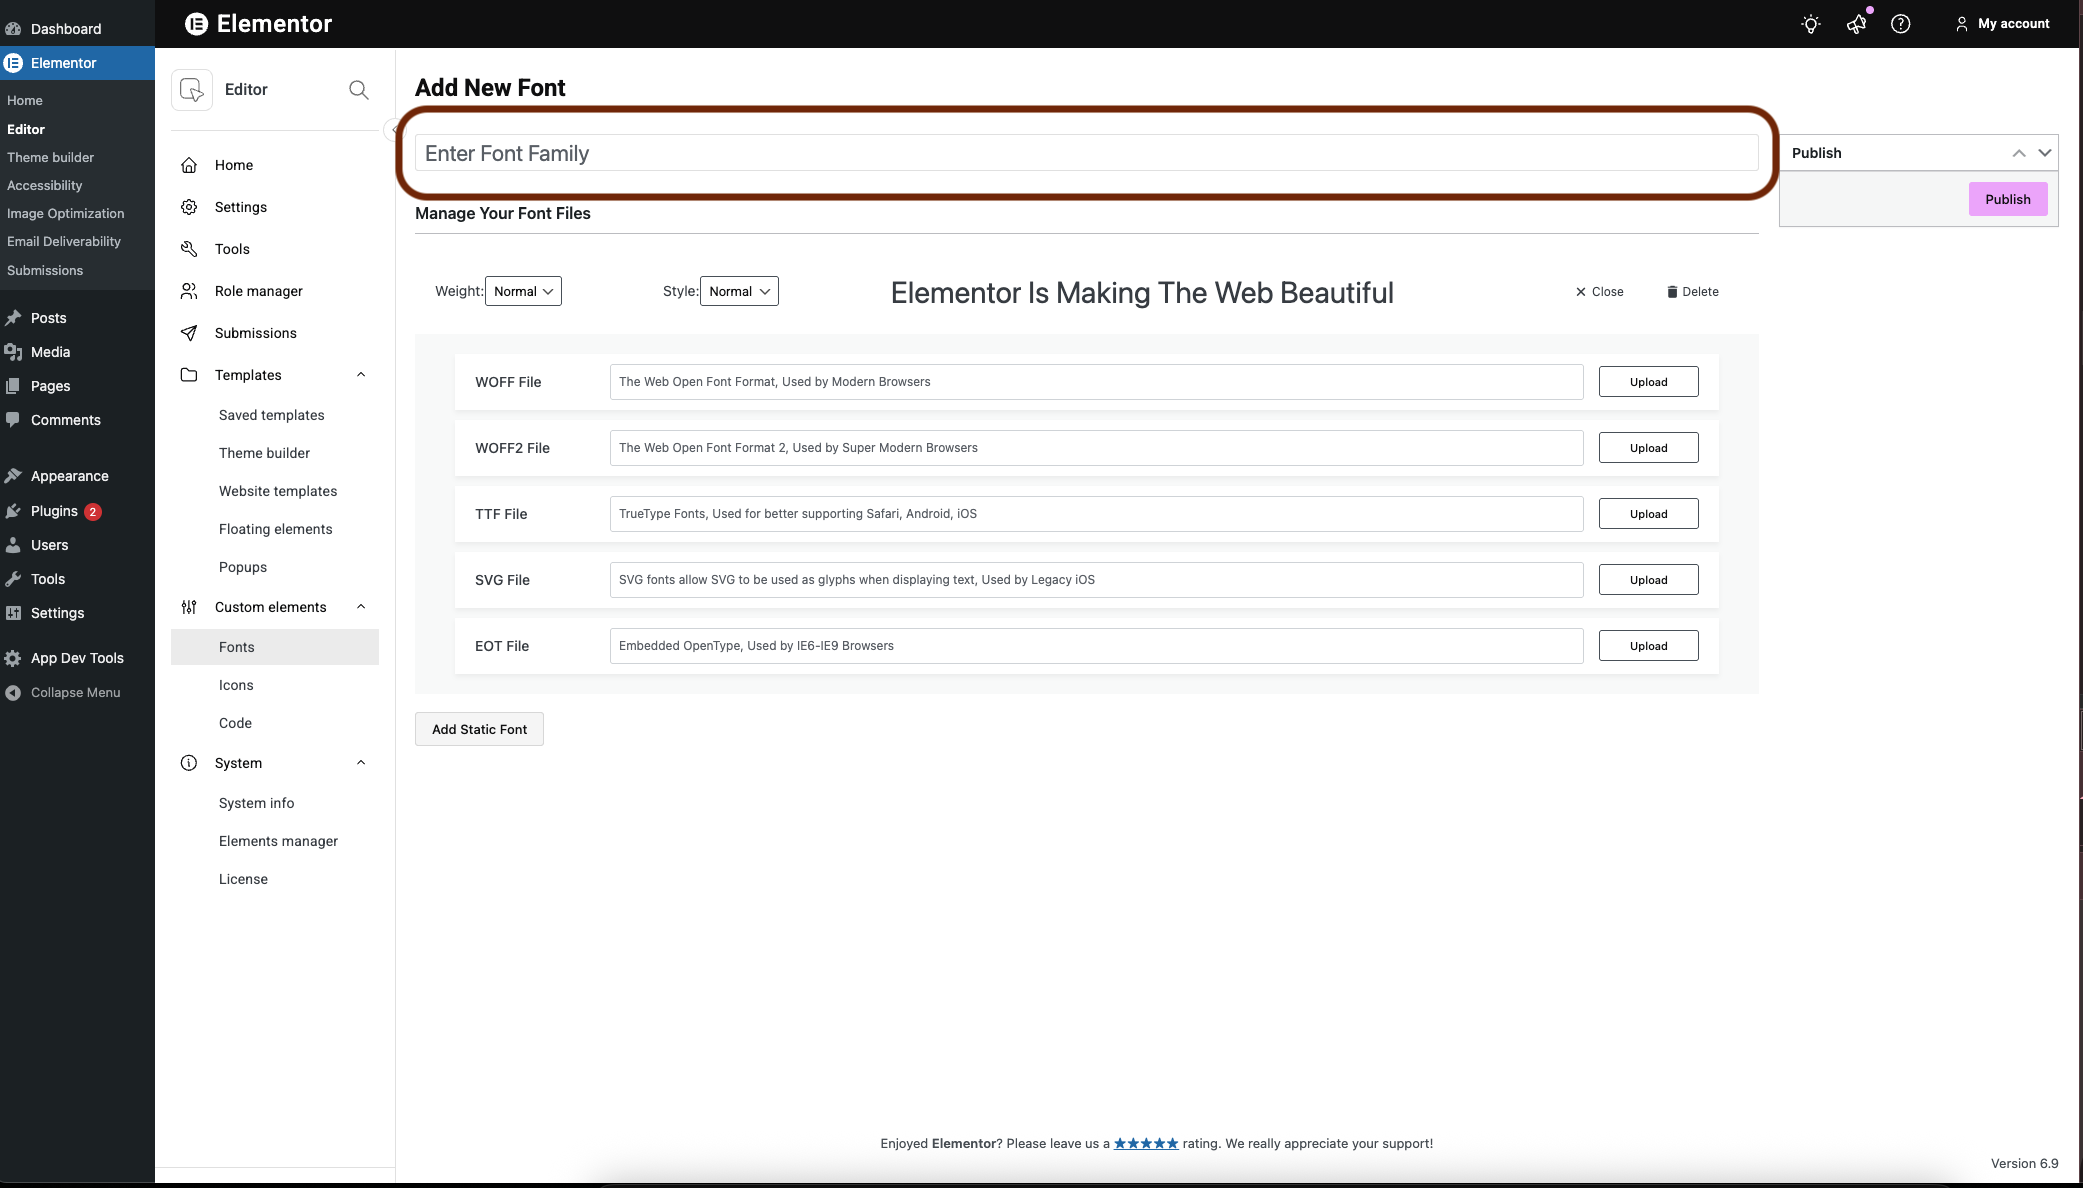
- Name your font.
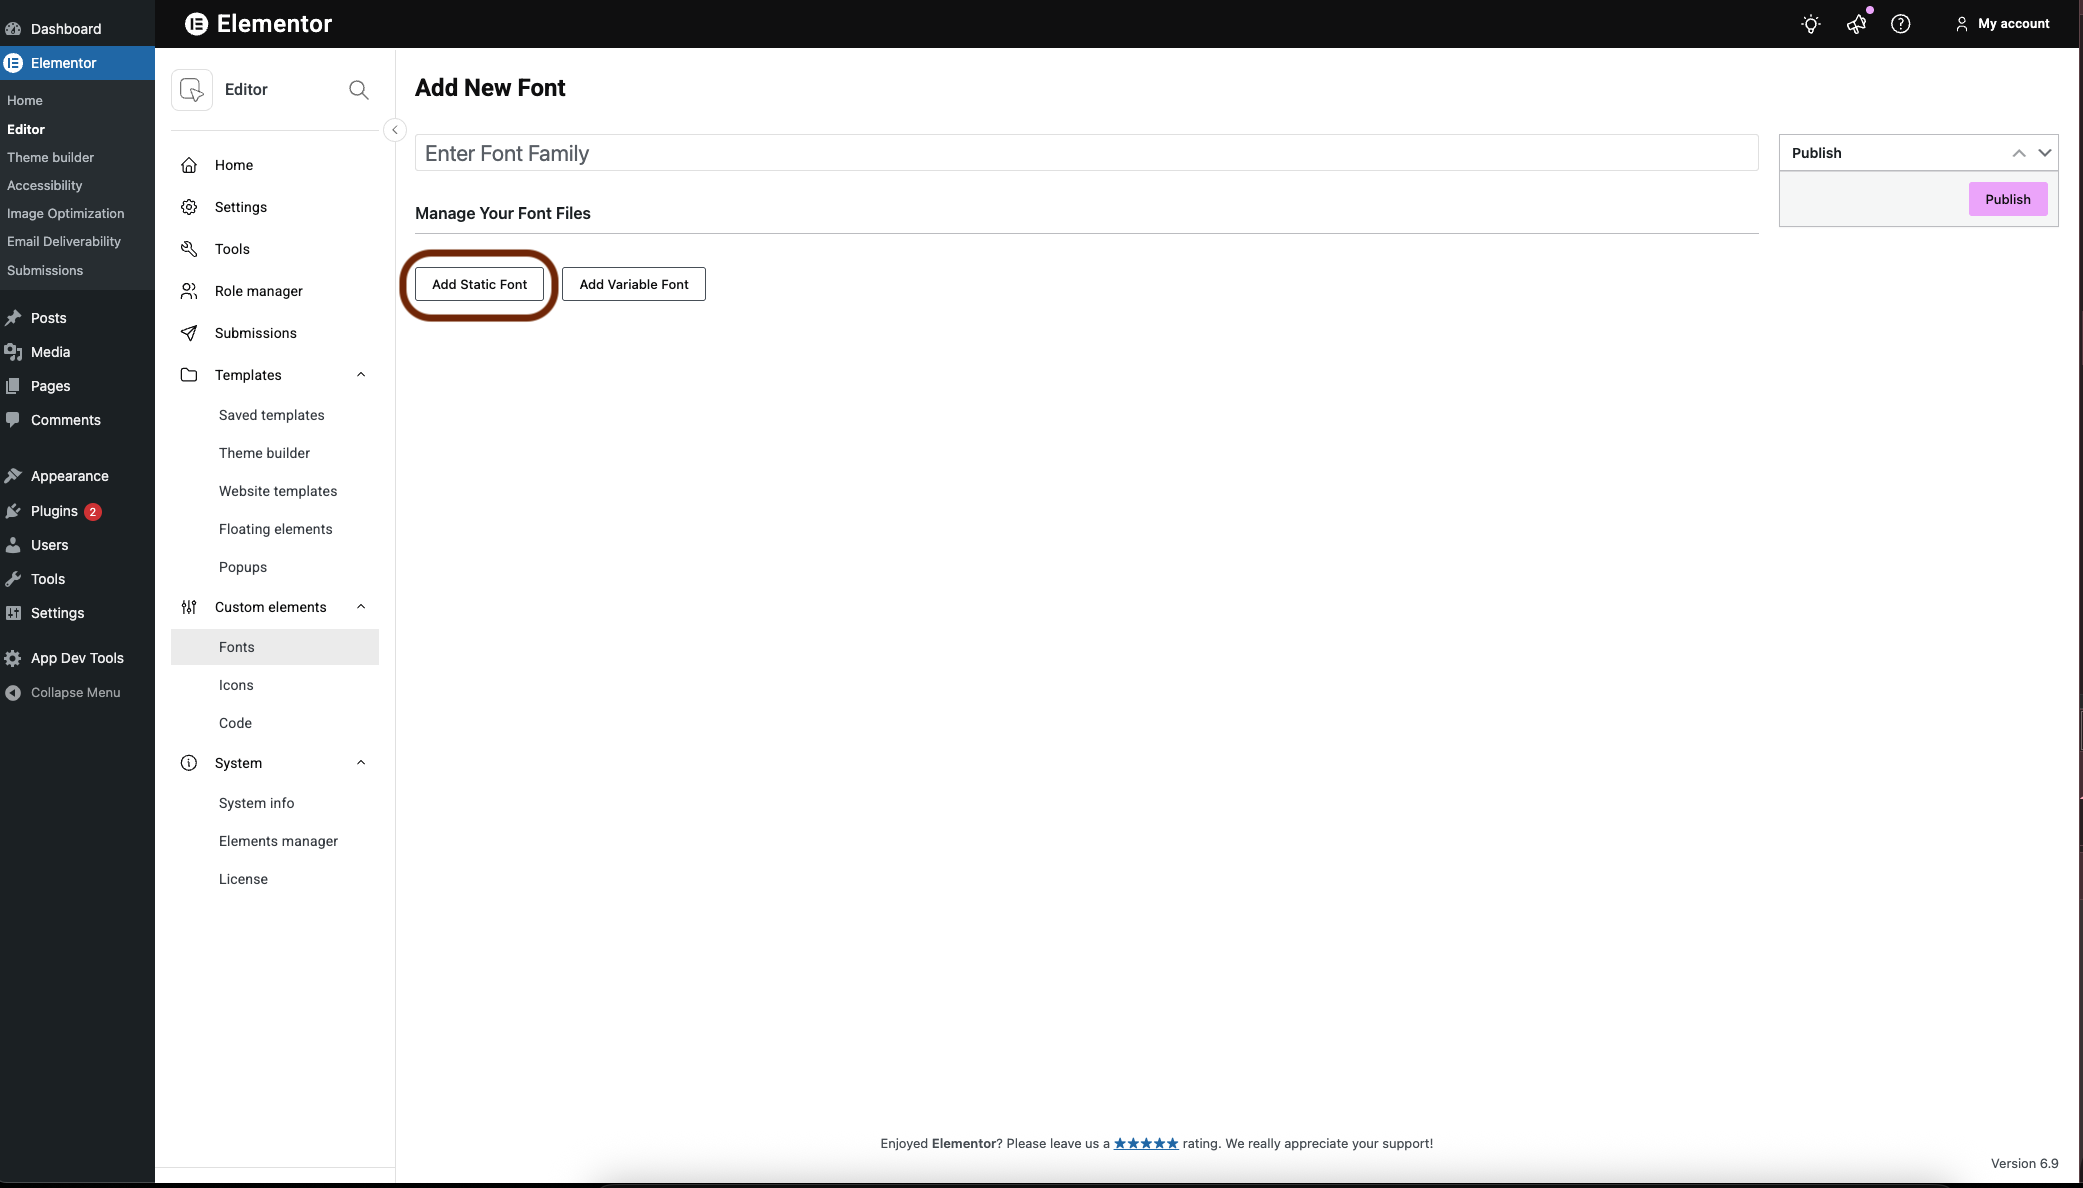
- Click Add Static Font.
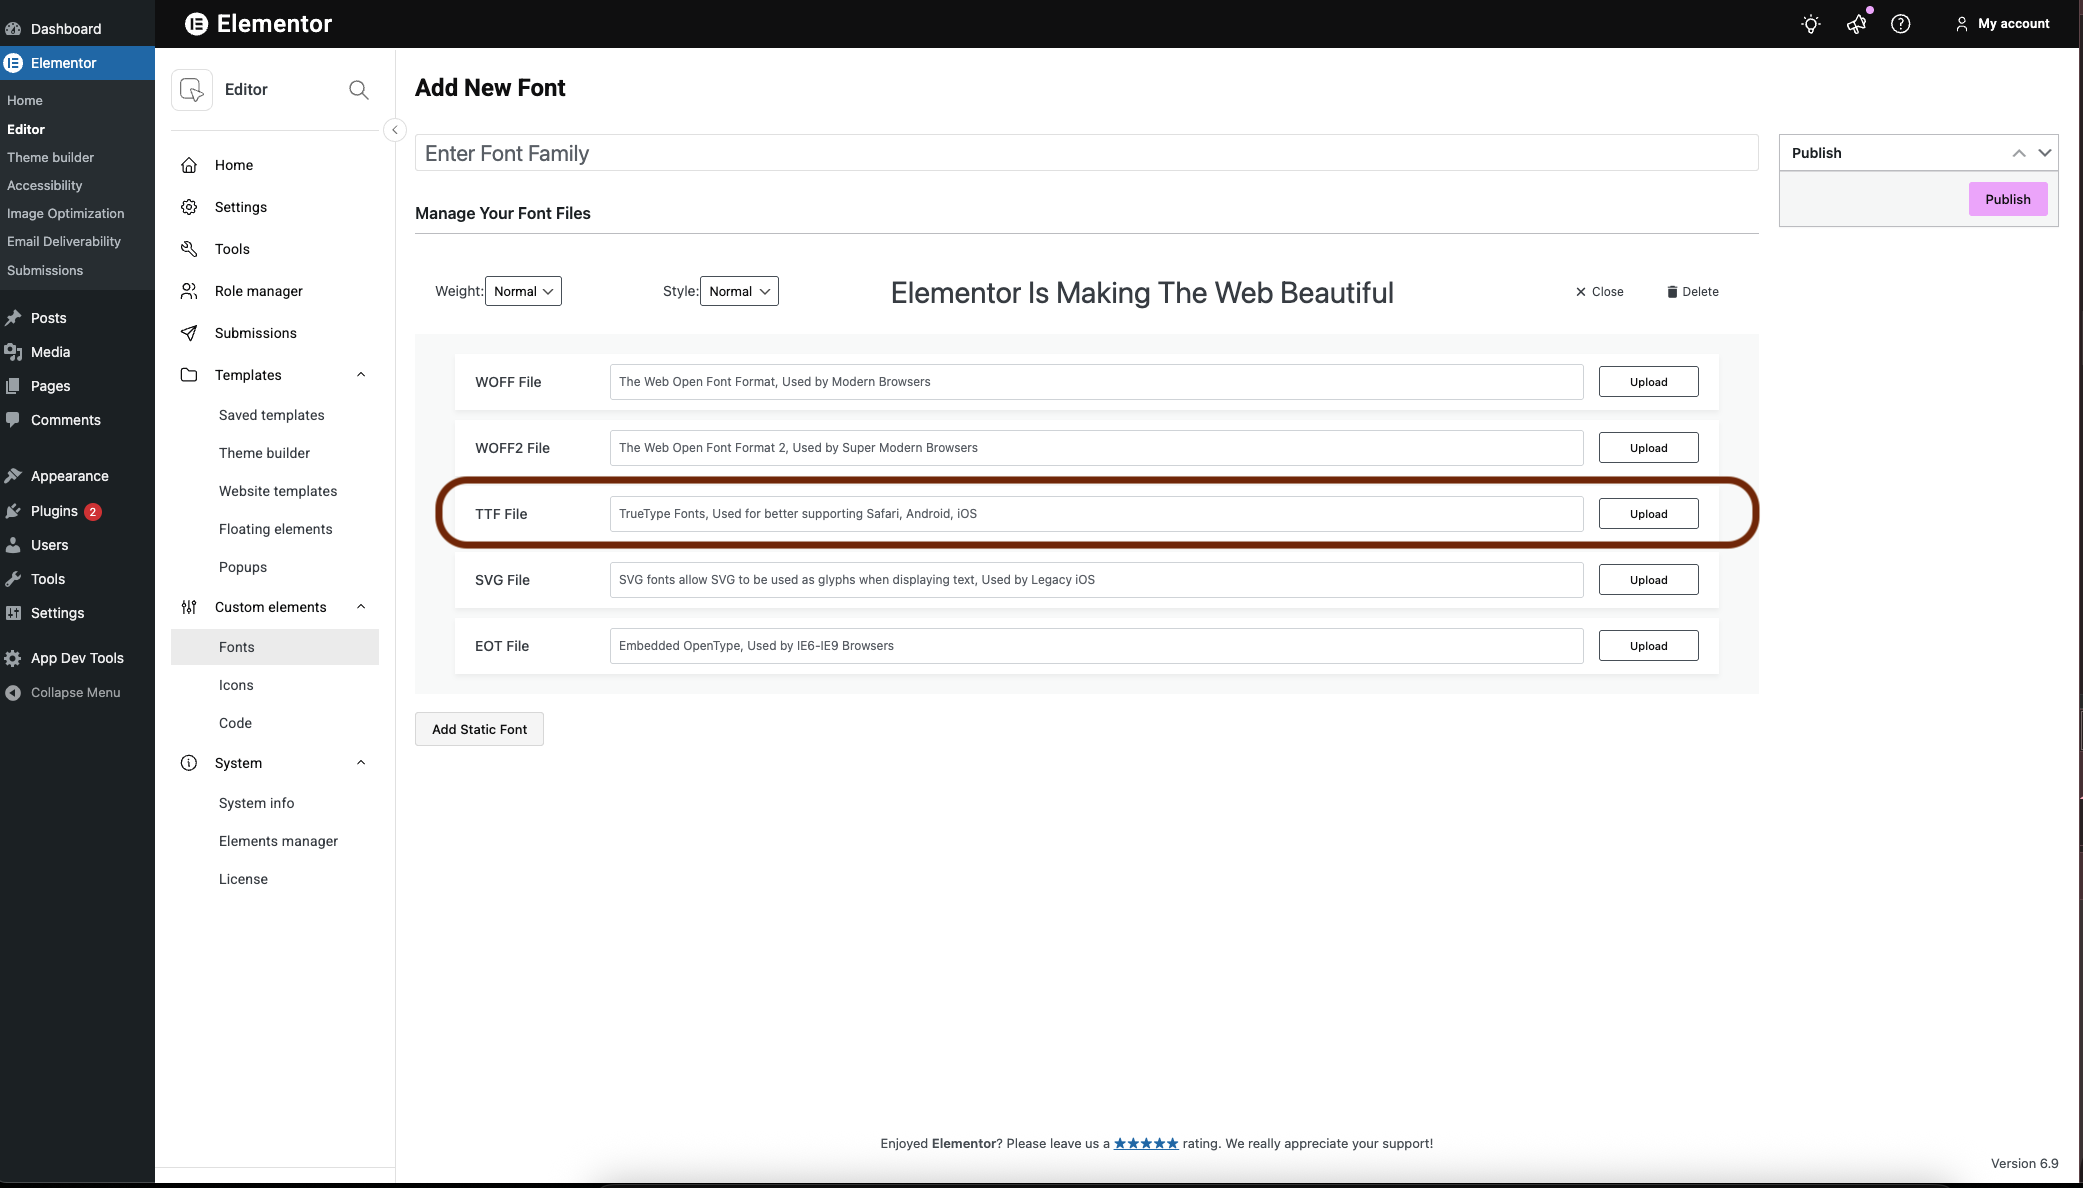
- Choose the font type you want to install. See below the font types supported by Elementor. In this example, we’ll use a ttf file.
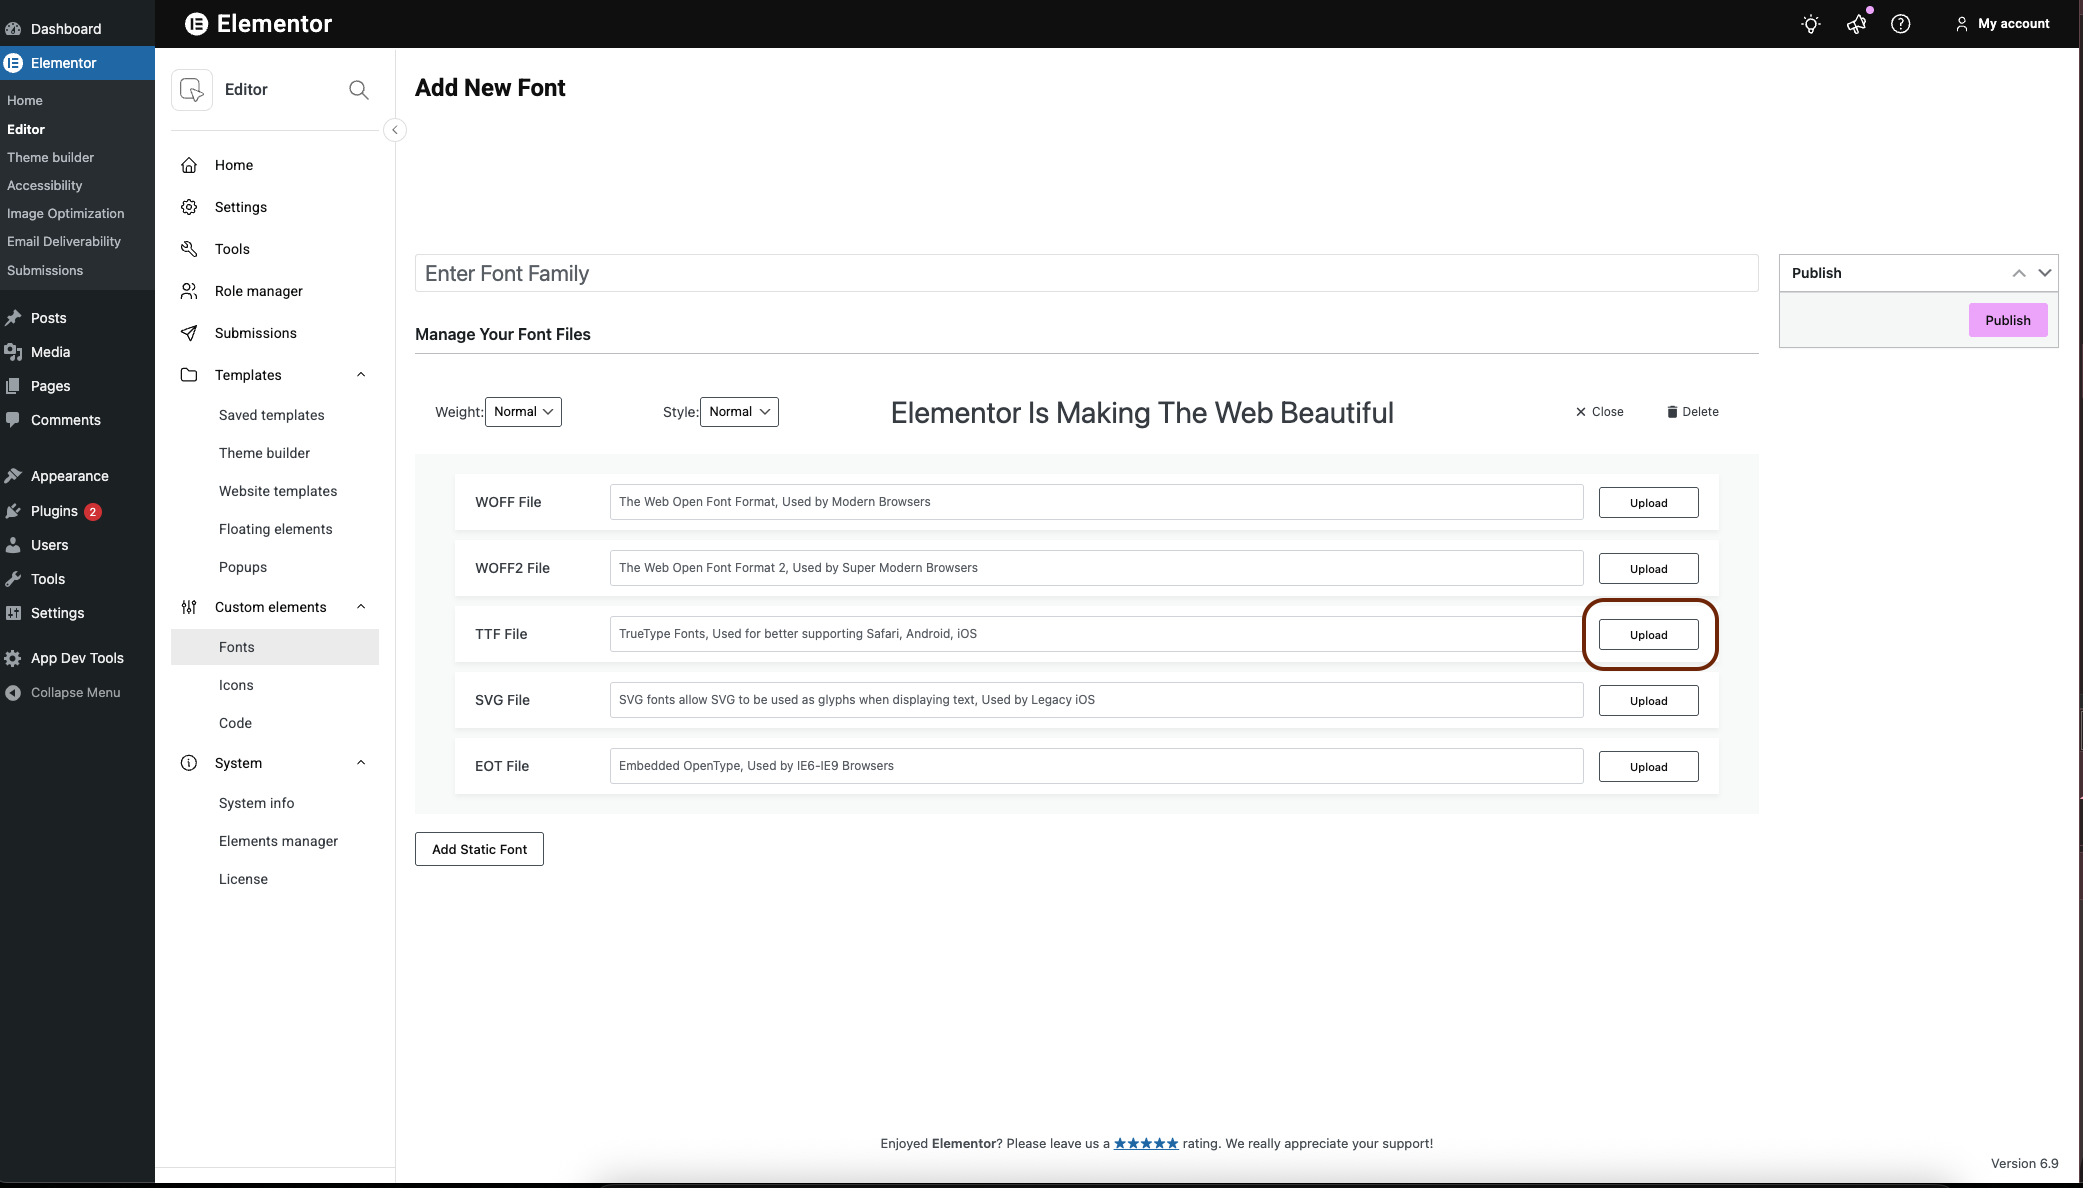
- Click Upload.
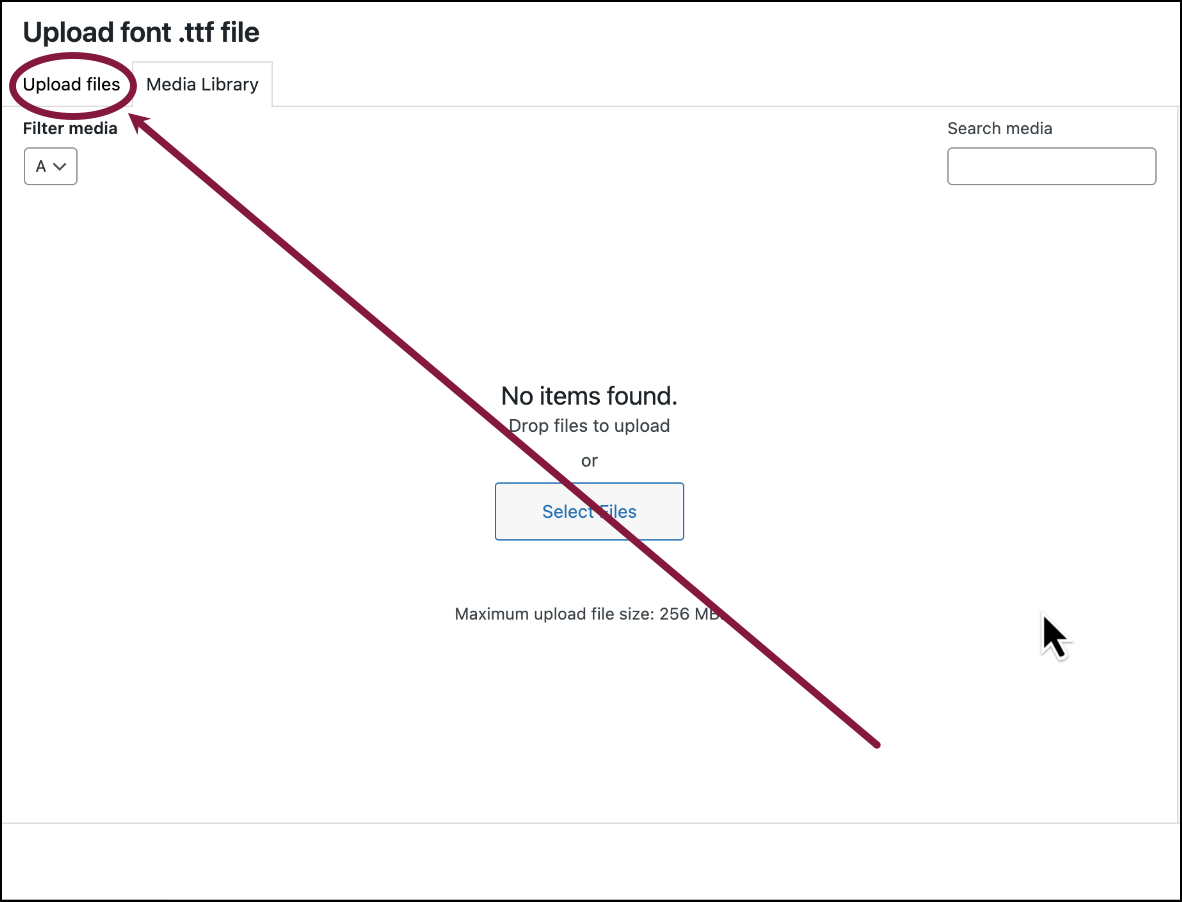
- Click the Upload files tab.
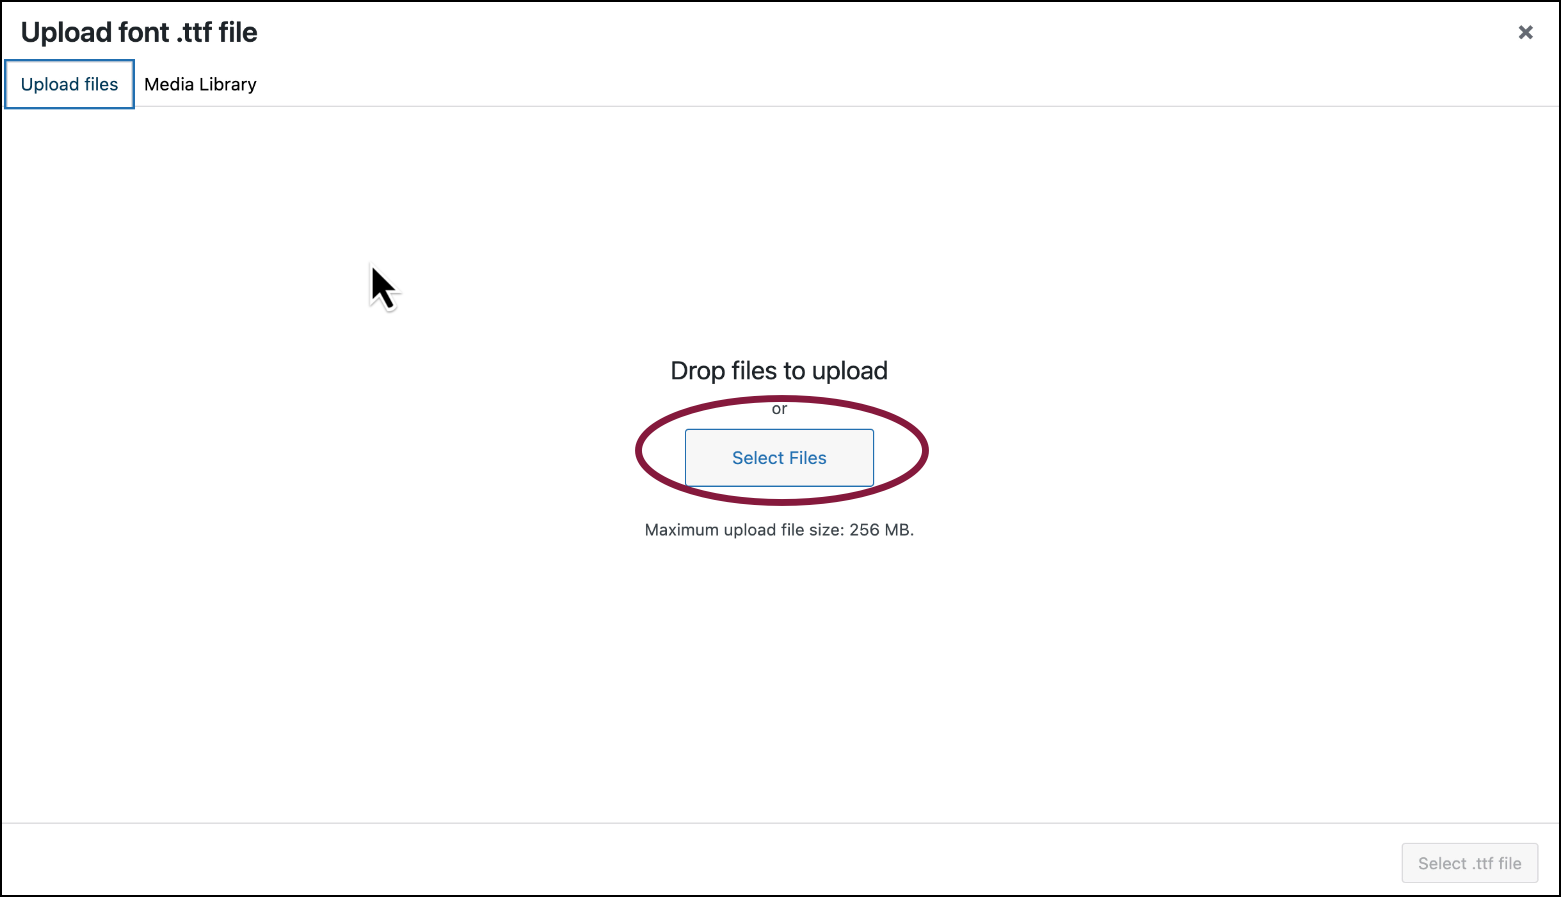
- Click Select files.
- Navigate to your font files and add to your Media Library.
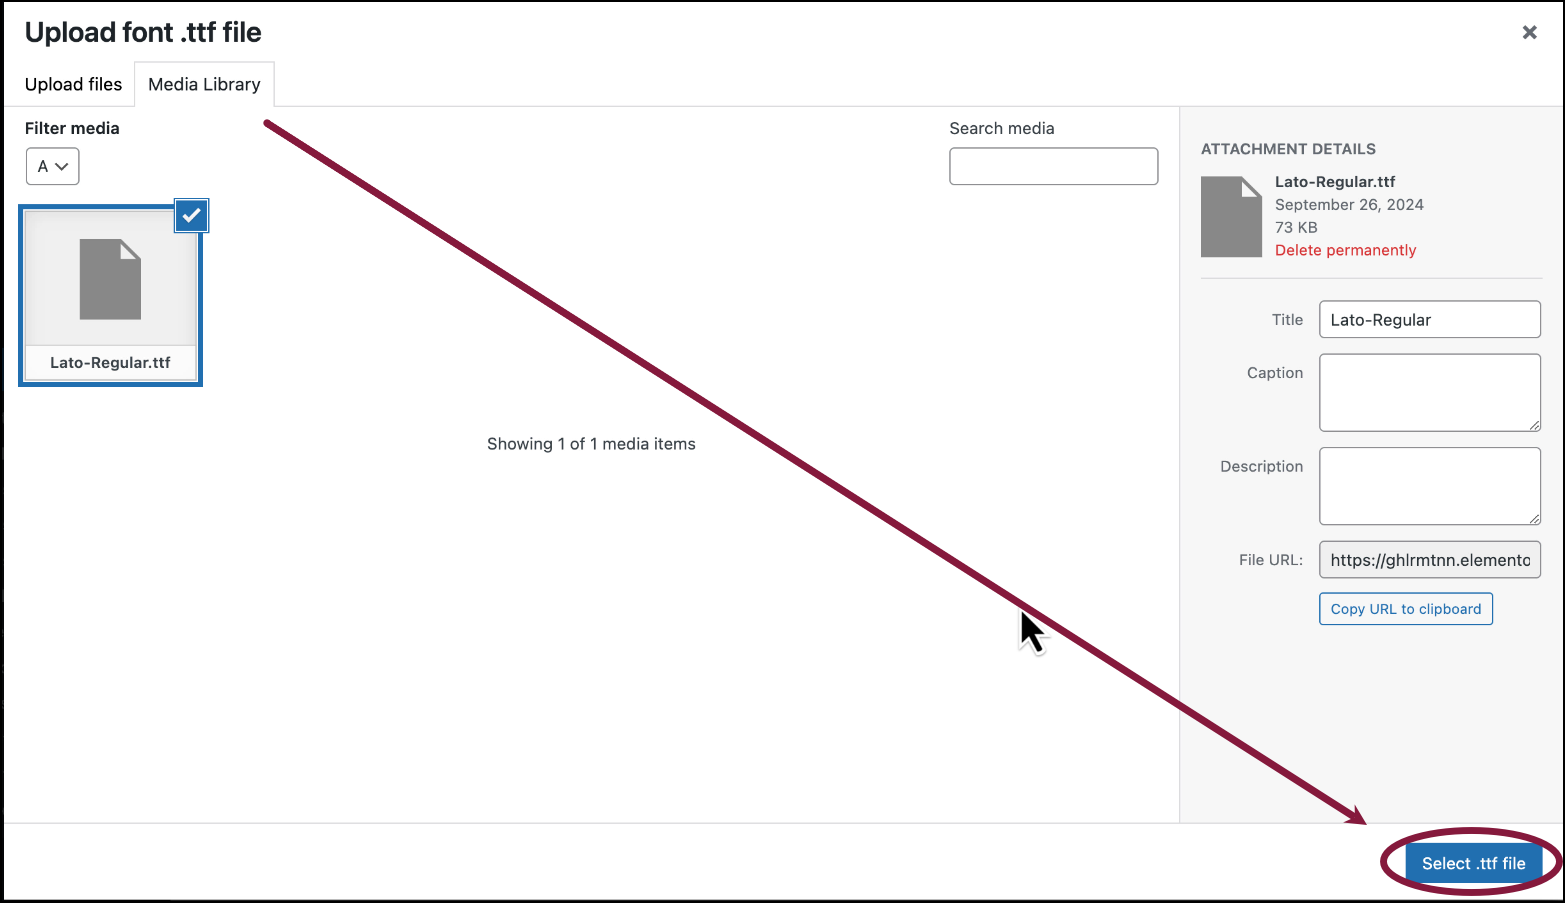
- Click Select file.
- Click Add Static Font.
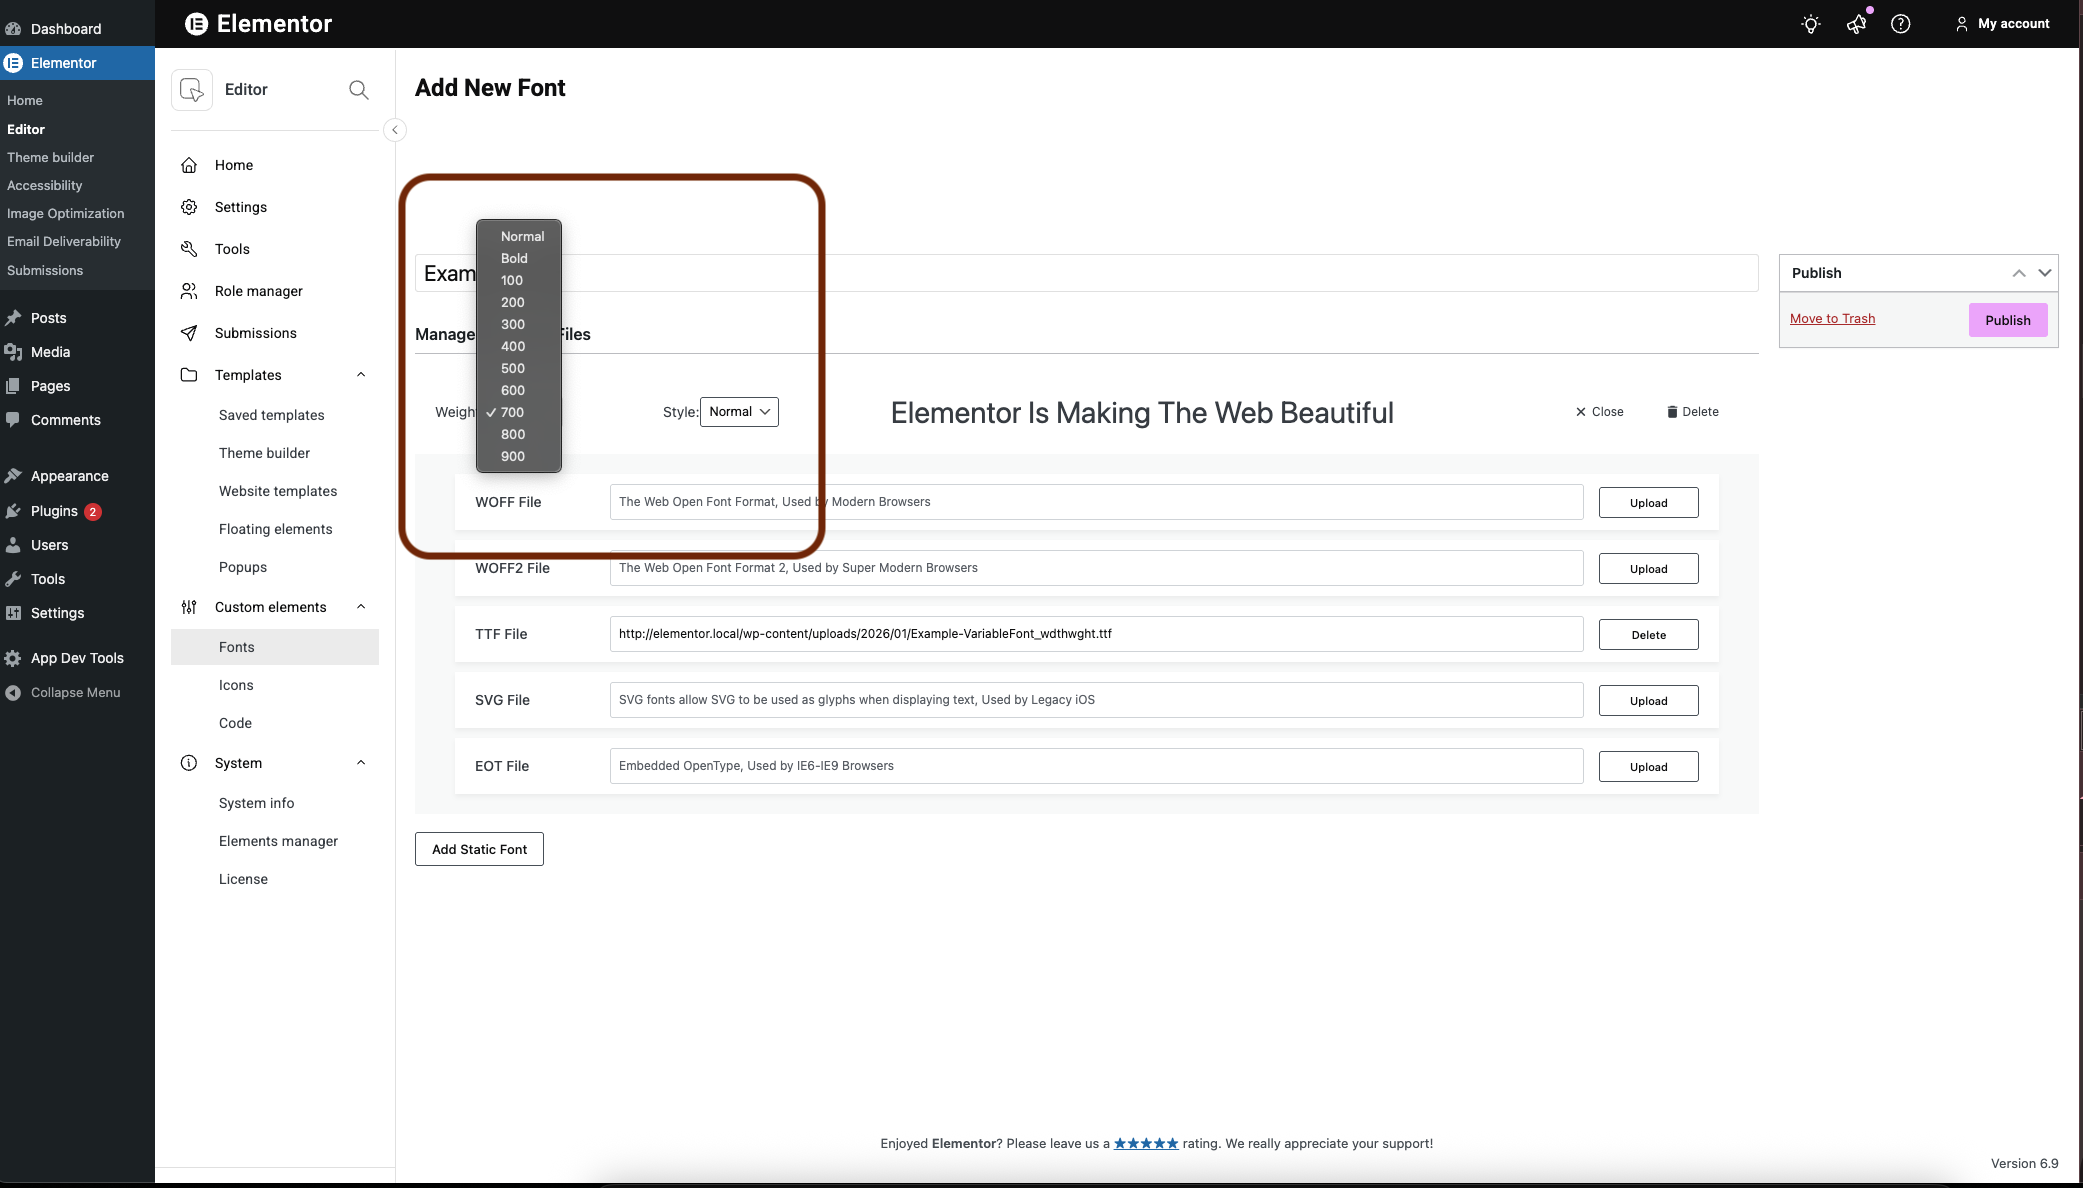
- Use the dropdown menus to select a Weight and or Style for the font.NoteYou must add every font weight class and type you want to use as a separate file. For instance, if you want to use myfont as a regular font with a weight of 400 and as a regular font with a weight of 900 and as an italicized font, you will have to add them separately.
- (Optional) If you want to add another version of the font with a different Weight and/or Style, click Add Static Font.
- Repeat until you’ve added all the fonts you need.

- Click Publish.
Use your custom fonts
After installing custom fonts, you can use them in the Elementor Editor.
To use custom fonts:
- Go to the Style tab of an element that contains text.
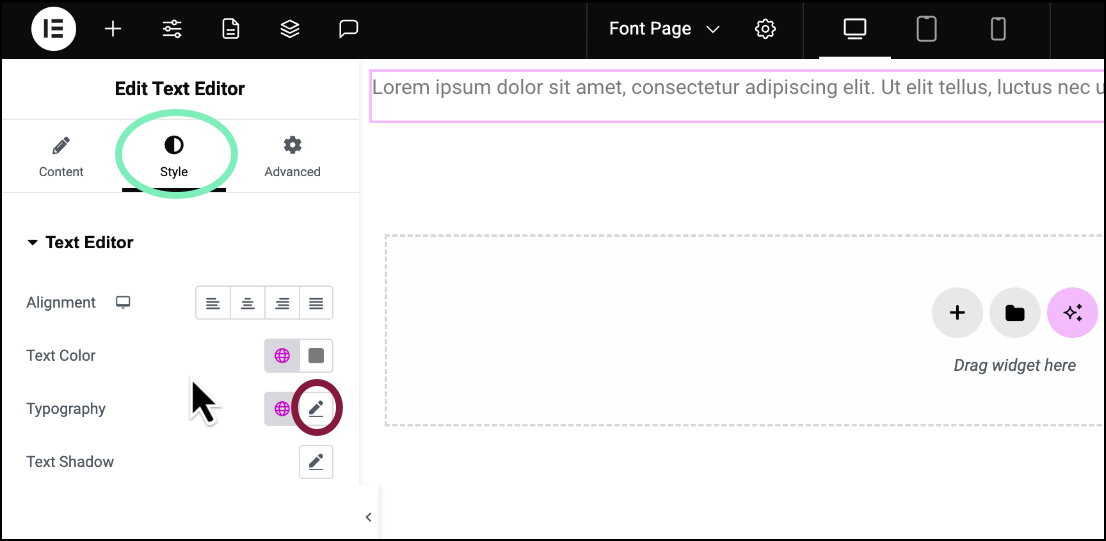
- Click the pencil icon by Typography. For details about changing typography, see Typography.
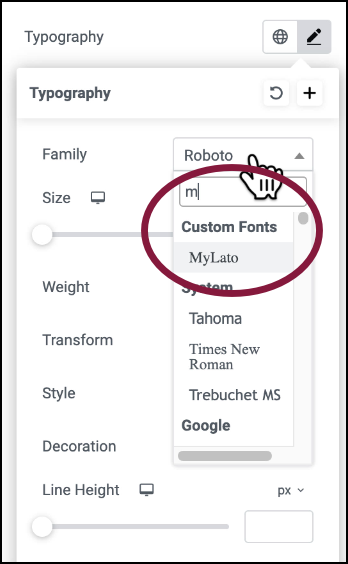
- In the text box, enter the name of your custom font.
- Select that font.
- (Optional) If you added more than one weight/style of the font, use the menu to select one of them.
Your custom font will appear in the element.
Note
Uploaded fonts are stored in the wp-content/uploads/ folder on your server.
Font types supported by Elementor:
- The Web Open Font Format (WOFF) – WOFF is the most recommended format to use, since it is supported by all modern browsers
- The Web Open Font Format (WOFF 2.0) – TrueType/OpenType font that provides better compression than WOFF 1.0
- TrueType Fonts (TTF) – This font was developed in the late 1980s, by Apple and Microsoft
- SVG Fonts/Shapes – SVG fonts allow SVG to be used as glyphs when displaying text. Make sure to use this format to support old versions of iPhone
- Embedded OpenType Fonts (EOT) – This font file works on IE, but not on other browsers. Make sure to use this format to support earlier versions of IE
Note
Different browsers support different font types so it’s important to test your site on a variety of browsers types.