Adding text over images with Elementor can be accomplished in several ways. This guide covers the two most effective and responsive methods to achieve this effect:
- Method 1: Using a Container Background Image (Recommended for hero sections and banners)
- Method 2: Using Negative Margins & Z-Index (Recommended for custom overlapping card designs)
Method 1: Use a Flexbox Container Background Image
Setting an image as a Container’s background is the cleanest and most responsive approach. Any widget placed inside the container automatically renders on top of the background photo.
To add text on top of an image:
1. Add a Container:
Drag a Flexbox element from the left widget panel onto your canvas.
2. Set Container Dimensions:
Go to Style > Size and set Min height and Max Width to 350px (or your desired height).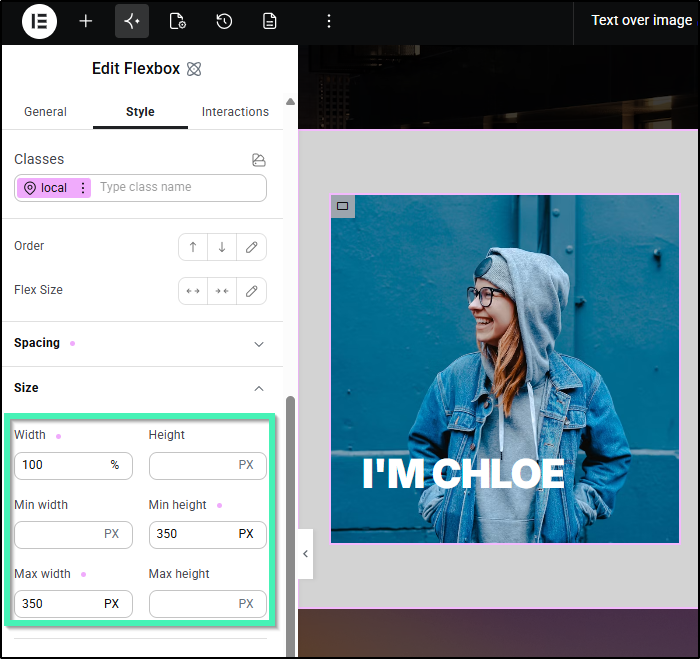
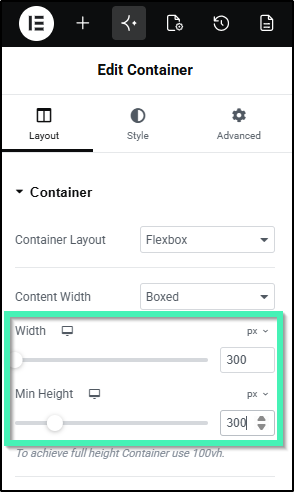
3. Apply and Configure the Background Image:
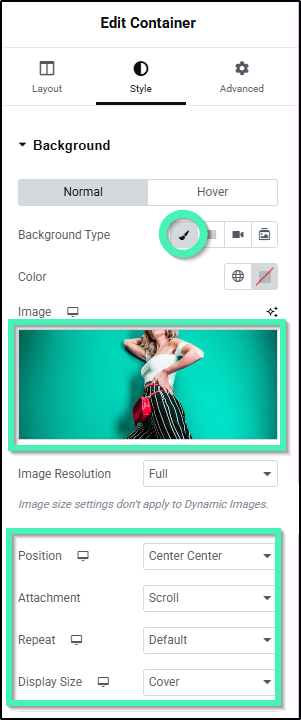
Open the Style tab and expand Background. Click the + sign to select or upload your photo from the Media Library.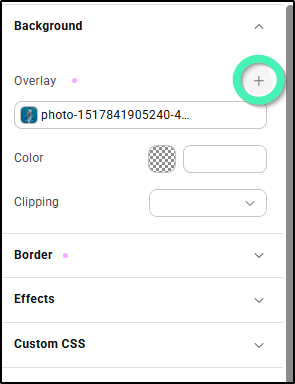
Configure the display controls:
Position: Set to Center Center.
Repeat: Set to No Repeat.
Size: Set to Cover (or Contain).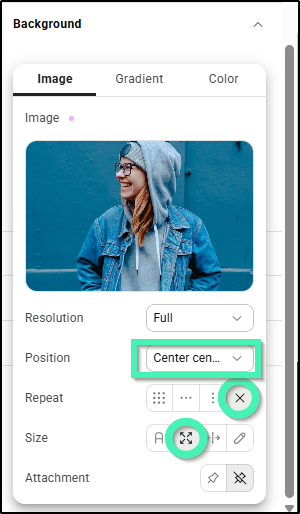
4. Add the Heading Widget:
Drag a standard Heading widget directly inside the Container. Enter your text (e.g., “I’M CHLOE”) in the panel, and adjust typography and color under Style > Typography.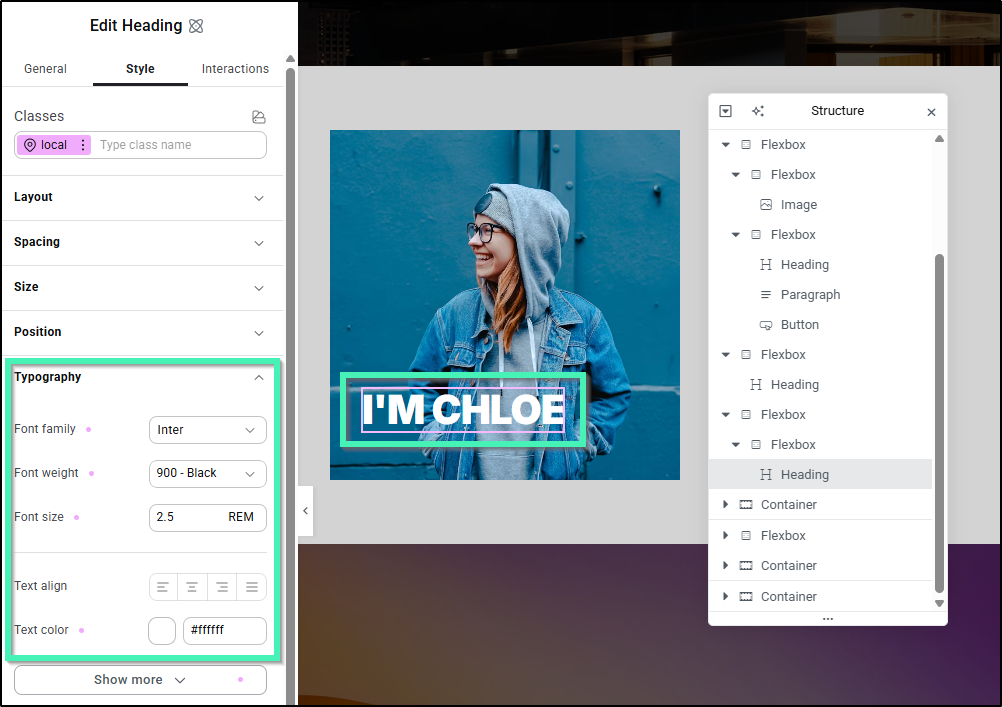
Method 2: Use Negative Margins & Z-Index
Use this method when you want to overlap two standalone widgets on your page – such as pulling an Image widget up underneath an existing Heading widget.
To add text on top of an image:
1. Add the Widgets:
Drag an Image widget onto your canvas and select your photo.
Drag a Heading widget onto the canvas, placing it directly above the image.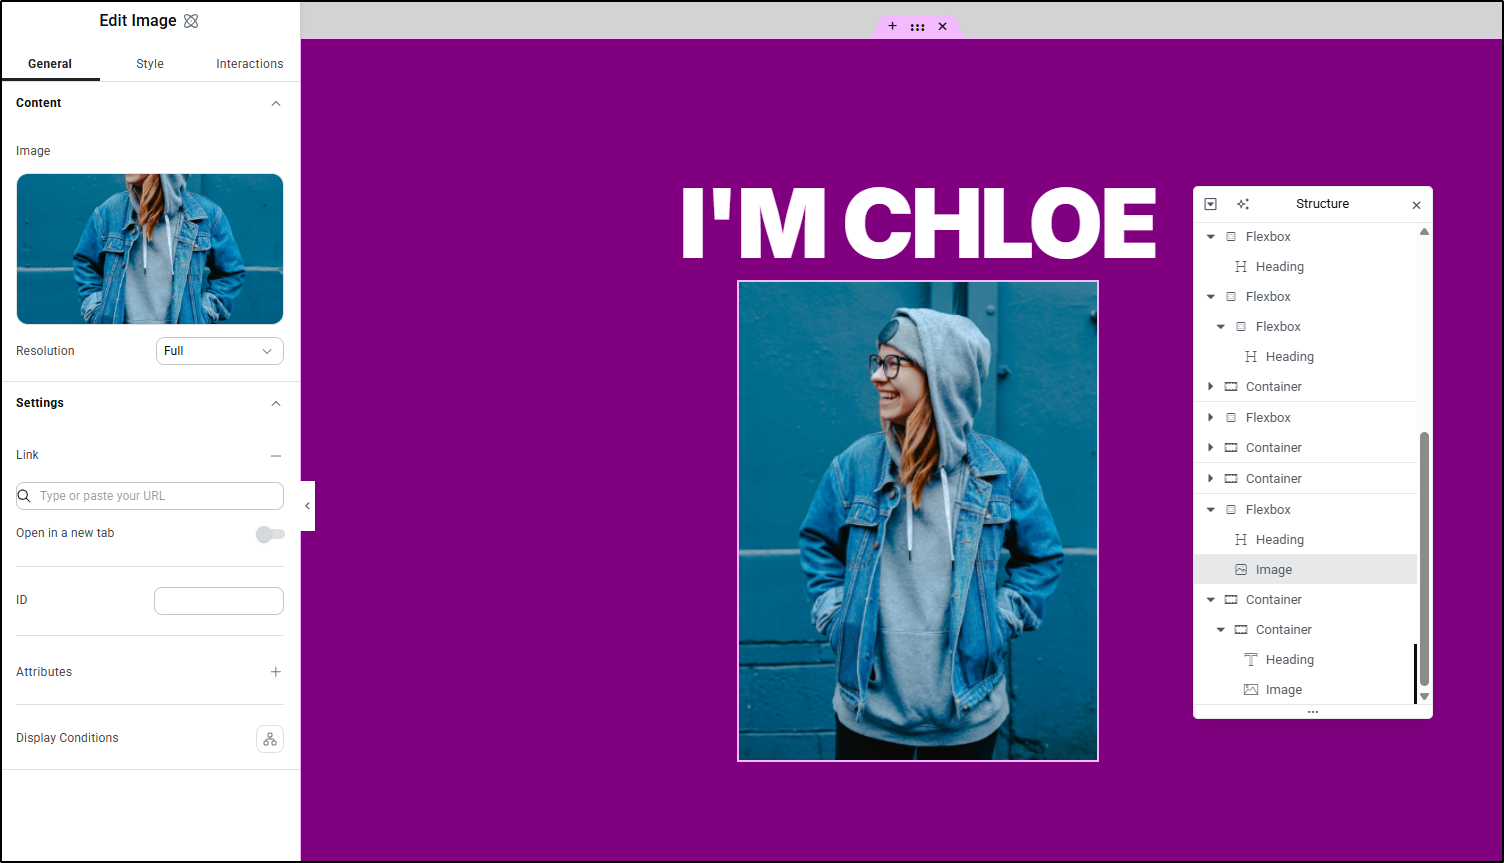
2. Set the Heading Stacking Order (Z-Index):
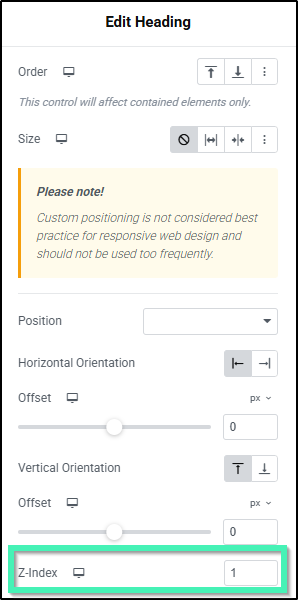
Select the Heading widget and navigate to the Style tab. Under Position, enter 1 in the Z-Index field. (This elevates the heading so it stays visible on top when the elements overlap).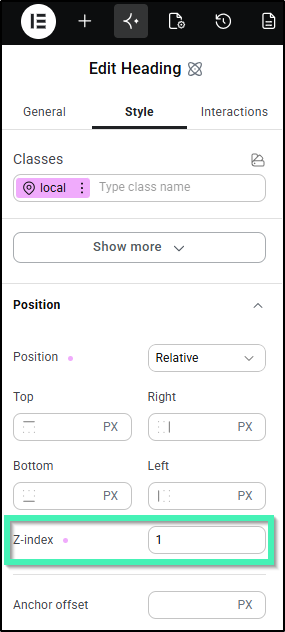
After entering the Z-index you won’t see any change but it essentially raises the headline one level which will be important later. For more information on Z-index, see Use the Z-index.
3. Apply Negative Margin to Overlap:
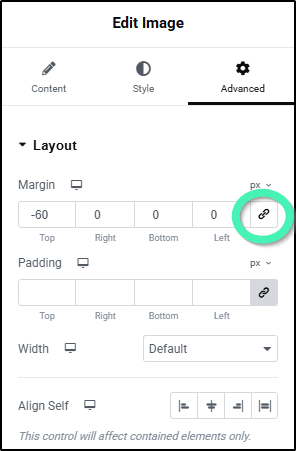
Select the Image widget and go to Style > Spacing. Enter a negative value in the Top Margin field (e.g., -60px or -120px).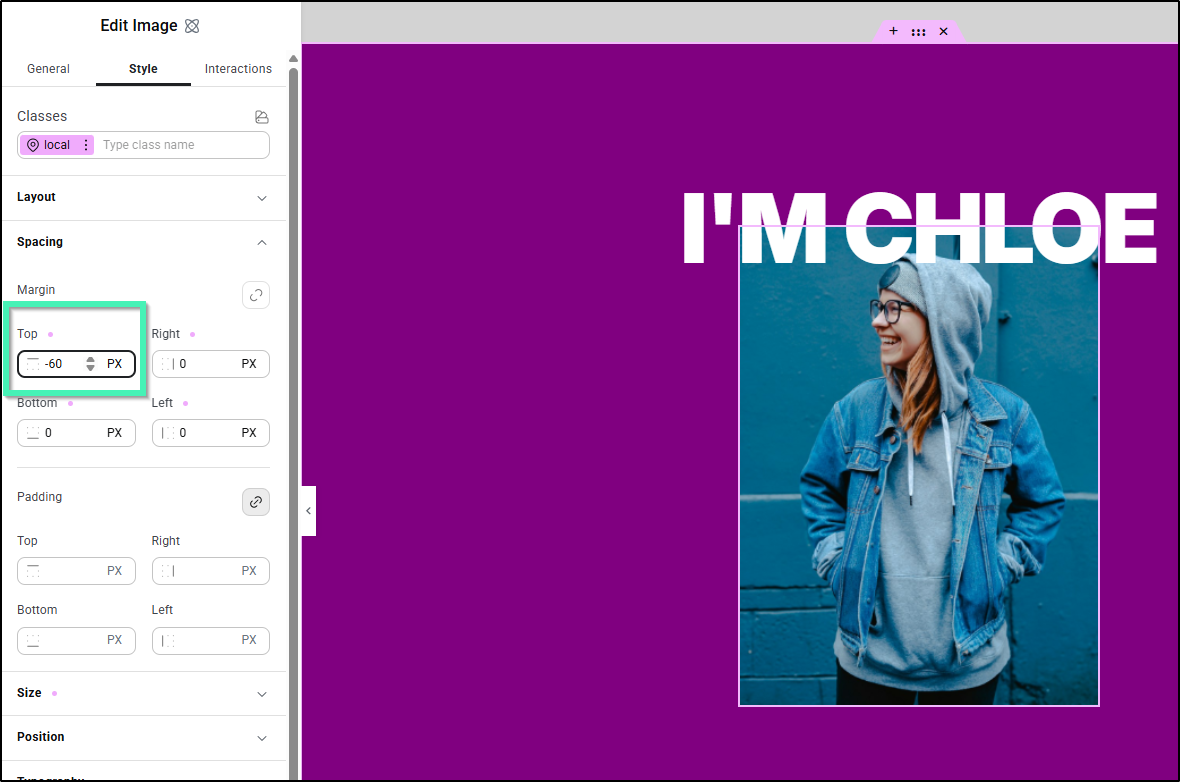
4. Adjust and Preview:
The image will shift upward underneath the heading text. Fine-tune the negative margin value until the text sits exactly where you want it over the image.