PODS brings limitless possibilities for adding extra data to WordPress content by creating custom fields. Elementor allows you to dynamically insert the PODS custom field data directly into your Elementor designs with all the styling options you’ve come to expect from Elementor.
Want to learn faster? Book a 1-on-1 expert session today.
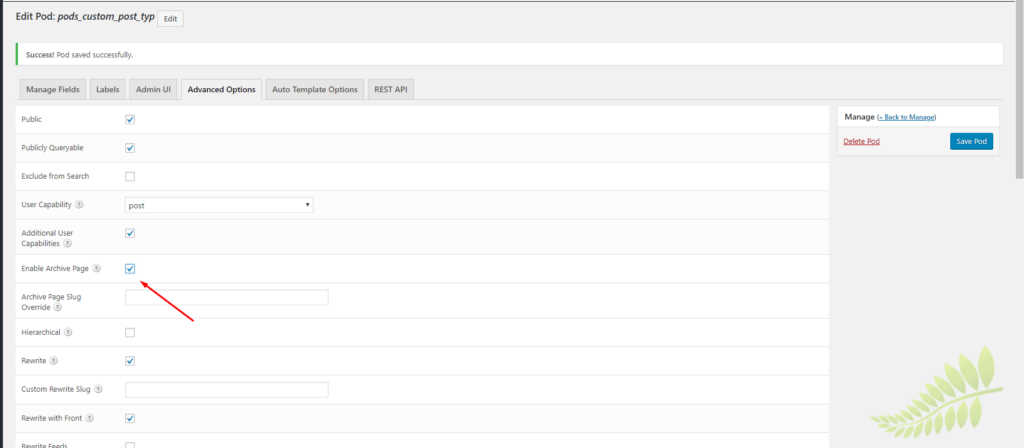
Note: “Enable Archive Page” should be checked in the Pods custom post type settings as shown below.
How To Add PODS Custom Fields To A Single Post Template
Go to Templates > Theme Builder > Single > Add New
Choose Template Type > Single. Name your template and click Create Template
Click on the Document Settings gear icon located at the bottom left of the panel
Click the Preview Settings tab
Under Preview Dynamic Content select the post type you wish to preview
Drag a widget that makes use of dynamic content (e.g. Text widget)
Click on the Dynamic icon
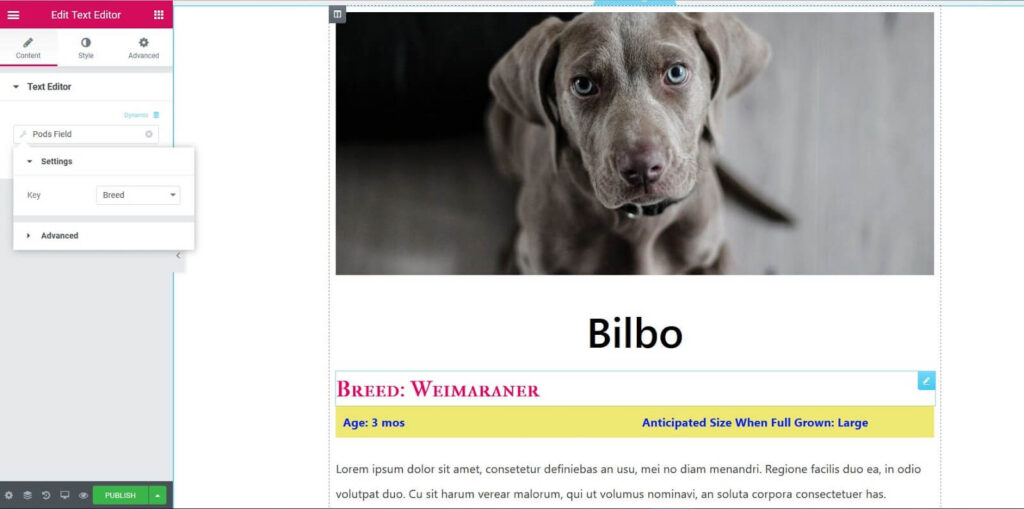
Choose PODS Field
Once selected, click again on PODS Field
In Settings > Key, select the custom field you want to display
The options in the Advanced tab are optional. Options include: Before: Text to automatically appear before the custom field data Fallback: Text to display if custom field has no data After: Text to automatically appear after the custom field data
Style the custom field widget as you would normally, using the widget’s Style tab.
Custom PODS fields we support:
Note: Any PODS fields not included in this list are not supported at this time
A pet rescue website needs to list all pets available for adoption. Custom fields such as Breed, Age, and Size might be needed to accurately describe each animal. PODS makes it easy to create the custom fields, while Elementor brings the magic needed to beautifully display the data on the front end.