Classes let you group different elements so you can apply one style to them at once. Instead of styling widgets separately, you control them with a single label. This keeps your design consistent.
Add a CSS class to an element
Elementor greatly simplifies creating CSS classes. To add elements to a class:
Select an element on your canvas.
In the panel, open the Advanced tab.
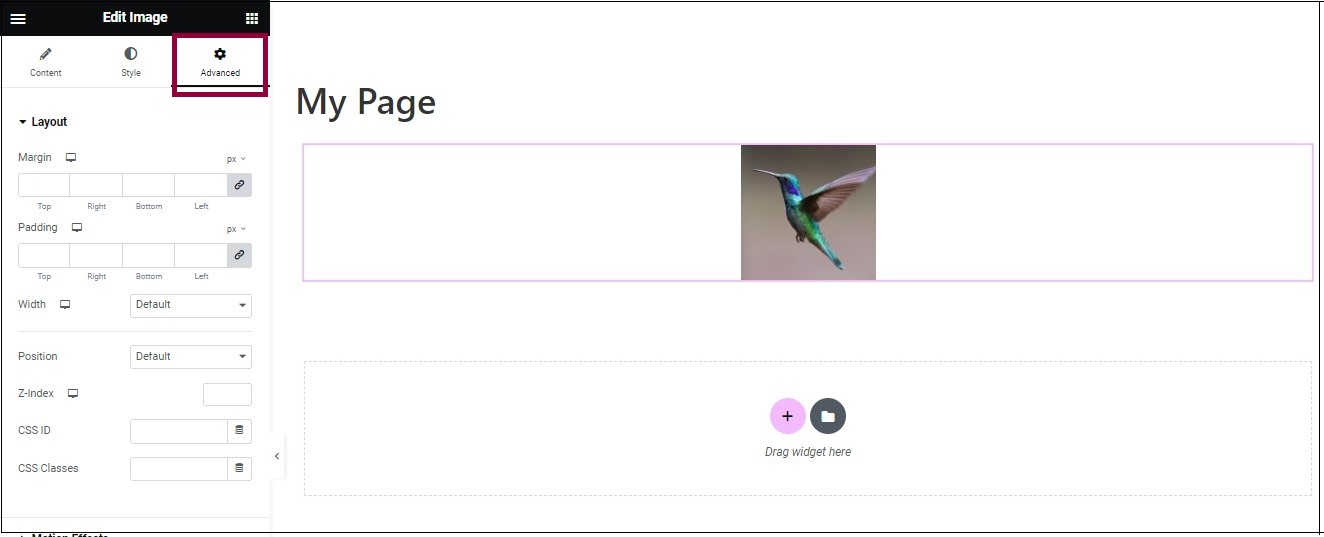
Enter your class name in the CSS Classes field.
When naming your classes, you must begin with a letter. You can use hyphens or underscores to separate words. Do not use spaces or special characters.
Repeat for every element you want to include in the class.
Write the CSS code (Elementor Pro)
Elementor Pro lets you write CSS directly inside the editor. You see the changes immediately.
Go to Site Settings > Custom CSS to apply the style globally across your site.
Alternatively, write the code in the Advanced > Custom CSS tab of the widget itself.
Write your CSS rules starting with a period before the class name (e.g.,
.change-color { color: green; }).
Write the CSS code (Elementor Free)
Elementor Free does not include the Custom CSS panel inside the editor. You must add the code elsewhere. The WordPress Customizer handles this natively.
Save your Elementor page.
Navigate to Appearance > Customize > Additional CSS in the WordPress dashboard.
Write your CSS rules there, making sure to include the leading period for the class name.
Target elements inside the widget wrapper
Elementor applies your custom class to the outer HTML wrapper of the widget. It affects the whole container. If your style does not apply to the specific text or image inside, append the HTML tag to your CSS rule.
For example, use .change-color h2 to target a heading inside the widget, or .change-color img for an image.
Example:
Alex wants to create a site where every week they can change the color of select text. When building the site, Alex labels all the text elements they want to change with the CSS Class – “change-color”. In Site Settings, Alex adds the CSS:.change-color {
color: green;
}
Now, every time Alex wants to change the color of these elements, they just have to replace green with their selected color.
Related articles
CSS classes in Elementor