The Text Editor widget provides an easy solution to seamlessly wrap text around images.
Follow these step-by-step instructions to achieve this:
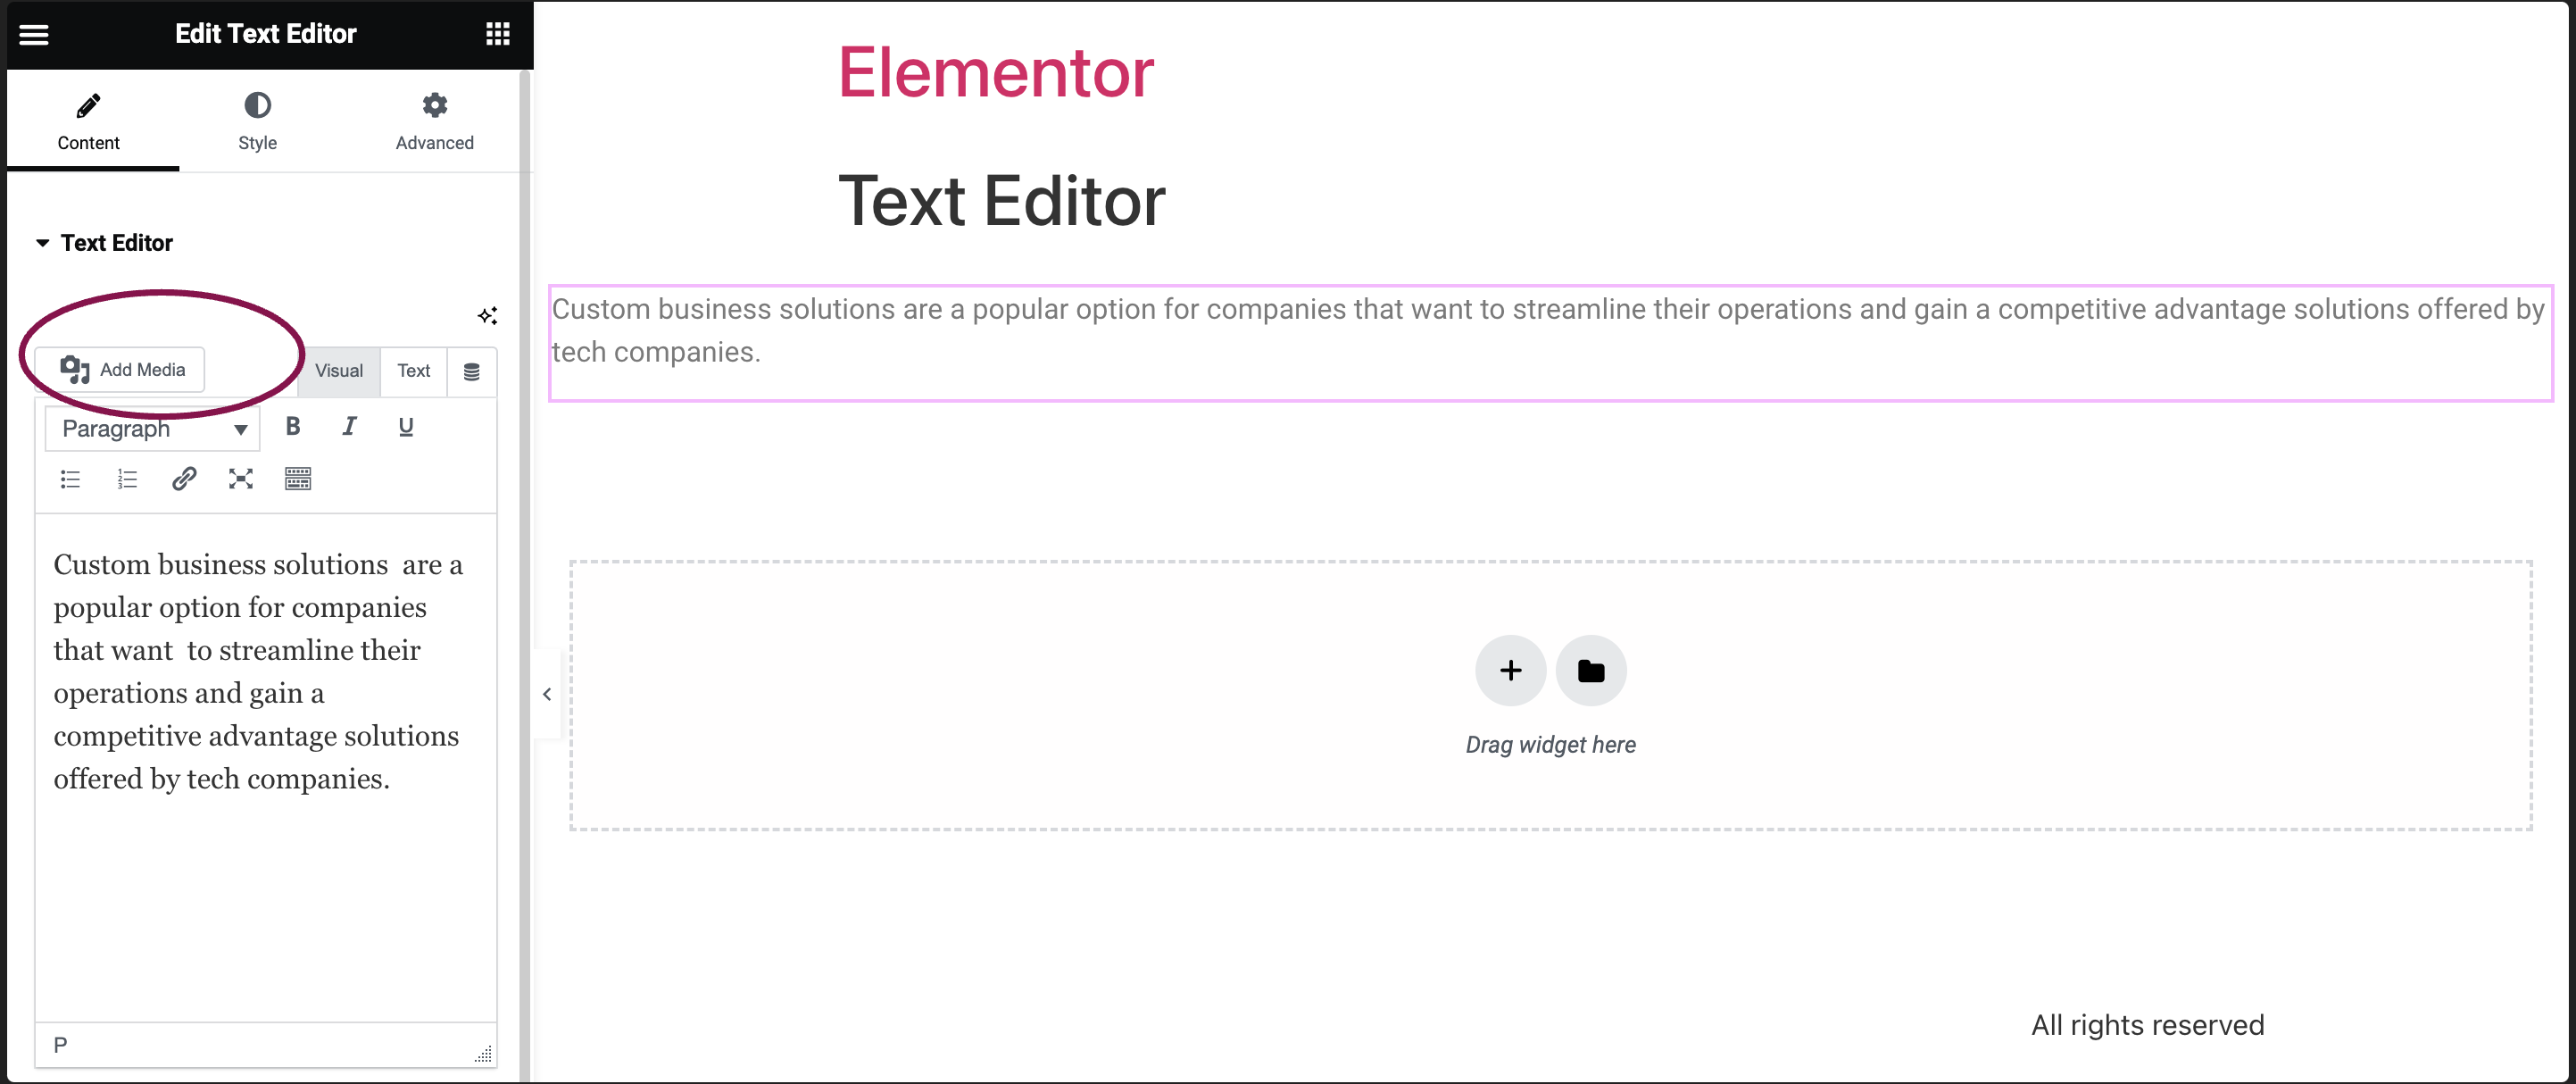
- Add the Text Editor Widget: Start by adding the Text Editor widget to your canvas. For more information, see Add elements to a page.
- Add Media: Inside the Text Editor widget, locate the Add Media button. Click on it to access your WordPress media library.
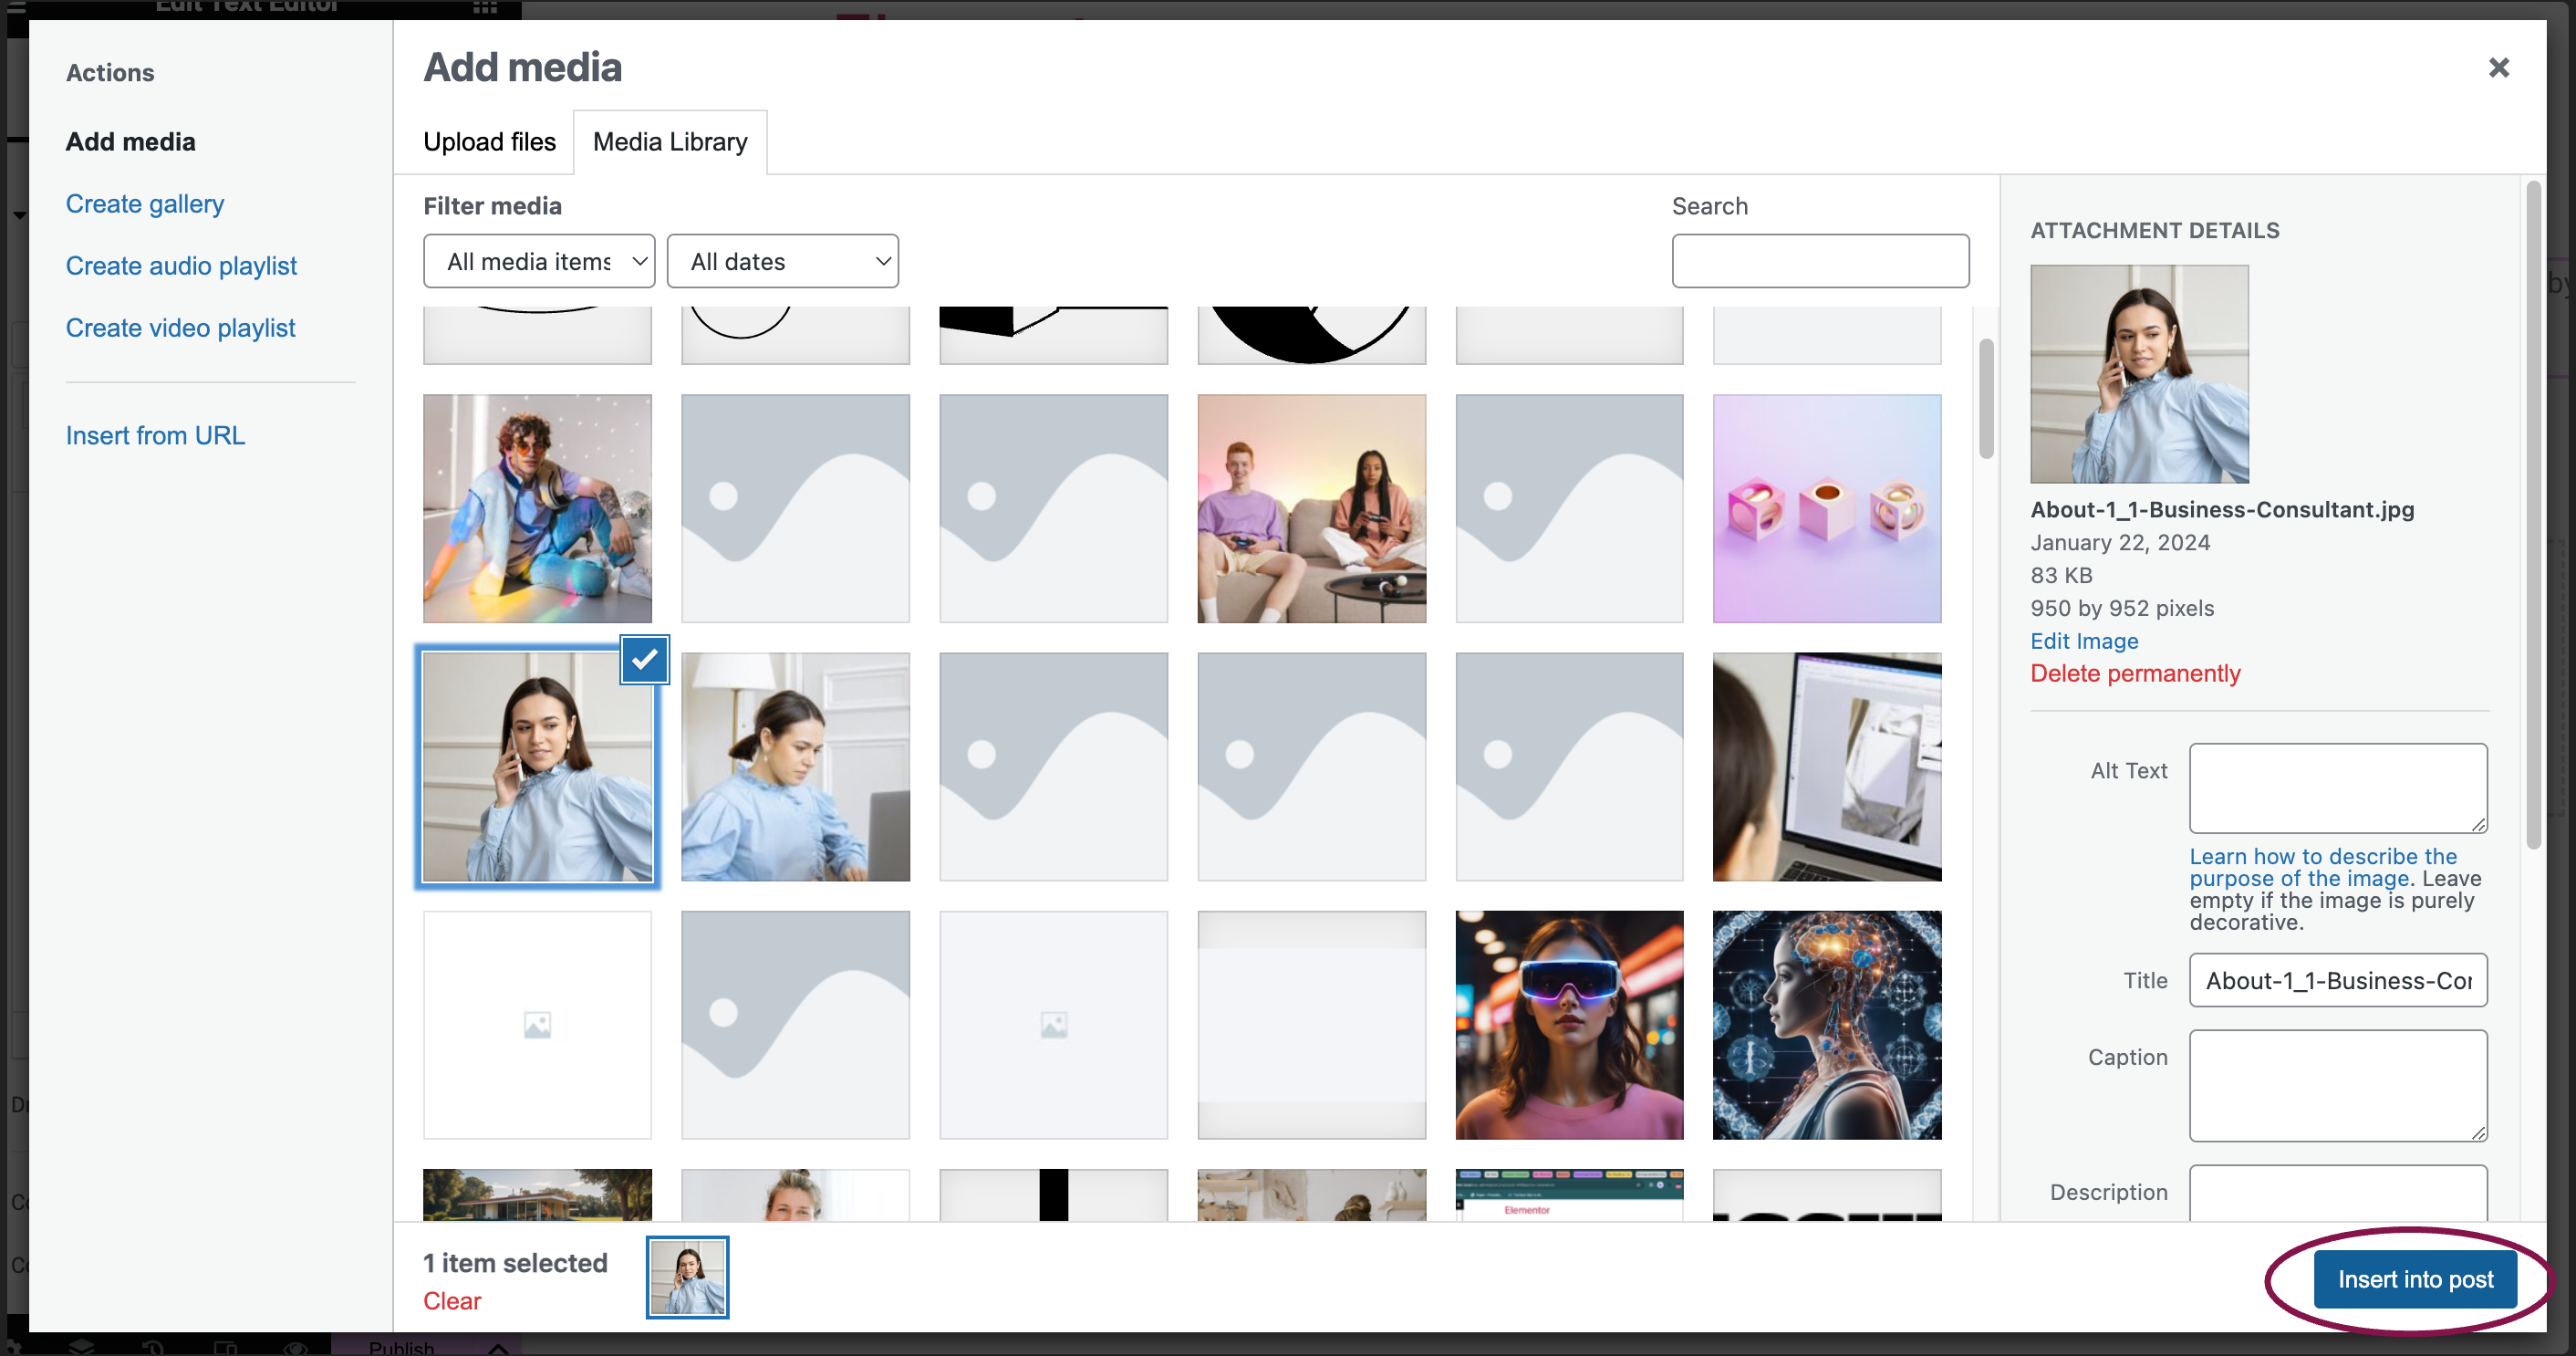
- Upload Your Image: Choose the image you want to feature. Select the existing image or upload a new one.
- Adjust Alignment Settings: With the image selected, look for the alignment settings. Here, you can decide whether you want the image to appear on the right or left side of the text. Experiment with these options until you achieve the desired layout.

- Fine-Tune Text Wrapping: To refine the text wrapping effect, you can further customize the spacing and margins within the Text Editor widget.