Introduction
Imagine you have a valuable object and it is placed in a display case. You may wish to protect the case from getting touched or bumped over, by putting a barrier rope around it. By doing this, you are adding “margins” around the outside of your display case.
Now that the case is nice and safe you wish to arrange the object nicely inside the case by adjusting it slightly left and right. You also discover it looks best if sitting on a pedestal. By doing this, you are adjusting the “padding” of the object inside of its case.
You may ask: Can’t I just use a spacer widget?
While it is possible to use spacer widgets, this creates additional dividers and code. It is best practice to use margins and paddings to achieve your goal when possible.
About Margins and Padding
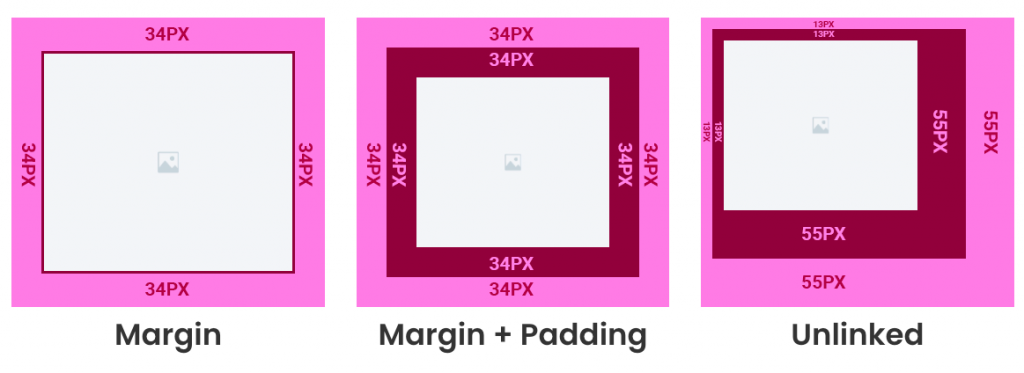
Margin
The margin controls the amount of space or around or “outside” of the element. Margins are used to move an element up or down in a container as well as left or right. Each side of the element has a margin size you can change individually. In creating the gap, the margin pushes adjacent elements away.
Negative Margins
In some cases, a negative margin is applied to an element, in combination with z-index, in order to “stack” elements.

Negative Margins on Sections and Columns
A negative margin can be used in combination with z-index elements to overlap sections visually. In this example, the lower section is being moved up to cover the background of the above. A top margin of -6% is entered in the top value field.

Padding
The padding controls the amount of space “inside” the container. It is the space between the element and the related content inside it. It also shows the container background around the element in it.
Padding with Sections and Columns
Padding is used in sections and columns to allow your elements “room to breath”. In this example, a 5% top and bottom padding is added to the section. A 5% left padding is applied to the right column. This provides the user with more “white space” and is more visually appealing.
Locating the Margins and Paddings settings
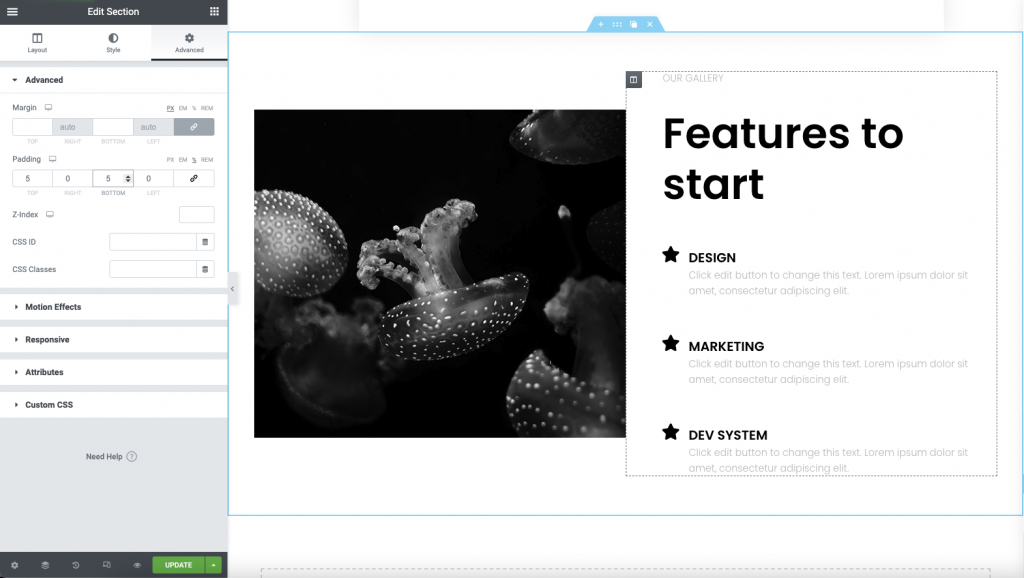
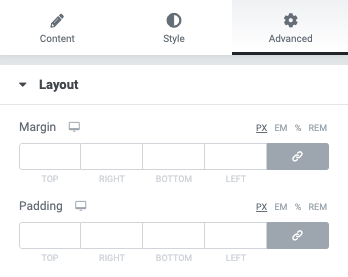
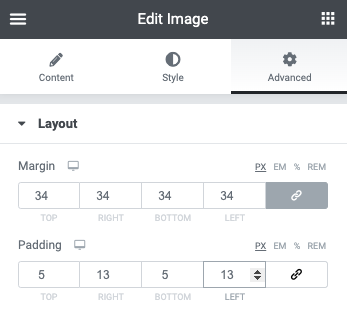
You may find the general paddings and margins settings of an element in the Advanced Tab.
Locating Additional Padding Settings
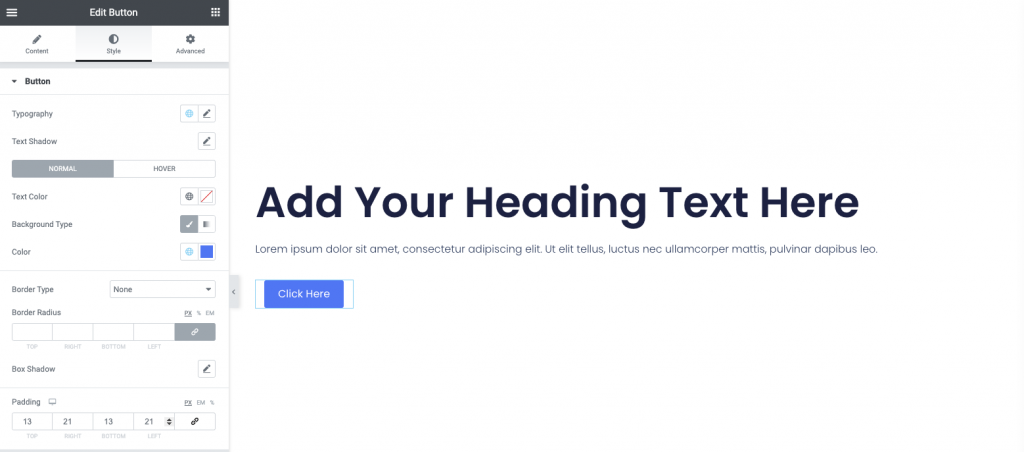
Style Tab
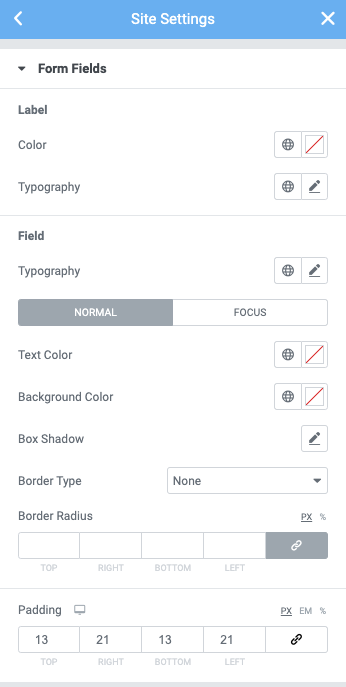
Some widgets may have additional Style Tab settings that use paddings and margins such as buttons and forms.
Site Settings
You may also find settings for margins and paddings in your Site Settings. These will be used as the default settings. Settings used in the Style Tab will override these settings.
Using Margins and Padding
The margin and padding value may be set in PX, EM, %, or REM. To change the values individually, click the chain icon to unlink them.
Here comes TRouBLe
Margins and padding values are in the CSS order top, right, bottom, and left. For instance, you may see a CSS class using 10px, 25px, 10px, 25px. This would indicate that it has 10px padding on the top and bottom, and 25px padding left and right. You can easily remember this by using the anagram TRouBLe.