To get started with the Elementor Editor V4, install Elementor Core version 3.29 or higher on your WordPress site. In WP Admin, navigate to Elementor > Editor > Settings, open the Atomic Editor tab, activate the V4 experience, and launch the editor canvas to build layouts combining new V4 Atomic elements with Elementor 3.x Containers.
To familiarize yourself with the V4 features, see Explore the V4 features.
What are the requirements to activate Elementor Editor V4?
To use Elementor Editor V4 features, your WordPress installation must meet specific plugin and version requirements.
- Elementor Core Version: Upgrade to Elementor version 3.29 or higher.
- Automatic Feature Opt-In: Enabling V4 automatically activates Flexbox Containers, Nested Elements, and Top Bar. You retain the option to disable these features manually later if needed. For details about activating and deactivating features, see Activate Elementor experimental features.
How to activate Elementor Editor V4 in WordPress?
You can enable V4 features directly from your WordPress Admin dashboard.
- Install and activate Elementor Core version 3.29 or higher. For details, see Install and activate Elementor Core.
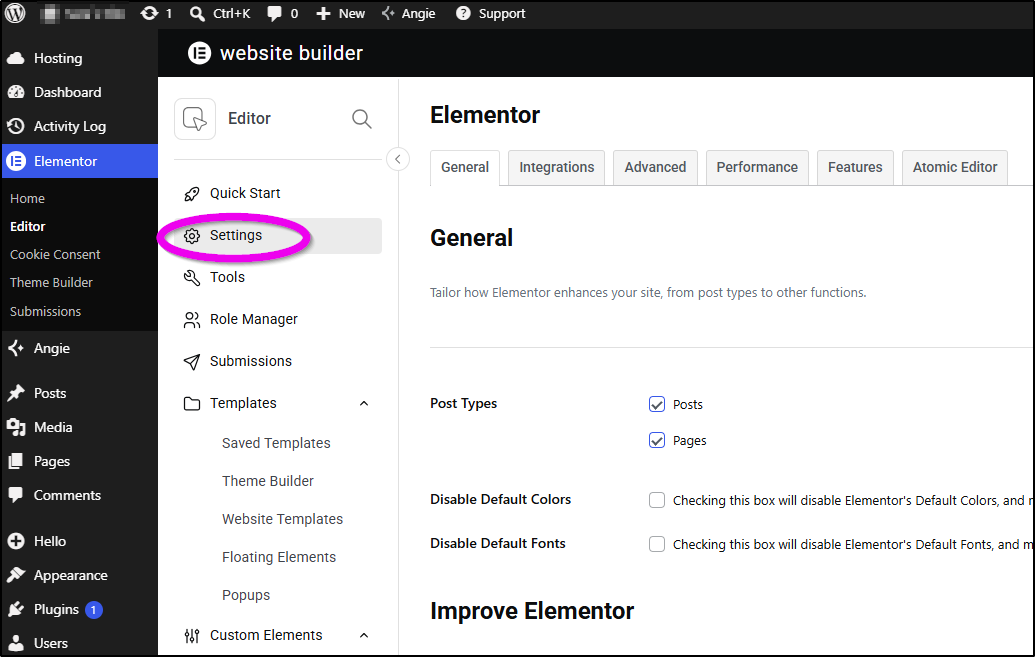
- Go to Elementor > Editor > Settings in the left sidebar menu.
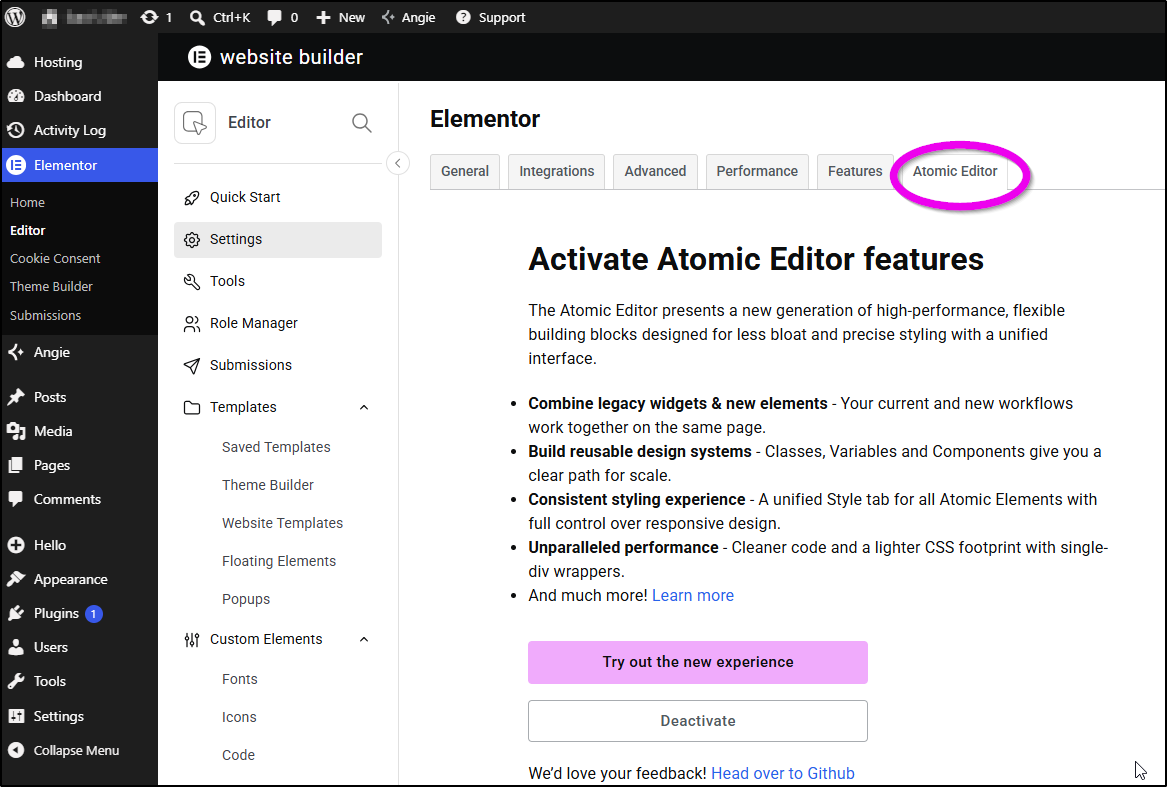
- Click the Atomic Editor tab.
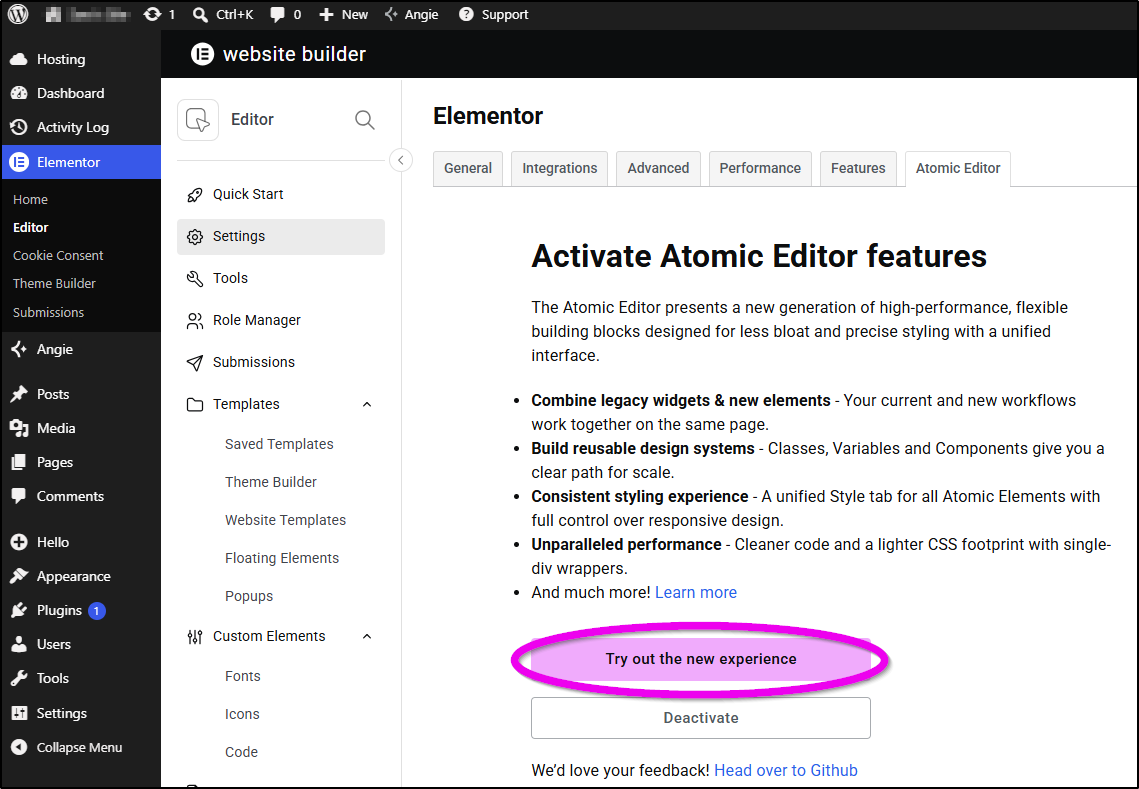
- Click Try out the new experience.
- Open any page in the Elementor Editor and click Try out the new experience to display V4 elements in the panel.
How do Elementor V4 elements interact with 3.x Containers?
Elementor Editor V4 operates seamlessly alongside Elementor 3.x to ensure complete backward compatibility. You can create full web pages using elements from both versions without converting existing layouts.
When you drag a new V4 element (such as a V4 Heading) onto the canvas, the editor automatically wraps and places it inside an Editor 3.x container. This hybrid approach lets you adopt new atomic features gradually at your own pace.