To use a background video in the Atomic Editor, drag the native Background Video container element from the panel onto your canvas. Under the General tab, select your video source (Select video, Upload, or Insert from URL), set your playback options (Start Time, End Time, Autoplay, Mute, Loop), and customize the interactive Play and Pause state controls.
What is the Background Video element in the Atomic Editor?
The Background Video element operates as a flexible layout container rather than a static CSS background property. It includes a built-in nested content area for overlaying elements (such as text, buttons, or flex containers) and state-based containers for customizing interactive Play and Pause buttons.
When dropped directly onto an open canvas area outside an existing container, Elementor automatically encloses the Background Video in a parent Flexbox container.
How to add a Background Video to your page layout
Example Scenario: You want to build a dynamic hero section featuring a looping background video with an overlaid headline and call-to-action button.
Requirements: Elementor Core and Pro version 4.3.0 or higher on WordPress 6.8+.
- Open the Elementor Editor for the page or template you wish to edit.
- In the left panel, navigate to Atomic Elements and locate Background Video.
- Drag and drop the Background Video element onto your canvas. (If dropped directly onto the canvas outside an existing container, Elementor automatically wraps it in a Flexbox container).
- Select the Background Video container on the canvas to open its settings panel.
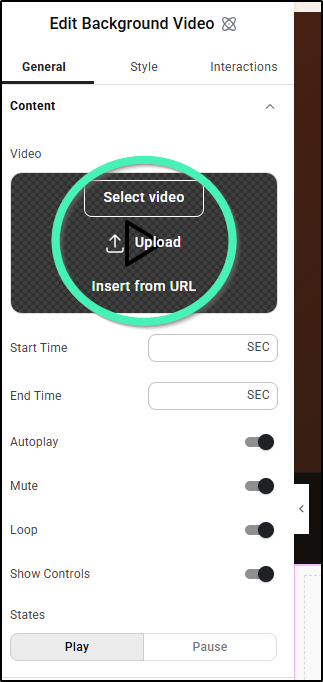
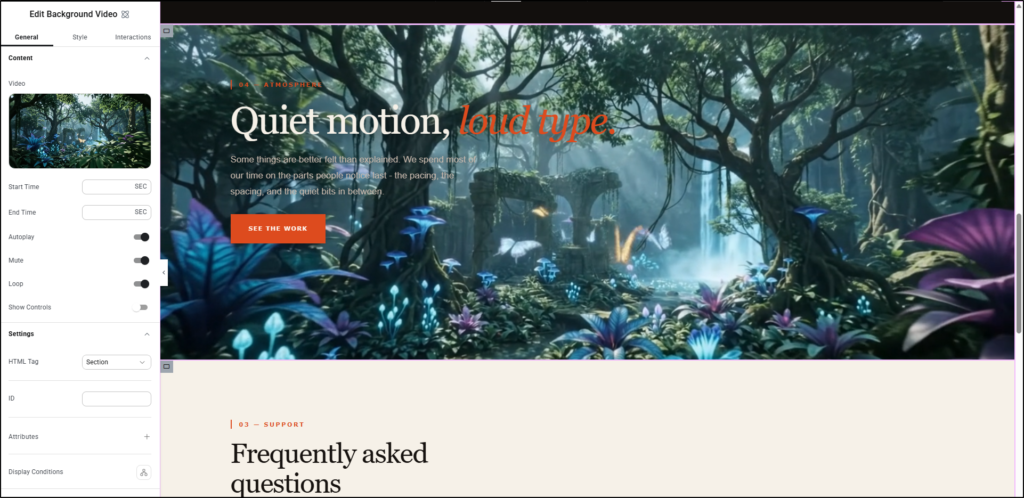
- Choose your video source by clicking Select video, Upload, or Insert from URL.
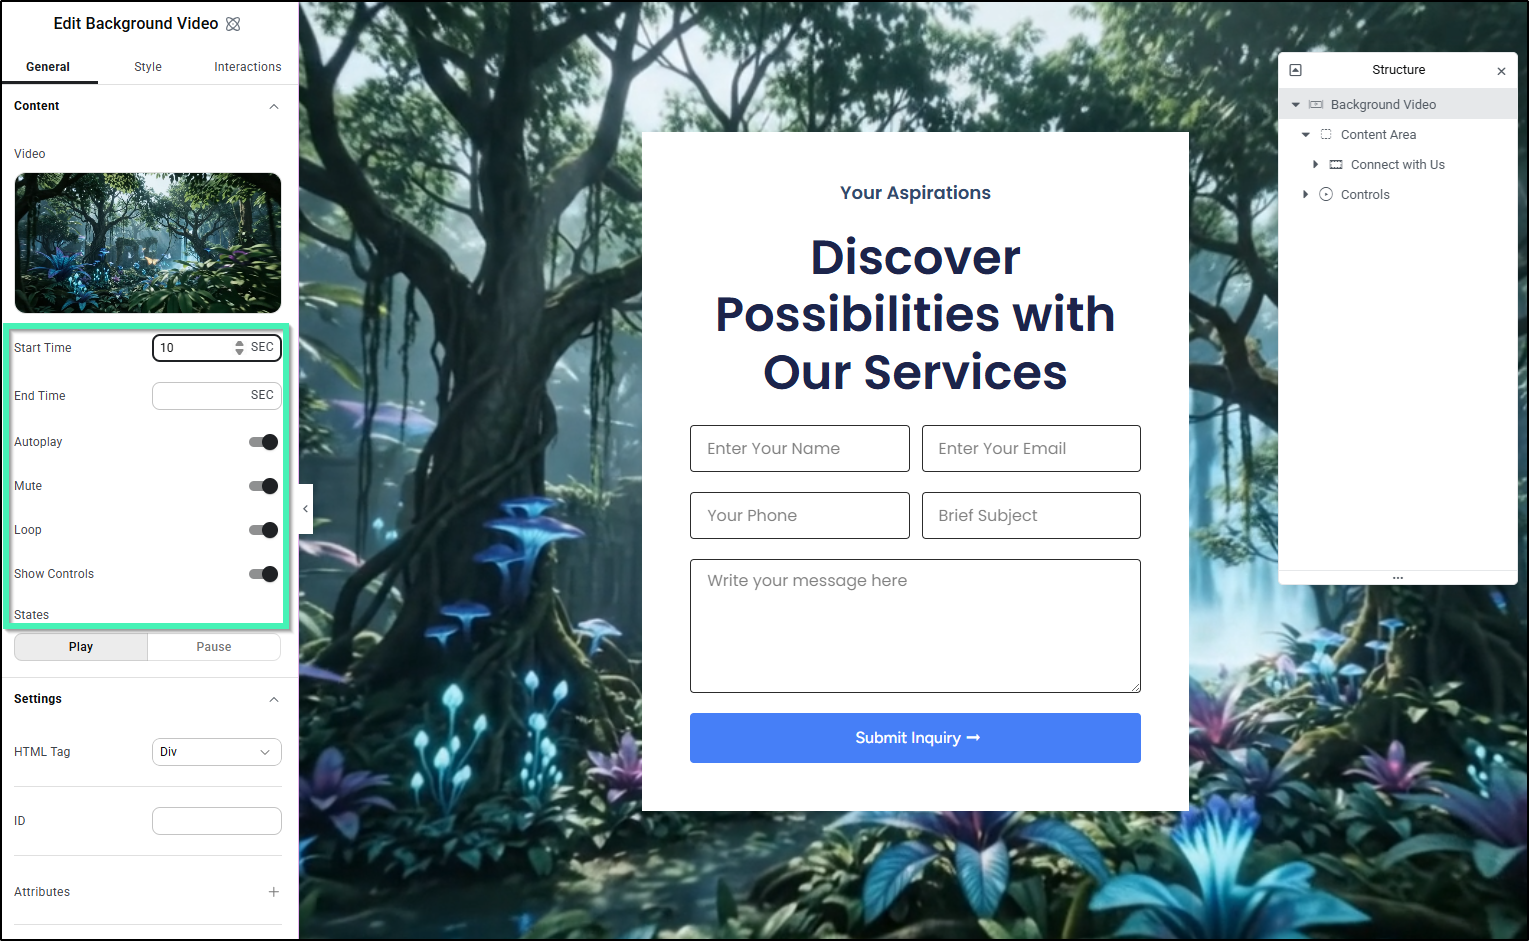
- Configure core playback settings: Start Time, End Time, Autoplay, Mute, and Loop.
How to configure playback controls and customizable Play/Pause states
Customize interactive controls and overlay content directly inside the container:
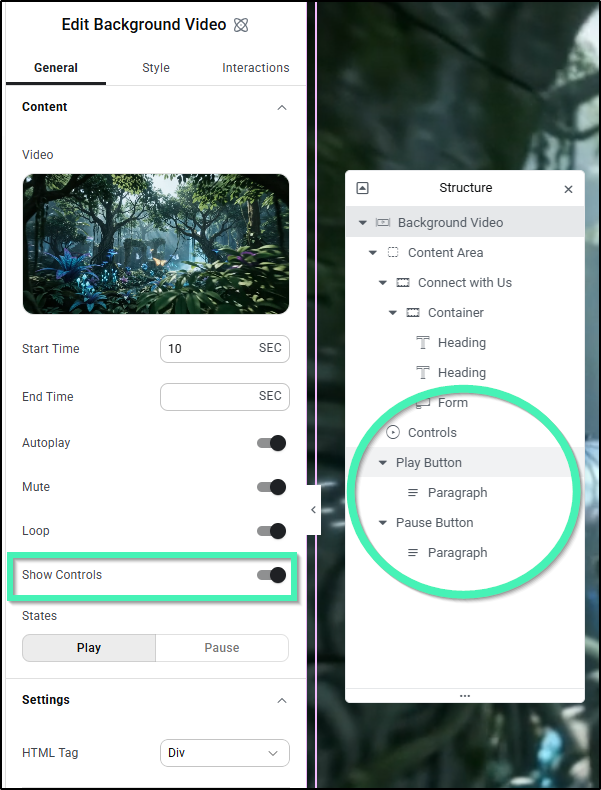
- Toggle Control Visibility: Turn Show Controls to On to display interactive playback buttons on the front end, or Off to hide them.
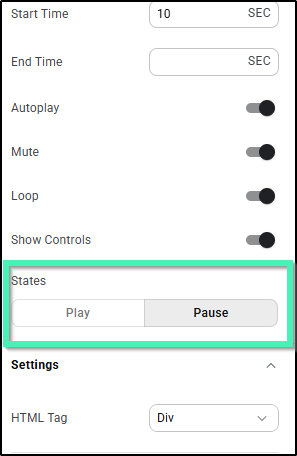
- Style Play and Pause States: When controls are enabled, switch between Play and Pause state modes in the side panel.
- Nest Control Elements: Drop custom icons, images, or paragraph text directly into the Play and Pause button containers to design custom interactive triggers.
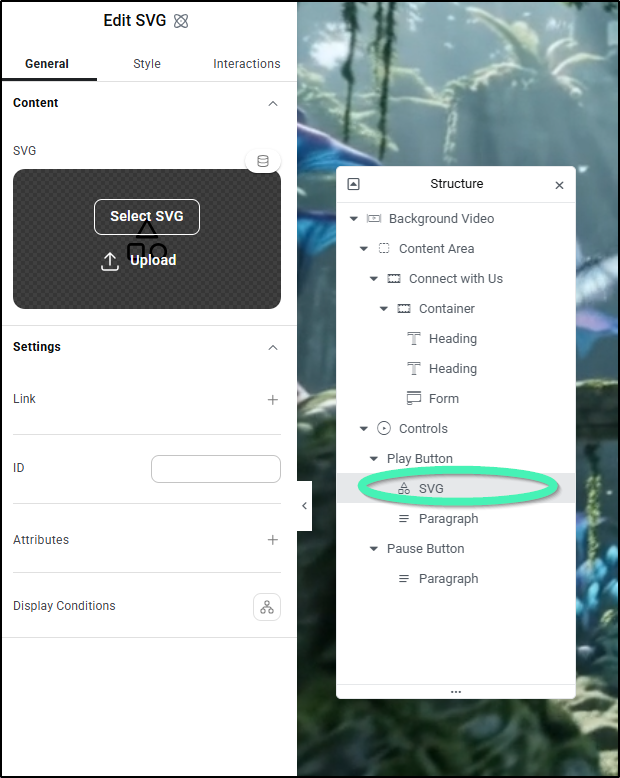
- Overlay Canvas Content: Drag any Atomic element – such as headings, text blocks, buttons, or multi-column flex containers – directly into the main video content area to overlay content cleanly over the playing video.
What are the supported use cases for Background Videos?
- Hero Banners: Create high-impact hero headers featuring ambient looping videos paired with nested text overlays and action buttons.
- Interactive Media Containers: Build promotional sections with custom Play/Pause control triggers that reveal tailored text or icons when toggled by visitors.
- Feature Cards: Add subtle motion backdrops to individual layout cards or content blocks without embedding heavy external video players.
FAQs
- How do custom Play and Pause controls work?
The Play/Pause toggle acts as a state container. When enabled, you can switch between Play and Pause states in the panel and nest any custom element (icons, images, or text) inside each state independently. - Can I overlay text or buttons directly over the video?
Yes. The Background Video element includes a dedicated nested content area, allowing you to place any container or Atomic element directly over the video backdrop. - What happens if I drop the Background Video element at the root of the canvas?
It automatically wraps inside a parent Flexbox container to ensure clean layout structure and drag-and-drop flexibility.