Warning
The restore action cannot be undone.
Revision history is a way to fix mistakes during an editing session, but sometimes you may need to revert to a previous version of your entire site. For more details about backing up your site, see Learn how to backup your site.
To restore your website to an earlier version, follow these steps:
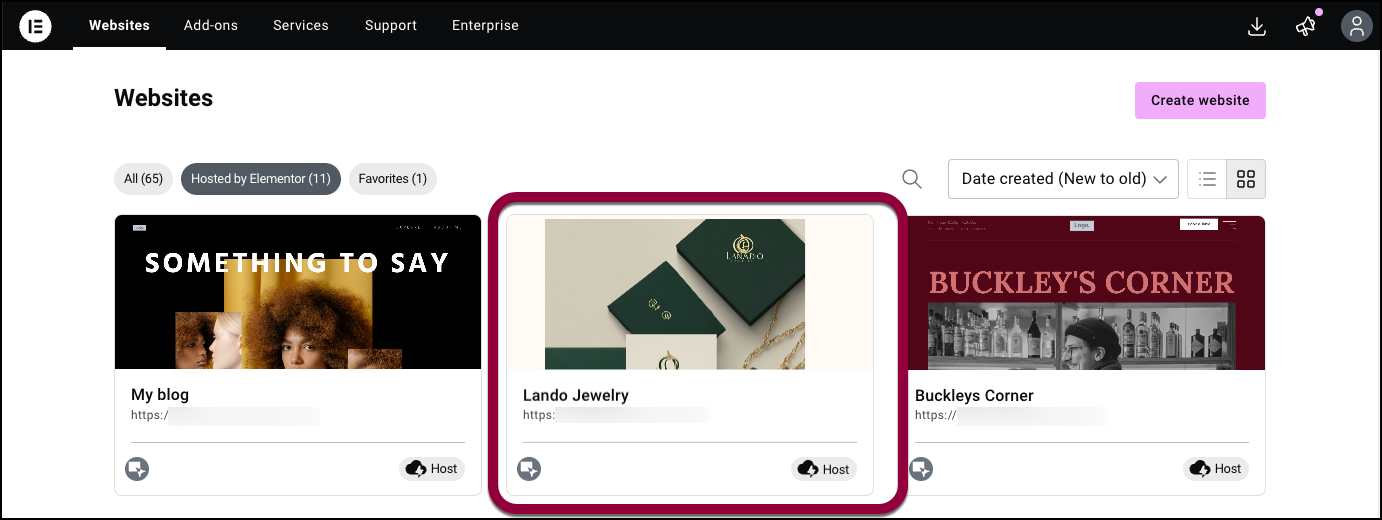
- Go to your My Elementor dashboard.
- Click the website card of the site you want to restore.
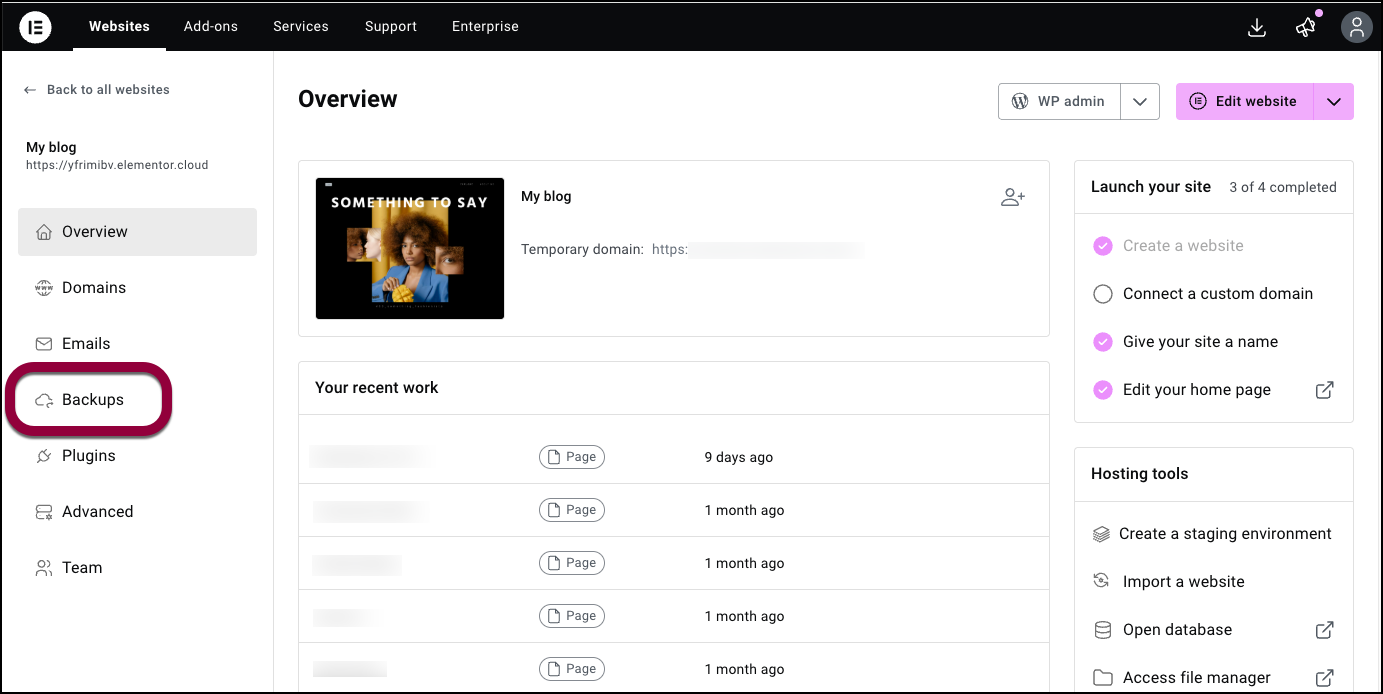
- Click the Backups tab.
- Hover over the backup you want to restore to your site.
- Click the ellipses
 on the right.
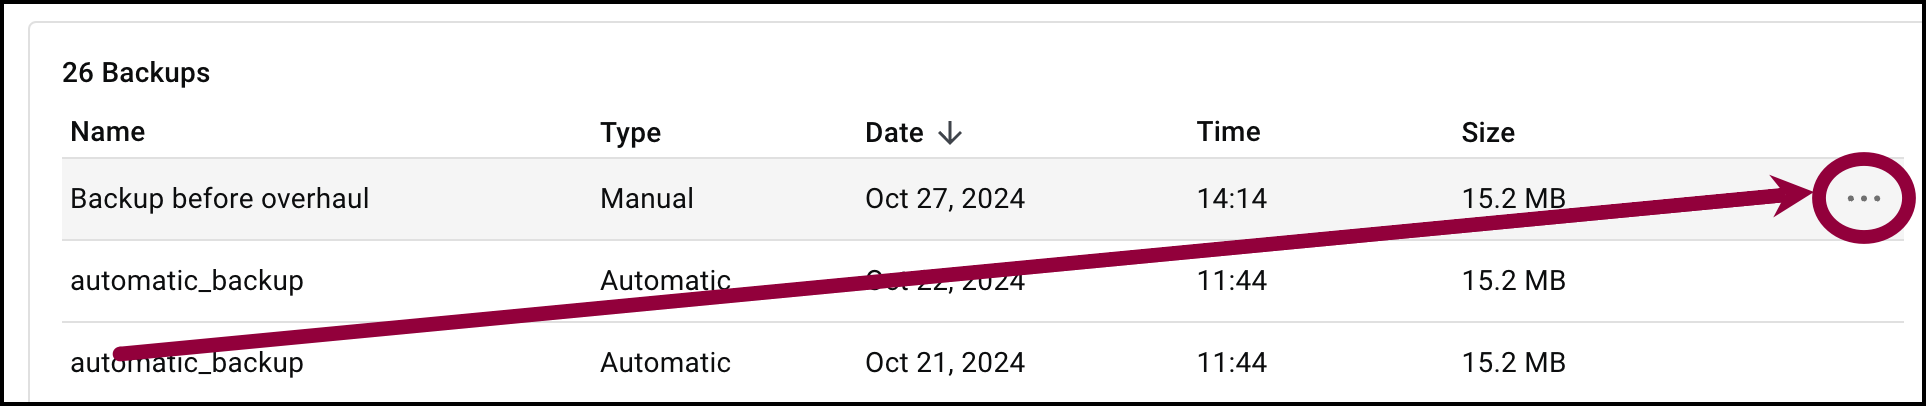
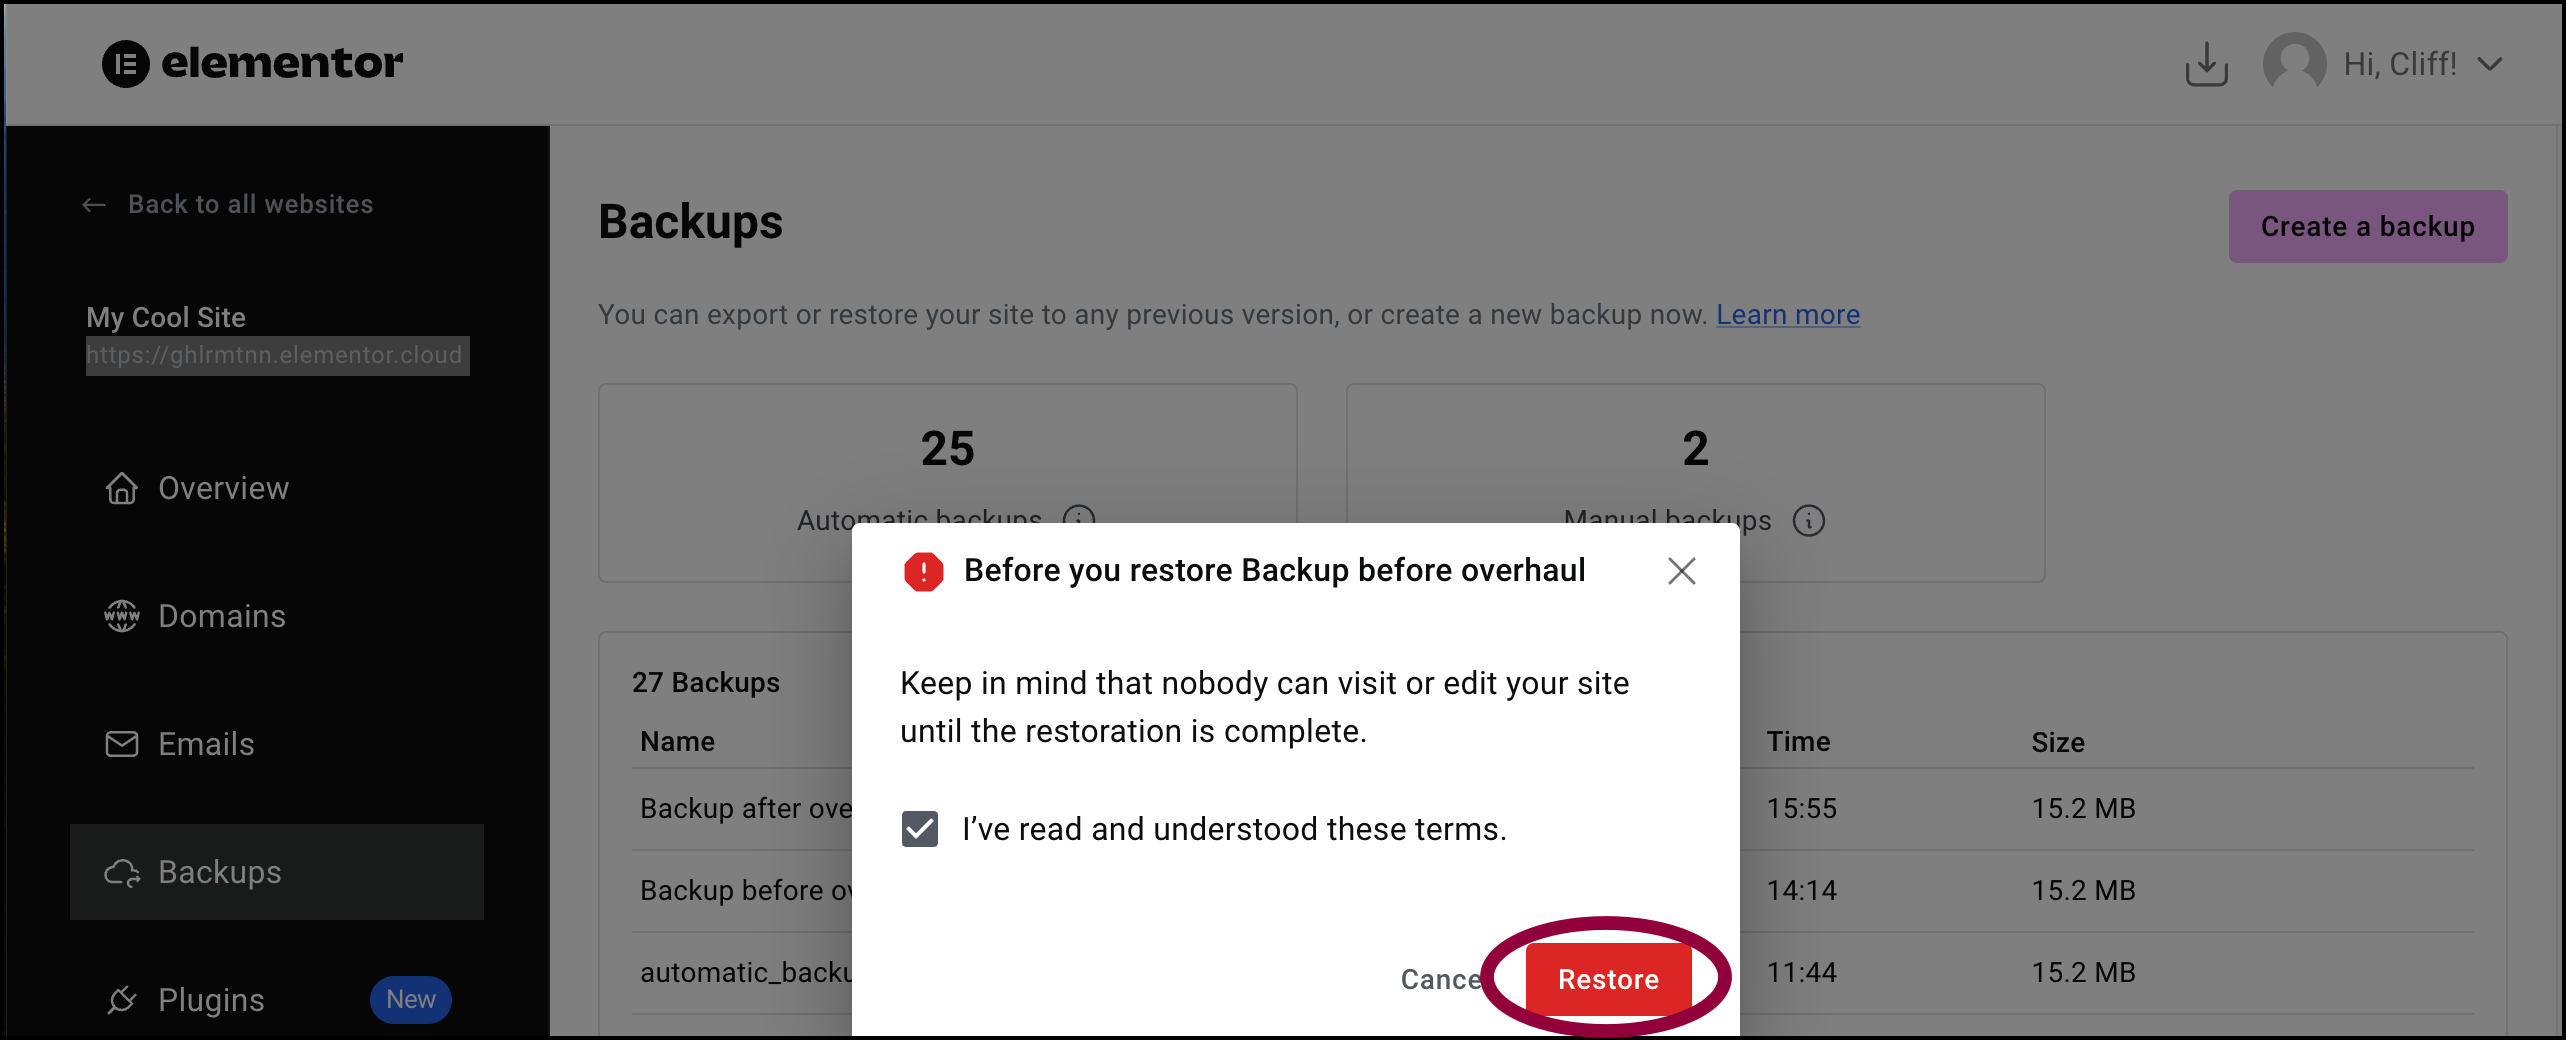
- Click Restore.

- Read the terms and use the checkbox to confirm you’ve read the terms.WarningNo one will be able to visit your site while it’s being restored, so this is best done at a time when visitors aren’t usually accessing your site.
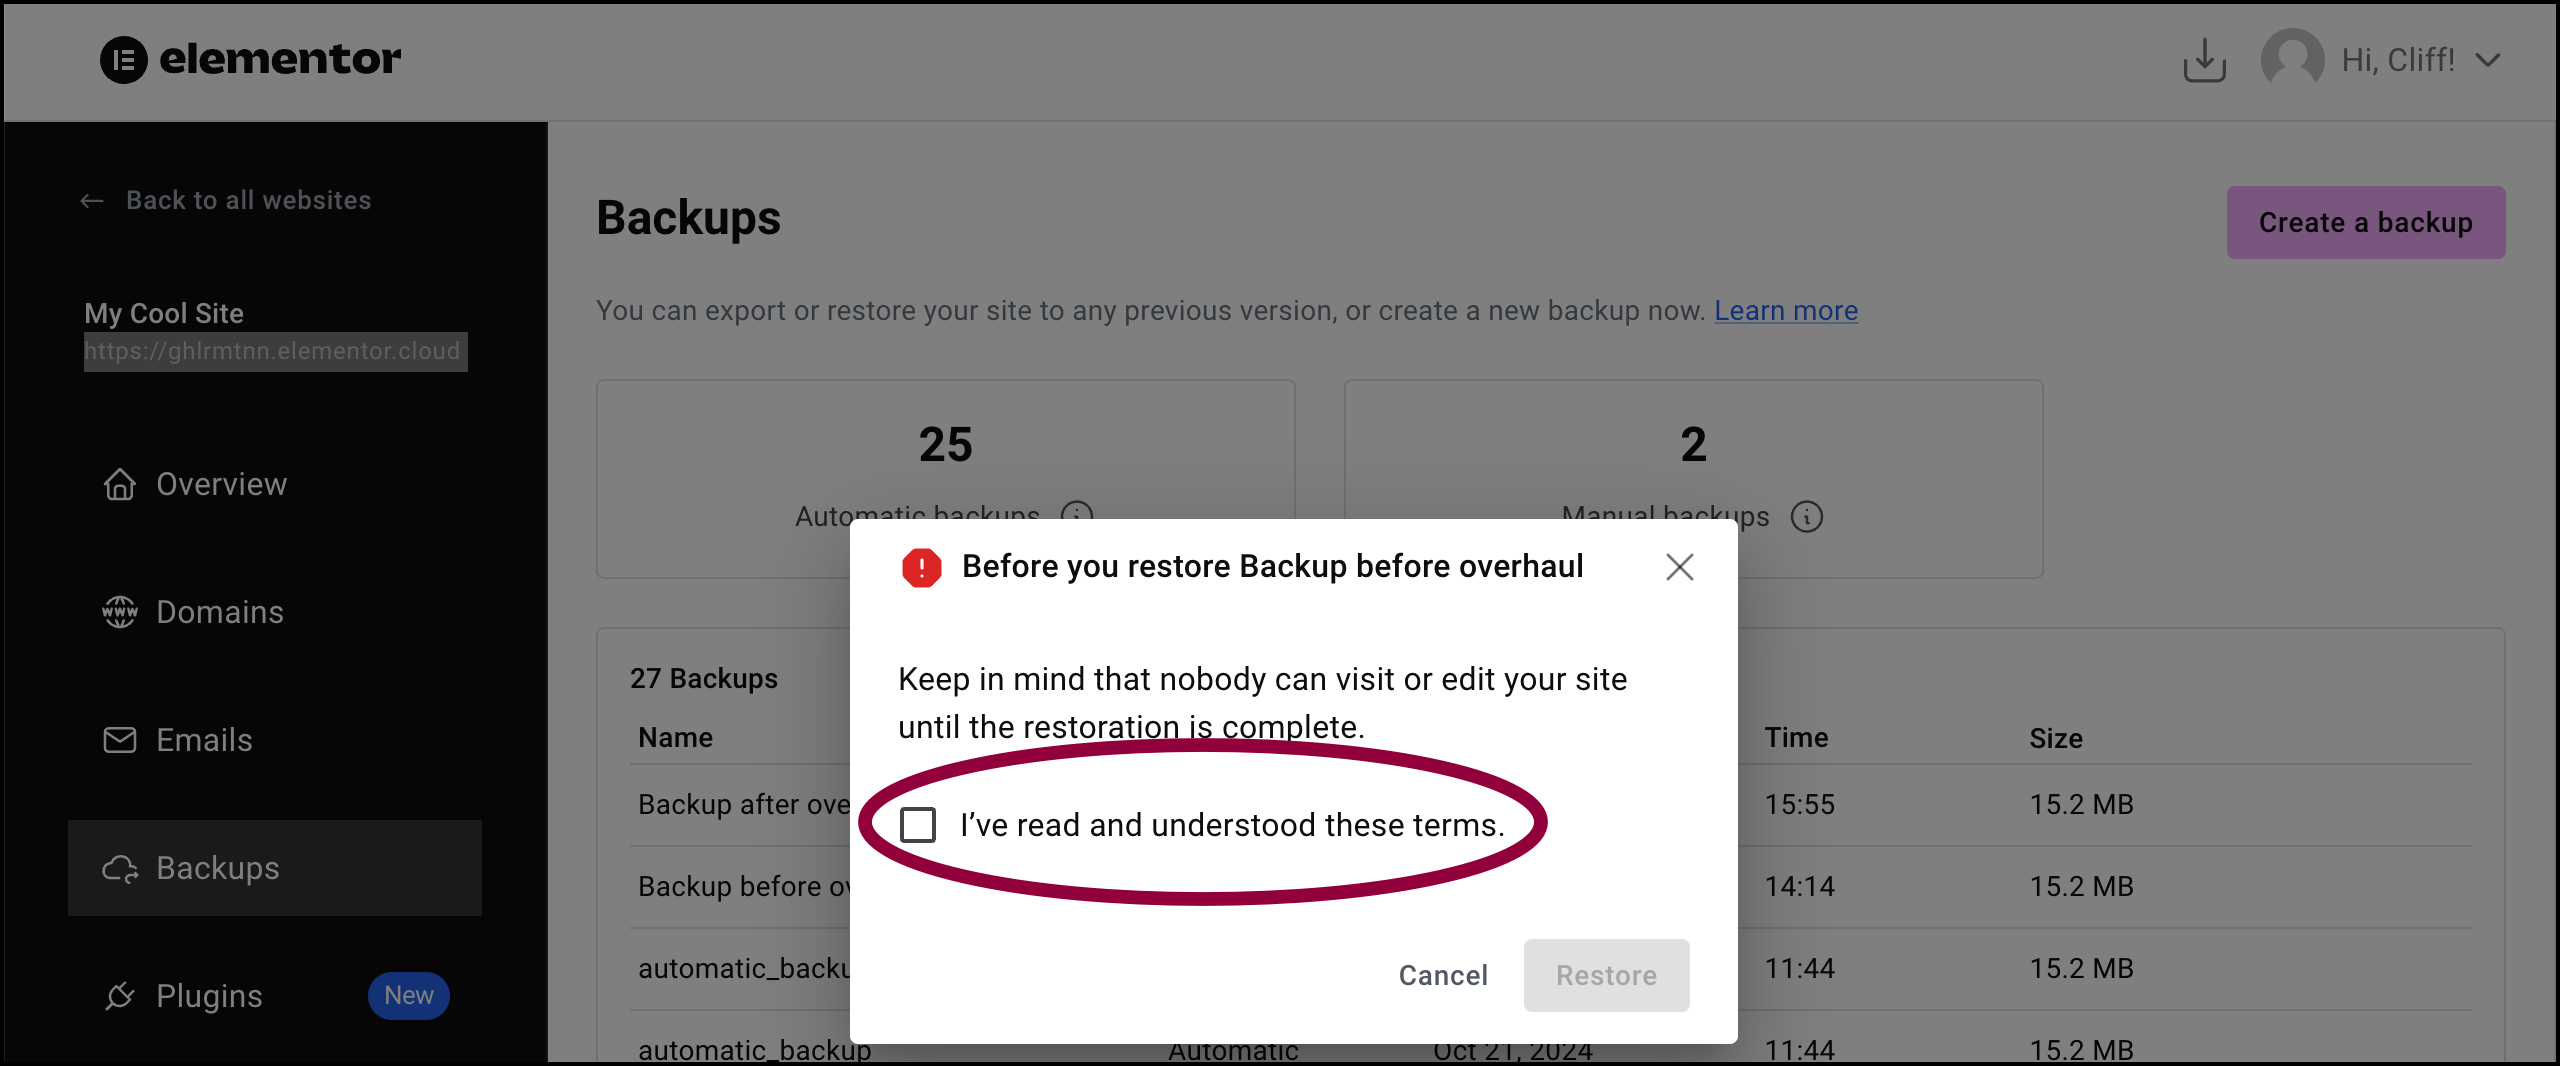
- Click Restore to confirm the restoration.
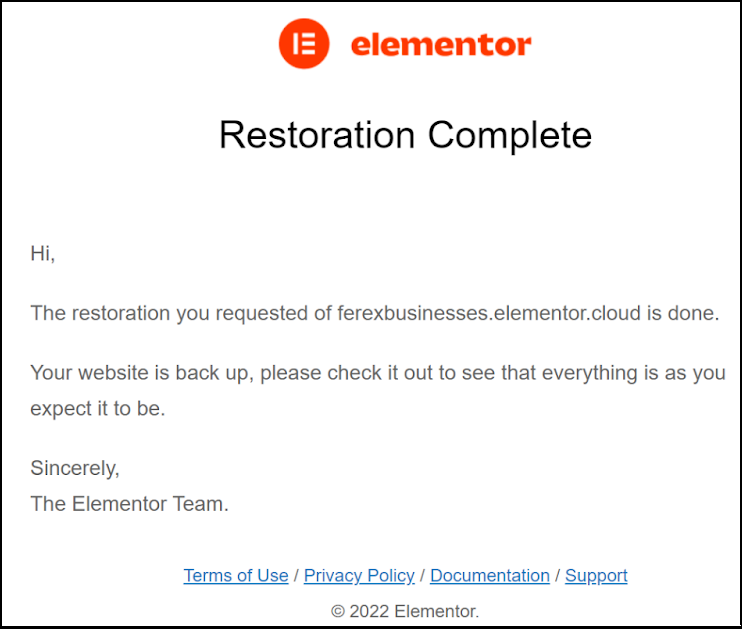
The backup you selected is used to rebuild your site.
After the restore is complete, you receive a confirmation email.
Warning
For websites that use a database like WooCommerce, restoring to a previous version includes restoring the database to its previous state.
This means every entry you’ve added to the database after the backup point will be lost.
You can avoid data loss by creating a CSV dump export of the website database before starting the rollback.
You can then import the data after the rollback is complete. This applies to other websites with database backends.