For hands-on experience with arranging elements in a container, check out our container playground.
Containers allow you to quickly arrange and modify website widgets and create templates. Once saved, you can apply these templates across your website, saving you valuable time and creating style continuity across all pages.
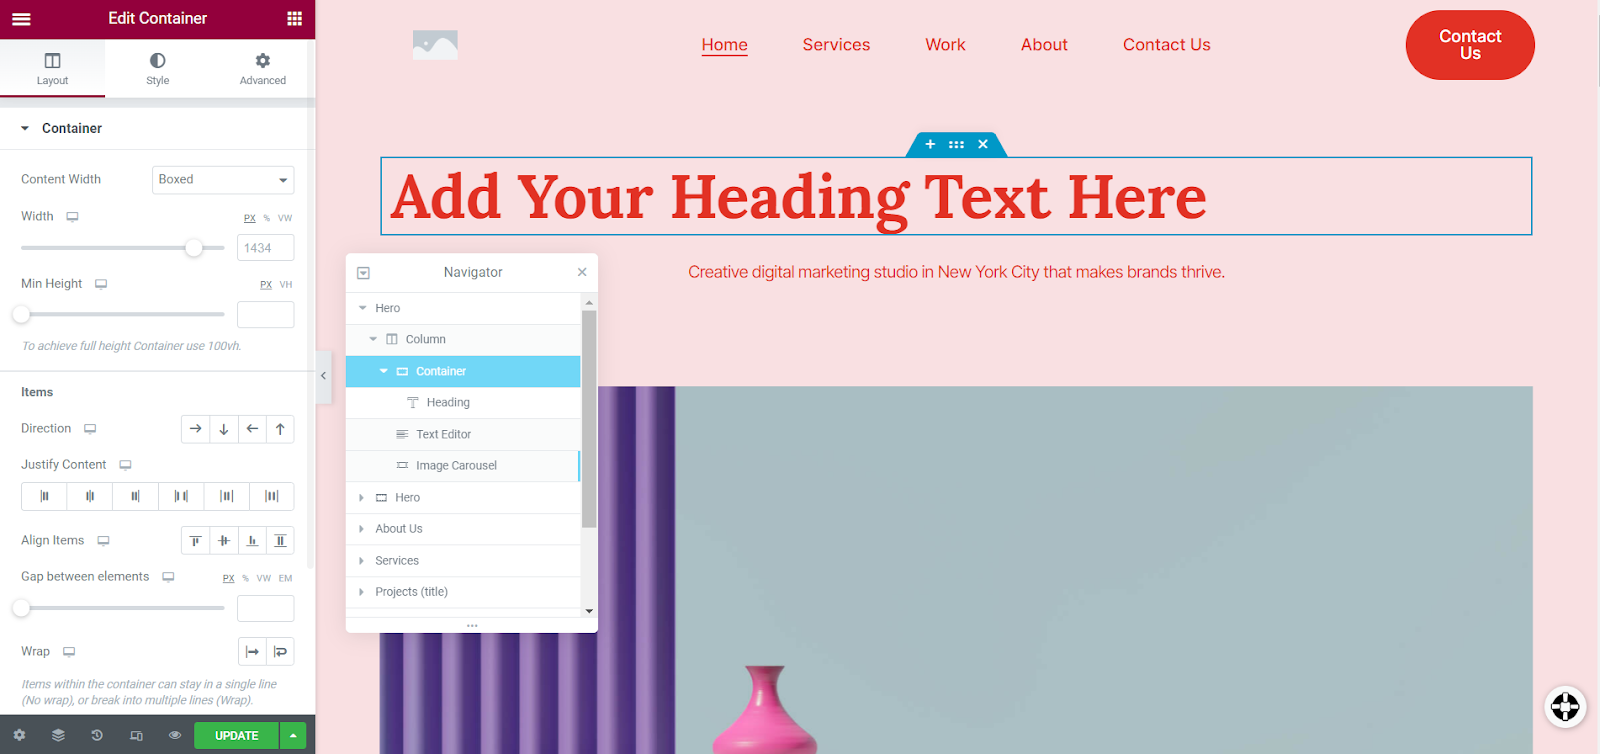
When working with containers it’s important to know how to set the container’s size. You can adjust a container’s size and behavior by selecting the container and navigating to the Layout tab. In this section you can:
- Change the container size
- Adjust the container’s behavior
Adjusting container sizes
To adjust a Container’s size:
- Select the Container
- Navigate to the Layout tab
- Go to the Container section
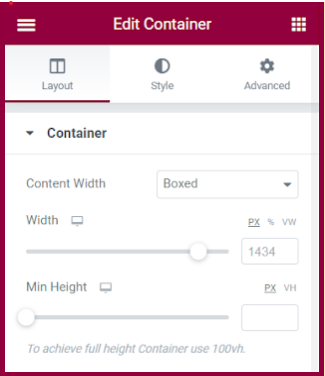
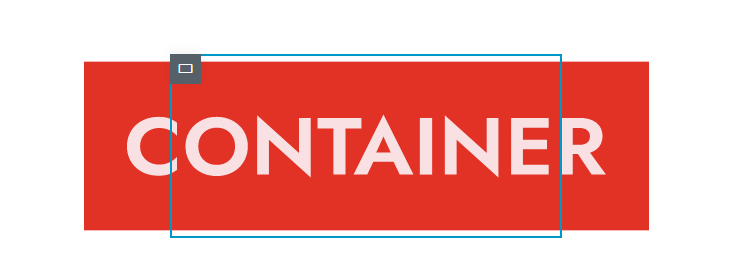
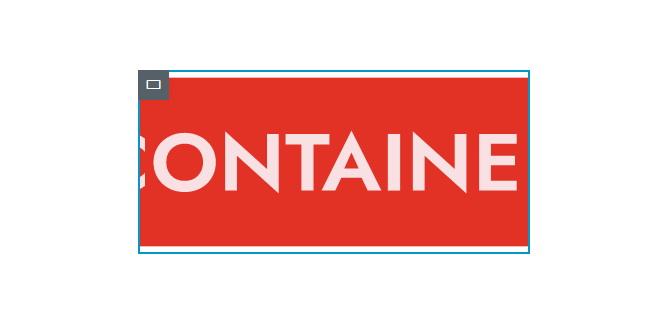
Content Width allows you to select either Boxed or Full Width from the dropdown. You can adjust the width of both Boxed and Full Width containers, but they behave differently regarding the content inside the container :
| Boxed | Full Width |
| Use if you want to adjust the width of the content inside the container but not the width of the container. | When you adjust the container width, the content will adjust to the container width. You can also adjust adjust the container’s content width with padding and margins. |
Min Height allows you to set the minimum height of the container. This can be useful for ensuring text or objects are visible on mobile layouts.
You can adjust both the height and width of the container using pixels, percentages or viewport height and width. Select whichever you want to use at the top right of each option.
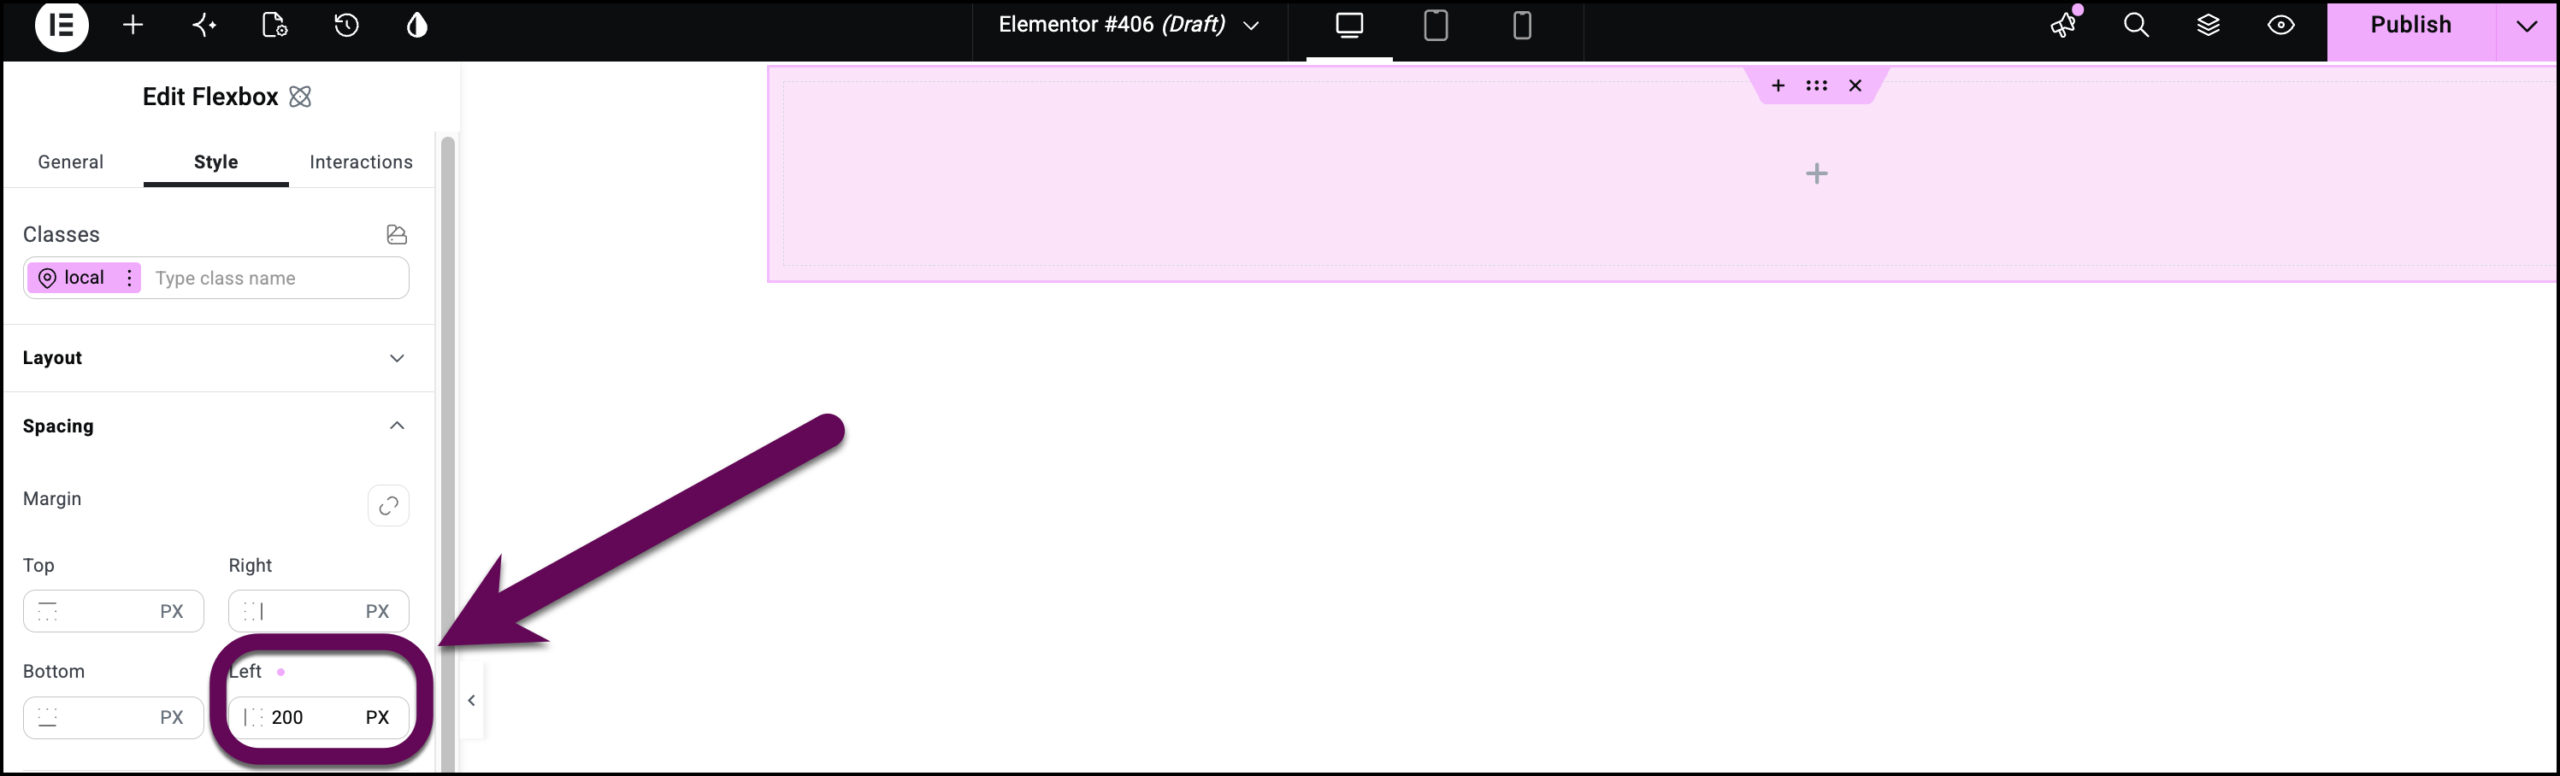
If you need to use a left/right margin, you can do it within the child container.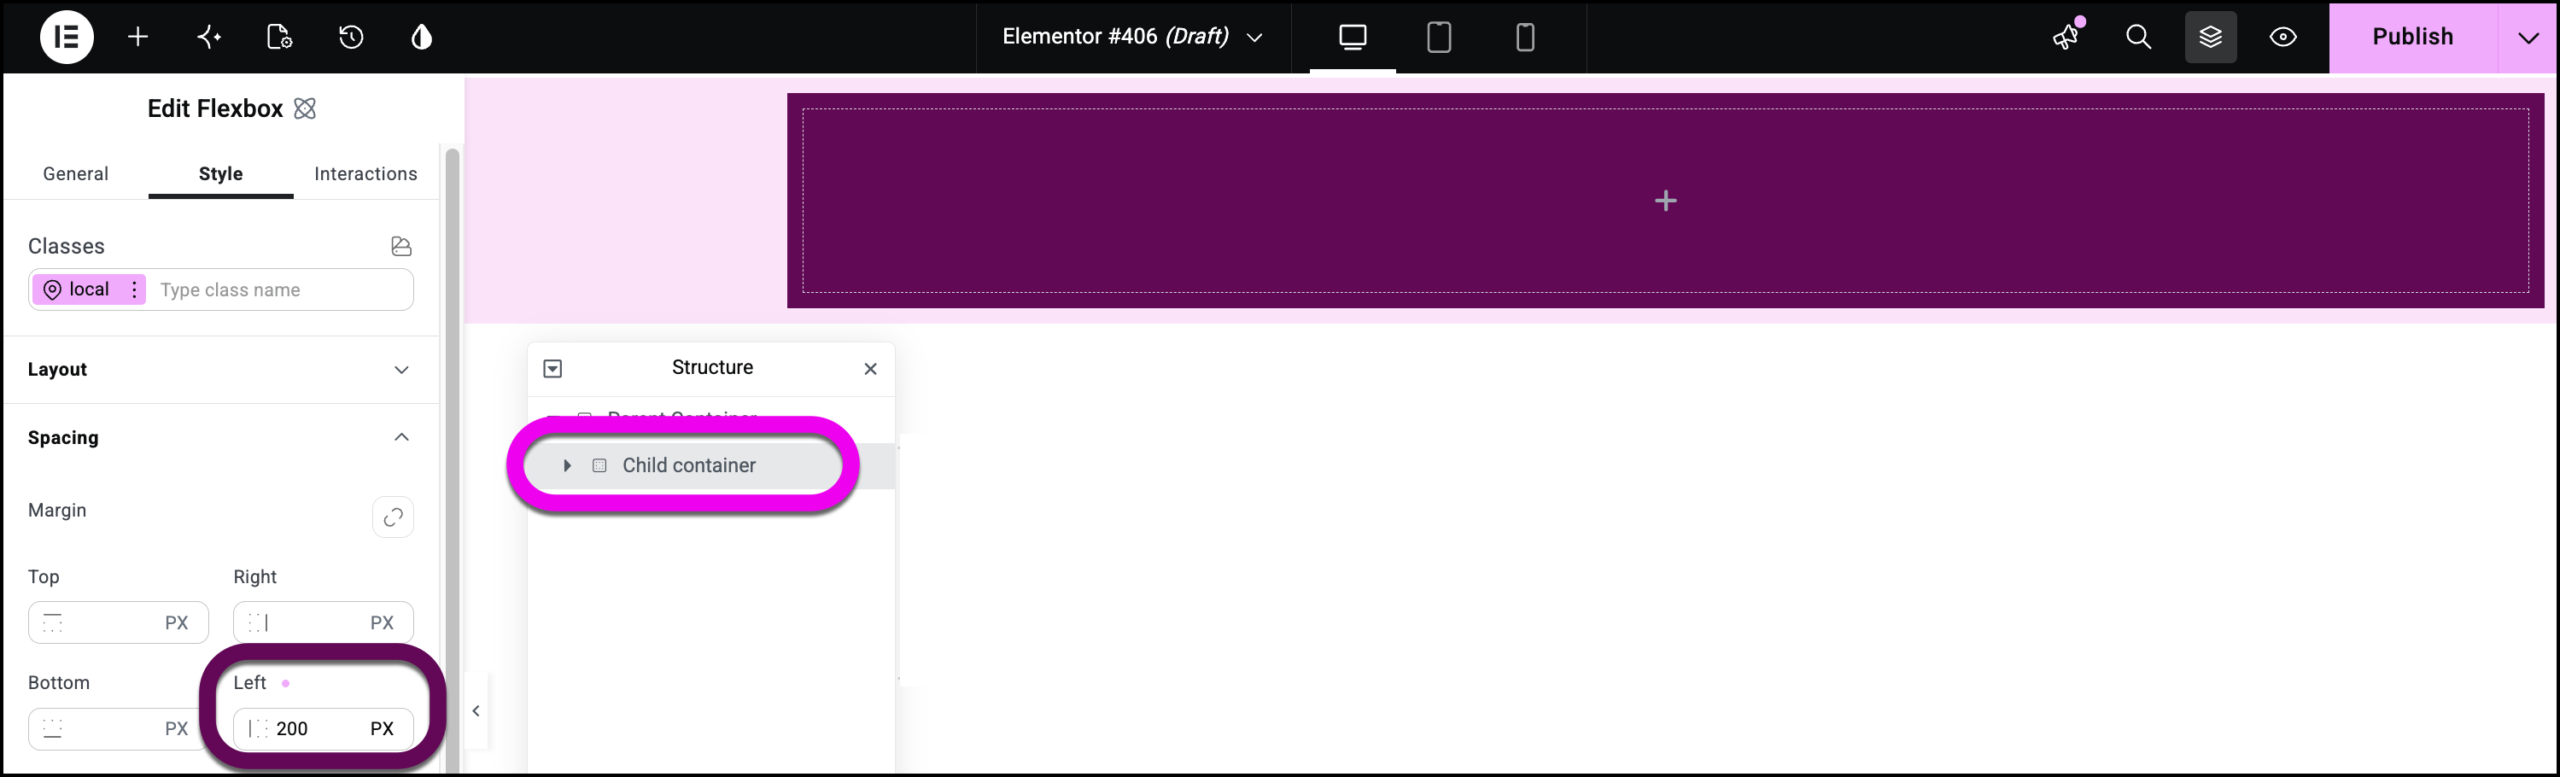
Item options
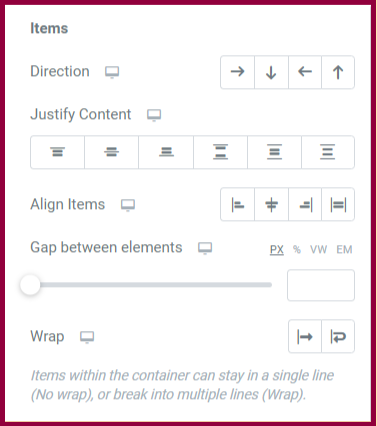
Below the size options discussed above, you can also define how items behave. This includes item direction, justification, alignment, gaps between items, and wrapping.
Adjusting container behavior
You can adjust a Container’s behavior using the Overflow and HTML tag options.
Overflow
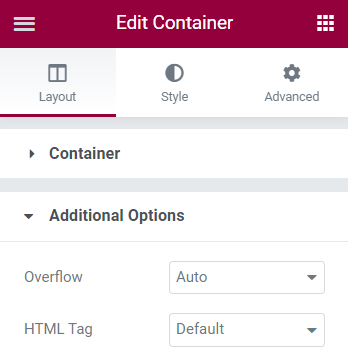
Overflow determines how the Container should handle content when it exceeds the Container size.
Default: Items that exceed the Container size are visible.
Hidden: Only items within the Container are visible. Beyond the Container boundary, they’re hidden.
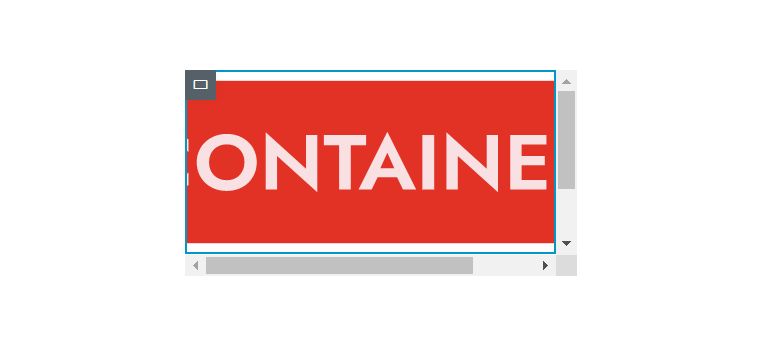
Auto: Only items within the Container boundary are visible. The scroll bar is added, which enables you to find and see items hidden within the Container.
HTML tag
Wrap an entire Container from the dropdown menu by selecting the most appropriate HTML tag for your Container.
Note: HTML Tags are essential for SEO. The higher the Container is defined in the DOM hierarchy, the more important search engines consider the content.
You’ll have to set HTML Tags individually for responsive layouts.
Tip: You can make a Container clickable by selecting the “a” HTML tag.
Final words
Flexbox Containers give you the ability to layout content with greater flexibility, modify layouts quickly, and create containers templates to achieve design continuity. Now that you know how to adjust the size and behavior of the Container, a good next step would be to learn about how to arrange the elements inside a container.
To get the most out of Elementor, check out the Knowledge hub for helpful learning resources.