Bottom Bars can be used for a variety of reasons, including announcements or options. Another common use of a popup bottom bar is to comply with the EU Cookie Consent law. In this example, we’ll quickly create a Cookie Consent banner. The bar will satisfy several requirements:
- Show on any page of the site. (Publish Settings > Conditions)
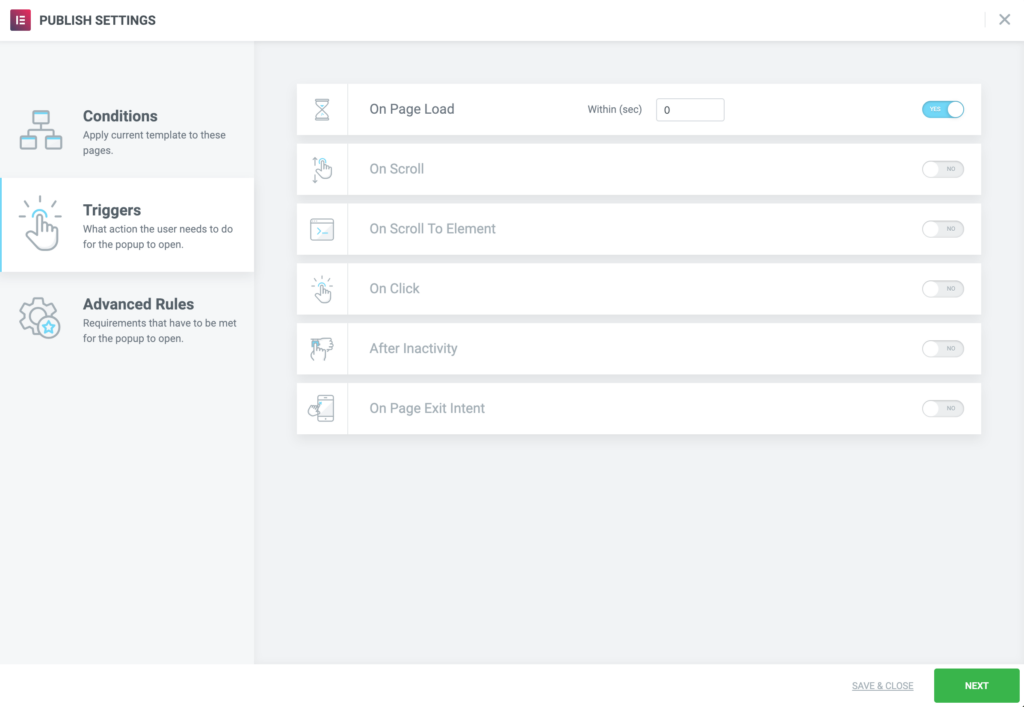
- Show immediately when the page loads. (Publish Settings > Triggers)
- Show an overlay to hide the site underneath. (Popup Settings > Settings Tab)
- Prevent scrolling of the site underneath. (Popup Settings > Advanced Tab)
- Only close when the user clicks the OK button, making sure to prevent closing when clicking the overlay or pressing ESC. (Popup Settings > Advanced Tab)
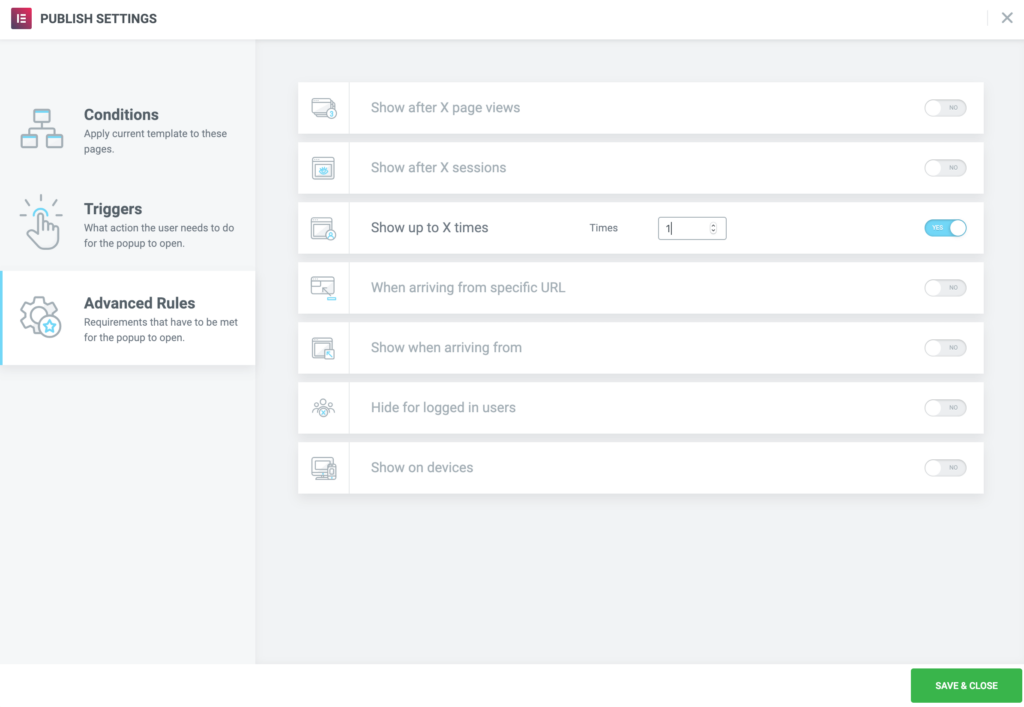
- Only show the popup once, so the user doesn’t have to continually deal with it on subsequent page views. (Publish Settings > Advanced Rules)
To adjust the Popup Settings, click the Popup Settings gear icon ![]() in the panel’s bottom toolbar. To adjust the Publish Settings, click the arrow next to the Publish / Update button and choose either Conditions, Triggers, or Advanced Rules.
in the panel’s bottom toolbar. To adjust the Publish Settings, click the arrow next to the Publish / Update button and choose either Conditions, Triggers, or Advanced Rules.
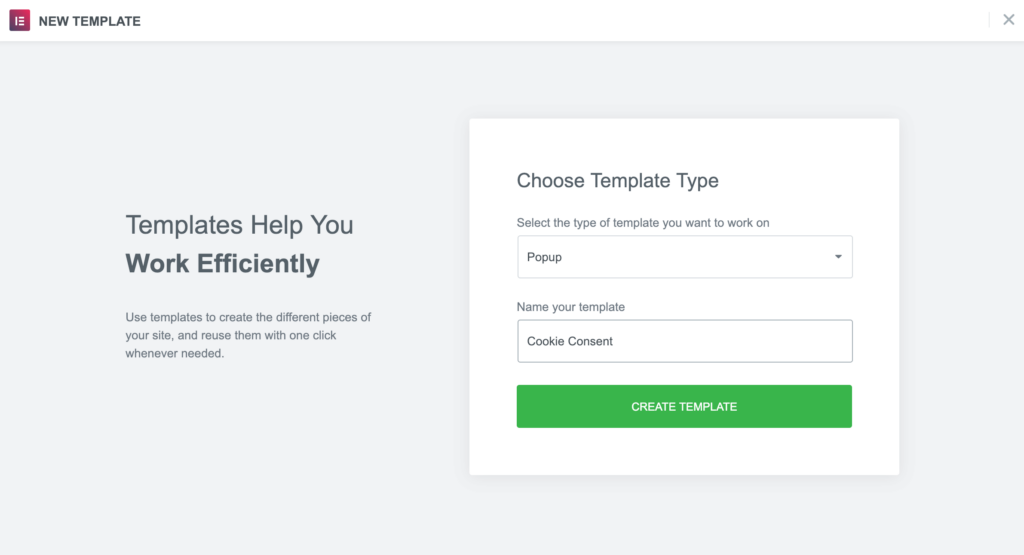
Create Popup
- Go to Dashboard > Templates > Popups > Add New
- Name your template and click ‘Create Template’
- Choose a template from the Library or create your own design
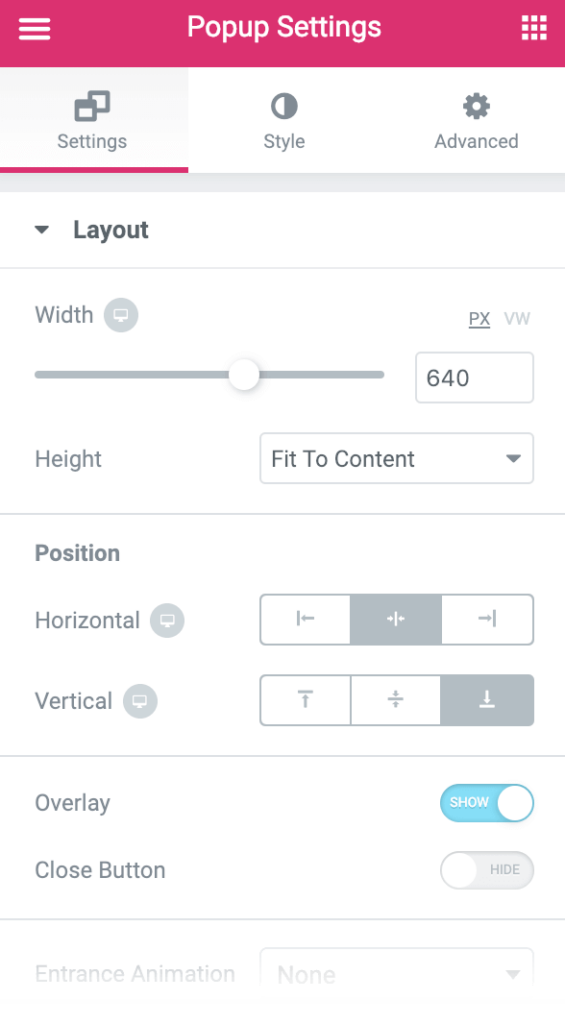
Popup Settings
Settings
- Set the Horizontal position to Center and the vertical position to bottom.
- Show Overlay
- Hide Close Button
Style
Configure style as desired
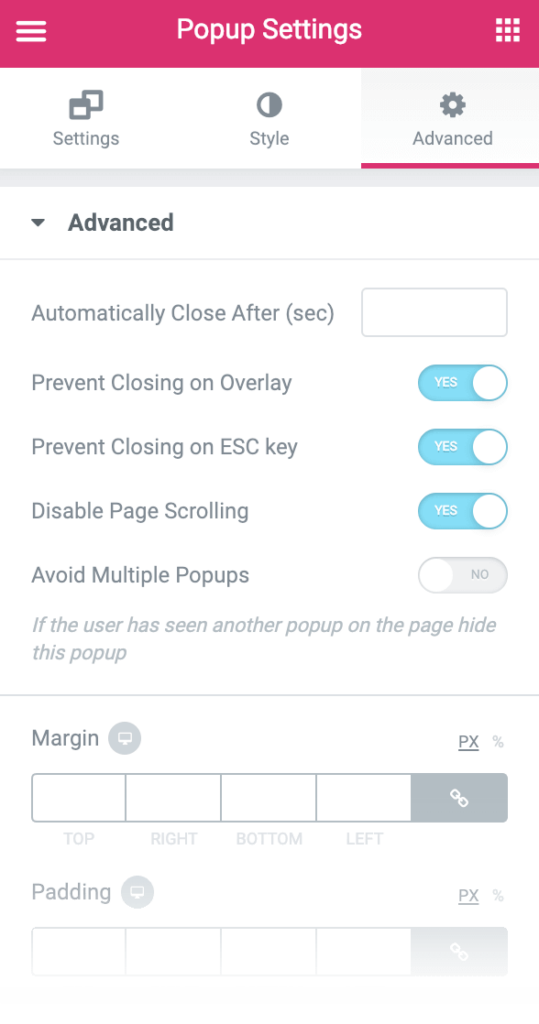
Advanced
- Prevent Closing on Overlay: Yes
- Prevent Closing on ESC Key: Yes
- Disable Page Scrolling: Yes
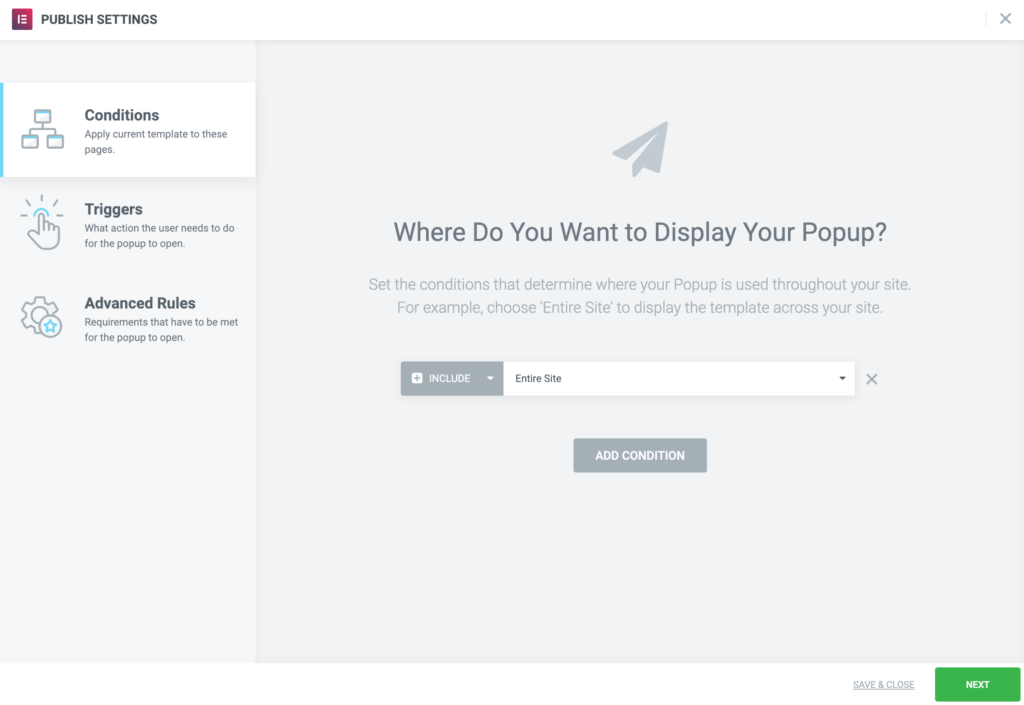
Publish Settings
Conditions: Include: Entire Site
Triggers: On Page Load: within 0 seconds
Advanced Rules: Show Up To X Times: 1
Keep visitors engaged with an exit-intent popup. Elementor Premium Services offers expert help designing and implementing the perfect popup.
Need expert help in creating that perfect lead-collection popup for your marketing campaign? Check out Elementor Premium Services.