To publish a static website:
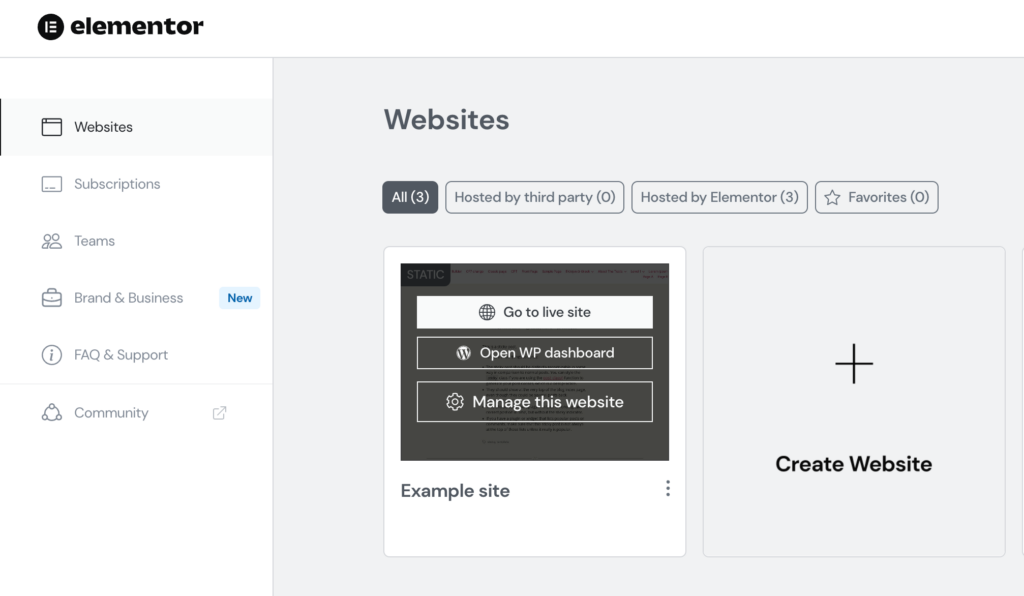
1. Log in to the Elementor Dashboard.
2. Hover over the site card, and click Open WP Dashboard.
4. In the WordPress Dashboard, you can add posts, pages, etc. the same way you always do, or you can migrate your site.
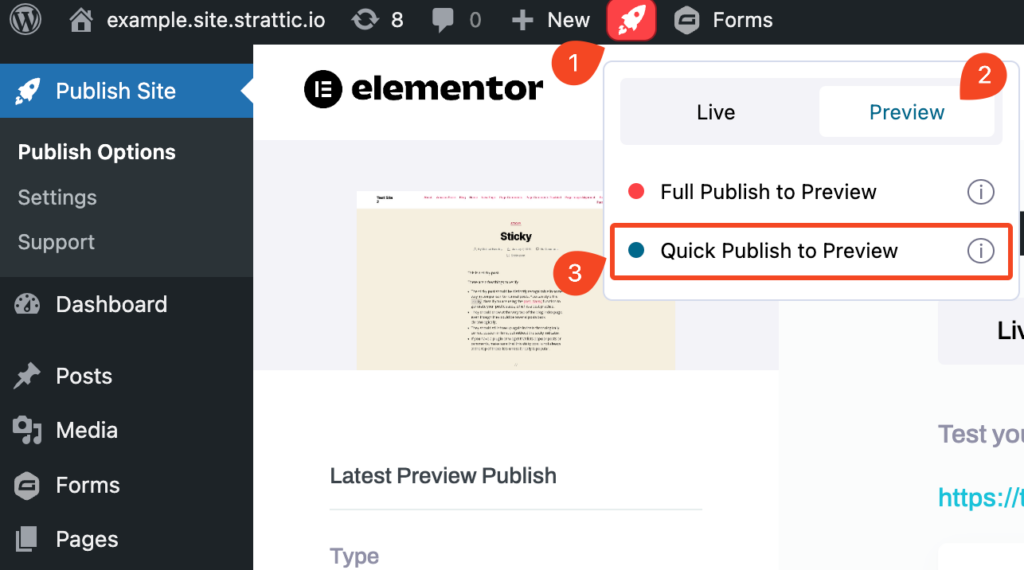
5. You can choose to first publish to your preview static site. To do this: In the admin bar go to Static publish button > Select Preview, and click Full Publish to Preview.
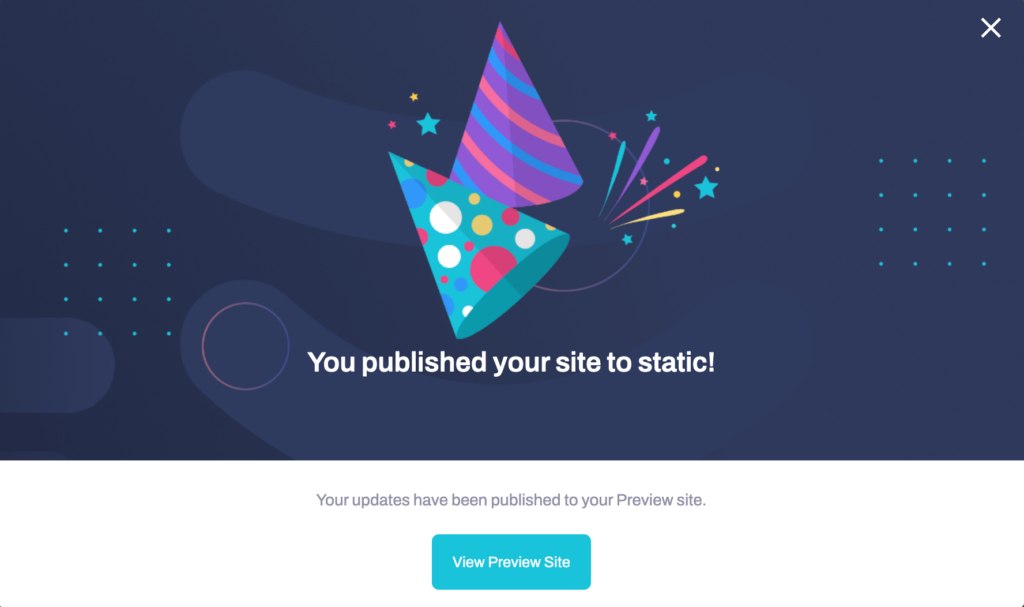
After the site is finished publishing, a popup with the URL of the preview static site appears.
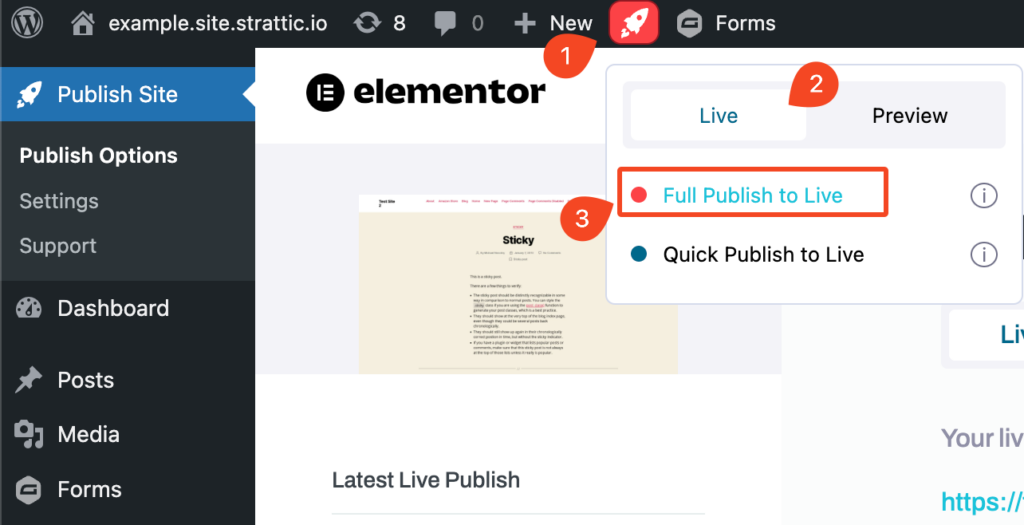
6. If everything looks good, you can publish (deploy) to your live site. In the admin bar, mouse over the Static publish button > Select Live, and click Full Publish to Live.
Note: During the publish (deployment) process, all the links on your site go through a search and replace process so that the live static site uses the correct URLs.
After you click the Publish button, you’re done! Your site now has all the goodies ????: static, SSL, CDN, HTTP/2, greater security and scalability, and faster load times.
Related Articles
Now that you’ve done your first full publish, we recommend learning about these useful publishing options next.
- Quick Publish Feature -Perfect for publishing new or updated content – learn when is best to use a quick publish.
- Selective Publish – Selective publish allows you to update individual posts or pages on your site! Perfect for fixing typos or updating content quickly!

