Elementor widgets are the building blocks of your website. While the basic Content and Style tabs handle the text and visual appearance, the Advanced tab unlocks powerful layout and behavior controls. Understanding these settings allows you to create pixel-perfect designs, handle responsive layouts effectively, and troubleshoot display issues.
This guide explores the advanced configuration options available for every widget and how to troubleshoot common issues when settings do not appear to apply.
Want to learn faster? Book a 1-on-1 expert session today.
Understanding the Tab Structure
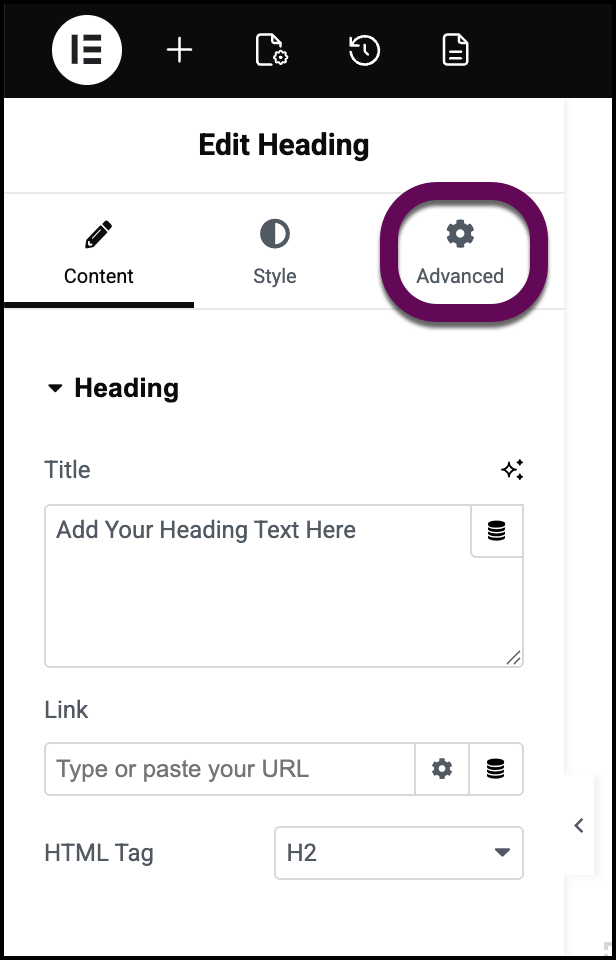
Every widget in Elementor consists of three main configuration tabs located in the left-hand panel:
- Content: Controls the data and structure (e.g., text, images, links).
- Style: Controls the visual presentation (e.g., colors, typography, shadows).
- Advanced: Controls the layout, positioning, and behavior (e.g., margins, motion effects, responsive visibility).
Accessing Advanced Layout Options
To fully control how a widget sits within a column or container, you must use the Advanced tab.
To access advanced settings:
- Select the widget you wish to edit on the canvas.
- Click the Advanced tab in the editing panel.
key Advanced Settings
- Margin & Padding: Essential for spacing. Margins control the space outside the widget border, while Padding controls the space inside the border.
- Z-Index: Determines the stack order of elements. If a widget is hidden behind another, increasing the Z-Index brings it to the front.
- CSS Classes & ID: Use these to target specific widgets with custom CSS or to create anchor links for on-page navigation.
Troubleshooting: Why aren’t my settings applying?
If you have configured a widget but the changes are not reflecting on your live site, or if you cannot find a specific setting, follow these troubleshooting steps.
1. Check Responsive Modes
Some settings are device-specific. If a setting has a Viewport Icon (desktop, tablet, or mobile symbol) next to it, the change applies only to the currently active device view. Ensure you are editing the correct breakpoint.
2. Clear Your Cache
If changes appear in the editor but not on the live site, your site might be serving an outdated, cached version.
- Try clearing the cache by clearing your files and data.
- For Elementor Hosting users, you can:
3. Check for PHP Errors
Sometimes a conflict prevents settings from saving correctly.
- For Elementor Host users, the My Elementor dashboard tracks server-side problems and PHP errors that have occurred in the past three hours. To access these logs, see How do I access my PHP error logs?
- Users of different hosts should check their host’s documentation for accessing PHP errors.
4. Verify PHP Version Compatibility
Using outdated or incompatible PHP versions can cause widget scripts to fail. If you recently installed a new plugin or widget pack that requires a newer PHP version, you may need to update your site’s PHP environment.
- For Elementor Host users, see Edit the PHP version of your Elementor Host site.
- Users of different hosts should check their host’s documentation for updating their PHP version.
5. Increase Memory Limits
Complex widgets handling large data sets may time out before saving.
If a widget spinning wheel never stops, you may need to temporarily increase the maximum execution time to prevent premature termination of the save script.
- For Elementor Host users, see Temporarily increase the maximum execution time of your Elementor Hosted site.
- Users of different hosts should check their host’s documentation for increasing execution time.