Using Angie, you can describe a widget or code you’d like to use on your site and it will create it for you. To create a custom widget with Elementor Angie, open the Elementor Editor and enter a detailed description of your desired widget into the Angie prompt panel. After Angie generates the widget in Test Mode, verify the design and functionality on the canvas, then click the Publish button to save the widget to your live site library.
What you need to create custom widgets
Before building custom widgets, ensure your WordPress environment meets these requirements:
- Elementor plugin: Must be installed and active on your site.
- Angie plugin: Must be installed and active on your site.
How do you create a custom widget with Angie?
Create a custom widget that you can use throughout your site.
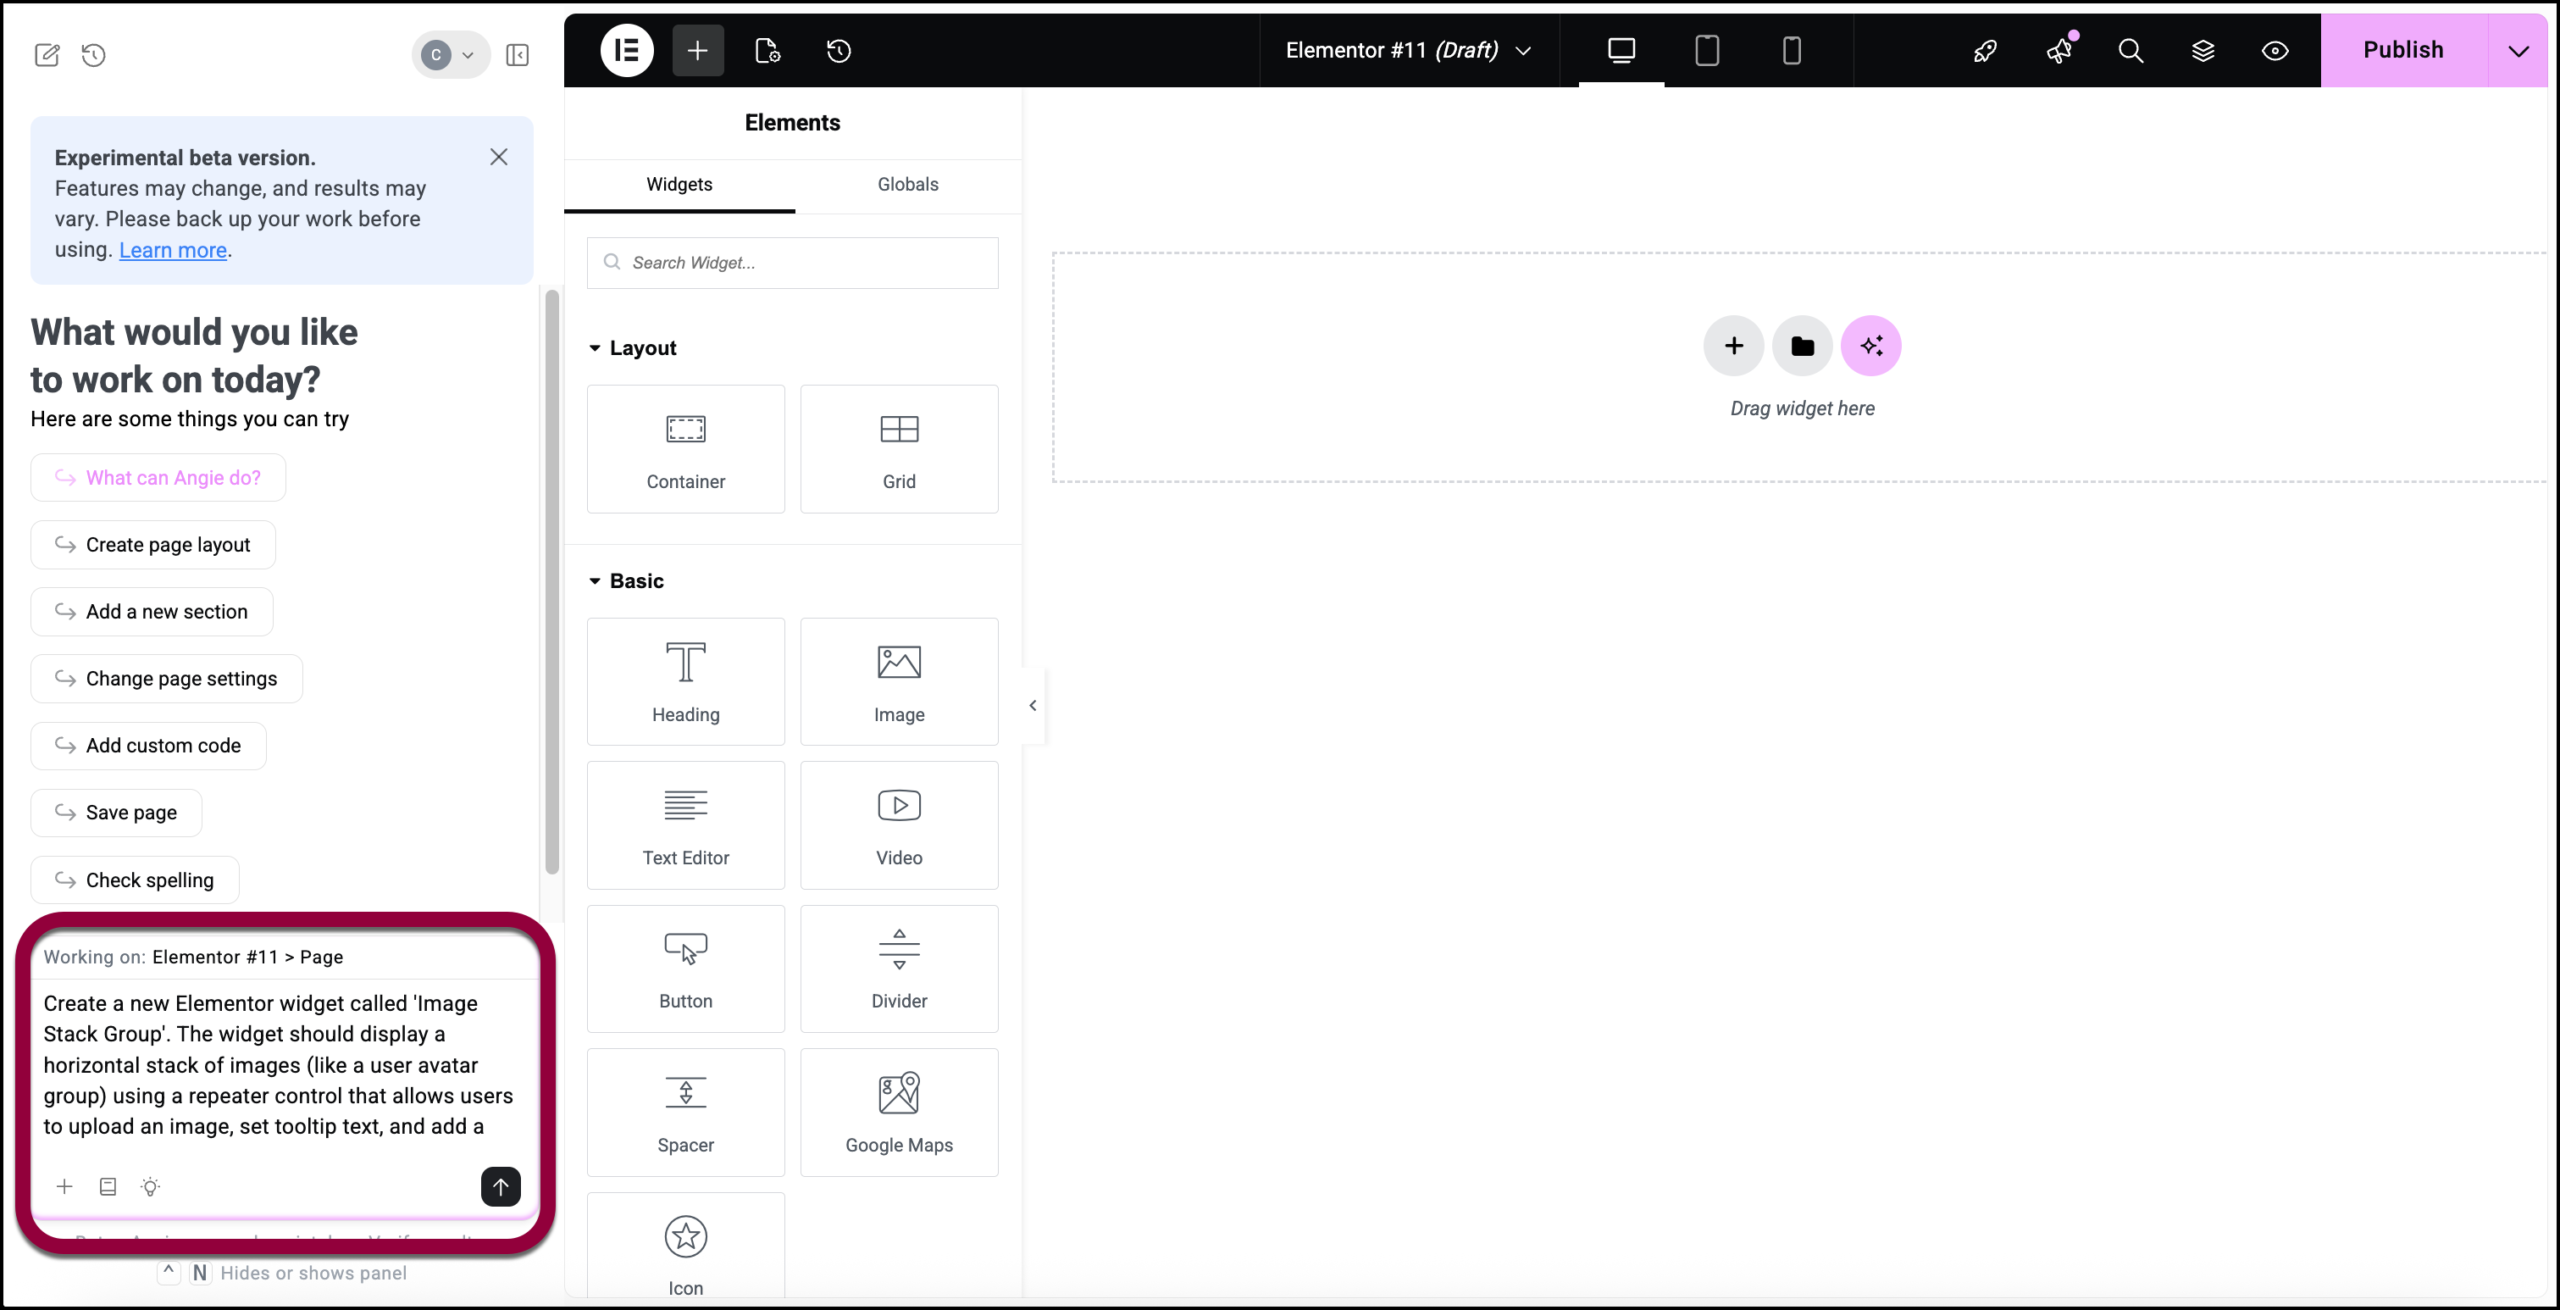
- Open the Editor: Launch the Elementor Editor on any page or post.NoteYou can also create widgets from WP Admin or anywhere the Angie panel is open.
- Enter the Prompt: In the Angie panel, enter a description of the widget you would like to create. For this example we’ll use the prompt: Create a new Elementor widget called ‘Image Stack Group’. The widget should display a horizontal stack of images (like a user avatar group) using a repeater control that allows users to upload an image, set tooltip text, and add a link for each item.
- (Optional) The Angie prompt box offers the following options:
 :Add a file to the prompt box to help guide your prompt. For details, see What kind of files can be uploaded to Angie?
 : Open up the Elementor prompt library. These premade prompts can help guide you in creating your own widgets.
  : Send Elementor feedback about Angie. For details, see Request features and report bugs.
- Angie creates a new widget according to your specifications and places it on the canvas.
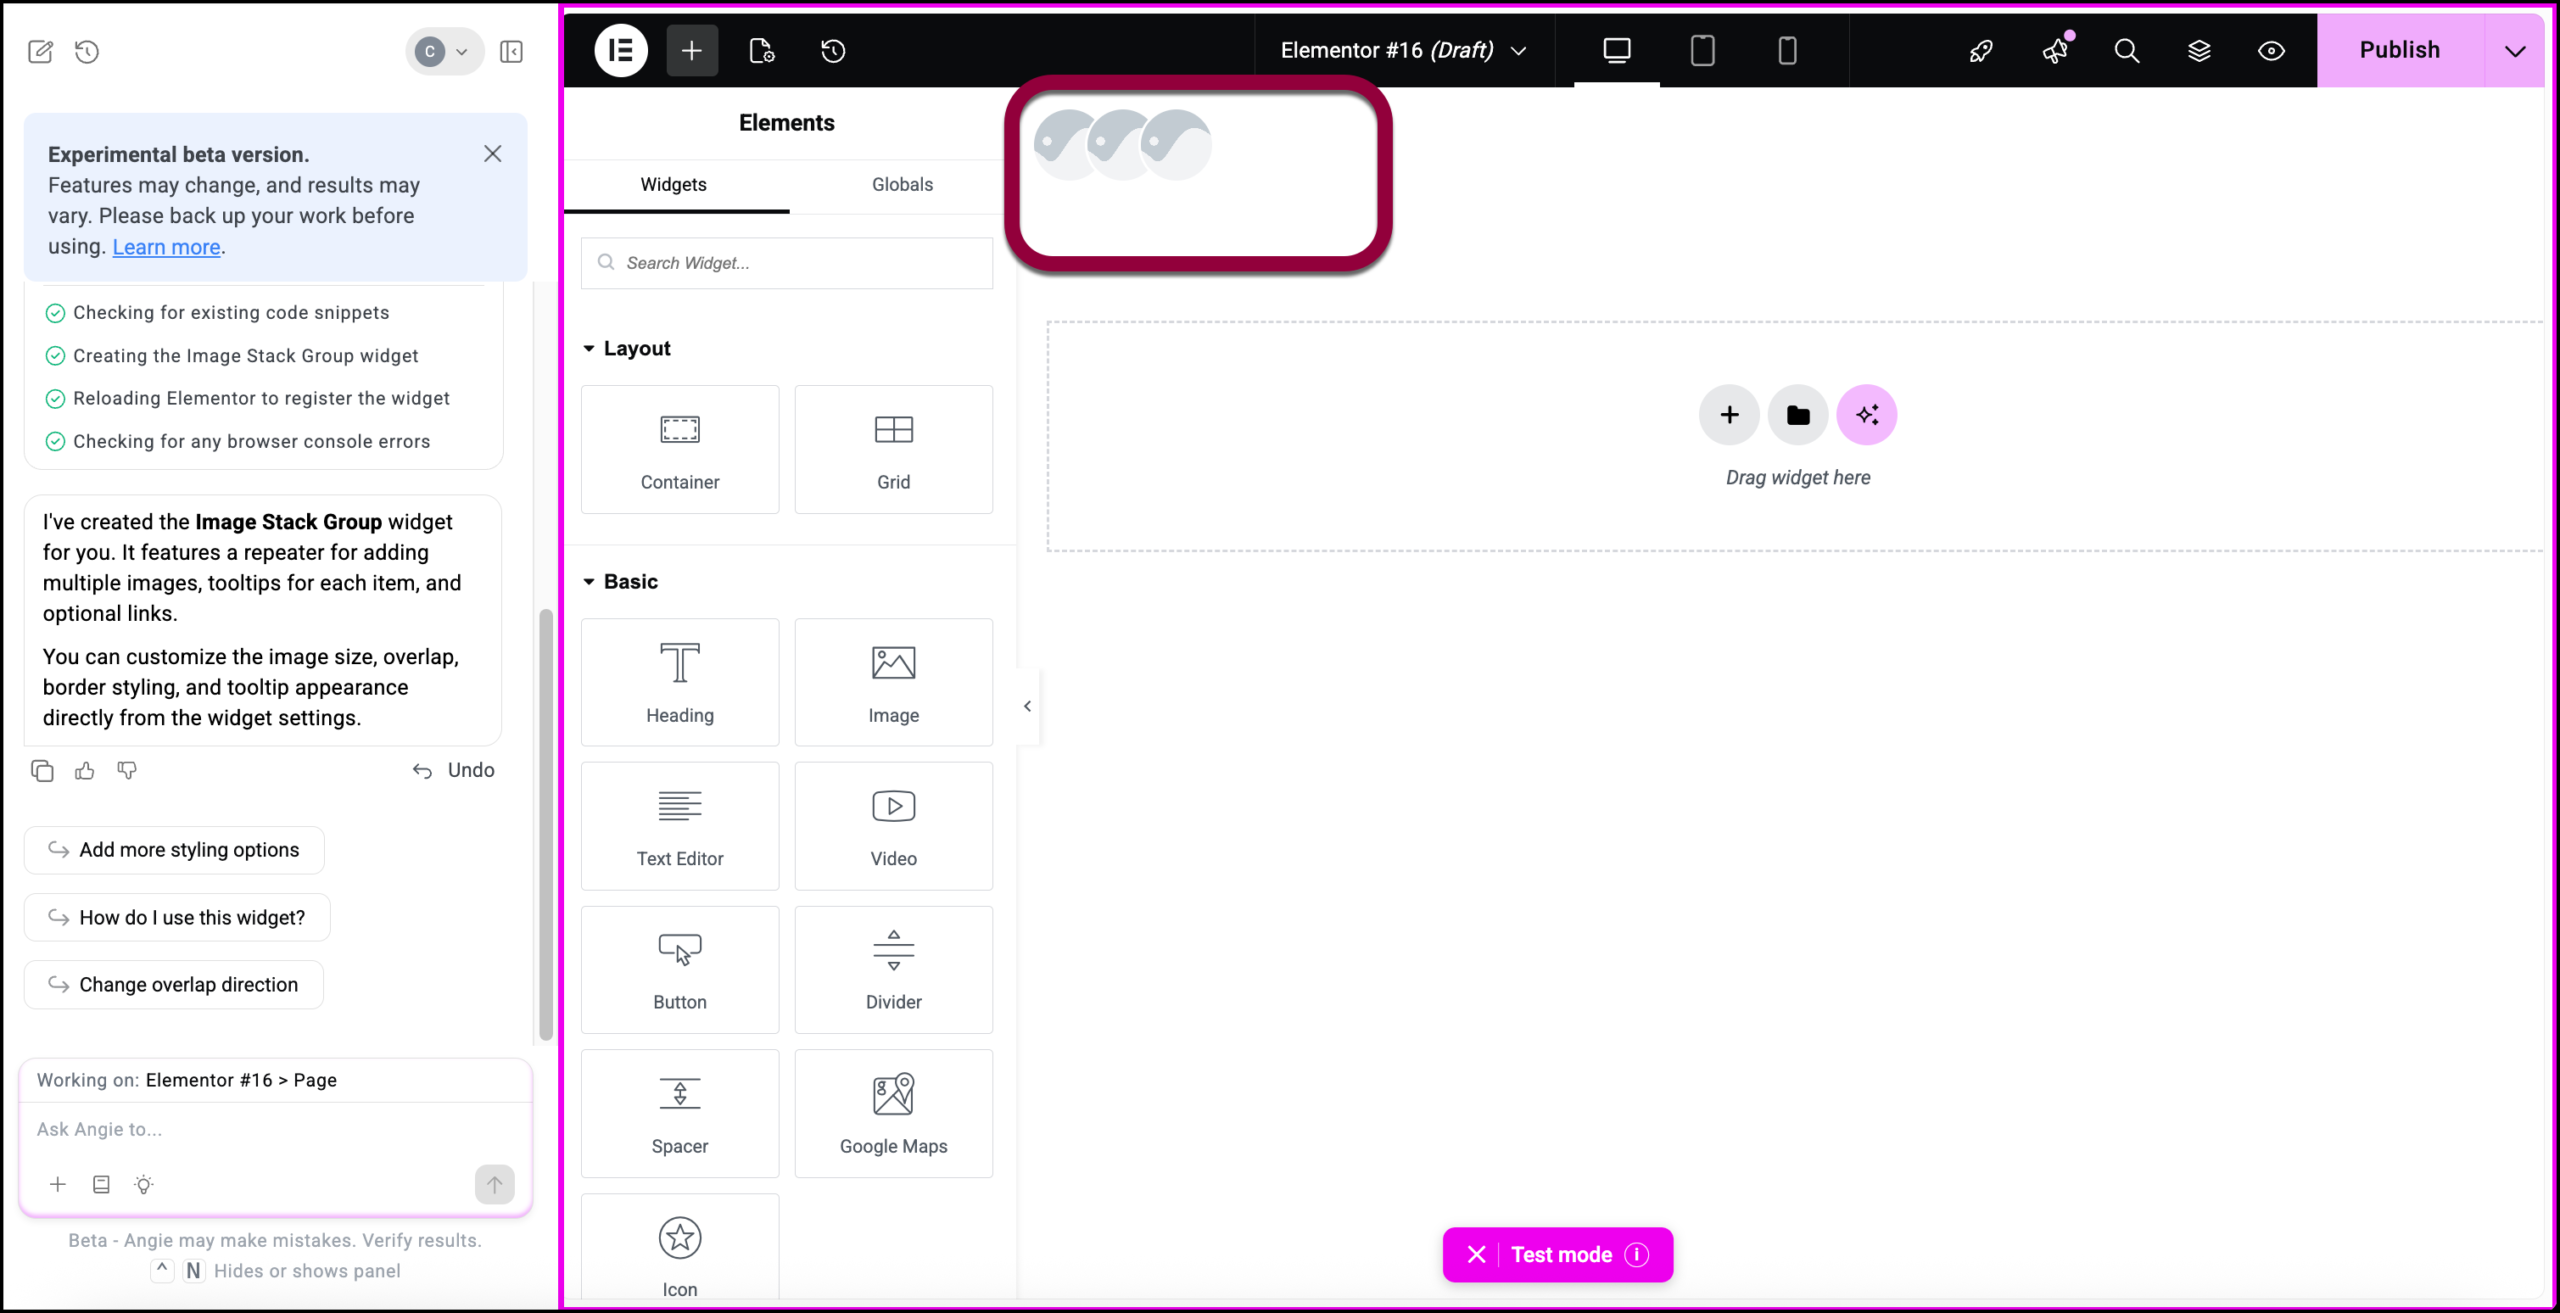
- Verify in Test Mode: You now enter Test Mode. When in Test Mode you’ll see a Test Mode window at the bottom of your screen and the canvas is surrounded by a pink border. No permanent changes take place while in test mode to ensure no critical errors are introduced by the AI.WarningIf you exit test mode without saving the widget (see Save your widget below), the widget is no longer visible. If you re-enter test mode, you can access the widget again. For details, see How to use Angie Test Mode for Elementor widgets and snippets.
You can further refine the widget by adding more information. - In the Angie panel enter: Include the following customization options:
- 12 Design Presets: Default, Default (Shadow), Border Color, Border w/ Tooltips, Border Radius, Dark Color, Drop Shape, Border Radius Gradient, Square Shape, Square Shape (Alt), Corner Shape, and Border Radius Corner.
- Group Hover Animations: Options for ‘None’, ‘Expand’, ‘Fan Out’, ‘Lift Up’, and ‘Shake’.
- Responsive Controls: Sliders for ‘Image Size’ and ‘Overlap’ (negative margin) with mobile support.
- Tooltips: A switcher to enable/disable tooltips, with a dropdown for positioning (Top, Bottom, Left, Right).
- Tooltips: A switcher to enable/disable tooltips, with a dropdown for positioning (Top, Bottom, Left, Right).
- The widget must handle image overflow correctly so tooltips are not clipped, and use wp_enqueue_script / style for assets.
The new features are added to the widget. To check this:
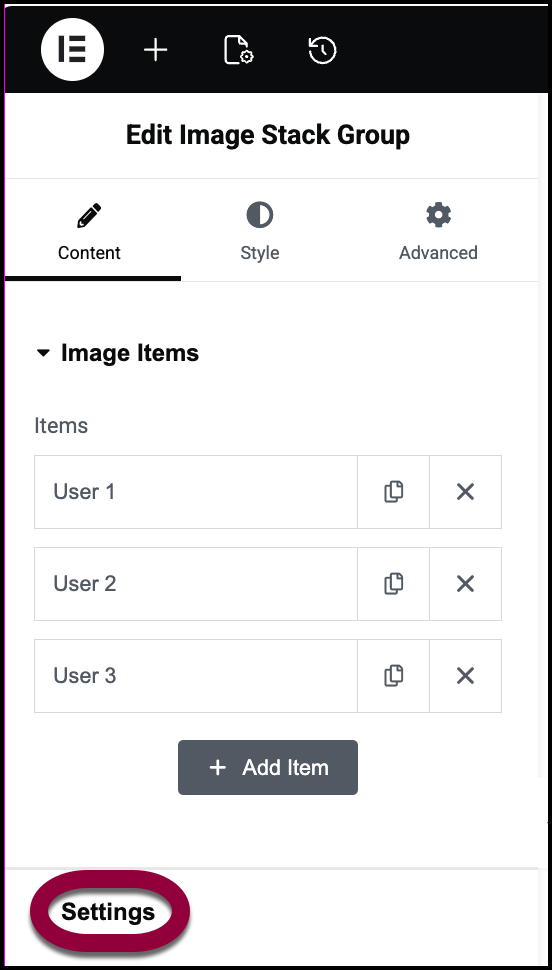
- Select the widget: Click on the widget on canvas.
- Open settings: In the Content tab, open the Settings field.
- View Presets: Open the Design Preset dropdown menu.
Notice that the designated presets are added.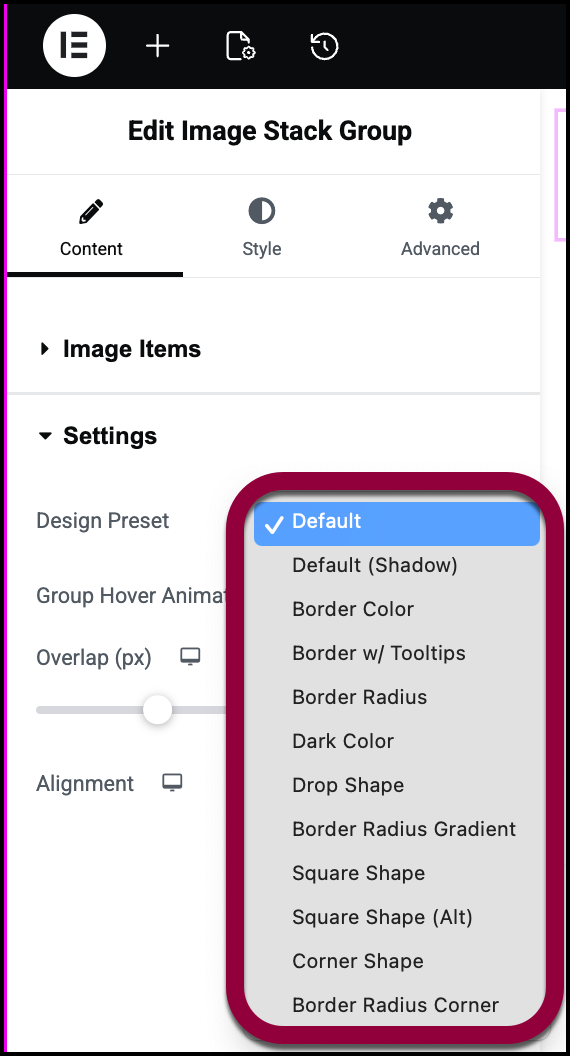
- Publish: Click Publish to save any changes you made to the new widget.
Save your widget
There are several options to add the widget to your live site.
Ask Angie
- Go to the Angie prompt box and enter: Publish the widget to the live environment and exit test mode.
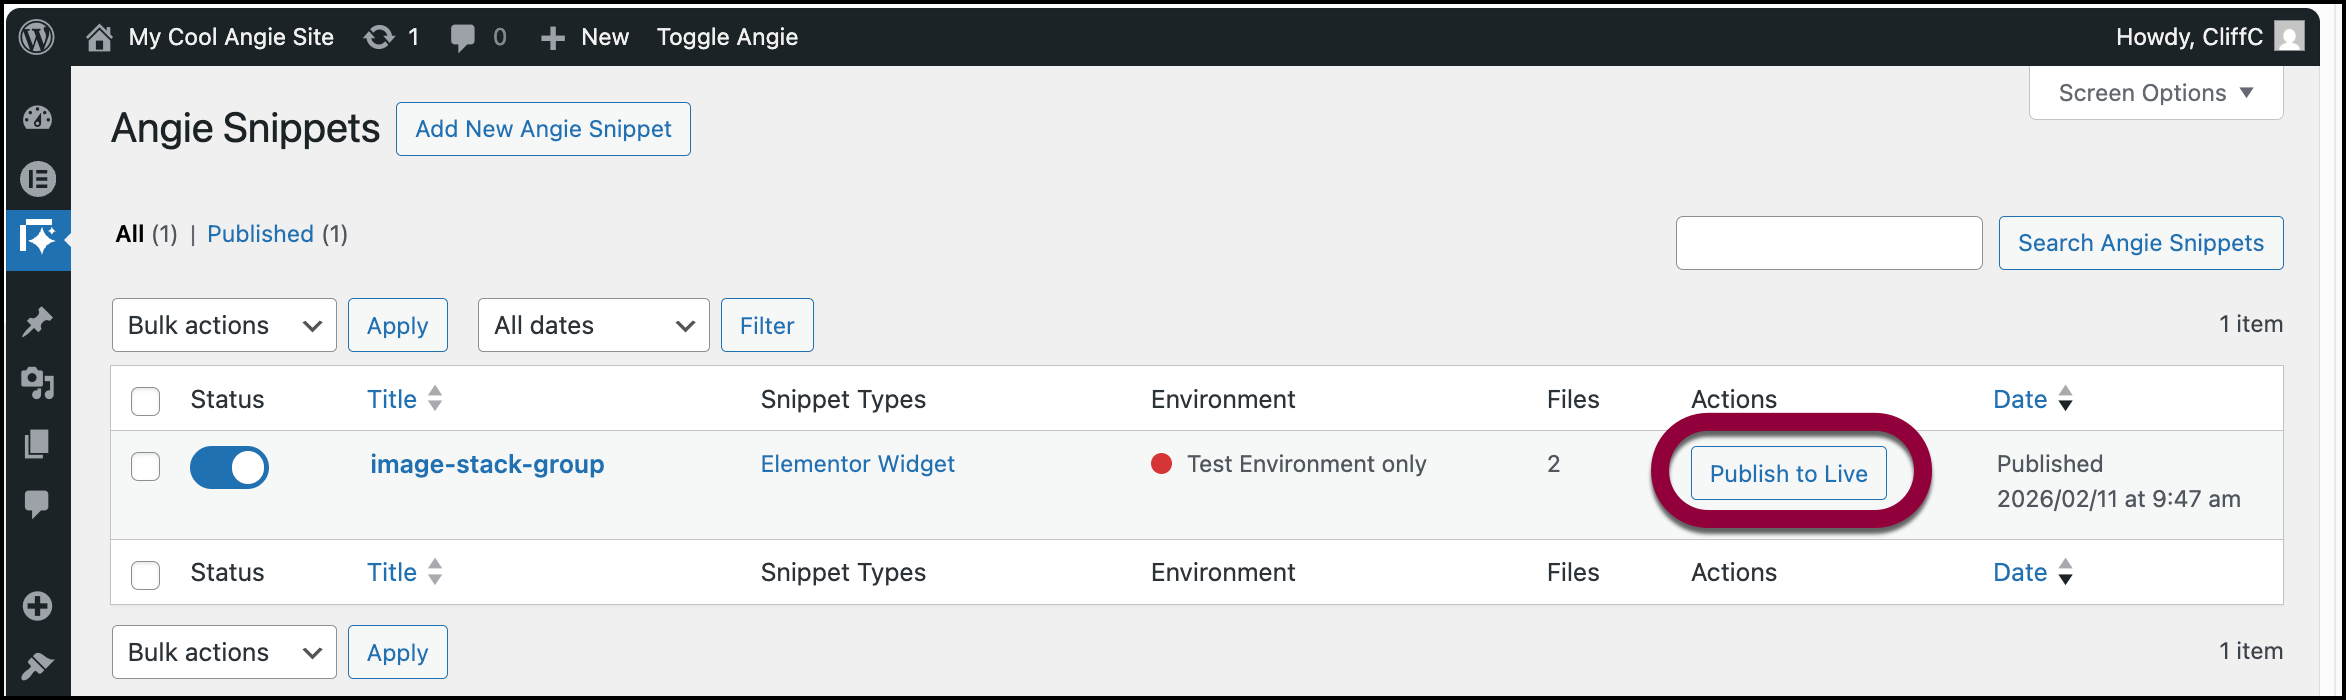
Use the code snippet manager
- From WP Admin: Navigate to Angie>Snippets.
- Publish: Click Publish to Live to save the widget.
You can now use this widget on any of the site’s pages.
Reuse the widget
Now that you’ve created this widget, you can use it on any of your site’s pages.
- Locate: In the panel search box, enter Image Stack Group.
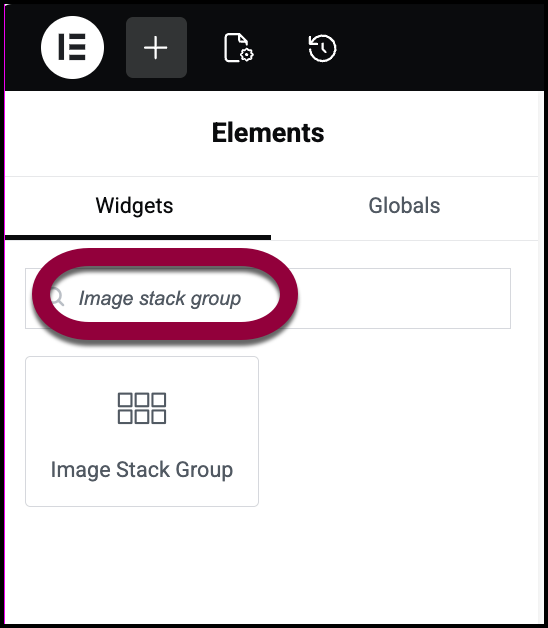
- Place the widget: Drag the widget to the canvas.