Angie is Elementor’s AI assistant, available as a panel on the left side of your screen while you’re using WP Admin or the Elementor Editor. Instead of navigating through multiple menus, simply type what you want to do – Angie handles it for you.
The following examples highlight some of what Angie can do to help you manage your site and create content. From publishing blog posts and handling media, to installing plugins, managing users, and updating core settings. The more specific your prompts, the better Angie’s results will be.
Create content
How to create a post with Angie
You can generate a complete blog post in Elementor by describing the desired content in the Angie panel. This AI tool builds feature-rich posts using Elementor elements, allowing you to publish immediately, edit specific layout components via text prompts, or generate alternative variations to find the perfect design and content match.
- Describe the post you want in the Angie panel. It generates a complete, feature-rich blog post using Elementor elements.
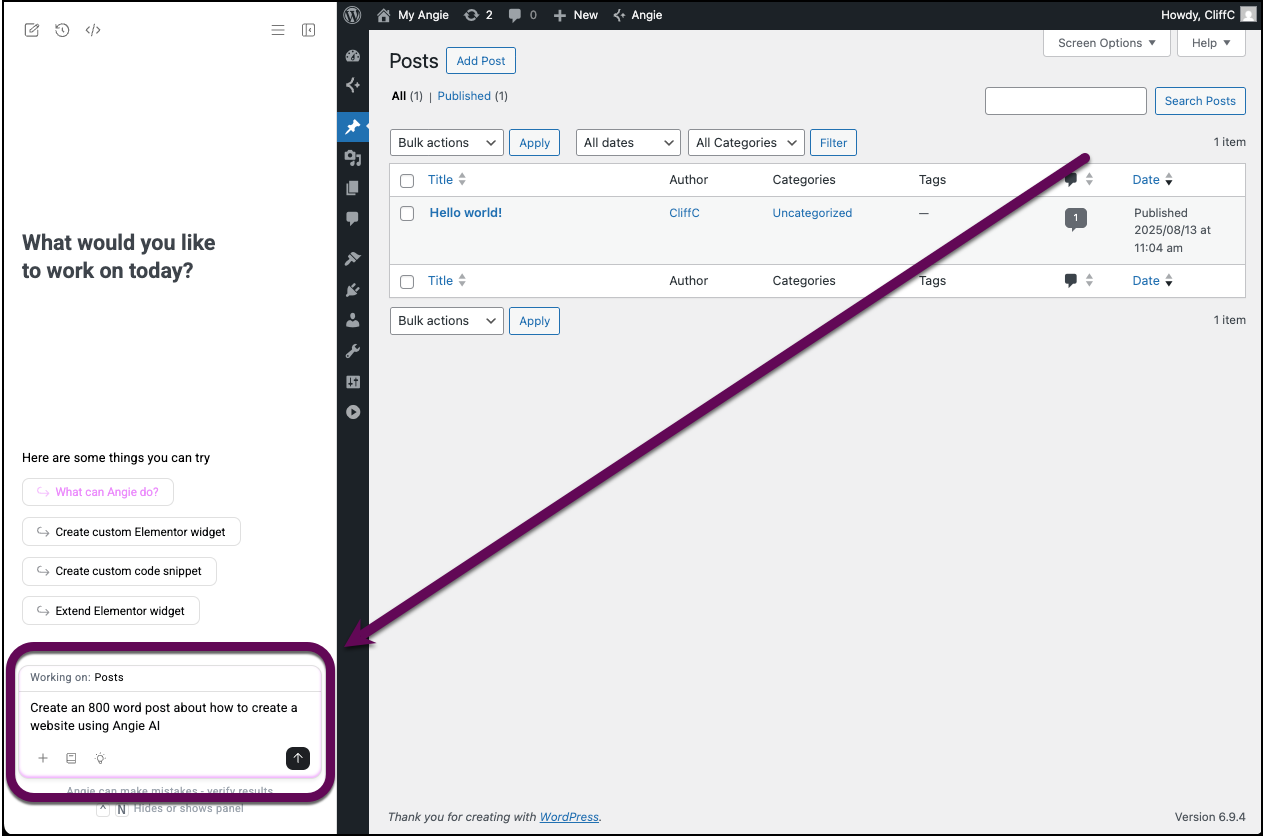
- Click the submit button.
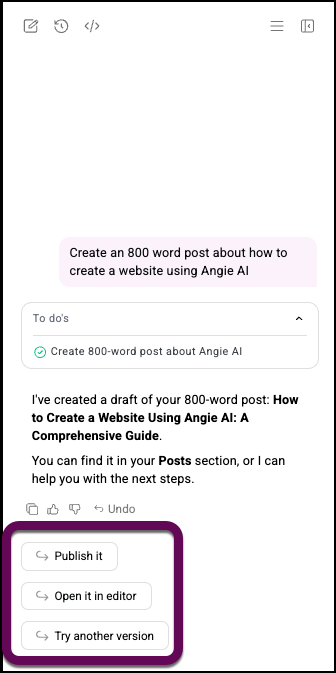
- Once the post is created you can:
- Publish the post so it goes live immediately.
- Open the post in the WordPress editor. Here you can edit the post by telling Angie what to change: Layout, widgets, background, typography, etc.
- Create another version of the post to change the content and layout.
How to add alt text to images using Angie
Alt text serves several critical functions for your site’s performance and usability:
- Search Engine Optimization: Helps crawlers understand image content for better indexing.
- Web Accessibility: Provides context for users utilizing screen readers.
- User Experience: Displays descriptive text if an image file fails to load.
- From WP Admin, navigate to Media>Library.
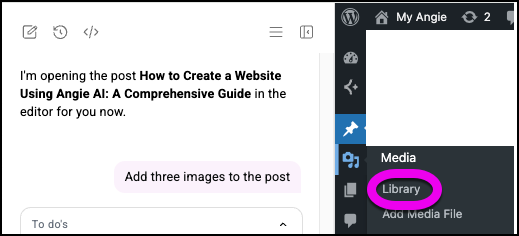
- In the Angie panel, enter: Add alt captions to all the images.
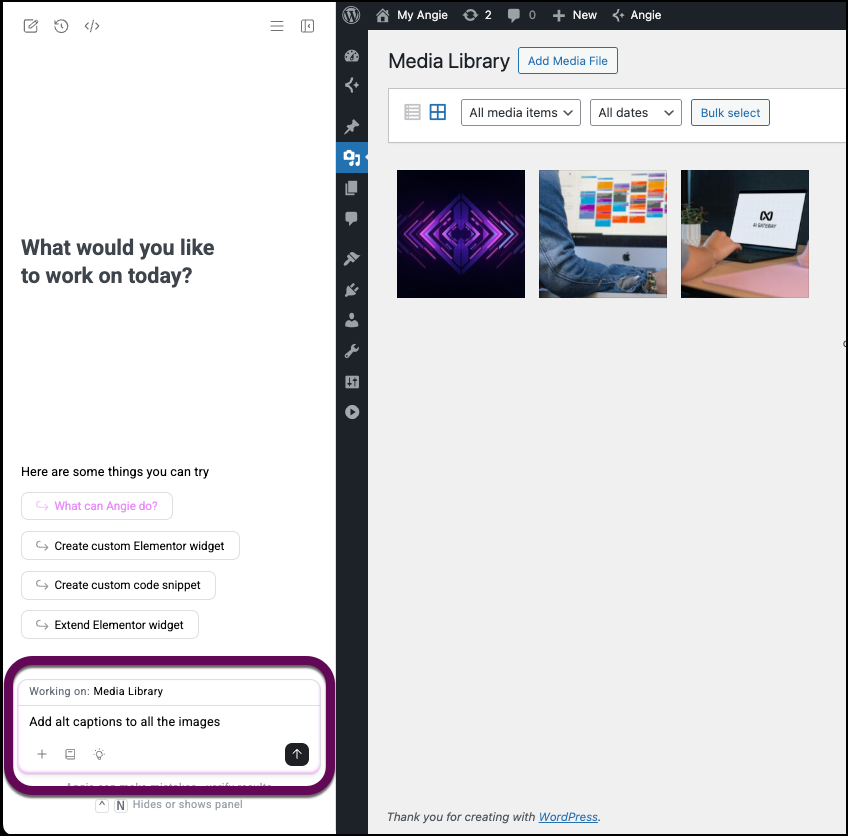
Angie will generate and apply alt text across your media library automatically.
How to manage plugins with Angie
How to install a plugin using Angie
From anywhere in WP Admin, open the Angie panel and prompt it to download a plugin from the WordPress repository. Be as specific as possible with the plugin name.
In the example below, we’re installing WooCommerce:
How to activate/deactivate a plugin using Angie
From anywhere in WP Admin, open the Angie panel and prompt it to activate or deactivate an installed plugin.
In the example below, we’re activating WooCommerce: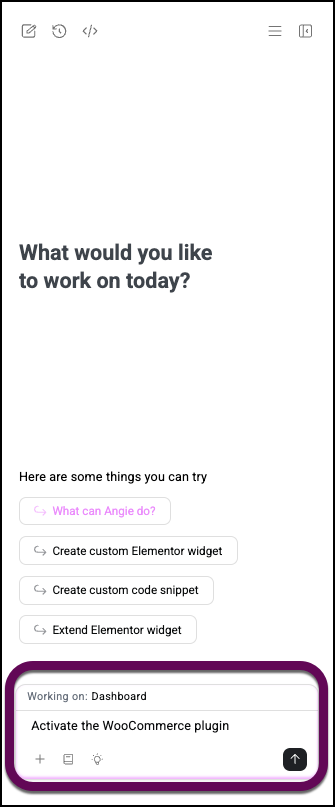
How to delete a plugin using Angie
From anywhere in WP Admin, open the Angie panel and prompt it to delete an installed plugin.
In the example below, we’re deleting WooCommerce: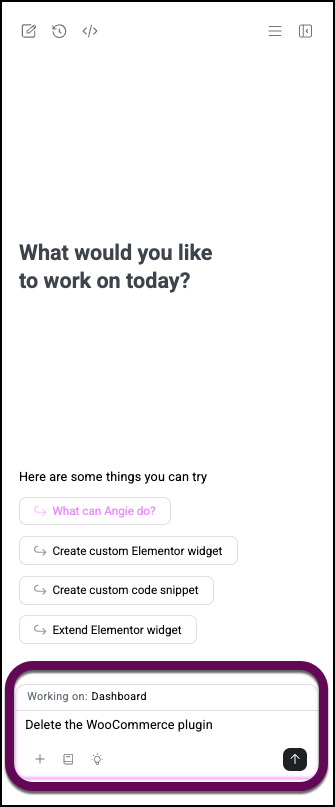
How to update a plugin using Angie
From anywhere in WP Admin, open the Angie panel and prompt it to update the installed plugin.
In the example below, we’re updating all the site’s plugins: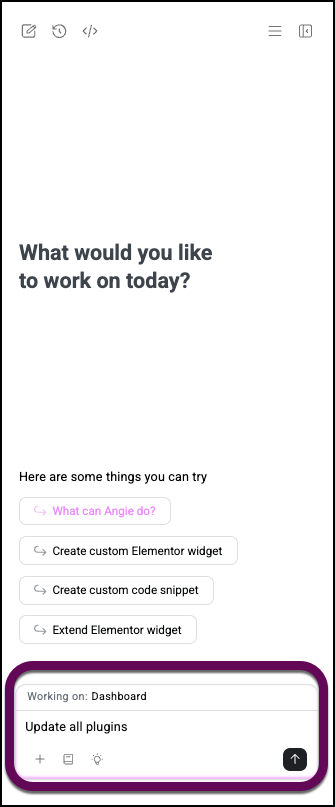
How to manage themes with Angie
How to install and activate a theme with Angie
From anywhere in WP Admin, open the Angie panel and prompt it to install or activate a theme.
In the example below, we’re installing the Hello Elementor theme: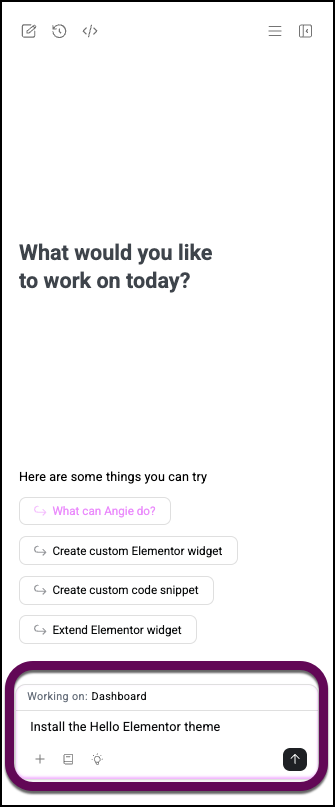
Delete a theme with Angie
From anywhere in WP Admin, open the Angie panel and prompt it to delete a theme.
In the example below, we’re deleting the Hello Elementor theme:
Update themes with Angie
From anywhere in WP Admin, open the Angie panel and prompt it to update the theme.
In the example below, we’re updating all a site’s themes:
Switch themes with Angie
From anywhere in WP Admin, open the Angie panel and prompt it to switch themes.
In the example below, we’re switching to the Hello Elementor theme:
How to manage users with Angie
Manage users with Angie
From anywhere in WP Admin, open the Angie panel and enter a prompt to add a new user with as many details as possible. Following a sample prompt:
Add a new user: First name Jane, last name Smith, username janesmith, email jane@example.com, role Editor.
This prompt includes the user’s first name, last name, username, email, password, and role.
Available roles are: Administrator, Editor, Author, Contributor, or Subscriber.
If you omit a detail, Angie will apply a default.
Manage site settings with Angie
You can control key WordPress settings directly from the Angie panel without navigating through menus. Below are some examples of prompts you can use:
| Setting | Example prompt |
|---|---|
| Site title & tagline | Change the site title to Dan’s Food Truck. |
| Site Language | Change the site language to Spanish. |
| Time zone | Set the timezone to Honolulu. |
| Homepage | Set the homepage to the About Us page. |
| Search engine visibility | Discourage search engines from indexing this site. |
| Favicon/Site icon | Set my favicon to this image URL: [paste URL] |