Consolidating your web presence by transferring your existing domain to Elementor simplifies your workflow. Managing your domain and hosting in one unified dashboard allows you to easily keep track of renewals and DNS settings securely in one place.
How should you prepare your domain for transfer?
To transfer your domain to Elementor, log into your current registrar to unlock the domain and retrieve your authorization (EPP) code. Then, navigate to the Domains tab in your My Elementor dashboard, click Transfer domain, enter your credentials, and complete the secure payment to begin the transfer process.
- Unlock your domain: Log into your current domain provider’s dashboard and disable the registrar lock.
- Get your authorization code: Copy the transfer authorization code (often called an EPP code) from your current provider.
- Note the timeline: Most domain transfers finish within 5 to 7 days.
- Prepare for payment: Transferring a domain typically extends its registration by one year and will require a payment at the end of the process.
- (If switching to Elementor DNS servers) Copy DNS records: Create a list of your existing records, as these don’t transfer automatically.
What are the steps to initiate a domain transfer to Elementor?
To securely transfer your domain:
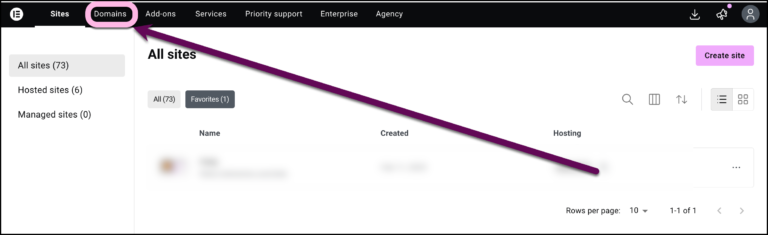
- Go to your My Elementor dashboard.
- Click Domains on the top panel.
Click the Transfer domain button in the upper right corner.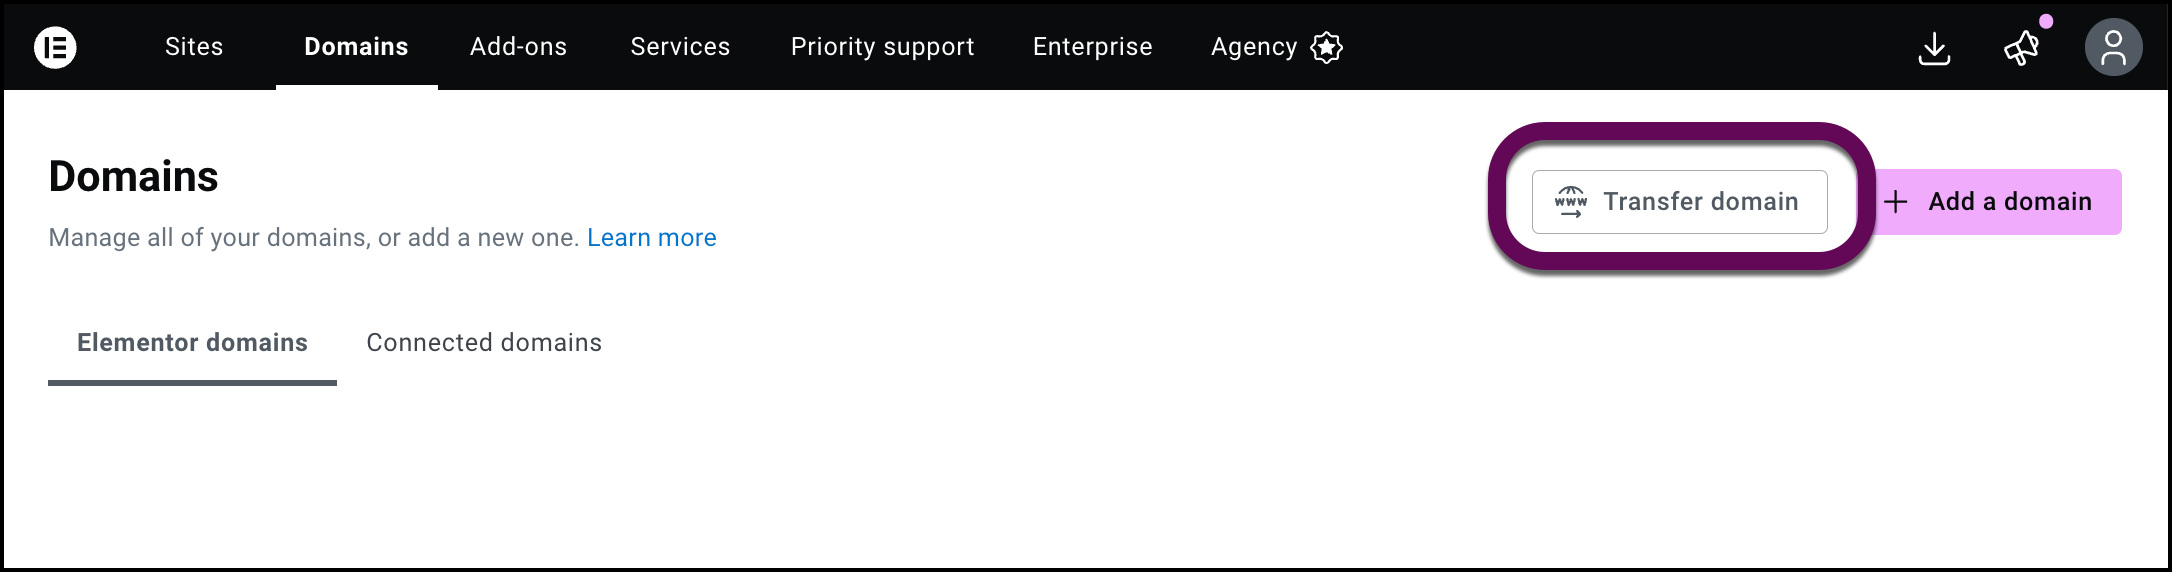
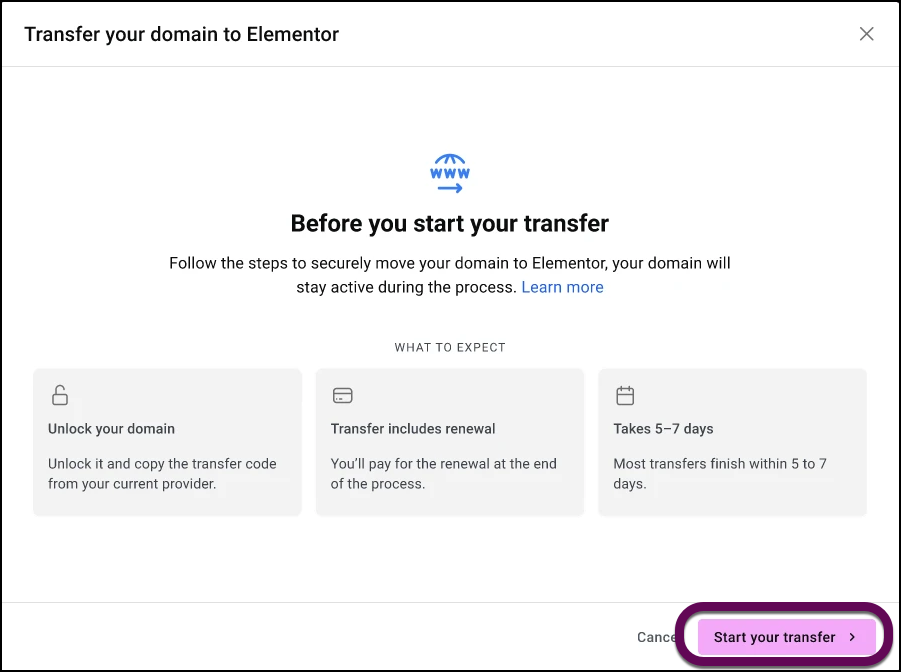
- Review the Before you start your transfer checklist and proceed by clicking Start your transfer.
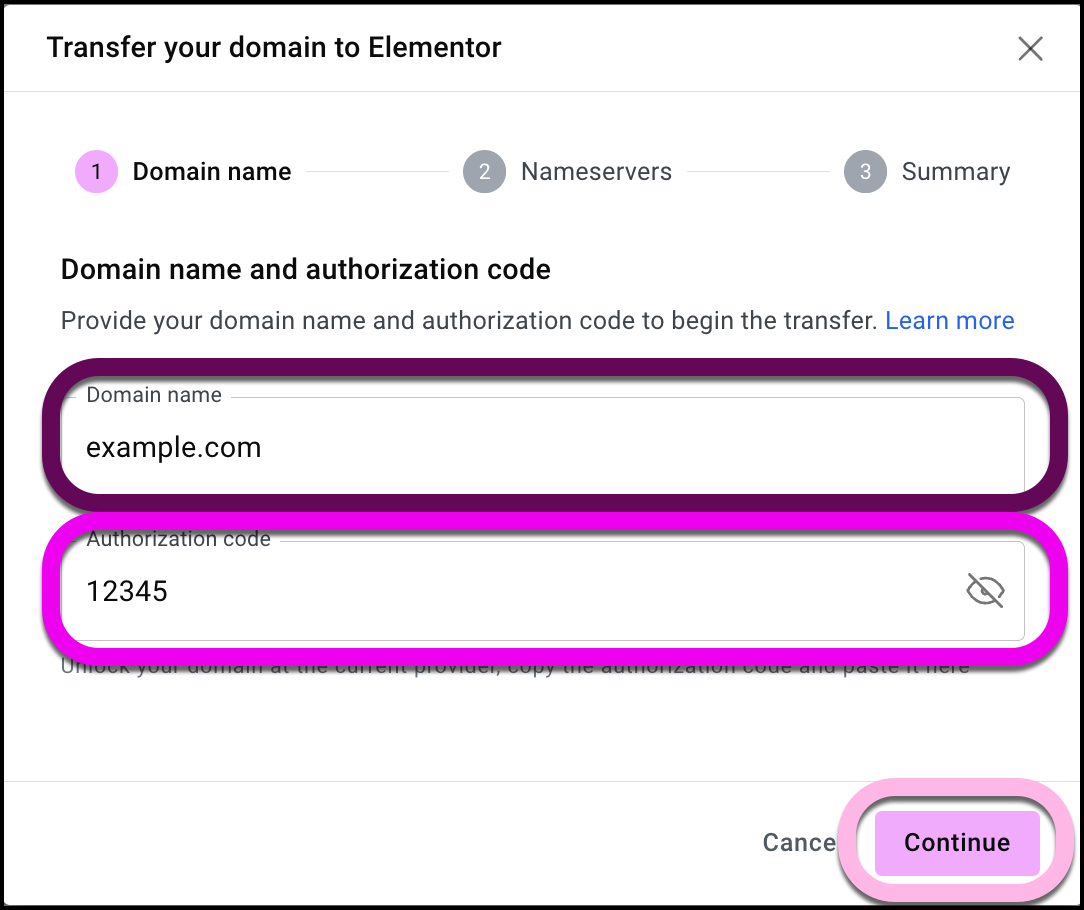
- In the Domain name step, enter your domain name (e.g., yourdomain.com) and paste the Authorization code you received from your current provider.
- Click Continue.
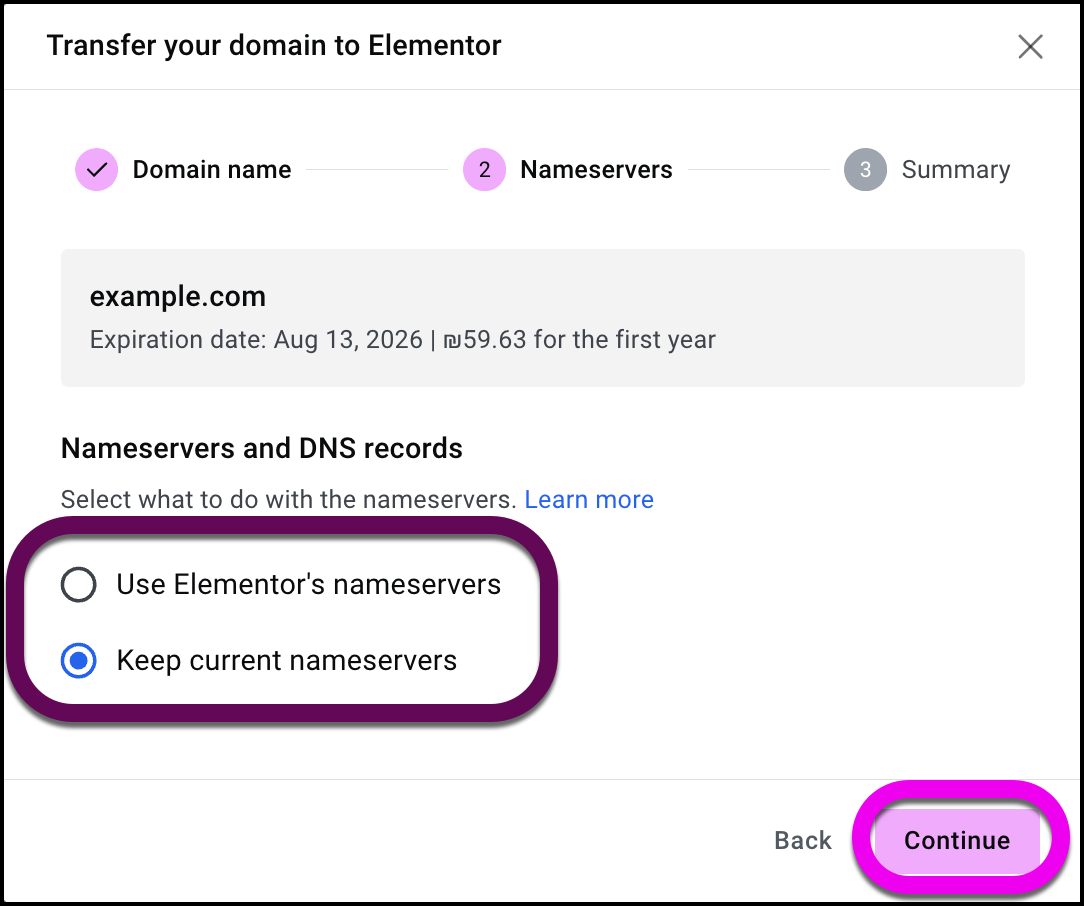
- In the Nameservers step, select how you want to manage your DNS records:
- Use Elementor nameservers: We recommend this for seamless integration. You’ll need to add the DNS records manually. For details, see Manage your DNS Records.
- Keep current nameservers: Select this if you prefer to continue managing your DNS through a third-party provider.
- Click Continue.
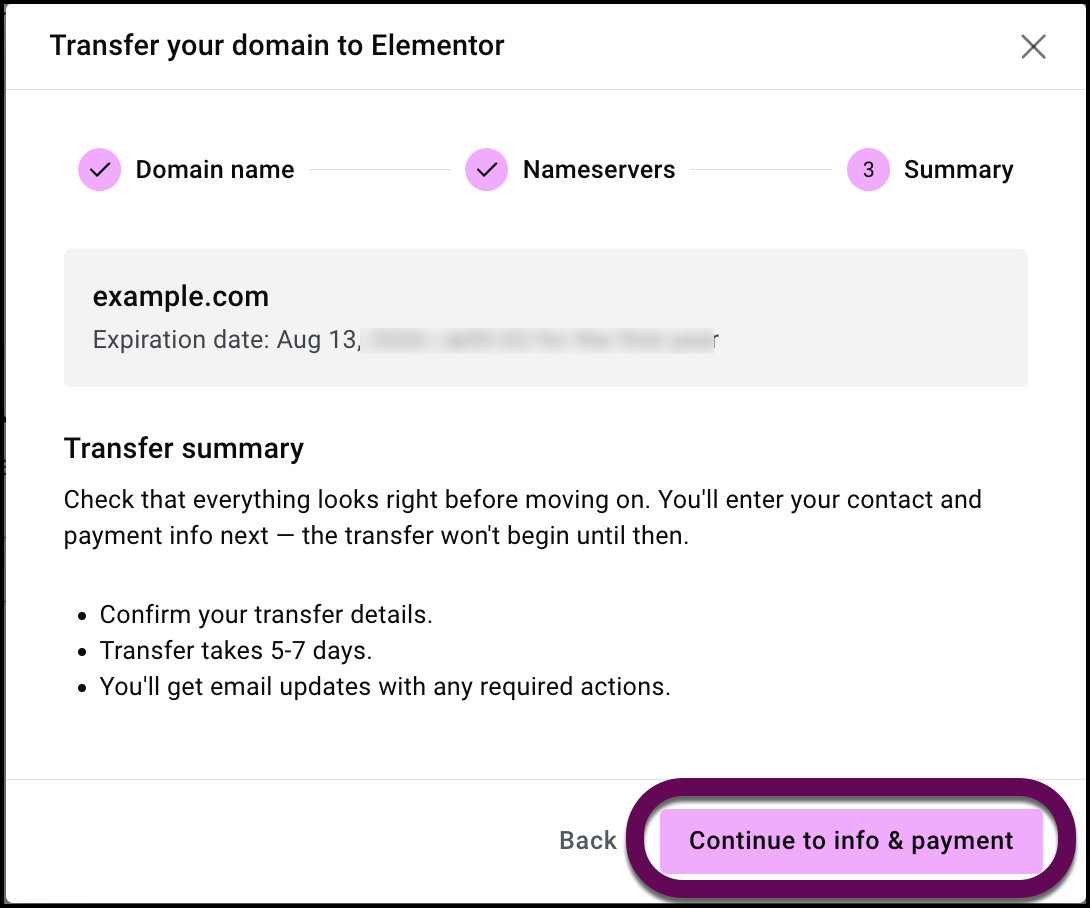
- Review the Summary and complete the secure payment process for your domain renewal.
How do you track the progress of your transfer?
Once the transfer is initiated, you can track its progress directly from your My Elementor dashboard.
- Real-time status updates: Monitor your domain’s status as it moves through the transfer process (e.g., Pending, In Progress, Awaiting Payment, Complete).
- Email notifications: Elementor will send you email notifications at key milestones, ensuring you are always up to date on your transfer’s estimated completion timeline.